
Introduction
Thank you for choosing the 4D Build Pokémon Charmander 3D Model Kit. This manual provides comprehensive instructions for the assembly, care, and maintenance of your new model kit. Please read all instructions carefully before beginning assembly to ensure a smooth and enjoyable building experience. This kit is designed for ages 12 and up.
Safety Information
- This product contains small parts and is not suitable for children under 3 years of age due to choking hazards.
- Adult supervision is recommended during assembly, especially for younger users.
- Handle pieces with care to avoid bending or tearing.
- Keep all packaging materials away from children and dispose of them properly.
Package Contents
Verify that all components are present before starting assembly:
- 16 EPS Foam 3D Puzzle Sheets
- 1 Instruction Manual

Image: The 16 EPS foam sheets containing the punch-out pieces for the Charmander model.
Setup & Assembly
Follow these steps to assemble your 4D Build Charmander model. No glue or tools are required for assembly.
- Preparation: Unpack all sheets and lay them out on a clean, flat surface. Familiarize yourself with the different sheets and the overall design.
- Punching Out Pieces: Carefully punch out each piece from the EPS foam sheets. Be gentle to avoid tearing or damaging the pieces. Refer to the included instructions for specific piece identification.
- Following Instructions: The included instructions will guide you through the assembly process, typically in a numerical or alphabetical sequence. Identify the corresponding slots and tabs on each piece.
- Connecting Pieces: Gently insert the tabs into the matching slots. Ensure a snug fit without forcing the pieces, which could cause damage. The EPS foam is designed to interlock securely.
- Building Sections: Assemble the model in sections as indicated in the instructions (e.g., body, head, limbs, tail, base). Connect these sections once they are individually complete.
- Final Touches: Once all main sections are assembled, attach any decorative elements or the display base as per the instructions.

Image: Individual pieces separated from the sheets, ready for assembly.

Image: A close-up of hands connecting two pieces of the model.

Image: A view of the model during an intermediate stage of assembly, highlighting the interlocking design.
Displaying Your Model
Once assembled, your 4D Build Charmander model is ready for display. Place it on a stable, flat surface away from direct sunlight and excessive heat to preserve its colors and structural integrity.
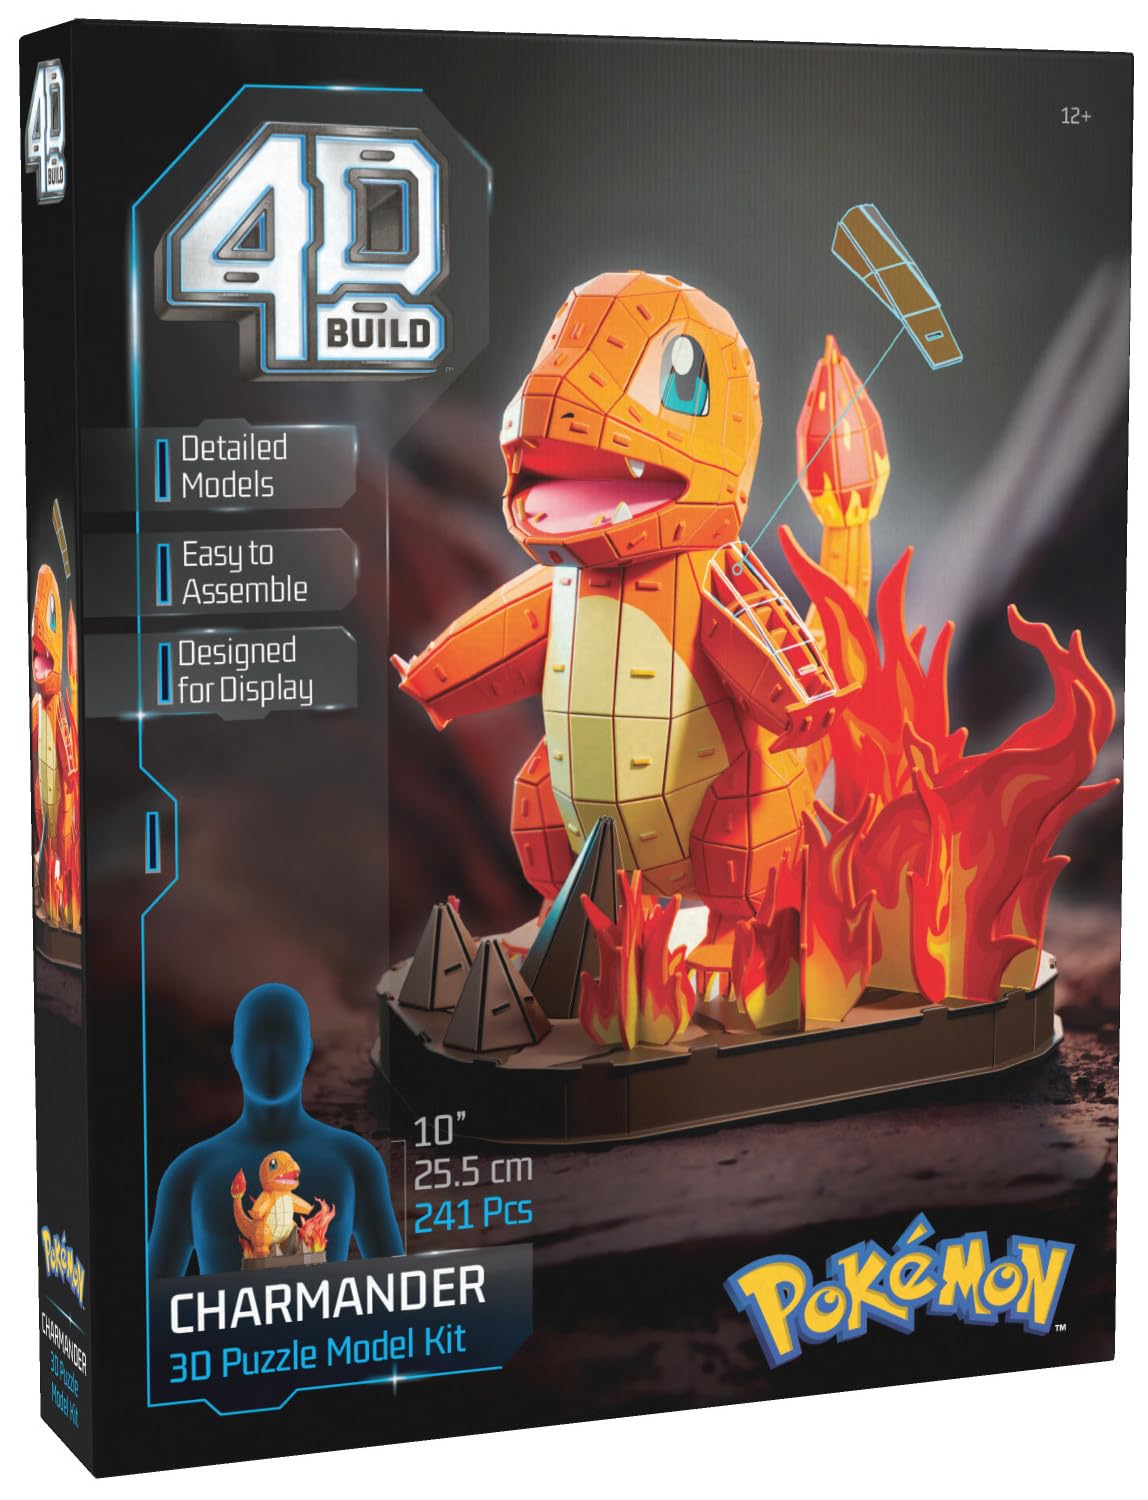
Image: The completed Charmander model on its display base.

Image: A different angle of the finished Charmander model.
Maintenance
To keep your 4D Build Charmander model in optimal condition:
- Cleaning: Gently dust the model with a soft, dry cloth or a soft brush. Avoid using water, cleaning solutions, or abrasive materials, as these can damage the EPS foam and printed surfaces.
- Storage: If disassembling for storage, do so carefully to avoid bending or tearing the interlocking tabs. Store pieces flat in a dry, cool place.
- Handling: Always handle the model by its base or main body to prevent stress on smaller, delicate parts.
Troubleshooting
If you encounter any issues during assembly or with your finished model, consider the following:
- Pieces Not Fitting: Ensure you are using the correct pieces for the current step. Double-check the instruction manual for piece identification. Do not force pieces together; gently align tabs with slots.
- Damaged Pieces: If a piece is bent or torn, try to gently reshape it. For significant damage, contact customer support (see Support & Contact Information).
- Model Instability: Ensure all connections are secure and snug. If the model feels wobbly, re-examine the connections in the affected area.
- Missing Pieces: Carefully check all packaging and sheets. If a piece is genuinely missing, contact customer support.
Specifications
| Feature | Detail |
|---|---|
| Brand | 4D Build |
| Model Number | 6075063 |
| Material Type | EPS Foam (Paper) |
| Number of Pieces | 241 |
| Assembled Dimensions (L x W x H) | 9.3"L x 9.8"W x 10"H (approx.) |
| Item Weight | 1.4 Pounds |
| Recommended Age | 12 Years and Up |
| Skill Level | Intermediate |
| Educational Objective | Logical Thinking |
Warranty Information
This product is sold without a manufacturer's warranty. Please refer to the retailer's return policy for any issues with the product upon receipt.
Support & Contact Information
For further assistance or inquiries, please contact the manufacturer:
- Manufacturer Name: Spin Master International
- Manufacturer Address: Kingsfordweg 151, 1043 GR Amsterdam, NL
- Email Address: https://www.spinmaster.com/en-US/customer-support/