
1. Introduction and Overview
Thank you for choosing the STAHLWERK MIG/MAG 200 ST Plus Inverter Welding Machine. This comprehensive manual provides essential information for the safe and efficient operation, maintenance, and troubleshooting of your welding unit. This professional MIG/MAG inverter welding machine offers fully synergic control up to 200 A, intelligent parameter adjustment, and precise manual control. It supports welding with and without gas, including FLUX (flux-cored wire), Lift-TIG, and classic MMA (electrode) welding. Its robust design, advanced cooling, and user-friendly interface make it suitable for various applications in workshops, construction sites, and for hobby use.
2. Safety Instructions
Always prioritize safety when operating welding equipment. Failure to follow safety guidelines can result in serious injury or damage to the equipment.
- Personal Protective Equipment (PPE): Always wear a welding helmet with appropriate shade, welding gloves, protective clothing, and safety shoes.
- Ventilation: Ensure adequate ventilation to avoid inhaling welding fumes, which can be hazardous.
- Fire Hazards: Keep flammable materials away from the welding area. Have a fire extinguisher readily available.
- Electrical Safety: Ensure the machine is properly grounded. Do not operate in wet conditions. Inspect cables and connections for damage before each use.
- Arc Rays: Welding arcs produce intense UV and IR radiation that can damage eyes and skin. Never look at the arc without proper eye protection.
- Gas Cylinders: Secure gas cylinders to prevent them from falling. Handle with care and ensure proper connections.
- Children and Bystanders: Keep children and unauthorized personnel away from the welding area.
3. Product Features
- Professional MIG/MAG Inverter: Fully synergic control up to 200 A. Intelligent control automatically adjusts power parameters based on wire thickness, while precise manual current and voltage adjustment allows for maximum precision.
- Welding with and without Gas: The FLUX function allows for easy processing of flux-cored wire, enabling outdoor welding without a shielding gas cylinder. Additionally, Lift-TIG and classic electrode welding (MMA) are available.
- Optimal Welding Curve: Continuously adjustable inductance (choke) smooths the welding current, ensuring spatter-free results and excellent ignition properties. Functions like Hot Start and Anti-Stick support arc ignition during MMA welding.
- Intelligent Cooling and Protection: Advanced high-performance cooling and integrated overheat protection ensure maximum power recovery with high operational safety. The robust ST-Guard housing protects the electronics from external influences.
- Practical Details: An integrated LED light automatically illuminates the wire guide during spool changes. The ergonomic design and intuitive operation make this inverter an ideal companion for the workshop, construction site, and hobby use.

Image 3.1: Key features of the STAHLWERK MIG/MAG 200 ST Plus, including MIG/MAG, Flux, Synergic wire feed, and LED lighting.

Image 3.2: Protective and design features such as ST-Guard housing, smart cooling, dust/splash protection, and compact design.
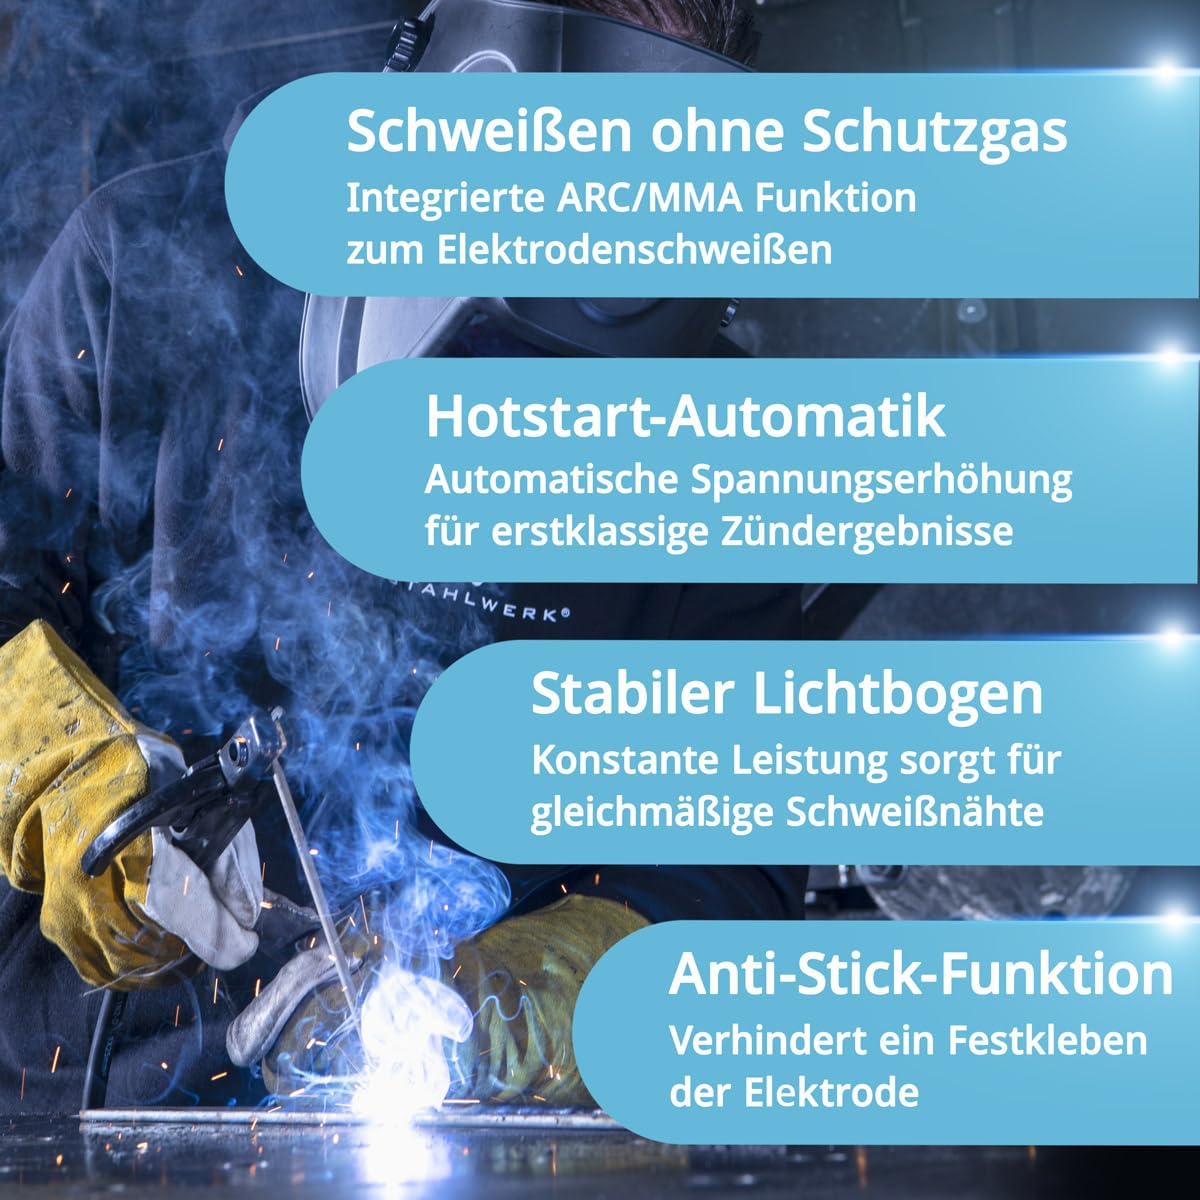
Image 3.3: Advanced welding functions including gasless welding, Hot Start, stable arc, and Anti-Stick.
4. Setup
4.1 Unpacking and Inspection
Carefully unpack the welding machine and all accessories. Inspect for any signs of damage during transit. Report any damage to your supplier immediately.
4.2 Power Connection
Connect the welding machine to a suitable power supply (AC 230V, 50/60Hz) as specified in the technical data. Ensure the power outlet is properly grounded and capable of handling the machine's current requirements.
4.3 Gas Connection (for MIG/MAG Welding)
- Securely place the shielding gas cylinder (e.g., Argon, CO2, or mixed gas) in an upright position.
- Attach the pressure regulator to the gas cylinder valve.
- Connect the gas hose from the pressure regulator to the gas input connector on the rear of the welding machine.
- Open the gas cylinder valve slowly and adjust the gas flow rate on the regulator to the recommended setting (typically 8-12 liters/minute for MIG/MAG).
4.4 Wire Spool Installation
- Open the wire feed compartment cover.
- Place the appropriate wire spool (0.6mm, 0.8mm, 0.9mm, or 1.0mm) onto the spool holder, ensuring it rotates freely.
- Feed the welding wire through the wire guide and into the wire feed rollers.
- Close the wire feed rollers and adjust the pressure according to the wire type and thickness.
- Ensure the correct contact tip size is installed on the MIG torch for the chosen wire diameter.
4.5 Torch and Ground Clamp Connection
- Connect the MIG torch to the central Euro connector on the front panel.
- Connect the ground clamp cable to the negative (-) terminal on the front panel.
- For MMA welding, connect the electrode holder to the positive (+) terminal and the ground clamp to the negative (-) terminal.
- For Lift-TIG welding, connect the TIG torch to the negative (-) terminal and the ground clamp to the positive (+) terminal.
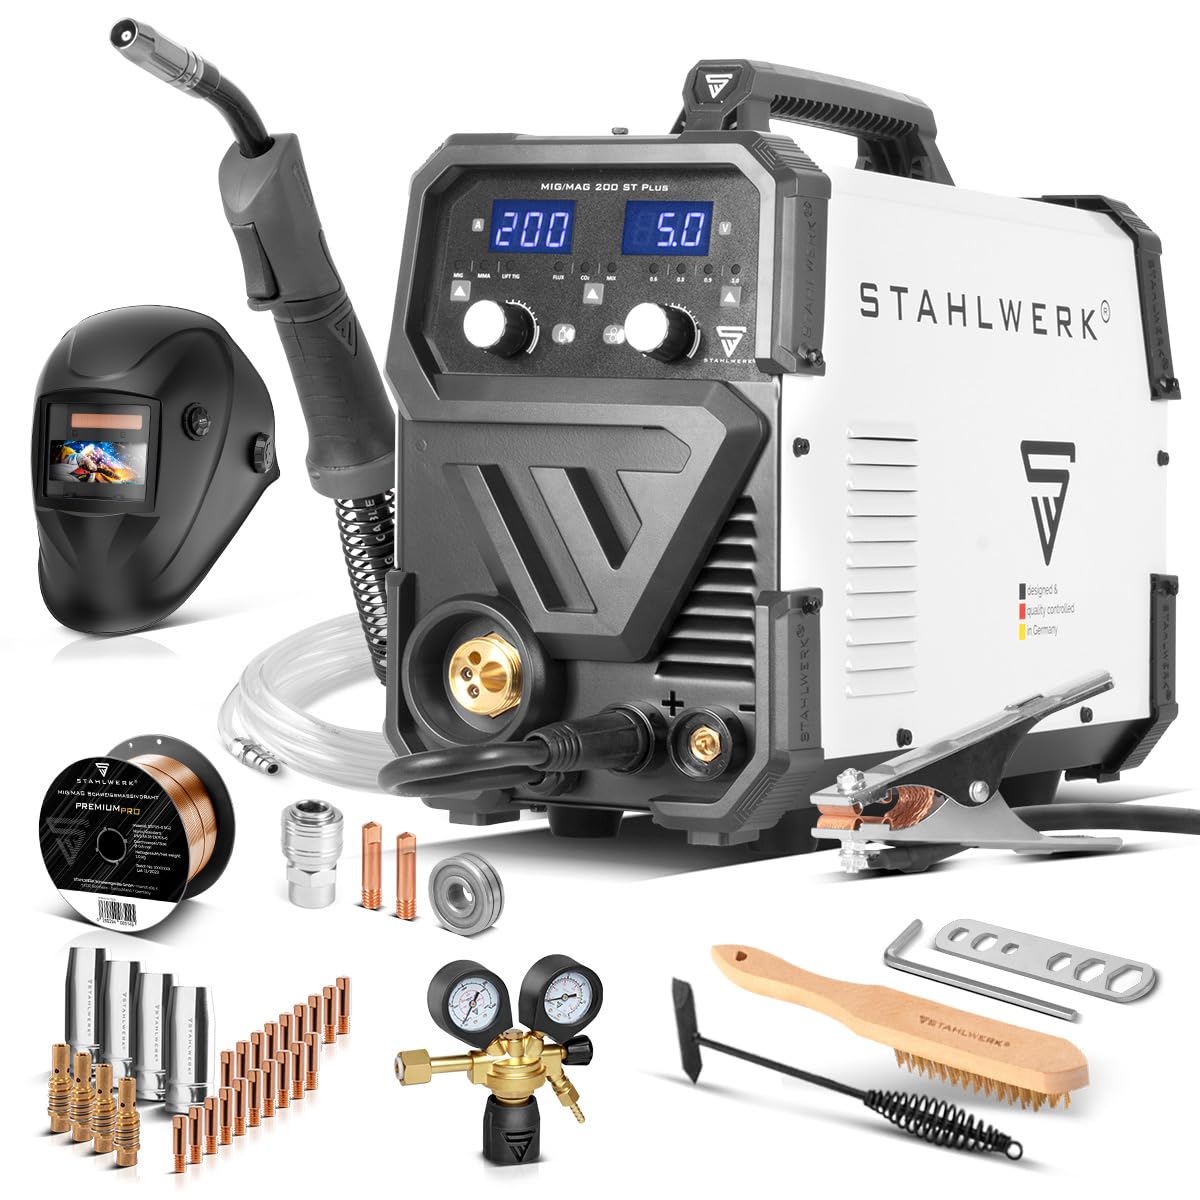
Image 4.1: The STAHLWERK MIG/MAG 200 ST Plus welding machine with its complete accessory set, illustrating the various components for setup.
5. Operating Instructions
5.1 Control Panel Overview
The STAHLWERK MIG/MAG 200 ST Plus features an intuitive control panel with digital displays for current and voltage, and rotary knobs for precise adjustments.
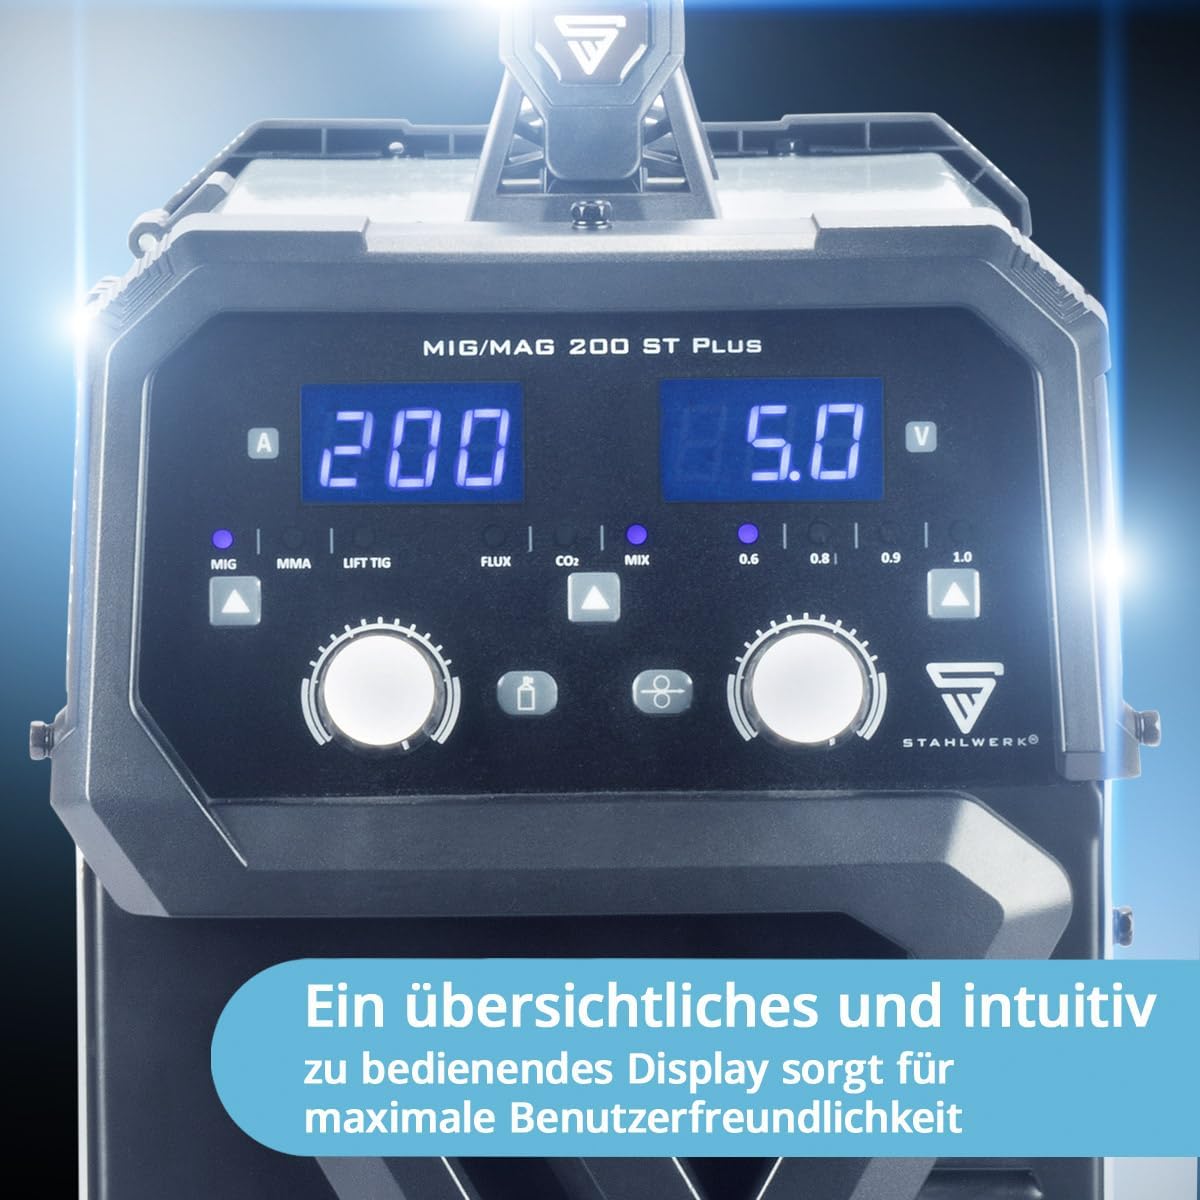
Image 5.1: A close-up view of the welding machine's control panel, showing the clear and intuitive display for current (A) and voltage (V) settings, mode selection, and synergic wire feed adjustments.
5.2 Mode Selection
Use the mode selection buttons to choose between MIG, MMA, Lift TIG, and FLUX welding processes.
5.3 MIG/MAG Welding (Synergic Control)
- Select MIG or MAG mode.
- Choose the appropriate wire diameter (e.g., 0.8mm, 1.0mm) on the control panel.
- The synergic function will automatically suggest optimal current and voltage settings based on the selected wire and material.
- Fine-tune the current and voltage using the rotary knobs for desired arc characteristics.
- Ensure gas flow is active and set correctly.
5.4 FLUX Welding (Gasless)
- Select FLUX mode.
- Ensure flux-cored wire is installed and the correct contact tip is used.
- No shielding gas is required for this process.
- Adjust current and wire feed speed as needed for the material thickness.
5.5 Lift-TIG Welding
- Select Lift TIG mode.
- Connect the TIG torch to the negative (-) terminal and the ground clamp to the positive (+) terminal.
- Ensure appropriate shielding gas (e.g., Argon) is flowing.
- Touch the tungsten electrode to the workpiece and lift slightly to initiate the arc.
5.6 MMA (Electrode) Welding
- Select MMA mode.
- Connect the electrode holder to the positive (+) terminal and the ground clamp to the negative (-) terminal.
- Insert the appropriate electrode into the holder.
- Adjust the current based on the electrode type and diameter.
- The Hot Start and Anti-Stick functions will assist in arc ignition and prevent electrode sticking.

Image 5.2: Visual representation of the IGBT (Insulated Gate Bipolar Transistor) technology, which enhances efficiency and reduces power consumption.
6. Maintenance
Regular maintenance ensures the longevity and optimal performance of your welding machine.
- Cleaning: Periodically clean the machine's exterior with a dry cloth. Use compressed air to blow out dust and debris from the cooling vents. Ensure the machine is disconnected from power before cleaning.
- Cable and Connection Inspection: Regularly check all welding cables, torch, and ground clamp for cuts, fraying, or loose connections. Replace damaged components immediately.
- Consumables: Inspect and replace MIG torch contact tips, gas nozzles, and wire liners as they wear out. For TIG, check tungsten electrodes for wear.
- Wire Feed Unit: Clean the wire feed rollers and guides to prevent wire feeding issues. Ensure proper tension on the wire feed rollers.
- Gas Regulator: Check the gas regulator and hoses for leaks.
7. Troubleshooting
This section addresses common issues you might encounter. For problems not listed here, contact STAHLWERK customer support.
| Problem | Possible Cause | Solution |
|---|---|---|
| No power to the machine | Power cable disconnected, circuit breaker tripped, faulty power outlet | Check power cable, reset circuit breaker, test outlet with another device |
| No arc ignition (MMA) | Incorrect current setting, poor ground connection, damp electrode, Anti-Stick activated too early | Increase current, ensure good ground contact, use dry electrodes, adjust Hot Start/Anti-Stick settings |
| Poor wire feed (MIG/MAG/FLUX) | Wire spool tangled, incorrect roller tension, clogged wire liner, wrong contact tip size | Untangle wire, adjust roller tension, clean/replace wire liner, use correct contact tip |
| No gas flow (MIG/MAG/Lift-TIG) | Gas cylinder empty, valve closed, regulator faulty, hose kinked/leaking | Check cylinder level, open valve, inspect regulator/hose, replace if necessary |
| Overheat warning light on | Exceeded duty cycle, blocked cooling vents, high ambient temperature | Allow machine to cool down, clear vents, operate in a cooler environment |
8. Specifications
Technical data for the STAHLWERK MIG/MAG 200 ST Plus welding machine.
| Specification | Value |
|---|---|
| Manufacturer | STAHLWERK |
| Model Number | 6596 |
| Dimensions (L x W x H) | 48 x 21 x 36 cm |
| Weight | 10 Kilograms |
| Power Type | AC |
| Input Voltage | 230 V AC, 50/60 Hz |
| Welding Current (MIG/MAG) | 20-200 A |
| Wire Thickness (MIG/MAG/FLUX) | 0.6 | 0.8 | 0.9 | 1.0 mm |
| Wire Spool Size | 0.5-5 kg |
| Welding Modes | MIG/MAG, FLUX, Lift-TIG, MMA (ARC) |
| Technology | IGBT Inverter |
| Cooling | High-performance cooling |
| Housing | ST-Guard (robust, dust and splash-water protected) |

Image 8.1: Physical dimensions of the STAHLWERK MIG/MAG 200 ST Plus welding machine.

Image 8.2: A comparison table detailing specifications and features across various STAHLWERK MIG/MAG welding machine models.
9. Warranty and Support
STAHLWERK is committed to providing high-quality products and excellent customer service.
9.1 Warranty
Your STAHLWERK MIG/MAG 200 ST Plus welding machine comes with a 7-year warranty, ensuring extensive warranty services and peace of mind.
9.2 Customer Support
For service, advice, or any technical inquiries, please contact STAHLWERK customer support. We offer support on-site, by phone, and via e-mail. Our in-house workshop ensures quick repairs, and our own production guarantees maximum quality.

Image 9.1: This graphic highlights STAHLWERK's commitment to customer satisfaction with a 7-year warranty and comprehensive service options.


