
1. Setup and Assembly
This section provides detailed instructions for assembling your Sylviera 6x4FT Small Greenhouse. For optimal results, it is recommended that two people perform the assembly.
1.1 Unpacking and Part Identification
Carefully unpack all components and verify against the parts list provided in your package. Ensure all parts are present and undamaged before beginning assembly. Keep all small parts organized.
1.2 Base Frame Assembly
Begin by assembling the base frame of the greenhouse. Ensure all connections are secure. The base frame provides the foundation for the entire structure.
Video: Two Methods for Installing Greenhouse Base Fixing Parts. This video demonstrates how to securely install the base of your greenhouse.
1.3 Column Installation
Attach the vertical columns to the assembled base frame. Ensure they are correctly oriented and firmly fastened to provide structural integrity.
Video: Installation guide for Columns. This video illustrates the correct procedure for installing the greenhouse columns.
1.4 Side Panel Installation
Insert the polycarbonate side panels into the frame. Remember to remove the protective film from both sides of each panel before installation. If panels feel tight, slightly loosen frame screws to allow for proper seating, then re-tighten.
Video: Installation guide of the side Panel. This video demonstrates the process of installing the side panels.
1.5 Overall Assembly Guidance
For a comprehensive overview of the assembly process, refer to the full installation video. This video covers all steps from start to finish.
Video: Explanation of 6X4FT Greenhouse Installation Steps. This video provides a complete guide to assembling the 6x4FT greenhouse.
1.6 Securing the Greenhouse
Once assembled, ensure the greenhouse is installed on stable ground and secured firmly. This is crucial for stability, especially in windy conditions. You can inject glass glue into the gaps of the PC board to make it more sturdy.

Image: Product Dimensions. This image displays the overall dimensions of the 6x4FT greenhouse, which are 77.16"L x 48.42"W x 70.86"H.

Image: Quick Assemble Design. This image highlights the quick assembly features of the greenhouse, showing insertion slots and locking mechanisms.
2. Operating Your Greenhouse
Your Sylviera 6x4FT Small Greenhouse is designed to create an optimal environment for plant growth. Understanding its features will help you maximize its benefits.
2.1 Monitoring Temperature and Humidity
The greenhouse includes a hygrometer to monitor internal temperature and humidity. Regularly check these readings to ensure conditions are suitable for your plants.
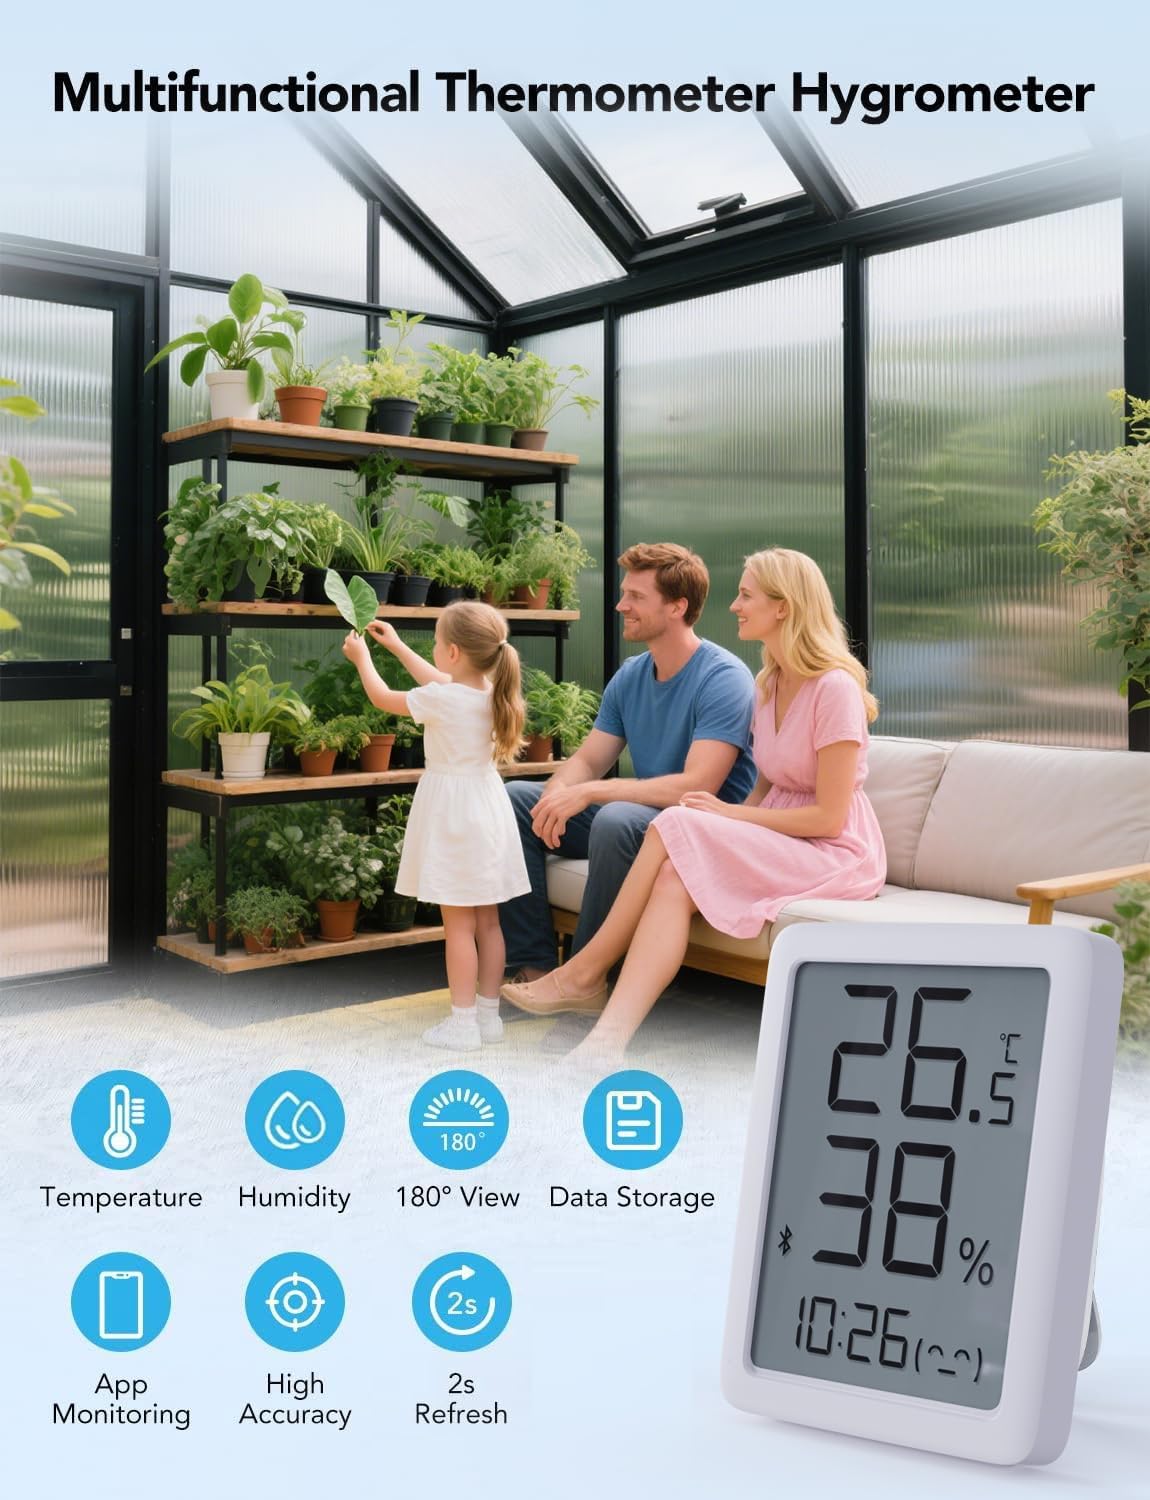
Image: Multifunctional Thermometer Hygrometer. This image shows the digital hygrometer included with the greenhouse, displaying temperature and humidity readings.
2.2 Ventilation and Airflow
The greenhouse features adjustable roof vents and a lockable door to facilitate airflow. Open the roof vents to release excess heat and humidity, especially on warm days, and close them to retain warmth.
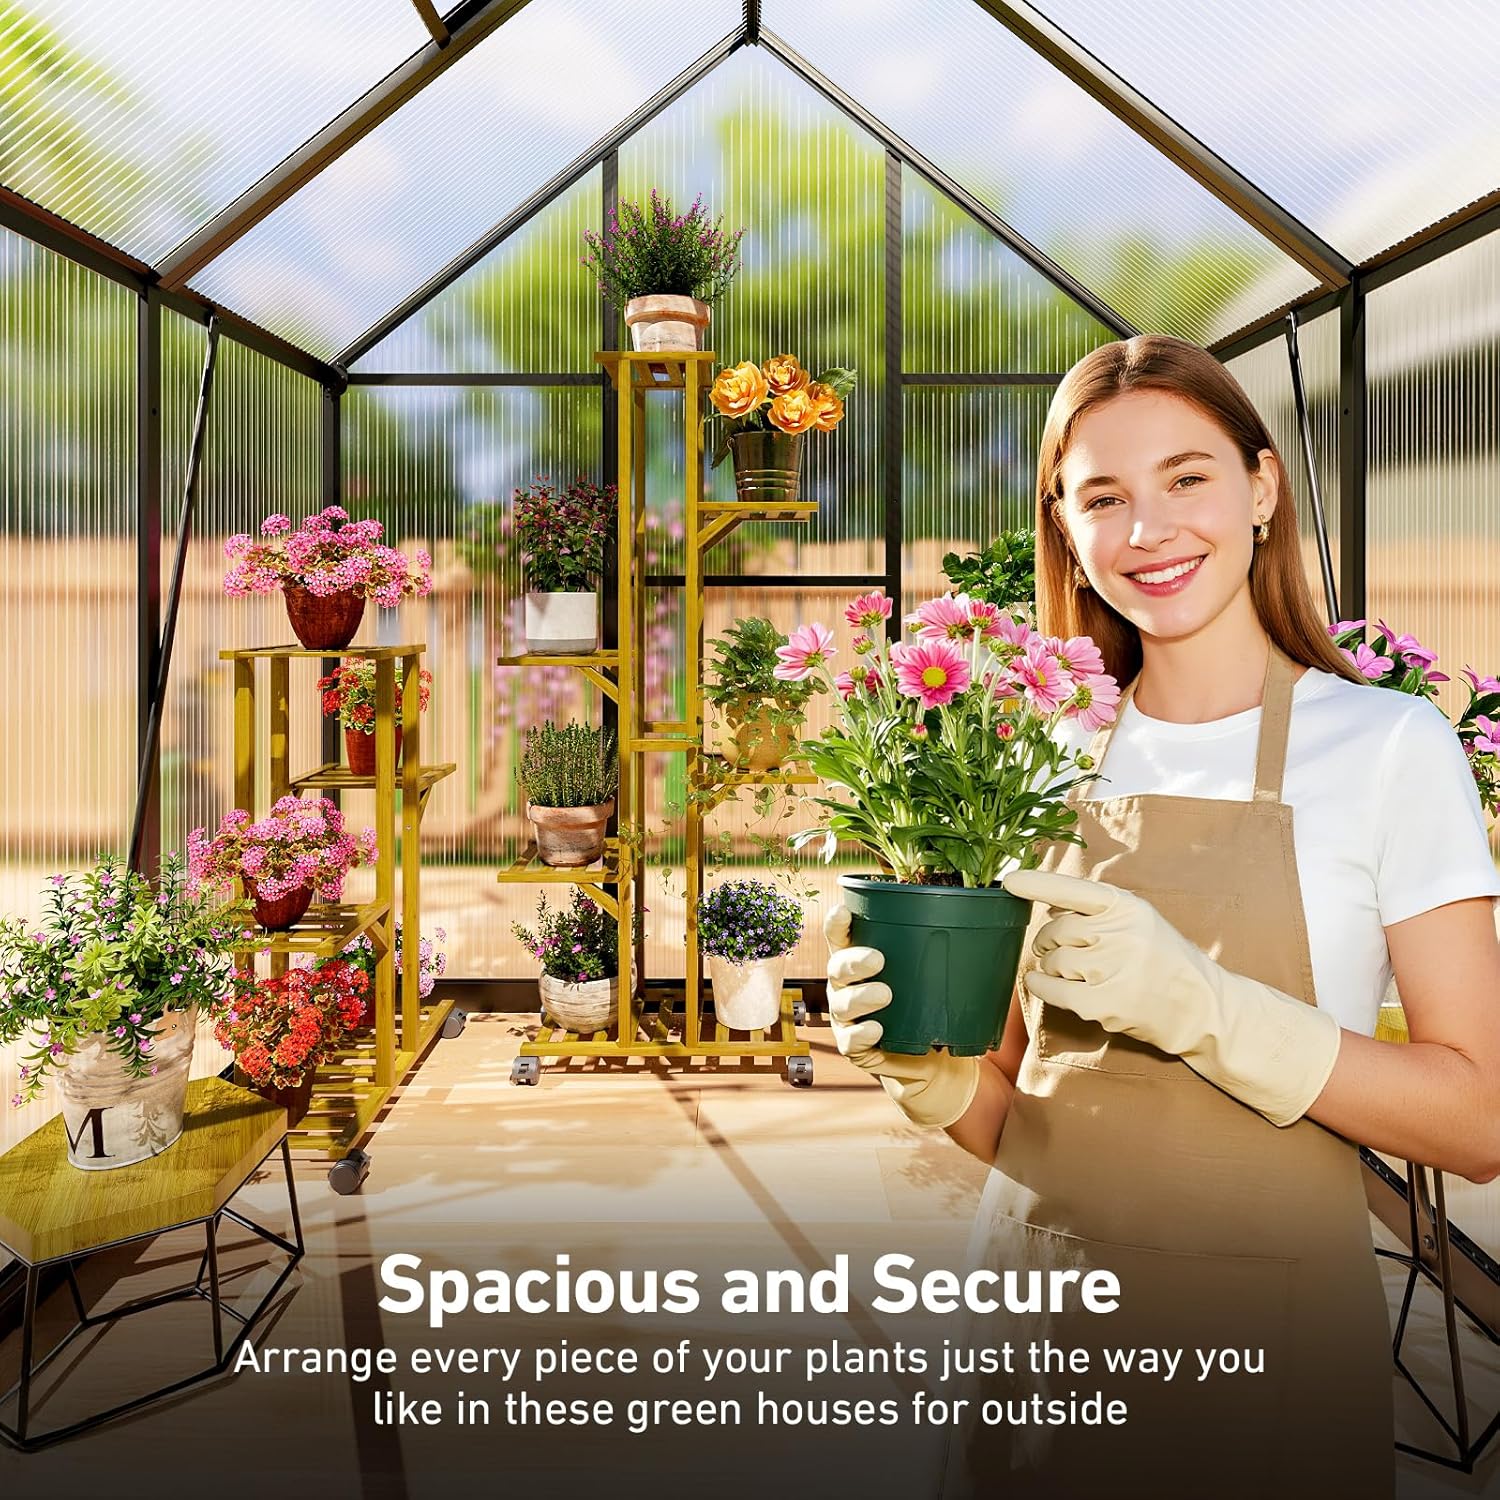
Image: Good Ventilation and Drainage Performance. This image illustrates the adjustable roof vents and door lock, crucial for managing internal climate.
2.3 UV Protection and Heat Retention
The 4mm thick, 580g double-wall polycarbonate panels are UV-resistant, blocking harmful UV rays while allowing beneficial light to pass through. This helps maintain a stable internal temperature and protects plants from harsh sunlight.
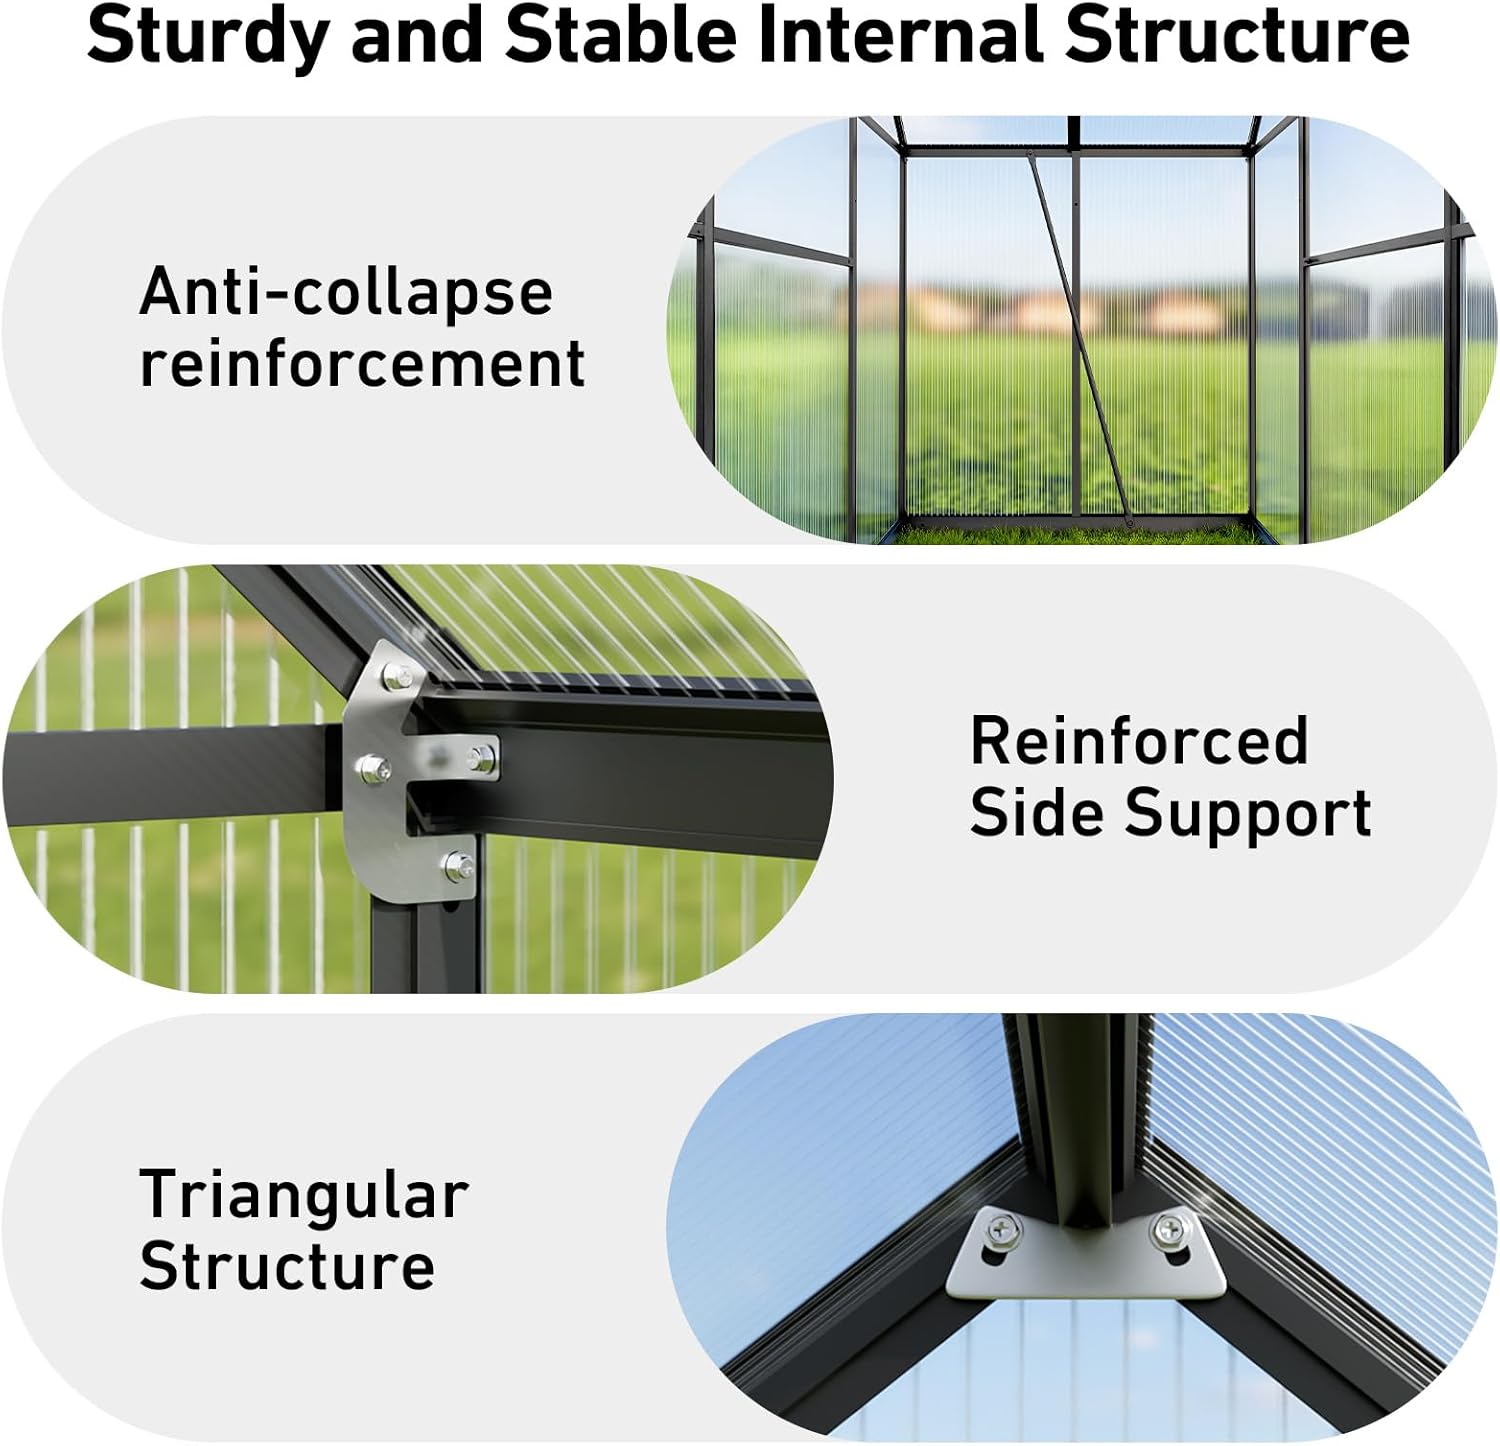
Image: Good Heat Retention. This image shows the greenhouse retaining heat in a snowy environment, highlighting its insulation properties.
3. Maintenance
Regular maintenance ensures the longevity and optimal performance of your greenhouse.
3.1 Cleaning
Clean the polycarbonate panels periodically with mild soap and water to remove dirt and debris that may block sunlight. Avoid abrasive cleaners or tools that could scratch the panels.
3.2 Structural Inspection
Periodically inspect the aluminum frame and panel connections for any signs of loosening or damage. Tighten any loose screws and address any damage promptly to maintain structural integrity.

Image: Sturdy and Stable Internal Structure. This image details the anti-collapse reinforcement, reinforced side support, and triangular structure of the greenhouse frame.
3.3 Winter Preparation
During winter, ensure the greenhouse is clear of heavy snow accumulation to prevent damage to the roof. The polycarbonate panels are designed to be snow load resistant, but excessive weight should be removed.
4. Troubleshooting
4.1 Panels Not Fitting Properly
If panels are difficult to fit or gaps appear, slightly loosen the screws on the surrounding frame sections. This allows the frame to adjust and the panels to seat correctly. Once panels are in place, re-tighten all screws.
4.2 Door or Vents Sticking
Ensure all hinges and sliding mechanisms are clean and free of debris. Lubricate with a silicone-based spray if necessary. Check that the frame is square and level, as misalignment can cause sticking.
4.3 Water Leakage
Inspect all panel edges and frame connections for any gaps. Apply a weather-resistant sealant or glass glue to any areas where water might penetrate. Ensure all screws are tightened to create a snug fit.
5. Specifications
- Model Number: 6x4GH
- Product Dimensions: 77.16"L x 48.42"W x 70.86"H
- Item Weight: 48.9 pounds
- Frame Material: Aluminum Frame
- Cover Material: 4mm Polycarbonate Greenhouse Panels
- Nominal Wall Thickness: 4 mm
- Number of Doors: 1 (Lockable)
- Number of Vents: 1 (Adjustable Roof Vent)
- Indoor/Outdoor Usage: Outdoor
- Special Features: Quick Setup, UV Protection, Heavy Duty, Windproof, Snow Load Resistant
- UPC: 783430958058
6. Warranty and Support
6.1 Return Policy
This product is covered by a 30-day return policy for refund or replacement. Please refer to your purchase documentation for specific terms and conditions.
6.2 Customer Support
For any questions, missing parts, or assistance with assembly and operation, please contact Sylviera customer service. Our team is dedicated to providing support and ensuring your satisfaction.