Introduction
This manual provides detailed instructions for the installation, operation, and maintenance of your NINETOM 12.3-inch Touchscreen Wireless CarPlay Android Auto Multimedia Car Radio Receiver. Please read this manual thoroughly before installation and use to ensure proper functionality and safety. This device is specifically designed for Audi Q5 models from 2009-2017 equipped with the MMI 2G system. It is not compatible with other MMI systems.

Figure 1: NINETOM 12.3-inch Touchscreen installed in an Audi Q5 dashboard, showcasing the CarPlay interface.
1. Setup and Installation
Proper installation is crucial for optimal performance. If you are unsure about any steps, please consult a professional or contact customer support.
1.1 Pre-Installation Check
Before beginning installation, confirm your Audi Q5 (2009-2017) has the MMI 2G system. This unit is compatible with Audi Concert or Audi Symphony systems only, not Audi Multimedia. This information is typically indicated on the central control unit.

Figure 2: Visual guide to identify compatible Audi MMI 2G systems (Symphony, Concert) and incompatible systems (Multimedia, CD Changer, Chorus).
1.2 Installation Steps
The installation process involves removing existing components, connecting the new wiring harness, and reassembling the dashboard. The original car cable allows for plug-and-play installation, ensuring a non-destructive process.
- Remove the Upper Shell: Carefully pry and remove the upper shell of the original screen. Disconnect any wires connected to this panel.
- Remove Original Screen: Unscrew the four fixing screws holding the original screen. Unplug the display screen connection cable.
- Remove Passenger Side Panel: Remove the side cover on the passenger side. Unscrew the fixing screw.
- Remove CD Player: Use a special tool to pull out the CD player. Unplug all cables behind it.
- Remove Storage Box: Unscrew the screws inside and at the bottom of the storage box. Unplug the storage box connection cable.
- Wiring Connections:
- Connect the new power cable to the adapter cable.
- Thread the main power harness from the host compartment to under the passenger side.
- Connect the adapter plug to the original car gateway plug.
- Pass the two USB cables and one radio cable from the main unit compartment into the passenger compartment.
- Pass the purple and cyan cables from the radio compartment to the speaker. Connect the cyan cable to the original car cable and the purple cable to the speaker.
- Attach the GPS signal receiver and 4G antenna to the car, routing the cables appropriately.
- Connect the 4G and GPS cables to the radio. Ensure correct connection as interfaces are labeled.
- Connect the power cable and LVDS cable to the machine.
- Connect the new emergency light adapter cable. If your car has an original car hazard light, connect the other end to the original car's hazard light interface. If there is no original car hazard light, you do not need to connect it.
- Reassembly:
- Put the CD main unit cables into the storage compartment and plug in the storage compartment interface.
- Reinstall the CD player, ensuring it's plugged in tightly.
- Cover the side panel and storage box, tightening all screws.
- Pass the five cables out of the iron cover plate. Pass the power interface from the right, and the other cables from the left.
- Screw on the four fixing screws for the iron cover plate. Note the protruding side faces outwards, and the double holes face upwards.
- Insert and install the new touchscreen device on-site according to the corresponding holes. Install and fix it from top to bottom.
- Go to the top of the radio, open the two fixing screw holes, install the fixing screws, and close the screw holes.
1.3 Installation Video Guide
For a visual guide on the installation process, please refer to the video below. This video demonstrates the step-by-step procedure for installing the touchscreen unit.
Video 1: Detailed installation guide for the NINETOM Touchscreen CarPlay Auto unit in an Audi vehicle.
Video 2: Installation guide for Android CarPlay Screen Radio in an Audi Vehicle.
Video 3: How to Install Wireless CarPlay for Audi Q5 3GMMI NEW (Note: This product is for MMI 2G, but the general installation steps may be similar).
2. Operating Instructions
This section covers the primary functions and features of your new multimedia system.
2.1 System Switching
The unit allows seamless switching between the original Audi MMI system and the new Linux-based touchscreen interface. You can retain all original functions, including radio, amplifier, joystick control, and reversing camera.
- To switch from the new system to the original car interface, click "Original car interface" on the new system's home screen.
- To return to the new system from the original interface, touch anywhere on the screen.
- Alternatively, you can hold the Menu button on your car's iDrive controller for 3 seconds to switch between systems.


Figure 3: Comparison of the new Linux system interface (left) and the original factory system interface (right).
Video 4: Demonstration of dual system switching between the original car system and the new touchscreen interface.
2.2 Wireless CarPlay & Android Auto
The unit features built-in wired and wireless CarPlay and Android Auto, allowing access to GPS, calls, messages, and music via Siri or touch display interaction.
- Ensure your phone's Wi-Fi and Bluetooth are enabled.
- Search for the screen's Bluetooth (e.g., "CAR-BT-XXXX") on your phone and pair.
- Allow contact and favorites sync when prompted.
- Once paired, click "Use CarPlay" or "Use Android Auto" on your phone to activate the function.

Figure 4: Wireless CarPlay (left) and Android Auto (right) displayed on the touchscreen.
Video 5: Guide on how to set up Wireless CarPlay on Audi.
2.3 MirrorLink / AirPlay
The touchscreen supports MirrorLink (for Android) and AirPlay (for iPhone) to mirror your smartphone screen for apps, navigation, and media.
Video 6: Instructions on how to set up AirPlay on Audi.
2.4 Multimedia Playback & Navigation
Connect your device via USB to enjoy music or videos. The high-resolution screen delivers clear, colorful movies. The system supports map navigation and automatic day/night mode switching.

Figure 5: Navigation and music playback on the 12.3-inch touchscreen.
Video 7: Demonstration of various Android touchscreen functions for Audi Radio.
3. Maintenance
To ensure the longevity and optimal performance of your NINETOM touchscreen unit, follow these general maintenance guidelines:
- Cleaning: Use a soft, lint-free cloth to gently wipe the screen. For stubborn smudges, slightly dampen the cloth with water or a screen-safe cleaner. Avoid harsh chemicals or abrasive materials.
- Software Updates: Periodically check the manufacturer's website or contact support for any available software updates. Keeping the software up-to-date can improve performance and add new features.
- Temperature Control: Avoid exposing the unit to extreme temperatures for prolonged periods. While designed for automotive use, excessive heat or cold can affect electronic components.
- Cable Connections: Ensure all cables remain securely connected. Loose connections can lead to intermittent functionality.
4. Troubleshooting
If you encounter issues with your device, refer to the following common problems and solutions:
- No Audio After Connecting to CarPlay/Android Auto:
The audio from the new system is transmitted through the car's original AUX port. Access your car's original MMI system, switch to AUX mode, then tap the screen to return to the new system. If your car's original AMI system is not functioning, you may need to activate it by plugging the AMI cable into your car's AMI port.

Figure 6: Steps to check AUX/AMI settings for audio output.
Video 8: Troubleshooting guide for no audio after connecting to CarPlay.
Video 9: How to connect original car Bluetooth to solve audio issues for Q5.
- Screen Freezing/Unresponsive:
The unit runs on a Linux system designed for stable, freeze-free performance. If freezing occurs, try restarting the vehicle. If the problem persists, ensure all connections are secure and consider performing a factory reset (refer to the System Settings section for details).
5. Specifications
| Feature | Detail |
|---|---|
| Display Size | 12.3 Inches |
| Screen Resolution | 1920*720 HD |
| Operating System | Linux |
| Connectivity Technology | Auxiliary |
| Special Feature | Voice Control (via CarPlay/Android Auto) |
| Item Weight | 5.66 pounds (2.57 Kilograms) |
| Package Dimensions | 15.43 x 7.17 x 6.81 inches |
| Included Components | Screen, all necessary cables |
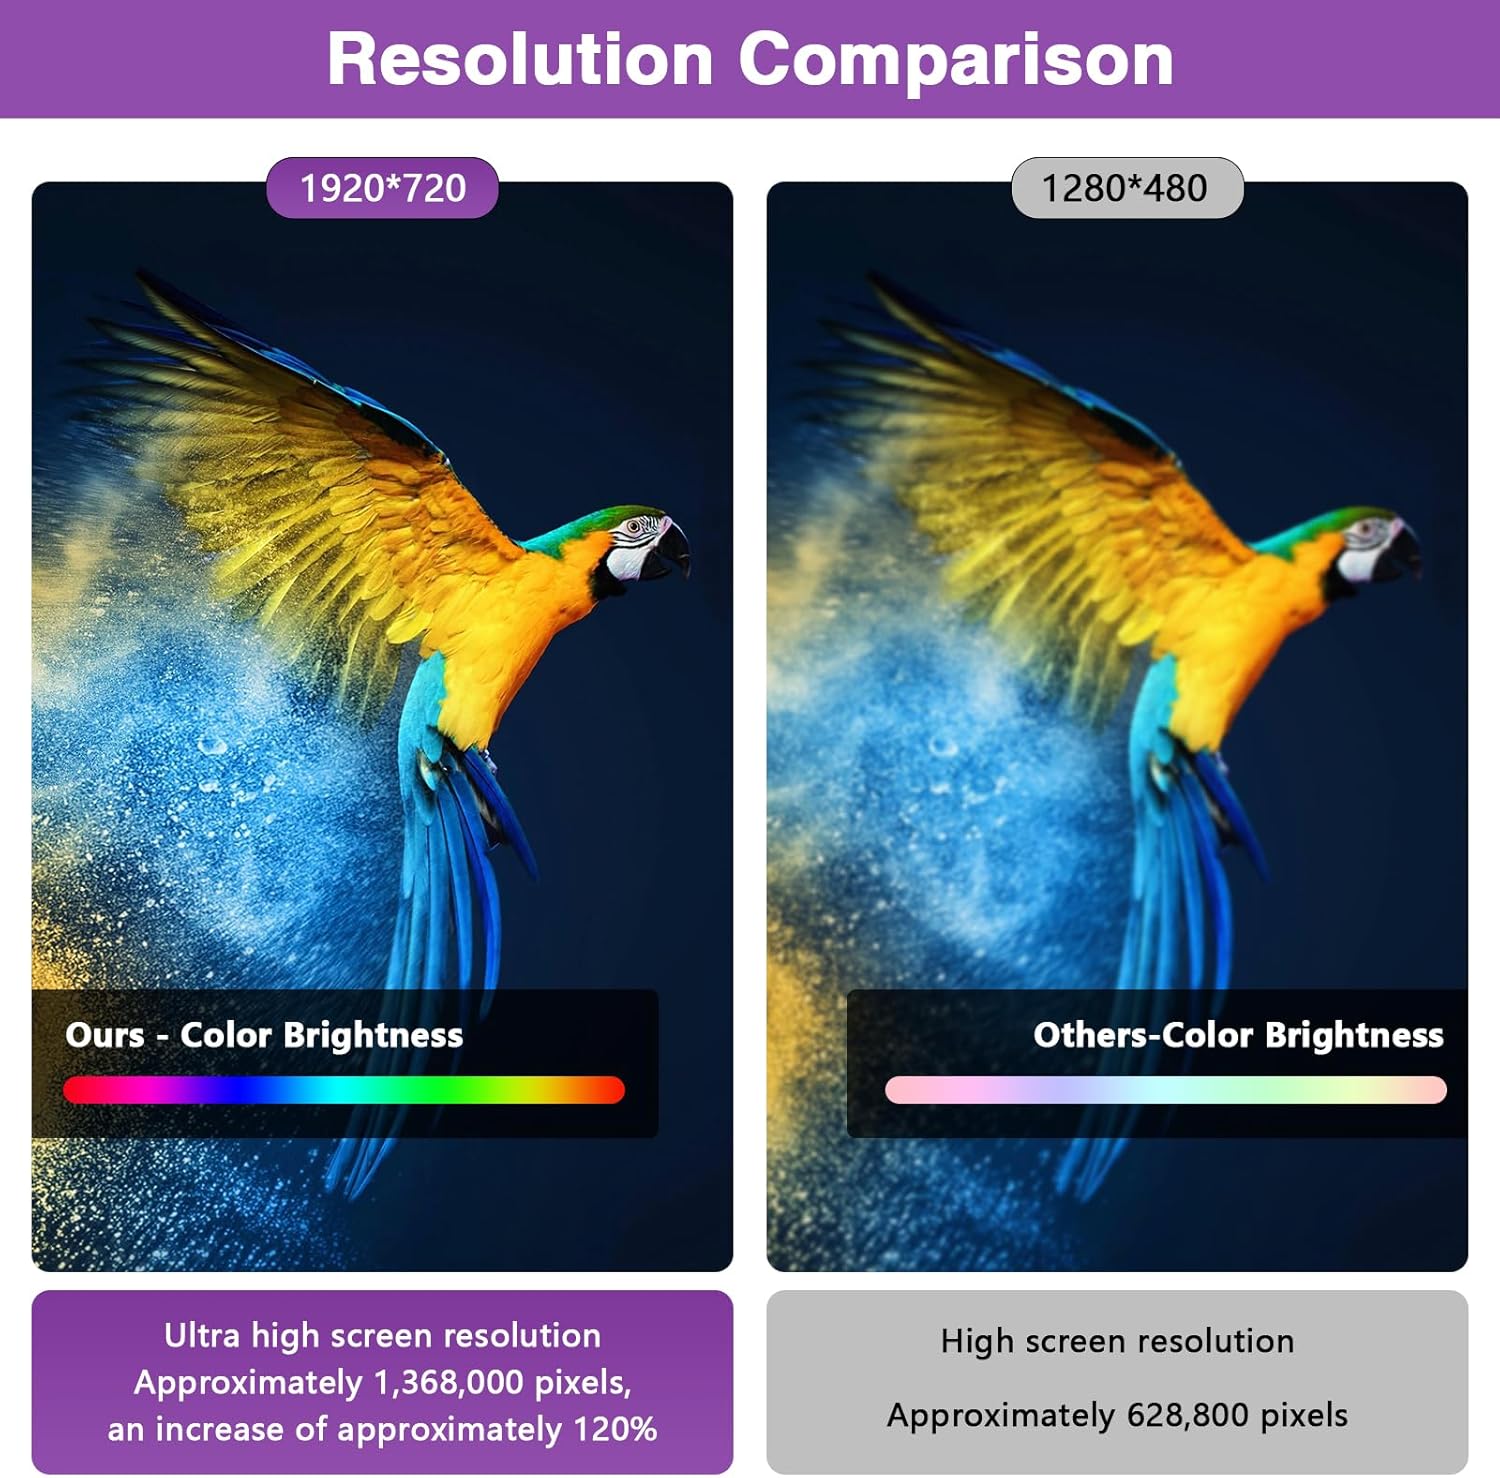
Figure 7: Product Accessories List.

Figure 8: Resolution Comparison.
6. Warranty
This product comes with a 1-year warranty from the date of purchase. Please retain your proof of purchase for any warranty claims.
7. Support
If you encounter any installation issues, operational problems, or have questions not covered in this manual, please reach out to us for assistance. Our team is ready to assist before and after each purchase.
You can typically find contact information for the seller on the product's purchase page or through your order history.


