
Important Safety Information
- For outdoor use only.
- Install on stable ground and secure firmly.
- Keep away from fire or heat sources.
- Supervise children at all times around the greenhouse.
- Regular maintenance is required to ensure safety and longevity.
Product Overview
The Sylviera 10x12FT Polycarbonate Greenhouse is designed to provide an optimal environment for plant growth. It features a robust aluminum alloy frame and UV-resistant polycarbonate panels, ensuring durability and protection across all seasons. The design prioritizes ease of assembly, efficient ventilation, and ample interior space for various gardening needs.

Figure 1: Overview of the Sylviera 10x12FT Polycarbonate Greenhouse.
Package Contents
Before beginning assembly, carefully unpack all components and verify against the parts list provided in your printed instruction manual. All parts are clearly labeled for easy identification. Ensure no parts are missing or damaged. If any issues are found, please contact customer support.
Video 1: Unboxing and initial parts check for a similar greenhouse model. This video demonstrates how parts are typically packaged and labeled.
Site Preparation
Select a level, stable area for your greenhouse installation. The ground must be firm to support the structure and allow for proper anchoring. Clear the area of any debris, rocks, or vegetation that could interfere with the base or panels. Proper site preparation is crucial for the stability and longevity of your greenhouse.
Assembly Instructions
The Sylviera greenhouse features a quick-assemble design with clearly labeled parts and detailed instructions to streamline the setup process. It is recommended to have at least two adults for assembly. Follow the steps below and refer to the provided videos for visual guidance.
1. Base Frame Assembly
Begin by assembling the base frame components. Connect the aluminum bars as indicated in your manual, ensuring all connections are secure. The base provides the foundational support for the entire greenhouse structure.
2. Wall Section Construction
Once the base is complete, proceed with erecting the vertical frame elements and inserting the polycarbonate wall panels. The panels are designed to slide into place and are secured by the frame components.

Figure 2: Quick assembly steps for polycarbonate panels.
Video 2: Detailed explanation of greenhouse installation steps.
Video 3: Installation guide for columns, a key structural component.
Video 4: Installation guide for specific C3 components.
3. Roof and Door Installation
Install the roof panels and the adjustable roof vents. The roof vents are crucial for temperature regulation. Finally, attach the lockable door, ensuring it opens and closes smoothly.

Figure 3: Details of the sturdy and stable internal structure of the greenhouse.
Operation
Ventilation and Temperature Control
Your greenhouse is equipped with adjustable roof vents and a lockable door to facilitate airflow and maintain optimal internal temperatures. Open the roof vents during warmer periods to release excess heat and humidity. Close them to retain warmth during cooler weather.

Figure 4: Adjustable roof vents and drainage system for optimal climate control.
Hygrometer Usage
The included hygrometer provides real-time temperature and humidity readings, essential for monitoring your greenhouse environment. Place it in a central location to get accurate readings and adjust ventilation as needed to suit your plants' requirements.
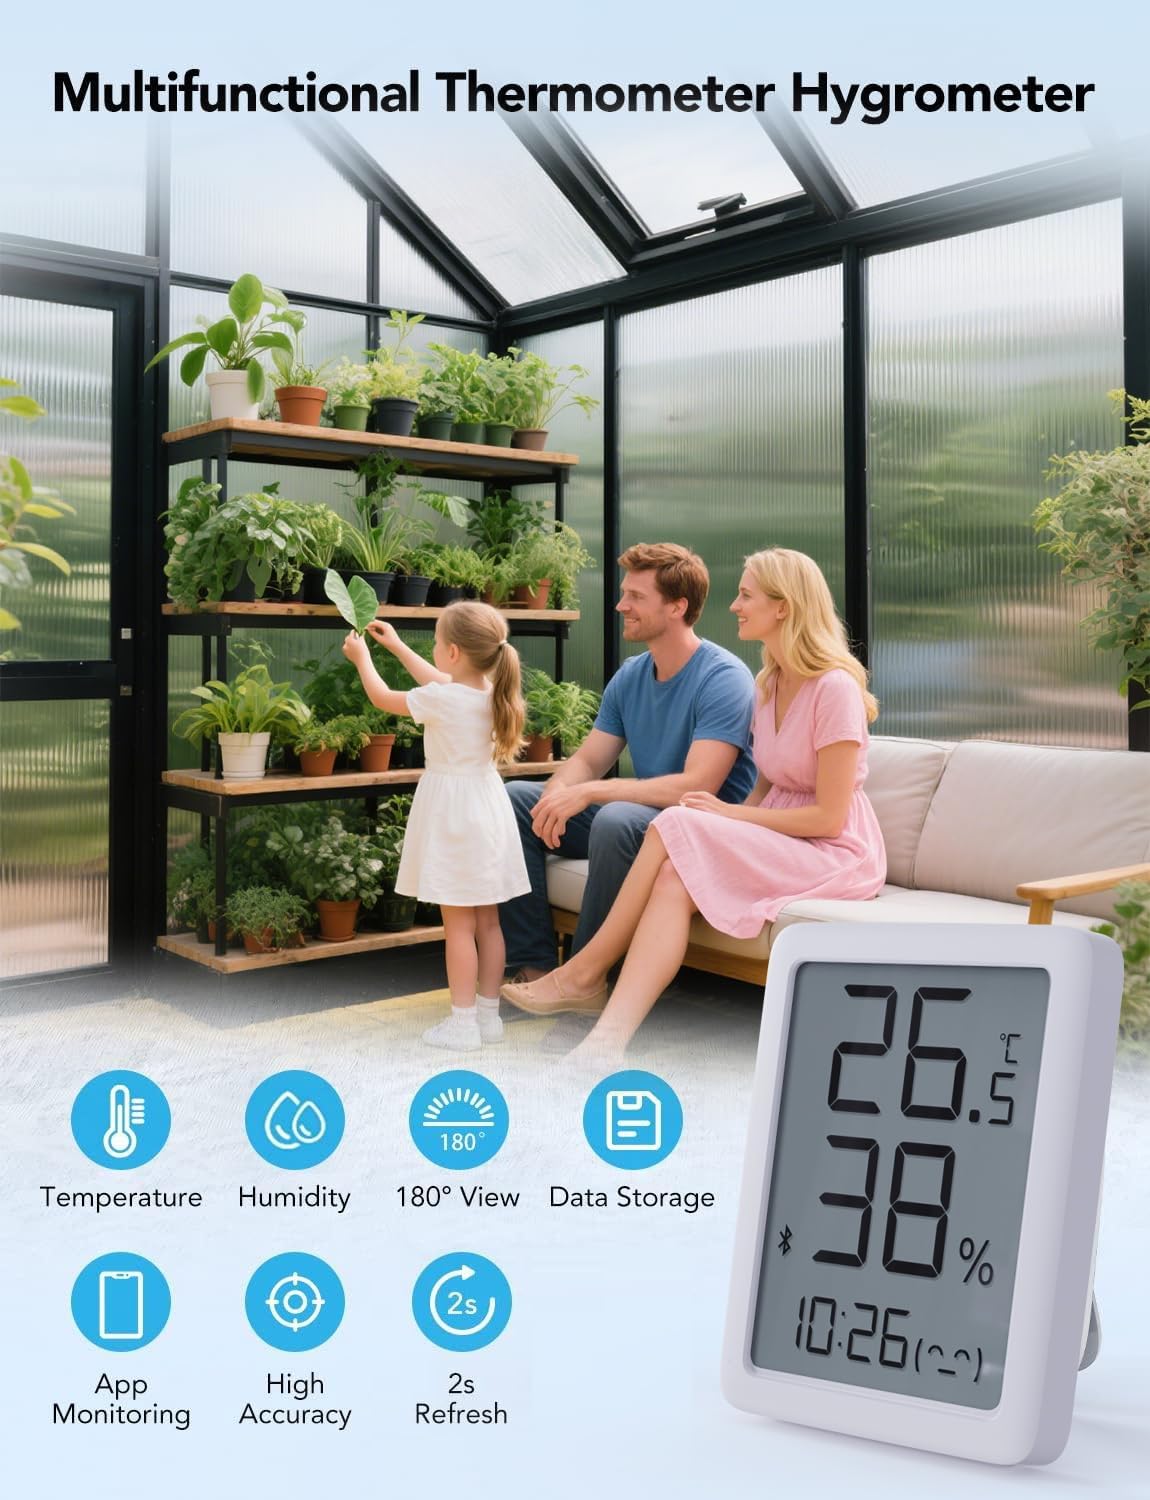
Figure 5: Multifunctional thermometer hygrometer for environmental monitoring.
Spacious Interior
The generous interior dimensions allow for flexible arrangement of plants, tools, shelves, and other gardening essentials. Utilize the space efficiently to maximize your growing potential.

Figure 6: Spacious interior for plant arrangement and comfortable access.
Maintenance
- Cleaning: Regularly clean the polycarbonate panels with mild soap and water to ensure maximum light transmission. Avoid abrasive cleaners or tools that could scratch the panels.
- Frame Inspection: Periodically check all frame connections and fasteners to ensure they remain tight and secure. Tighten any loose screws as needed.
- Panel Integrity: Inspect polycarbonate panels for any signs of damage or wear. While durable, extreme weather can cause issues. Consider sealing panel gaps with silicone (not included) for enhanced strength and weather resistance.
- Ventilation System: Ensure roof vents operate smoothly. Clean any debris that might obstruct their movement.
- Drainage System: Keep the aluminum alloy drainage gutter clear of leaves and debris to ensure proper water runoff.
Troubleshooting
- Loose Panels: If panels become loose, ensure all frame components are properly aligned and screws are tightened. Re-insert panels firmly into their channels.
- Water Leakage: Check for any gaps in the panel installation or around the frame. Apply silicone sealant to any problematic areas. Ensure the drainage system is clear.
- Door/Vent Malfunction: Inspect hinges and locking mechanisms for obstructions or damage. Lubricate moving parts if necessary.
- Temperature Fluctuations: Adjust roof vents and door position to control internal temperature. Consider additional shading in extreme heat or supplemental heating in extreme cold.
Specifications
| Feature | Detail |
|---|---|
| Model Number | GH10*12 |
| Product Dimensions | 116.1"L x 140.9"W x 95.6"H |
| Item Weight | 117.94 Pounds |
| Frame Material | Aluminum |
| Cover Material | Polycarbonate (PC), 4mm thick, 580g double-wall |
| Number of Doors | 1 |
| Number of Vents | 2 |
| Special Features | Advanced Ventilation, Enhanced Security, Easy to Install, Quick Assemble Design, Heat Retention Ability |
Warranty and Support
For any questions, missing parts, or support needs, please contact Sylviera customer service. Refer to your purchase documentation for specific warranty details and contact information.