1. Introduction
This manual provides comprehensive instructions for the installation, operation, and maintenance of your Beetronics 12HB9M/U1 12-inch high brightness touchscreen monitor. This industrial-grade display features Full HD 1920x1080 resolution, a high brightness IPS panel, and a capacitive multi-touch panel with 10-point touch support. Its IP66-rated front panel ensures protection against dust and water, making it suitable for various demanding environments.
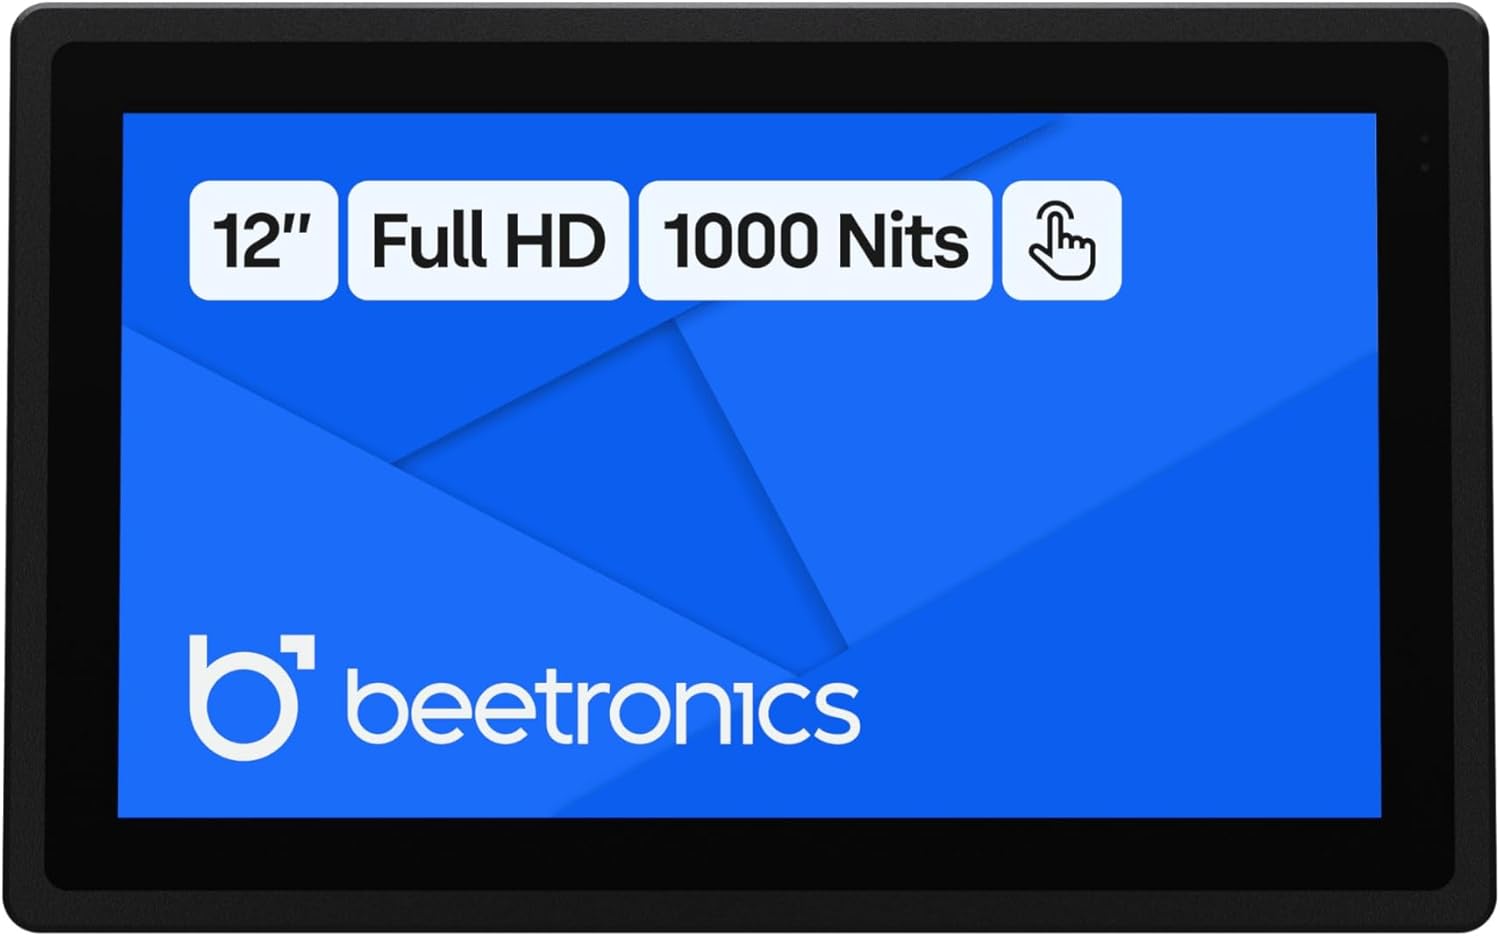
Figure 1: Front view of the Beetronics 12HB9M/U1 monitor, highlighting its 12-inch Full HD display, 1000 Nits brightness, and touch functionality.

Figure 2: Overview of the Beetronics 12HB9M/U1 monitor, emphasizing its Full HD resolution, 1000 Nits brightness, and touchscreen capabilities.
2. What's in the Box
Verify that all components are present before proceeding with installation.
- Power Cord and Power Supply
- USB C to USB C Cord
- USB C to USB A Cord
- Remote Control
- Panel Mounting Clips (8x)

Figure 3: All items included in the product packaging: monitor, power supply, USB cables, remote control, and panel mounting clips.
3. Setup
3.1 Physical Installation
The 12HB9M/U1 monitor offers versatile installation options, including desktop, wall-mounted, or panel-mounted configurations. Its compact dimensions are 12.0 x 7.6 x 1.6 inches.
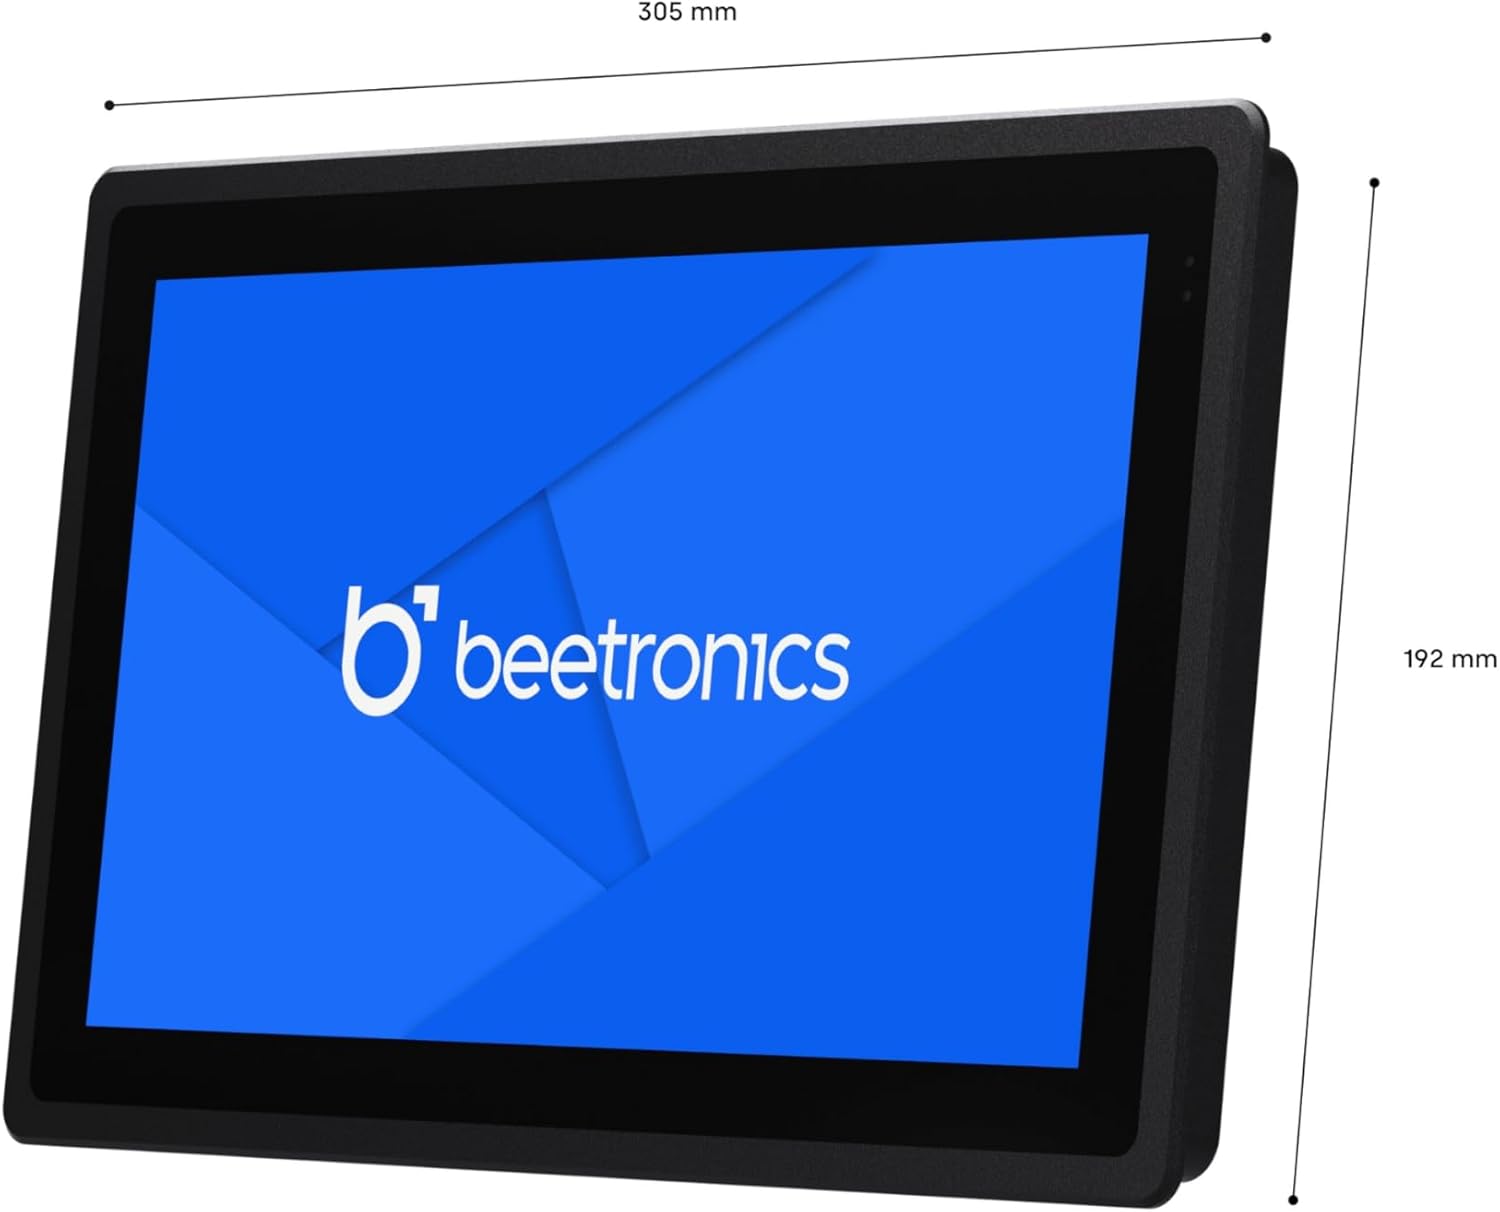
Figure 4: Dimensional drawing of the Beetronics 12HB9M/U1 monitor, showing its width of 305mm and height of 192mm.

Figure 5: Illustration of how the panel mounting clips are used to secure the monitor into an enclosure.
3.2 Connecting the Monitor
The monitor features multiple connectivity ports for video input and touch functionality.

Figure 6: Detailed view of the monitor's rear ports, including AUX in/out, USB-C, VGA, DisplayPort, HDMI, and 5.5mm DC power input.

Figure 7: Rear panel of the monitor showing control buttons (ON/OFF, -, MENU, AUTO, +) and port labels.
- Power Connection: Connect the provided power supply to the 5.5mm DC input port on the monitor. The monitor supports a wide input voltage range of 9-36V.
- Video Input: Connect your source device (PC, Mac, Linux system) to one of the following video input ports:
- HDMI
- DisplayPort (DP)
- USB-C (for video and touch data)
- VGA
- Touch Functionality: For touch functionality, connect the monitor to your source device using either the provided USB-C to USB-C cable or the USB-C to USB-A cable. This connection enables the 10-point capacitive touch interface.
- Audio: Use the AUX in/out ports for audio connections if required.
4. Operating Instructions
4.1 Power On/Off
Press the ON/OFF button located on the rear of the monitor or use the remote control to power the unit on or off.
4.2 Menu Navigation
Use the MENU button to access the On-Screen Display (OSD) menu. Navigate through options using the + and - buttons. The AUTO button can be used for automatic image adjustment (VGA only) or as a selection/exit button in the OSD.
4.3 Touchscreen Functionality
Once connected via USB, the capacitive multi-touch panel will be recognized by your operating system. It supports up to 10 pressure points for gestures like swiping, zooming, and tapping. The monitor is compatible with Windows, macOS, and Linux operating systems.

Figure 8: Icons representing compatibility with Windows, macOS, ChromeOS, and Linux operating systems.
4.4 Brightness Adjustment
The monitor features a high brightness IPS panel with 1000 Nits. Brightness can be adjusted via the OSD menu or using the dimmer control if connected.
5. Maintenance
5.1 Cleaning the Monitor
The front panel of the 12HB9M/U1 monitor is IP66 rated, providing protection against dust and powerful water jets. To clean the screen, gently wipe it with a soft, lint-free cloth. For stubborn marks, use a mild, non-abrasive screen cleaner applied to the cloth, not directly to the screen. Ensure the monitor is powered off before cleaning.
5.2 General Care
Avoid exposing the monitor to extreme temperatures or direct sunlight for prolonged periods. Ensure proper ventilation around the unit. Do not attempt to open the monitor casing, as this will void the warranty and may cause damage.
6. Troubleshooting
| Problem | Possible Cause | Solution |
|---|---|---|
| No image on screen |
|
|
| Touchscreen not responding |
|
|
| Image is distorted or incorrect colors |
|
|
7. Specifications
| Model Number | 12HB9M/U1 |
| Screen Size | 11.6 Inches (12 Inch product variant) |
| Resolution | 1920 x 1080 Pixels (Full HD 1080p) |
| Aspect Ratio | 16:9 |
| Image Brightness | 1000 Candela (Nits) |
| Touchscreen Type | Capacitive Multi-Touch (10 points) |
| Ingress Protection (Front) | IP66 Waterproof & Dustproof |
| Input Voltage | 9-36 Volts (DC) |
| Connectivity Ports | HDMI, DisplayPort, USB-C, VGA, AUX in/out, 5.5mm DC |
| Product Dimensions (L x W x H) | 12.0 x 7.6 x 1.6 inches (305 x 192 x 40.6 mm) |
| Item Weight | 4.1 pounds |
| Manufacturer | Beetronics |
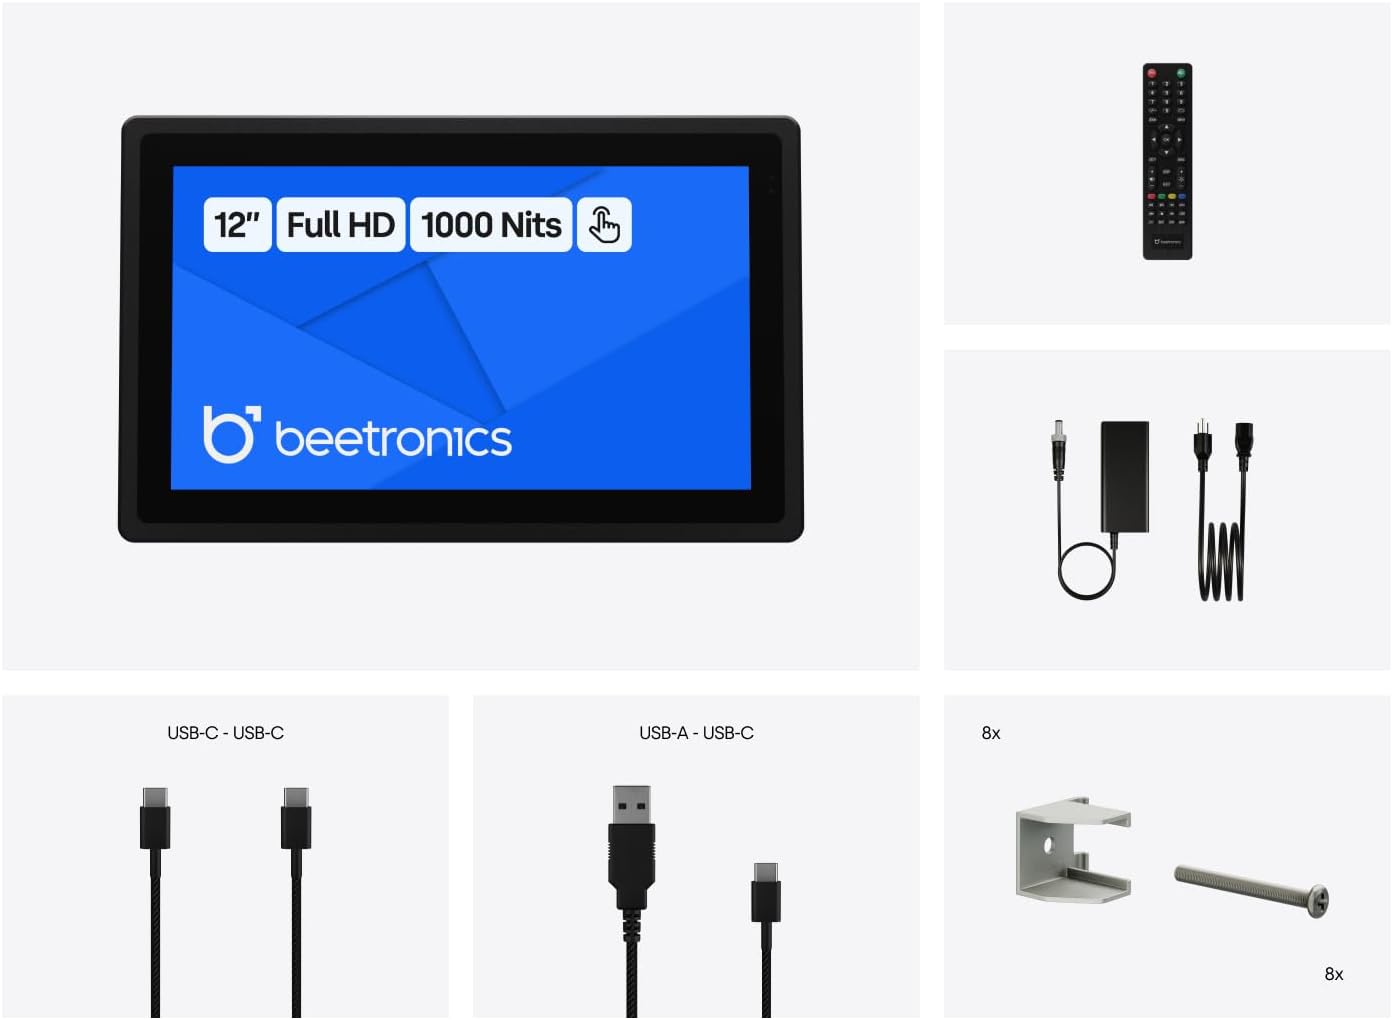
Figure 9: Exploded view illustrating key features such as Tempered Glass, Rugged Metal Enclosure, Conformal Coated PCB, IP66-Rated Front Panel, Full Lamination Optical Bonding, and Wide Input Voltage Range.
8. Warranty and Support
The Beetronics 12HB9M/U1 monitor comes with a 2-year warranty, ensuring reliability for continuous and intensive professional use. For technical support, warranty claims, or further assistance, please contact Beetronics Inc. directly.
Manufacturer: Beetronics Inc.
For more information, visit the official Beetronics Store on Amazon.


