1. Introduction
This manual provides detailed instructions for setting up, operating, and maintaining your Lenovo L24m-4A monitor. Please read this manual thoroughly before using the product to ensure proper and safe operation. Keep this manual for future reference.
2. Safety Information
Observe the following safety precautions to prevent damage to the monitor and ensure your safety:
- Do not expose the monitor to rain or moisture.
- Do not open the monitor casing. There are no user-serviceable parts inside.
- Place the monitor on a stable, flat surface to prevent it from falling.
- Ensure proper ventilation around the monitor. Do not block ventilation openings.
- Use only the power adapter and cables supplied with the monitor.
- Disconnect the power cable from the outlet before cleaning.
3. Package Contents
Verify that all items are present in your package:
- Lenovo L24m-4A Monitor
- Monitor Stand (Base and Neck)
- Power Cable
- HDMI Cable
- USB-C to USB-C Cable
- Quick Setup Guide (this document)
4. Setup
4.1 Assembling the Monitor Stand
- Carefully remove the monitor and stand components from the packaging.
- Attach the stand neck to the monitor panel. Ensure it clicks securely into place.
- Attach the stand base to the stand neck. Tighten the screw at the bottom of the base to secure it.

Figure 4.1: Rear view of the monitor showing the stand attachment point.
4.2 Connecting Cables
Refer to the port diagram below for connection points.

Figure 4.2: Rear ports of the Lenovo L24m-4A monitor.
- Power Connection: Connect the power cable to the monitor's power input and then to a power outlet.
- Video Connection:
- HDMI: Connect one end of the HDMI cable to the monitor's HDMI port and the other end to your computer's HDMI output.
- USB Type-C: Connect one end of the USB-C cable to the monitor's USB Type-C port and the other end to your computer's USB Type-C port. This connection can carry video, audio, data, and power.
- USB Hub Connection (for USB-A ports): If using the USB Type-C connection for video, the USB-A ports on the monitor will function as a USB hub. If using HDMI for video, connect a USB-A to USB-C cable (not always included, may need to be purchased separately) from your computer's USB-A port to the monitor's USB Type-C port to enable the USB hub functionality.
- Audio Output: If desired, connect external speakers or headphones to the Audio Out port.
4.3 Initial Power On
Press the power button located on the rear of the monitor to turn it on. The monitor will automatically detect the active input source.

Figure 4.3: Rear controls of the Lenovo L24m-4A monitor.
5. Operating the Monitor
5.1 Monitor Controls
The monitor features a joystick control on the rear for navigating the On-Screen Display (OSD) menu.
- Power Button: Press to turn the monitor on or off.
- Joystick:
- Press the joystick to open the OSD menu.
- Move the joystick Up/Down/Left/Right to navigate through menu options.
- Press the joystick again to confirm a selection.
5.2 On-Screen Display (OSD) Menu
The OSD menu allows you to adjust various display settings. Common settings include:
- Brightness/Contrast: Adjust the overall luminance and contrast ratio.
- Color Settings: Modify color temperature, gamma, and individual RGB levels.
- Input Selection: Manually select between HDMI and USB Type-C inputs.
- Audio: Adjust speaker volume or mute audio.
- Display Mode: Select preset display modes (e.g., Standard, Gaming, Movie, Low Blue Light).
- Refresh Rate: Confirm or adjust the refresh rate up to 100Hz for smoother visuals.

Figure 5.1: Visual representation of 100Hz refresh rate capability.

Figure 5.2: The monitor's color reproduction capabilities.
5.3 Ergonomic Adjustments
The monitor stand allows for various adjustments to optimize your viewing experience:
- Height Adjustment: Raise or lower the monitor to eye level.
- Tilt: Adjust the screen's vertical angle (forward or backward).
- Swivel: Rotate the monitor horizontally on its base.
- Pivot: Rotate the screen 90 degrees for portrait viewing.
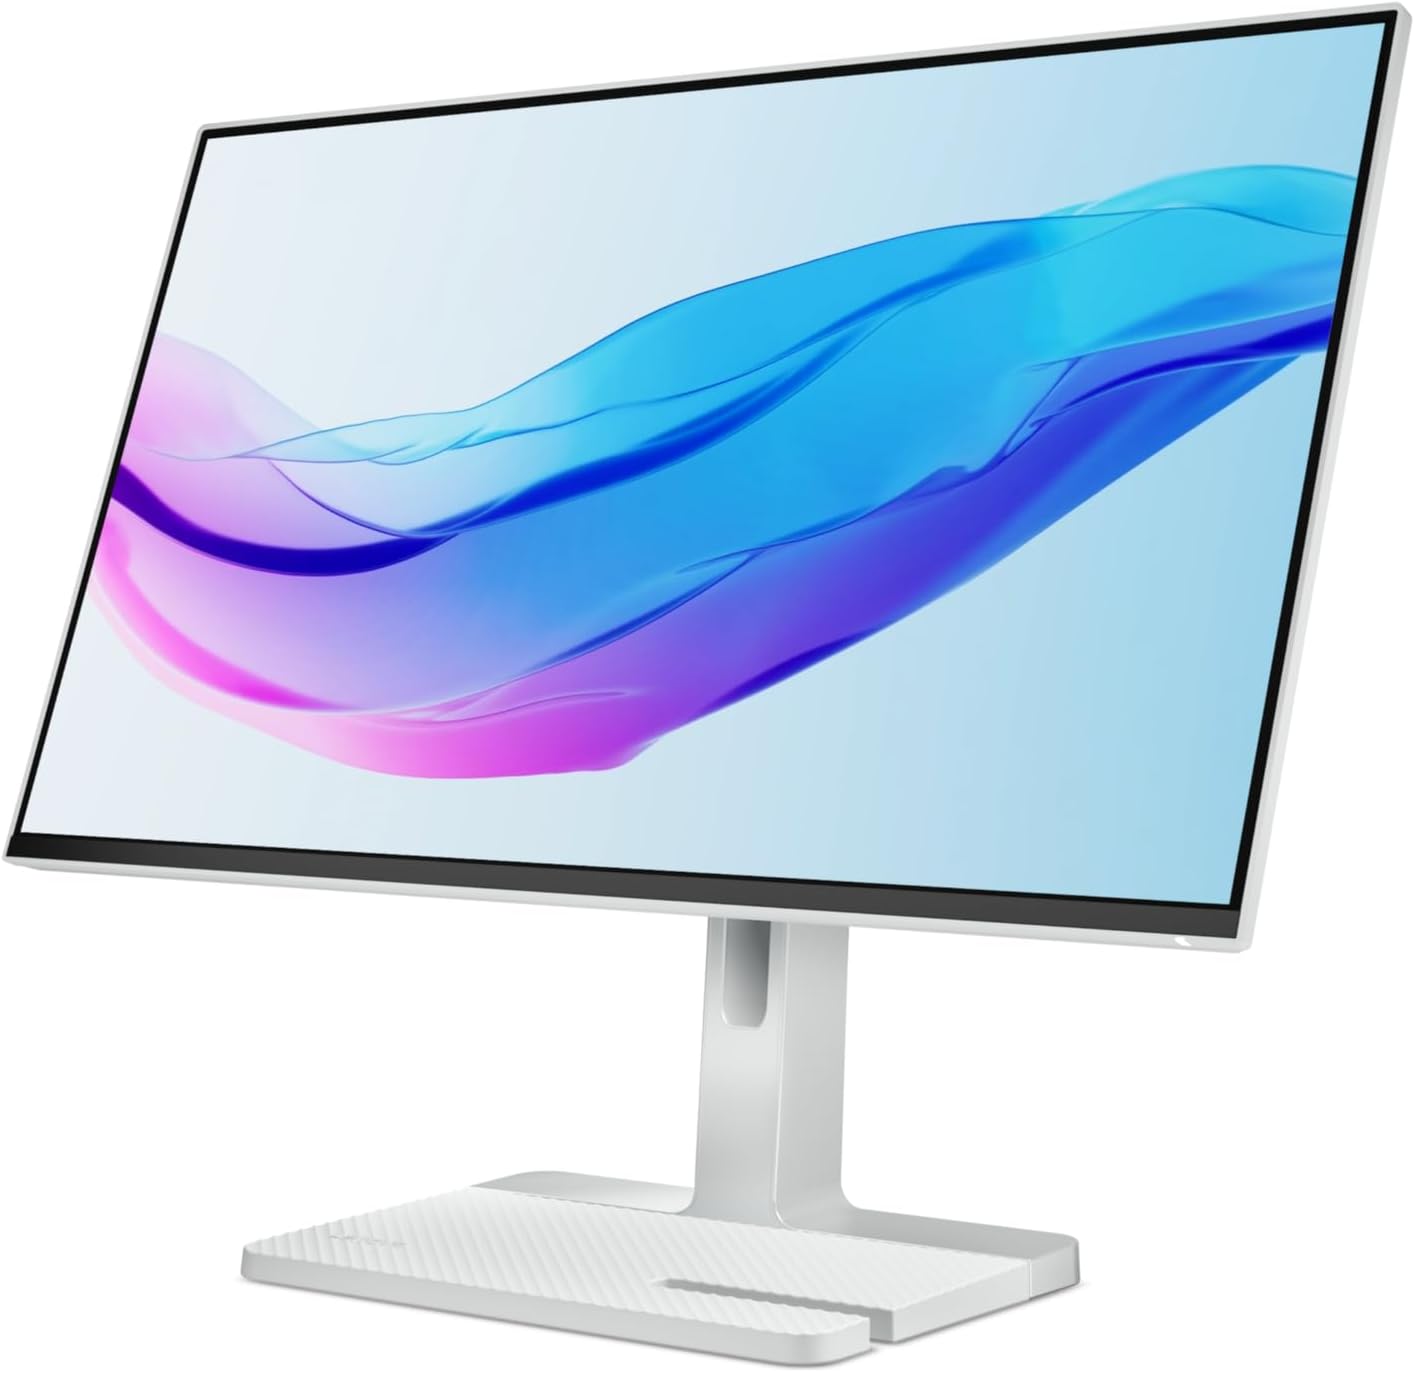
Figure 5.3: The monitor's tilt adjustment capability.
6. Maintenance
6.1 Cleaning the Monitor
- Always unplug the monitor from the power outlet before cleaning.
- Use a soft, lint-free cloth slightly dampened with water or a mild, non-abrasive screen cleaner.
- Do not spray cleaner directly onto the screen. Apply it to the cloth first.
- Avoid using harsh chemicals, solvents, or abrasive materials.
6.2 Storage
If storing the monitor for an extended period, disconnect all cables, pack it in its original packaging (if available), and store it in a cool, dry place away from direct sunlight and extreme temperatures.
7. Troubleshooting
If you encounter issues with your monitor, refer to the following common problems and solutions:
| Problem | Possible Cause | Solution |
|---|---|---|
| No image on screen | Power cable disconnected, video cable loose, incorrect input source selected. |
|
| Image is blurry or distorted | Incorrect resolution, faulty video cable. |
|
| No sound from speakers | Volume too low, audio output not selected, external speakers connected. |
|
| USB ports not working | USB-C data connection not established. |
|
8. Specifications
| Feature | Detail |
|---|---|
| Model Name | L24m-4A |
| Display Size | 23.8 Inches |
| Panel Type | IPS |
| Resolution | 1920 x 1080 (FHD) |
| Aspect Ratio | 16:9 |
| Refresh Rate | Up to 100Hz |
| Color Gamut | 99% sRGB |
| Contrast Ratio | 1500:1 |
| Surface Description | Anti-glare |
| Speakers | 2 x 3W Integrated Speakers |
| Connectivity | 1x HDMI, 2x USB Type-C, 4x USB Type-A, 1x Audio Out |
| Ergonomics | Tilt, Swivel, Pivot, Height Adjust |
| Dimensions (with stand) | 53.94 x 38.06 x 19.62 cm |
| Weight (with stand) | 5.12 kg |
| Eyesafe Certification | Eyesafe 2.0 |
9. Warranty and Support
Your Lenovo L24m-4A monitor comes with a 3-year manufacturer's warranty. For warranty claims, technical support, or service inquiries, please contact Lenovo customer support or visit the official Lenovo support website.
You can find more information and support resources at the Lenovo Store on Amazon.ae or the official Lenovo support portal.