
SainSmart Ender 5 Max
Creality Ender-5 Max 3D Printer User Manual
Model: Ender 5 Max | Brand: SainSmart
Introduction
The Creality Ender-5 Max is a high-performance 3D printer designed for both large-scale projects and efficient batch production. Featuring an impressive 400x400x400mm build volume and printing speeds up to 700mm/s, it is engineered for productivity and precision. This manual provides essential information for setting up, operating, and maintaining your Ender-5 Max 3D printer to ensure optimal performance and longevity.
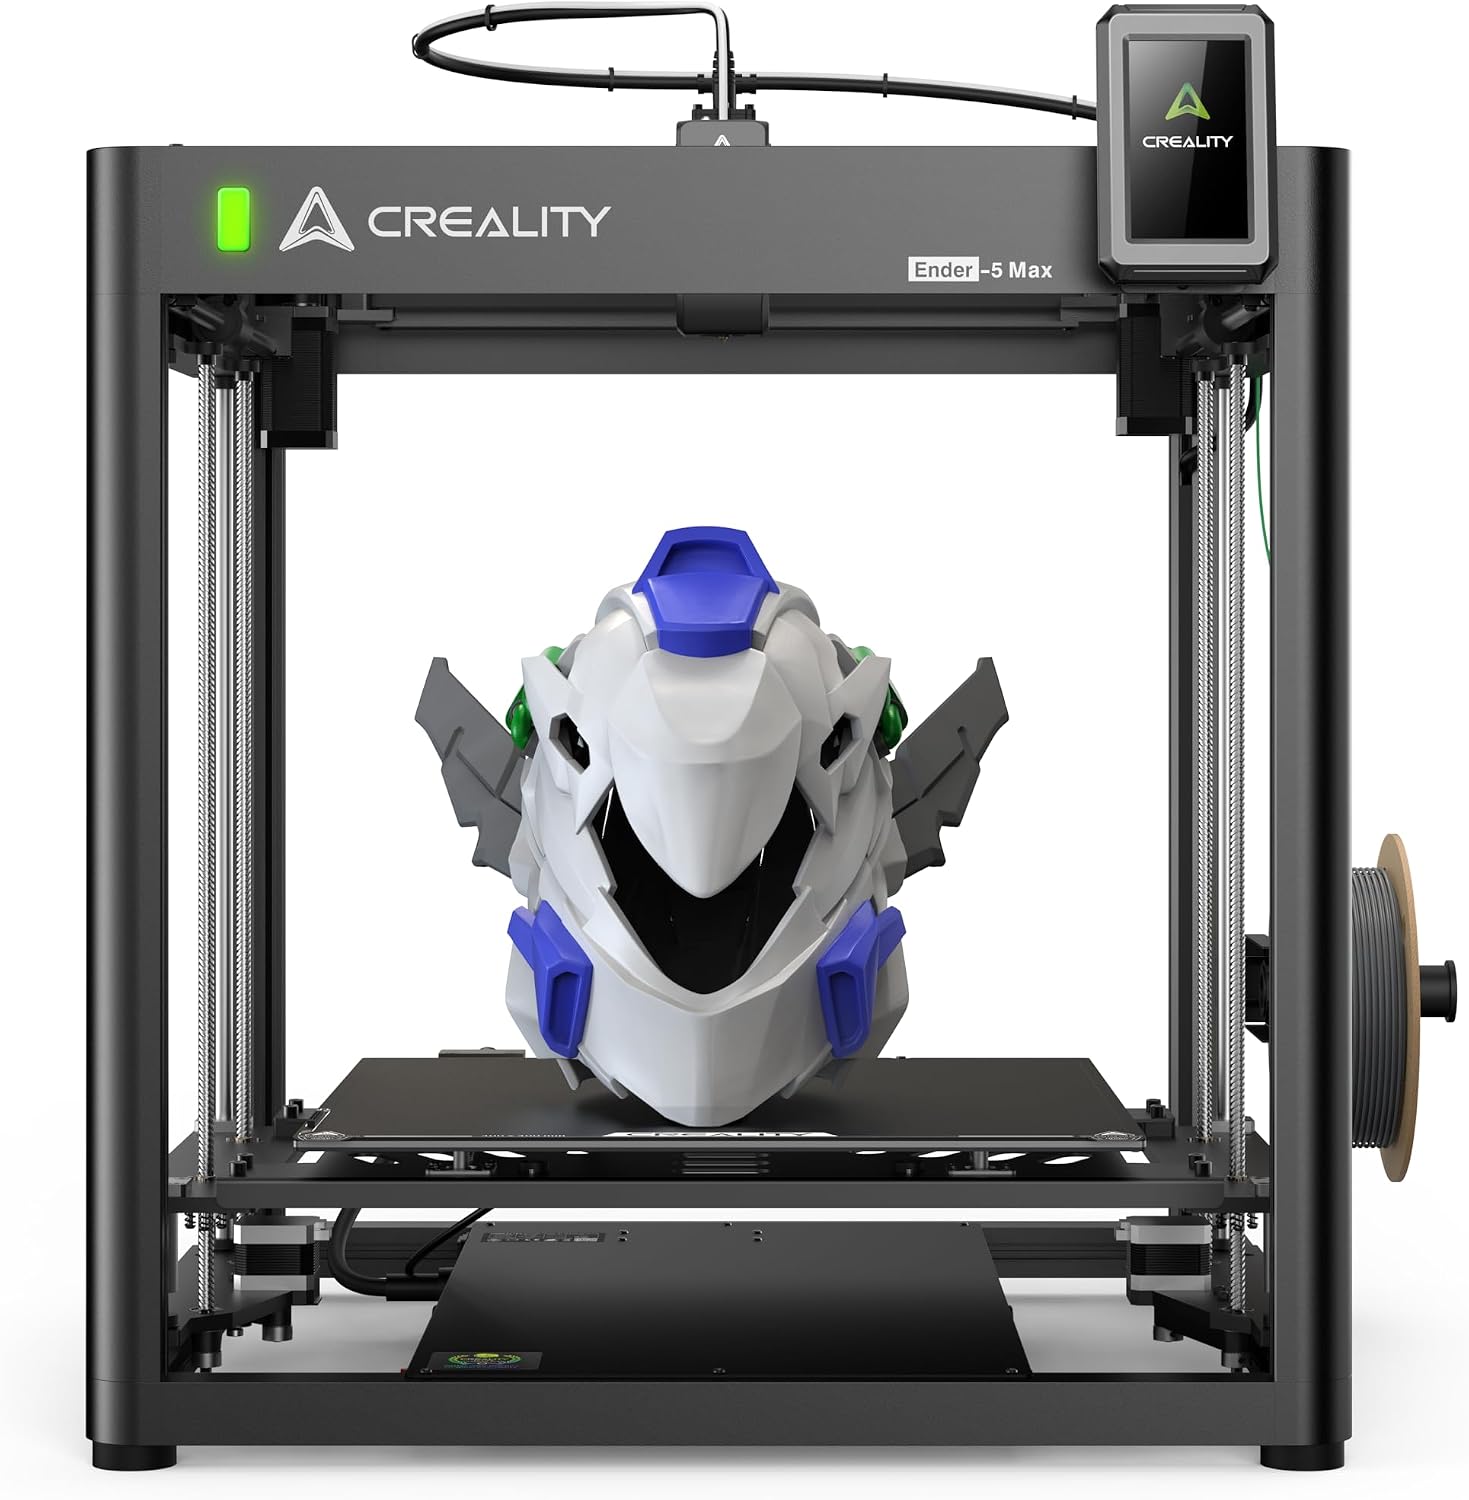
Image: The Creality Ender-5 Max 3D printer, showcasing its large build volume and sturdy frame, with a printed helmet model inside.
What's in the Box
Upon unboxing your Creality Ender-5 Max, please verify that all components listed below are present and undamaged.
- Creality Ender 5 Max 3D Printer (Main Assembly)
- Power Cable
- Filament Spool Holder
- Tool Kit (includes wrenches, screwdrivers, pliers, etc.)
- USB Cable
- SD Card and Card Reader
- Sample Filament
- User Manual (this document)
- Spare Parts (nozzles, PTFE tubing, etc. - specific contents may vary)
Setup Guide
1. Assembly
The Ender-5 Max comes partially assembled. Follow the included quick start guide for detailed assembly instructions. Key components like the sturdy all-metal frame, X-axis linear rail, and dual Z-axis motors are designed for robust performance and stability. Ensure all connections are secure and screws are tightened appropriately.

Image: Close-up view of the Ender-5 Max's robust frame and the precise linear rail on the X-axis, highlighting the structural integrity.
2. Bed Leveling
The Ender-5 Max features a 64-point automatic bed leveling system. This system ensures a perfectly even first layer, which is crucial for successful prints.
- Power on the printer.
- Navigate to the "Leveling" or "Auto-Level" option on the control screen.
- Initiate the automatic leveling process. The printer will probe the build surface at multiple points to create a mesh.
- Once complete, perform a Z-offset calibration if necessary to fine-tune the nozzle height for optimal first layer adhesion.

Image: Illustration of the 64-point automatic bed leveling process, showing the print head probing the build plate to ensure a perfect first layer.
3. Loading Filament
The direct drive extruder with dual tempered gears simplifies filament loading and unloading.
- Place the filament spool onto the spool holder.
- Preheat the nozzle to the recommended temperature for your filament type (e.g., 200°C for PLA).
- Insert the filament into the extruder's input hole.
- Use the "Load Filament" function on the control screen. The extruder will automatically pull the filament through until it extrudes from the nozzle.
Operating Instructions
1. Preparing Your Model (Slicing)
Before printing, your 3D model (e.g., .STL, .OBJ) needs to be converted into G-code using a slicing software. The Creality Print slicer is recommended for its optimized profiles and WLAN management capabilities.
- Import your 3D model into the slicer.
- Configure print settings: layer height, infill, print speed (up to 700mm/s), support structures, and raft/brim settings.
- Ensure the correct filament type and temperature settings are selected. The new Epoxy Build Plate is optimized for PLA adhesion at 45°C.
- Slice the model to generate the G-code file.

Image: Diagram illustrating the rapid heating capability of the 1000W heatbed and the recommended temperatures for the Epoxy Resin Build Plate (45°C) versus PEI Spring Steel Build Plate (60°C) for optimal PLA adhesion.
2. Starting a Print
Transfer the G-code file to the printer via SD card or WLAN.
- Insert the SD card into the printer's slot or connect via WLAN using Creality Print.
- On the printer's control screen, select "Print" and choose your G-code file.
- Confirm the print settings and start the print.
- Monitor the first layer to ensure proper adhesion.

Image: Visual representation of the Ender-5 Max's large 400x400x400mm build volume, demonstrating its capacity for printing multiple small parts or a single large object.
3. Monitoring and Smart Control
The Ender-5 Max is equipped with Creality OS for smart control, allowing for efficient monitoring, especially in print farm environments.
- Status Indicator Light: A 10-meter tri-color indicator light provides real-time updates on the printer's status (Green: Running, Yellow: Standing By, Red: Error).
- WLAN Connectivity: Manage multiple Ender-5 Max printers from a single PC using the Creality Print slicer over WLAN, streamlining your production workflow.

Image: The Ender-5 Max printer with its tri-color status indicator light, showing green for "Running", yellow for "Standing By", and red for "Error", visible from a distance.
Maintenance
Regular maintenance ensures the longevity and consistent performance of your Ender-5 Max.
- Clean the Build Plate: After each print, clean the build plate with isopropyl alcohol to remove any residue and ensure optimal adhesion for future prints.
- Nozzle Cleaning/Replacement: Periodically check the nozzle for clogs or wear. Clean with a needle or replace if necessary.
- Lubricate Moving Parts: Apply a small amount of lubricant to the Z-axis lead screws and linear rails every few months to ensure smooth movement.
- Extruder Inspection: The direct drive extruder with dual tempered gears is built for durability (tested for 500 hours of continuous use). Still, inspect it periodically for any signs of wear or filament debris.
- Firmware Updates: Check the official SainSmart/Creality website for the latest firmware updates to ensure your printer has the most current features and bug fixes.

Image: Detailed view of the Ender-5 Max's reliable direct drive extruder with dual tempered gears, emphasizing its robust design for continuous operation and minimal downtime.
Troubleshooting
This section addresses common issues you might encounter with your Ender-5 Max.
| Problem | Possible Cause | Solution |
|---|---|---|
| Poor First Layer Adhesion | Bed not level, Z-offset incorrect, dirty build plate, incorrect bed temperature. | Re-run auto-leveling, adjust Z-offset, clean build plate with isopropyl alcohol, ensure correct bed temperature (45°C for PLA on Epoxy plate). |
| Filament Not Extruding | Clogged nozzle, tangled filament, incorrect temperature, extruder gear slip. | Clear nozzle with cleaning needle, untangle filament, verify print temperature, check extruder tension. |
| Layer Shifting | Loose belts, motor issues, print speed too high, unstable printer. | Check and tighten belts, inspect motor connections, reduce print speed, ensure printer is on a stable surface. The dual Z-axis motors and sturdy frame minimize this issue. |
| Print Quality Issues (e.g., stringing, blobs) | Incorrect retraction settings, excessive temperature, wet filament. | Adjust retraction distance/speed in slicer, lower print temperature, dry filament. |
Specifications
| Feature | Detail |
|---|---|
| Product Dimensions | 28.35 x 25.55 x 33.46 inches (72.0 x 64.9 x 85.0 cm) |
| Item Weight | 57.1 pounds (25.9 kg) |
| Build Volume | 400 x 400 x 400 mm |
| Printing Speed | Up to 700mm/s (typical 500mm/s for optimal quality) |
| Bed Leveling | 64-point Automatic Bed Leveling |
| Extruder Type | Direct Drive with Dual Tempered Gears |
| Build Plate Material | Epoxy Resin Build Plate |
| Frame Material | All-metal, Die-cast Aluminum Alloy |
| Z-axis Motors | Dual Z-axis Motors with Linear Rods |
| Connectivity | SD Card, WLAN (Creality OS Smart Control) |
| Compatible Devices | Laptop, Personal Computer |
| Manufacturer | SainSmart |
Warranty and Support
The Creality Ender-5 Max 3D Printer is manufactured by SainSmart. For warranty information, technical support, or service inquiries, please refer to the official SainSmart website or contact their customer support directly.
Online Resources:
- Visit the SainSmart Store on Amazon for product information and updates.
- Check the official Creality website for firmware, software, and community support.
For immediate assistance, please have your product model (Ender 5 Max) and purchase details ready.
Ask a question about this manual
Ask about setup, troubleshooting, compatibility, parts, safety, or missing instructions. Manuals+ will review the question and use this page’s manual context to help answer it.