
1. Introduction
This manual provides detailed instructions for the safe and efficient installation and use of your monTEK Heavy Duty Full Motion TV Wall Mount, Model HW1271BK. This mount is engineered to securely hold flat and curved televisions ranging from 37 to 90 inches and weighing up to 165 lbs. Its full motion capabilities, including tilt, swivel, and extension, allow for optimal viewing from various angles. Please read all instructions carefully before beginning installation.
2. Important Safety Information
WARNING: Failure to read and follow these instructions may result in serious personal injury, property damage, or voiding of your warranty.
- This product is designed for installation on 16-inch wood studs, solid concrete, or brick walls only.
- DO NOT install on drywall alone. Drywall cannot support the weight of the mount and television.
- Ensure your TV's weight (up to 165 lbs) and VESA pattern (200x100mm to 600x400mm) are compatible with this mount.
- Always use appropriate safety gear and tools during installation.
- If you have any doubts or questions regarding installation, consult a qualified professional or contact monTEK customer support.
3. Package Contents
Verify that all components are present and undamaged before installation. If any parts are missing or defective, please contact customer support.
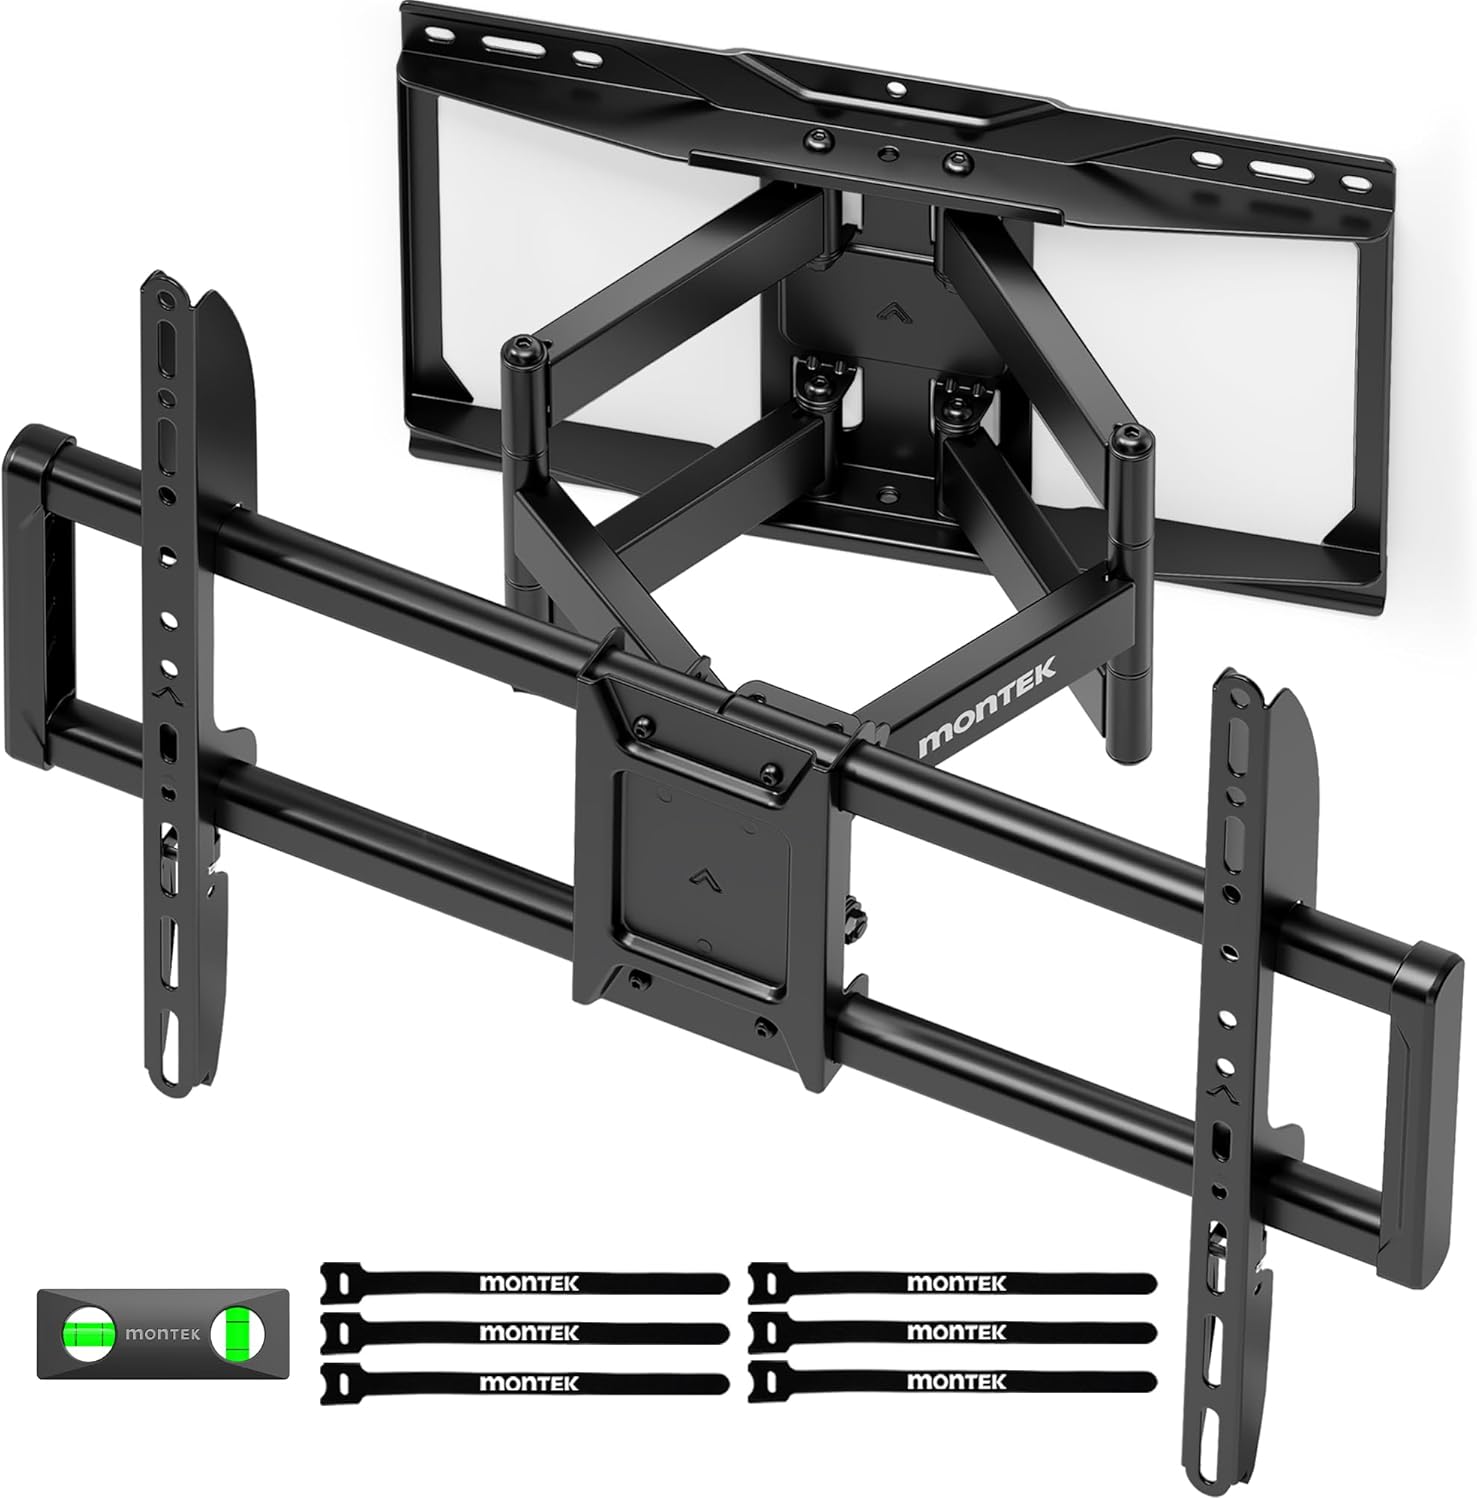
Image: Main components of the monTEK TV Wall Mount, including the articulating arm assembly, TV attachment brackets, and various hardware bags.

Image: Assortment of screws, washers, and wall anchors, clearly labeled for different installation needs.
- Main Wall Plate Assembly with Articulating Arms
- TV Brackets (2 pieces)
- Hardware Kit (various screws, washers, spacers, wall anchors for wood/concrete/brick)
- Bubble Level
- Cable Management Straps (Velcro)
- Mounting Template
- Instruction Manual
4. Specifications
| Feature | Specification |
|---|---|
| Brand | monTEK |
| Model Number | HW1271BK |
| TV Size Compatibility | 37-90 inches |
| Weight Capacity | Up to 165 lbs (4X load tested) |
| VESA Compatibility | 200x100mm to 600x400mm |
| Wall Type Compatibility | 16" Wood Studs, Solid Concrete, Brick Walls (Not for drywall alone) |
| Movement Type | Full Motion (Articulating, Swivel, Tilt, Extend) |
| Tilt Angle | +5° to -15° (Tool-free adjustment) |
| Swivel Angle | Up to 60° |
| Level Adjustment | ±3° |
| Extension from Wall | Up to 16.6 inches |
| Retracted Profile | 2.75 inches |
| Material | Alloy Steel |
| Item Weight | 14 pounds |
| Product Dimensions | 26.6 x 2.8 x 16.7 inches |
5. Compatibility Check
Before proceeding with installation, ensure your television and wall are compatible with this mount.
5.1. TV Size and Weight
- This mount supports TVs from 37 to 90 inches.
- The maximum weight capacity is 165 lbs. Do not exceed this limit.

Image: Visual representation of TV size and weight compatibility for the monTEK mount.
5.2. VESA Pattern
Check the VESA mounting holes on the back of your TV. This mount supports VESA patterns from 200x100mm to 600x400mm.

Image: Example of VESA mounting holes on a TV, showing horizontal and vertical measurements.
5.3. Wall Type
This mount is designed for installation on:
- 16-inch Wood Studs
- Solid Concrete Walls
- Brick Walls
WARNING: Do NOT install this mount on drywall alone. Drywall is not strong enough to support the weight.

Image: Illustration of compatible wall types for secure mounting.
6. Setup and Installation Guide
The installation process is designed to be straightforward, with pre-labeled hardware and a mounting template included to save time.
Video: Official monTEK video demonstrating the installation process for the Heavy Duty TV Wall Mount.
6.1. Prepare Your Workspace
- Clear the area where you will be installing the mount and TV.
- Gather all tools: drill, stud finder, pencil, measuring tape, and the provided bubble level and wrench.
- Unpack all components and verify against the package contents list.
6.2. Attach TV Brackets to Your TV
- Carefully place your TV face-down on a soft, clean surface to prevent damage.
- Align the two TV brackets with the VESA mounting holes on the back of your TV.
- Select the appropriate screws, washers, and spacers from the hardware kit based on your TV's specifications.
- Securely fasten the brackets to the TV using a screwdriver. Do not overtighten.

Image: Step 1 of installation: Attaching the mounting brackets to the rear of the TV.
6.3. Attach Wall Plate to the Wall
- Use a stud finder to locate the center of your desired mounting location and mark the stud edges.
- Tape the provided mounting template to the wall, ensuring it is level using the bubble level. Mark the pilot hole locations.
- Drill pilot holes at the marked locations. For wood studs, use the specified drill bit size. For concrete/brick walls, use a masonry drill bit and insert the provided concrete anchors.
- Position the main wall plate assembly over the pilot holes and secure it to the wall using the appropriate lag bolts and washers. Tighten firmly.

Image: The wall plate assembly installed on the wall, demonstrating its sturdy design.
6.4. Hang the TV on the Mount
- With assistance, carefully lift the TV and hook the attached TV brackets onto the arms of the wall plate assembly.
- Ensure the TV is securely seated on the mount. The brackets feature safety locks to prevent accidental dislodgement.
- Once the TV is hung, use the provided screws to lock the TV brackets to the mount for added security.
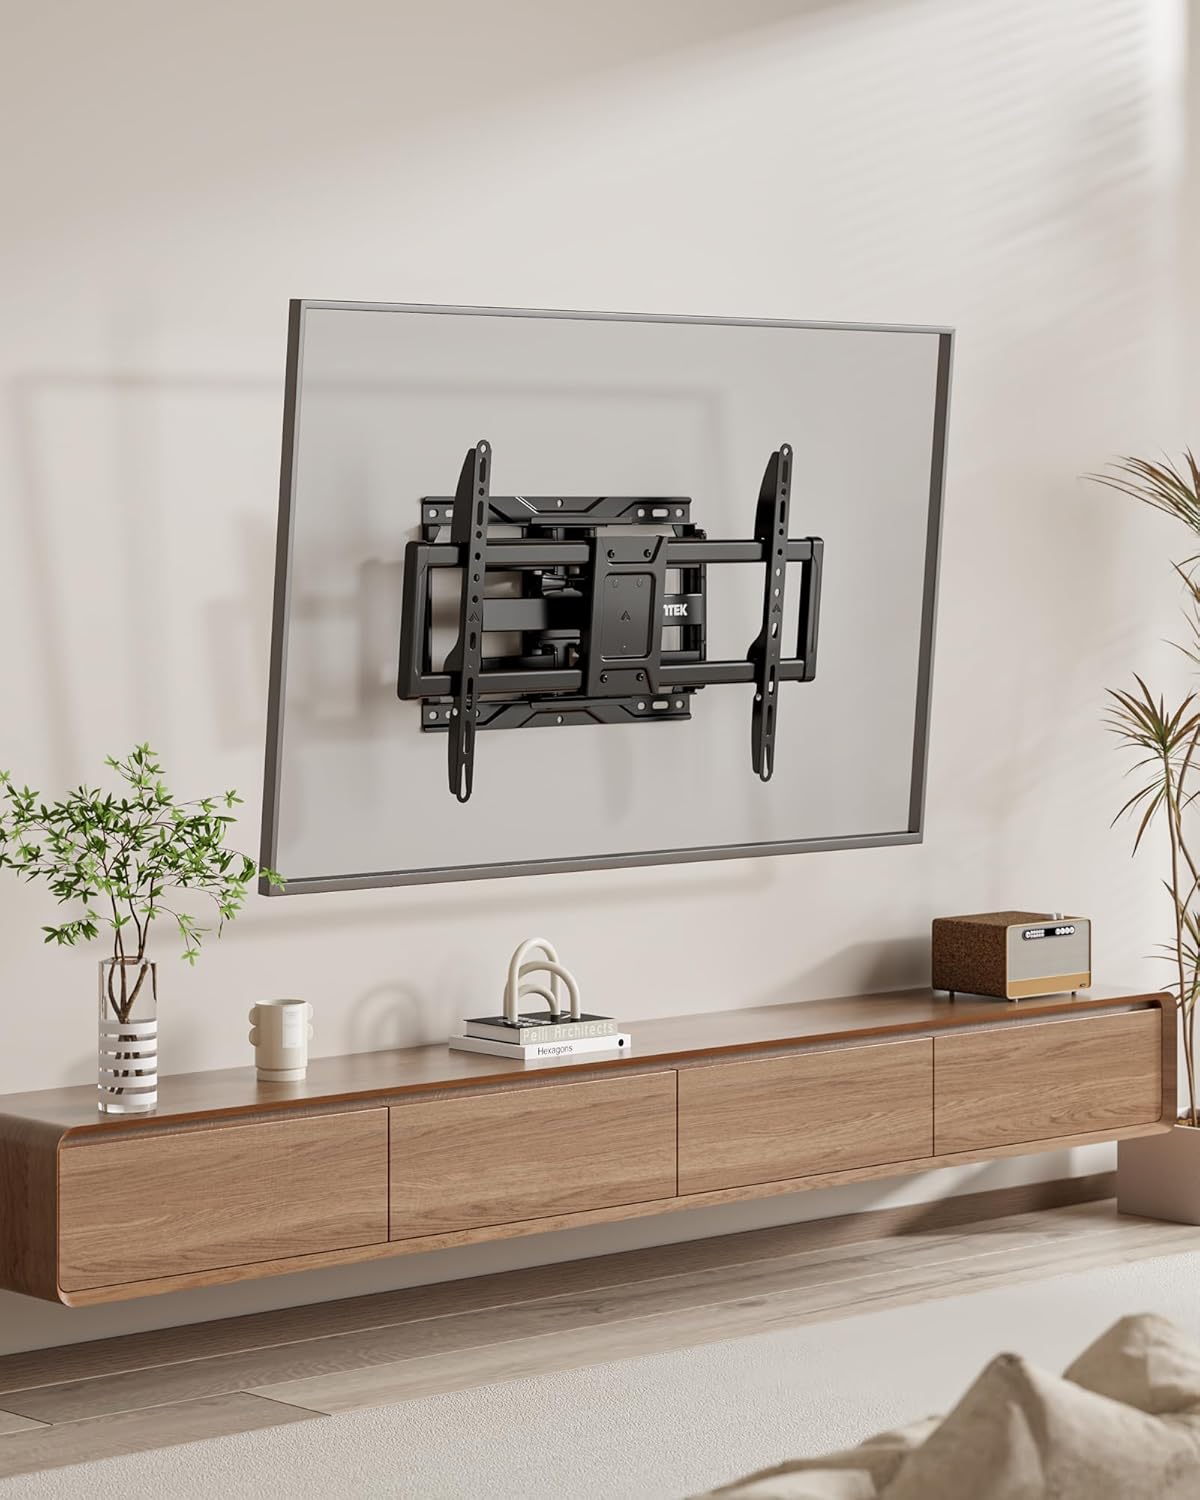
Image: A television successfully mounted on the monTEK wall mount, showcasing its low-profile appearance.
7. Operating Instructions
Your monTEK TV Wall Mount offers versatile adjustments for an optimal viewing experience.
7.1. Tilt Adjustment
- To adjust the tilt angle (+5° to -15°), use the tool-free quick-tilt knob located on the mount.
- Loosen the knob, adjust the TV to your desired vertical angle, and then tighten the knob to secure it.

Image: Detail of the quick-tilt knob for effortless vertical angle adjustments.
7.2. Swivel and Extension
- Gently push or pull the TV to extend it up to 16.6 inches from the wall or retract it to 2.75 inches.
- Swivel the TV up to 60° left or right to achieve the perfect horizontal viewing angle.

Image: Illustration of the mount's extension capability and tilt range.

Image: The TV mount swiveling to provide flexible viewing angles.
7.3. Level Adjustment
- After installation, you can fine-tune the level of your screen by ±3° for perfect alignment. Refer to the manual for specific adjustment points.

Image: The leveling feature allows for precise horizontal adjustment of the mounted TV.
7.4. Cable Management
- Use the provided Velcro cable management straps to keep cords neat and organized along the articulating arms.
8. Maintenance
- Periodically check that all screws and connections are secure. Retighten if necessary.
- Clean the mount with a soft, dry cloth. Avoid abrasive cleaners or solvents.
- Ensure the articulating arms move smoothly. If movement becomes stiff, apply a small amount of silicone-based lubricant to the joints.
9. Troubleshooting
9.1. TV is not level after installation
- Use the ±3° level adjustment feature to correct the horizontal alignment.
- Ensure the wall plate itself was installed level. If not, you may need to re-install the wall plate.
9.2. Difficulty adjusting tilt or swivel
- For tilt, ensure the quick-tilt knob is sufficiently loosened before attempting to adjust.
- For swivel and extension, ensure no cables are snagged or obstructing movement.
- If movement is stiff, apply a small amount of silicone-based lubricant to the pivot points.
9.3. TV feels unstable
- Immediately remove the TV from the mount.
- Verify that the wall plate is securely fastened to appropriate wood studs, concrete, or brick.
- Ensure the TV's weight and VESA pattern are within the mount's specifications.
- Confirm that the TV brackets are correctly attached to the TV and securely locked onto the mount.
10. Warranty and Customer Support
monTEK is committed to providing high-quality products and reliable after-sales service. Your satisfaction is our priority.
- For any questions, concerns, or assistance with your monTEK TV Wall Mount, please do not hesitate to contact our friendly customer support team.
- Contact information can typically be found on the product packaging or the official monTEK website.


