
AQUOS 50805-V01
AQUOS Haswing 2.4G Version Wireless Foot Control Instruction Manual
For Compatible Trolling Motor Models: 50700-V18, 50718D-V08, 50706-V03
Brand: AQUOS | Foot Control Model: 50805-V01
1. Introduction
This manual provides detailed instructions for the proper setup, operation, and maintenance of your AQUOS Haswing 2.4G Version Wireless Foot Control. This foot control is specifically designed for use with Haswing electric trolling motors, models 50700-V18, 50718D-V08, and 50706-V03. Please read this manual thoroughly before use to ensure optimal performance and longevity of your device.

Image 1.1: The AQUOS Haswing 2.4G Wireless Foot Control.
2. What's in the Box
Upon opening the package, please verify that all the following components are included:
- AQUOS Haswing 2.4G Version Wireless Foot Control
- USB charging cord (1)
If any items are missing or damaged, please contact AQUOS customer support immediately.
3. Setup and Pairing
Before using the wireless foot control, it must be properly paired with your compatible Haswing trolling motor. Ensure your trolling motor is one of the specified versions (50700-V18, 50718D-V08, 50706-V03).
3.1. Version Compatibility Check
The 2.4G wireless foot control is compatible with Haswing 50700-V18, 50718D-V08, and 50706-V03 version trolling motors. To confirm your motor's version:
- For bow mount trolling motors (50700/50718D): The serial number is located on the inside of the side door in the mounting position.
- For transom trolling motors (50706): The serial number is located on the mounting bracket.
If your trolling motor version is not listed, please ensure you have the correct foot control (e.g., 433HZ wired foot control for other versions).
3.2. Initial Pairing Procedure
If you are replacing a new remote control, it is necessary to re-pair the original wireless foot control with the trolling motor via the newly acquired 2.4G remote control before continuing to use the wireless foot control.
To pair the wireless foot control to the motor:
- Ensure the 2.4G wireless remote (separate handheld remote) is already paired with the trolling motor. This is a prerequisite for pairing the foot control.
- Locate the "magnifying glass" button on the trolling motor, which is typically found below the power reader.
- On the wireless foot control, the "Pairing" button is the same as the "Turtle" (speed down) button.
- Simultaneously press and hold the "magnifying glass" button on the motor and the "Turtle" button on the wireless foot control for 3 seconds.
- You will hear 3 beeps, indicating a successful connection and pairing.

Image 3.1: Overview of the Wireless Foot Control buttons, including the "Turtle" (speed down) button used for pairing.
4. Operating Instructions
The wireless foot control allows you to operate your trolling motor from up to 32.8 feet away, whether you are on the boat or on shore. It provides control over motor activation, speed adjustment, and steering.
4.1. Foot Control Overview
Image 4.1: Detailed diagram of the foot control with all functions labeled: Power off button/Charging port, Control display, Speed up, Speed Down, Turn Left, Turn Right, Motor On/off, and Spinning footrest.
4.2. Powering On/Off and Motor Activation
- The wireless foot control switch is located at the top, next to the charging port. Turn on the wireless foot control using this switch.
- To activate the motor, press the "Propeller" button on the foot control. You will hear 1 beep, indicating the motor is active.
- To stop the motor, press the "Propeller" button again.
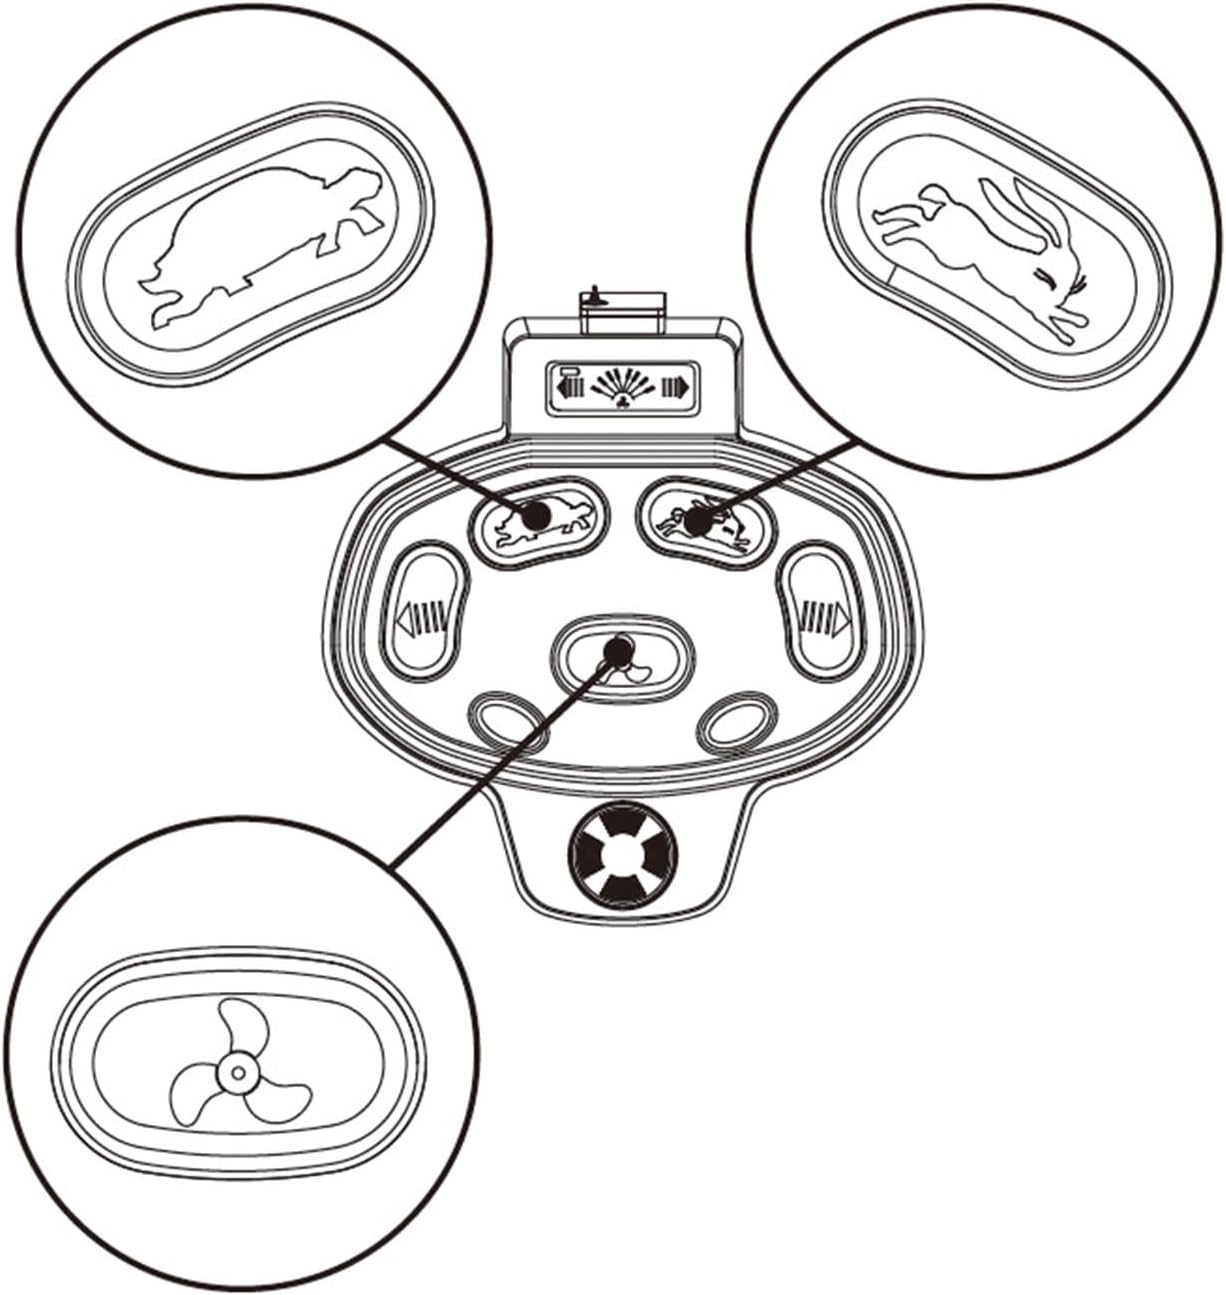
Image 4.2: Close-up view of the "Rabbit" (speed up), "Turtle" (speed down), and "Propeller" (motor on/off) buttons.
4.3. Adjusting Speed
- To increase speed: Press the "Rabbit" button.
- To decrease speed: Press the "Turtle" button.
Each adjustment will be accompanied by 1 beep.
4.4. Steering
The foot control allows for precise left and right steering.
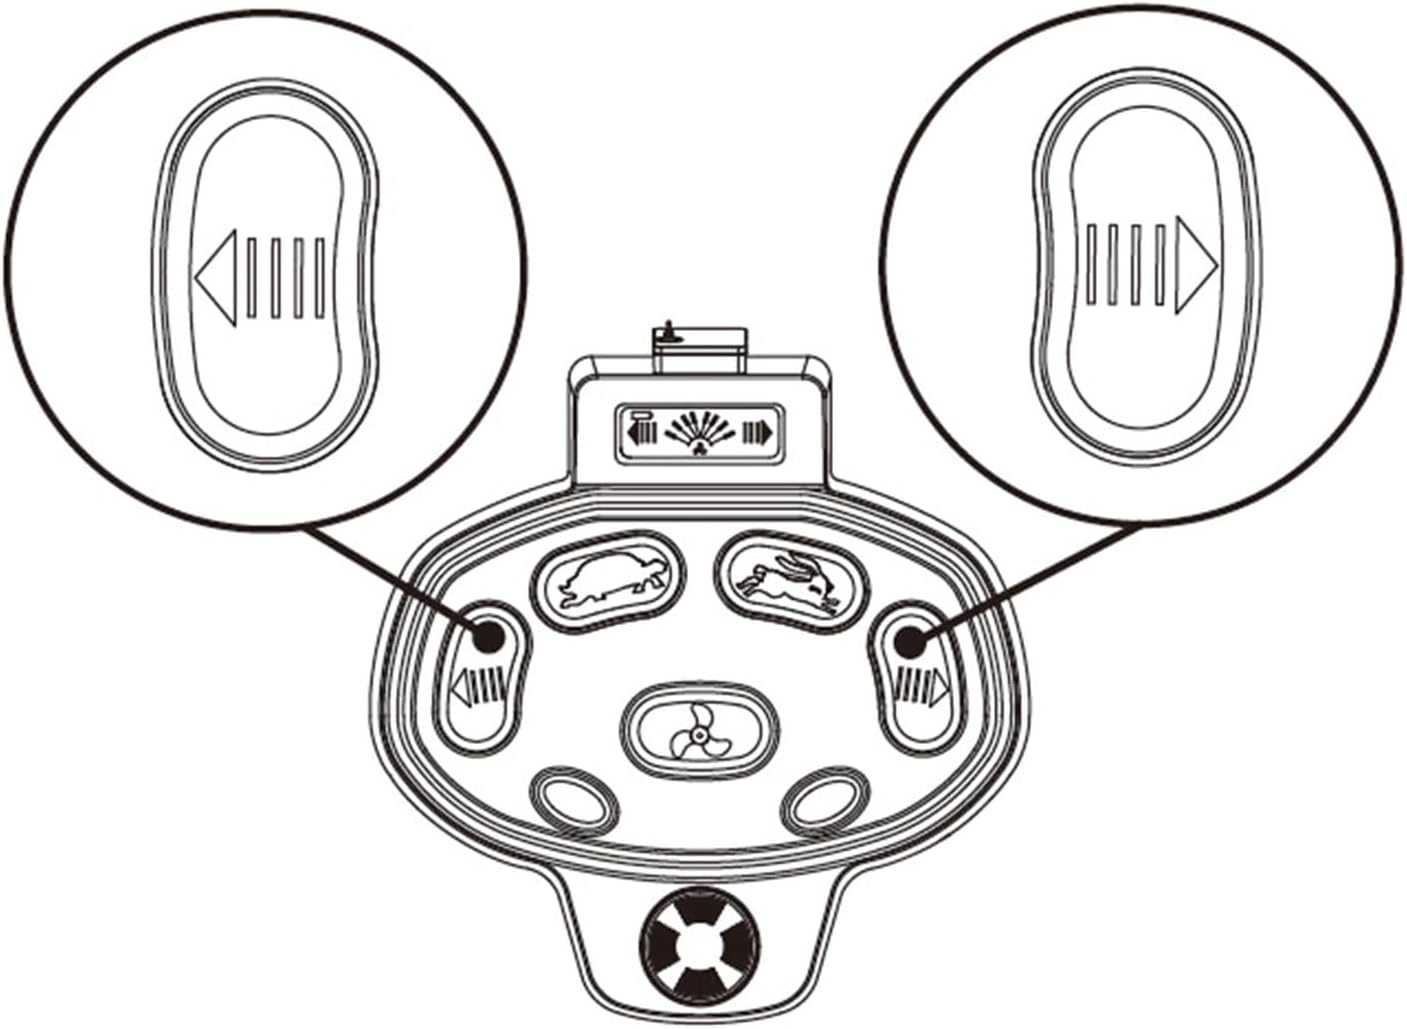
Image 4.3: Close-up view of the left and right steering buttons.

Image 4.4: Illustration demonstrating how to use foot pressure on the spinning footrest for steering left and right.
5. Maintenance and Charging
Proper maintenance ensures the longevity and reliable operation of your wireless foot control.
5.1. Charging the Foot Control
The wireless foot control is powered by an internal rechargeable battery and is charged via the included USB charging cable.
- Locate the USB charging port on the foot control, next to the power switch. This port is protected by a waterproof plug.
- Connect the USB charging cable to the foot control's charging port and to a standard USB power source (e.g., USB wall adapter, computer USB port, or mobile power bank).
- During charging, the charging indicator light will be red.
- The light will turn green when the battery is fully charged.

Image 5.1: Diagram illustrating the USB charging port, waterproof plug, and connection to the USB charging cable.
5.2. General Care
- Keep the foot control clean and free from debris.
- Ensure the waterproof plug for the charging port is securely closed when not charging to prevent water ingress.
- Store the foot control in a dry place when not in use.
6. Troubleshooting
This section addresses common issues you might encounter with your wireless foot control.
6.1. Charging Indicator Light Not Appearing
If the charging indicator light does not appear when connected to a power source:
- Check the USB charging cable for any damage or loose connections.
- Try using a different USB power source (e.g., a different wall adapter or a mobile power bank) to rule out issues with the power source.
- Ensure the charging port on the foot control is clean and free of obstructions.
6.2. Foot Control Not Responding
- Ensure the foot control is powered on.
- Verify that the foot control is properly paired with your trolling motor (refer to Section 3.2). Re-pair if necessary.
- Check the battery level of the foot control. If low, charge the device.
- Ensure you are within the operational range (up to 32.8 feet) of the trolling motor.
7. Specifications
| Feature | Detail |
|---|---|
| Brand | AQUOS |
| Model | 50805-V01 |
| Color | Black |
| Material | Stainless Steel |
| Engine Type Compatibility | Electric Trolling Motors |
| Mounting Type | Bow Mount (compatible motors) |
| Product Dimensions | 13.7"D x 13.9"W x 3.9"H |
| Item Weight | 3.96 pounds |
| Wireless Frequency | 2.4G |
| Operating Range | Up to 32.8 feet (10 meters) |
8. Warranty and Support
For warranty information and customer support, please refer to the documentation provided with your original trolling motor or visit the official AQUOS website. Keep your purchase receipt for warranty claims.
For further assistance, you may contact AQUOS customer service through their official channels.
Related documents50805-V01

Ask a question about this manual
Ask about setup, troubleshooting, compatibility, parts, safety, or missing instructions. Manuals+ will review the question and use this page’s manual context to help answer it.