1. Introduction
This manual provides detailed instructions for the installation, operation, maintenance, and troubleshooting of your AINAVI QLED Touch Screen Car Stereo. Please read this manual thoroughly before using the product to ensure proper functionality and safety. This unit is designed to enhance your driving experience with advanced features such as wireless CarPlay, Android Auto, GPS navigation, and a high-resolution display.
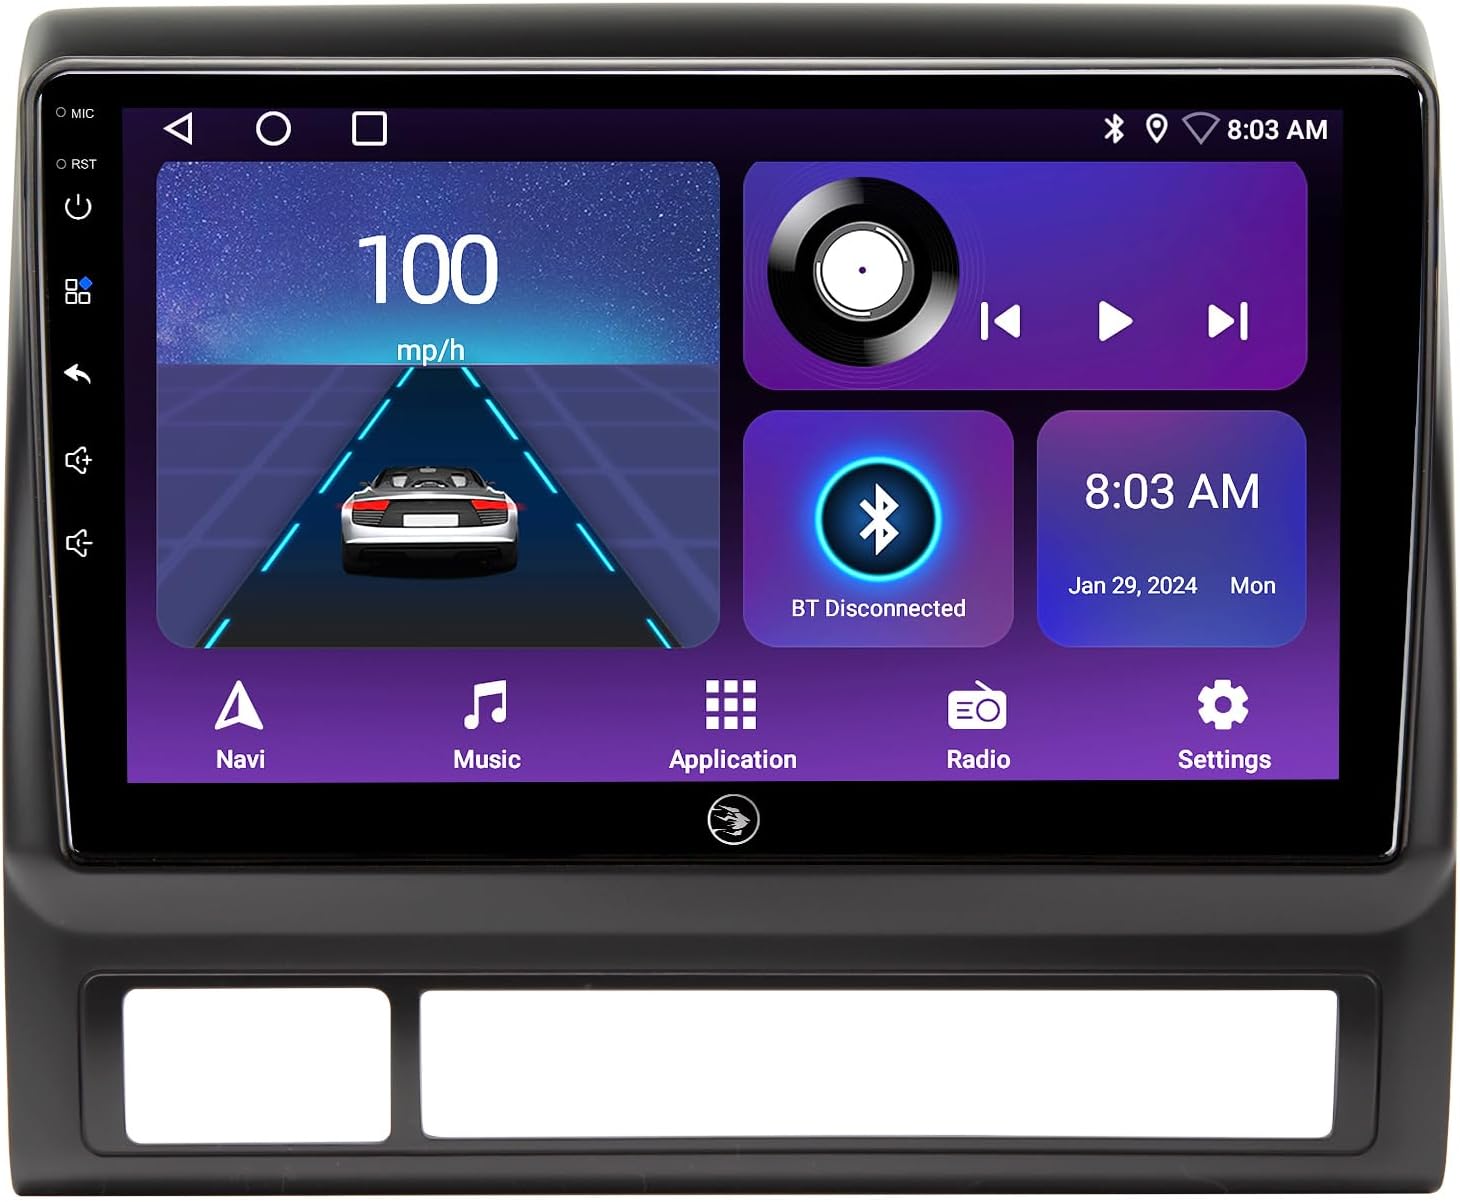
Figure 1.1: AINAVI QLED Touch Screen Car Stereo unit.
2. Safety Information
- Always operate the vehicle safely. Distracted driving can lead to accidents.
- Do not attempt to install or service the unit if you are not experienced with car electronics. Consult a professional installer.
- Ensure all wiring is correctly connected to prevent short circuits or damage to the unit and vehicle.
- Keep the unit away from water and excessive moisture.
- Do not block ventilation openings.
- Use only specified power sources and accessories.
3. What's in the Box
Verify that all components listed below are included in your package:
- Car Head Unit with Frame for Toyota Tacoma (x1)
- Power Cable (x1)
- RCA Cable (x1)
- Car Microphone (x1)
- GPS Antenna (x1)
- USB 4Pin Cable (x1)
- USB 6Pin Cable (x1)
- AHD 1080P Rear View Camera (x1)
- Blue Frame Removal Tool (x1)
- User Manual (x1)

Figure 3.1: Included components diagram.
4. Installation Guide
4.1. Pre-Installation Checks
- Disconnect Battery: Before starting, disconnect the negative terminal of your vehicle's battery to prevent electrical shorts.
- Remove Old Radio: Carefully remove the existing factory radio and dashboard trim. Use the provided blue frame removal tool to avoid damage.
- Inspect Wiring: Familiarize yourself with the vehicle's wiring harness and the new unit's power cable.
4.2. Wiring Connections
Connect the provided cables to the corresponding ports on the head unit and your vehicle's wiring harness. Ensure all connections are secure.
- Power Cable: Connect the main power harness.
- GPS Antenna: Connect the GPS antenna and route it to a location with a clear view of the sky (e.g., dashboard).
- USB Cables: Connect the 4-pin and 6-pin USB cables for external devices.
- Microphone: Connect the external microphone for clear voice commands and calls.
- Rear View Camera: Connect the AHD 1080P rear view camera and its control wire to the reverse light signal.
- RCA Cables: Connect RCA cables for audio output to external amplifiers or video output to headrest monitors (if applicable).
4.3. Mounting the Unit
- Carefully slide the new head unit into the dashboard opening, ensuring all wires are tucked away and not pinched.
- Secure the unit using the vehicle's mounting points. Note that this unit is designed to fit the Tacoma dash without traditional bolts, relying on clips for a flush fit.
- Reinstall the dashboard trim and any removed panels.
- Reconnect the vehicle's battery negative terminal.

Figure 4.1: Dashboard before and after installation.
5. Initial Setup
5.1. First Power On
- Turn on your vehicle's ignition. The head unit should power on automatically.
- Follow the on-screen prompts for initial setup.
5.2. Basic Settings
- Language: Select your preferred language from the settings menu.
- Date & Time: Set the correct date and time. This can often be synchronized via GPS or network.
- Wi-Fi Connection: Go to Settings > Network & Internet > Wi-Fi. Connect to an available Wi-Fi hotspot to enable online features like map updates and app downloads.
- Bluetooth Pairing: Go to Settings > Connected devices > Pair new device. Enable Bluetooth on your mobile phone and search for the head unit to pair.

Figure 5.1: Wi-Fi and Bluetooth connection interface.
6. Operating Instructions
6.1. Home Screen & Navigation
The home screen provides quick access to essential functions. Swipe left or right to navigate between screens or use the app drawer to find installed applications.
6.2. Wireless CarPlay & Android Auto
Connect your iPhone or Android device wirelessly for seamless integration of navigation, music, calls, and messaging apps directly on the head unit's display.
- Ensure Bluetooth is enabled on both the head unit and your phone.
- Follow the on-screen prompts to establish the wireless connection.
6.3. GPS Navigation
The built-in GPS module supports various navigation applications available on the Google Play Store. 5G Wi-Fi enhances accuracy and real-time traffic updates.

Figure 6.1: GPS Navigation display.
6.4. Audio Settings (48-EQ & DSP)
Customize your audio experience using the 48-band Equalizer (EQ) and Digital Sound Processor (DSP). Adjust sound profiles (Normal, Jazz, Pop, Classical, Heavy Metal, Vocal, Soft), surround sound patterns, bass boost, and individual speaker volume controls.
6.5. Split Screen Mode
Run two applications simultaneously on the screen, such as navigation and a media player, for enhanced multitasking.
6.6. Steering Wheel Control (SWC)
Configure your vehicle's steering wheel controls to operate the head unit's functions, allowing for safe and convenient control without taking your hands off the wheel.

Figure 6.2: Split Screen Mode and Steering Wheel Control.
6.7. Mobile Phone Mirroring (Tlink)
Mirror your smartphone's screen directly onto the head unit's display, supporting both iPhone (Airplay) and Android devices.

Figure 6.3: Mobile Phone Mirroring and Color Keylight options.
6.8. Rear View Camera
The unit supports a 1080P AHD rear view camera, providing a clear, wide-angle view when reversing. Guidelines assist with parking maneuvers.

Figure 6.4: 1080P Rearview Camera display.
6.9. Full RCA Output
Utilize the RCA output function to connect external monitors, such as headrest displays, allowing backseat passengers to enjoy videos independently.

Figure 6.5: Full RCA Output to external monitors.
7. Maintenance
- Cleaning: Use a soft, dry cloth to clean the screen and unit. Avoid abrasive cleaners or solvents.
- Software Updates: Periodically check for software updates via the system settings to ensure optimal performance and access to new features. Connect to Wi-Fi for updates.
8. Troubleshooting
| Problem | Possible Cause | Solution |
|---|---|---|
| Unit does not power on. | Incorrect wiring; Blown fuse; Loose connection. | Check power cable connections; Inspect vehicle's fuse box; Ensure all harnesses are securely plugged in. |
| No sound. | Volume too low; Mute activated; Speaker wiring issue. | Increase volume; Deactivate mute function; Check speaker wire connections. |
| Bluetooth/CarPlay/Android Auto not connecting. | Bluetooth off; Incorrect pairing; Software glitch. | Ensure Bluetooth is on for both devices; Delete previous pairings and re-pair; Restart the head unit and phone. |
| GPS signal weak/inaccurate. | GPS antenna obstructed or improperly placed. | Relocate GPS antenna to a clear, unobstructed area (e.g., dashboard, away from metal). |
| Rear view camera not displaying. | Camera wiring incorrect; Reverse signal not detected. | Check camera power and video signal connections; Verify reverse trigger wire is connected to the vehicle's reverse light signal. |
9. Specifications
| Feature | Detail |
|---|---|
| Operating System | Android 13 |
| Display Size | 9 Inches QLED Touch Screen |
| Resolution | 1280 x 720 (HD) |
| RAM | 2GB |
| ROM | 64GB |
| Connectivity | Bluetooth, USB, Wi-Fi (2.4GHz & 5GHz), Wireless CarPlay, Android Auto |
| Audio Features | 48-EQ, Professional DSP, Surround Stereo |
| Navigation | Built-in GPS module, supports Google Maps and other map software |
| Rear View Camera Support | 1080P AHD (Included) |
| Special Features | Split Screen Function, Mobile Phone Mirroring (Tlink), Colorful Panel Light, RCA Output |
| Vehicle Service Type | Truck (Toyota Tacoma 2005-2015) |
| Item Weight | 4.24 pounds |
| Package Dimensions | 13.07 x 12.24 x 5.75 inches |
10. Warranty and Support
Your AINAVI QLED Touch Screen Car Stereo comes with a 12 Months Manufacturer Guarantee.
For technical support, installation assistance, or any inquiries, please contact our professional technical support team. We are committed to assisting you as soon as possible.
You can typically find contact information on the seller's page or within your purchase documentation. For direct assistance, please refer to the customer support details provided at the time of purchase or on the product listing.

Figure 10.1: Customer Installation Support contact information example.


