1. Introduction
This manual provides essential instructions for setting up, operating, maintaining, and troubleshooting your CRUA 32-inch 4K UHD 160Hz Curved Gaming Monitor (Model CR320A). Please read this manual thoroughly before using the product to ensure proper functionality and to prevent damage.
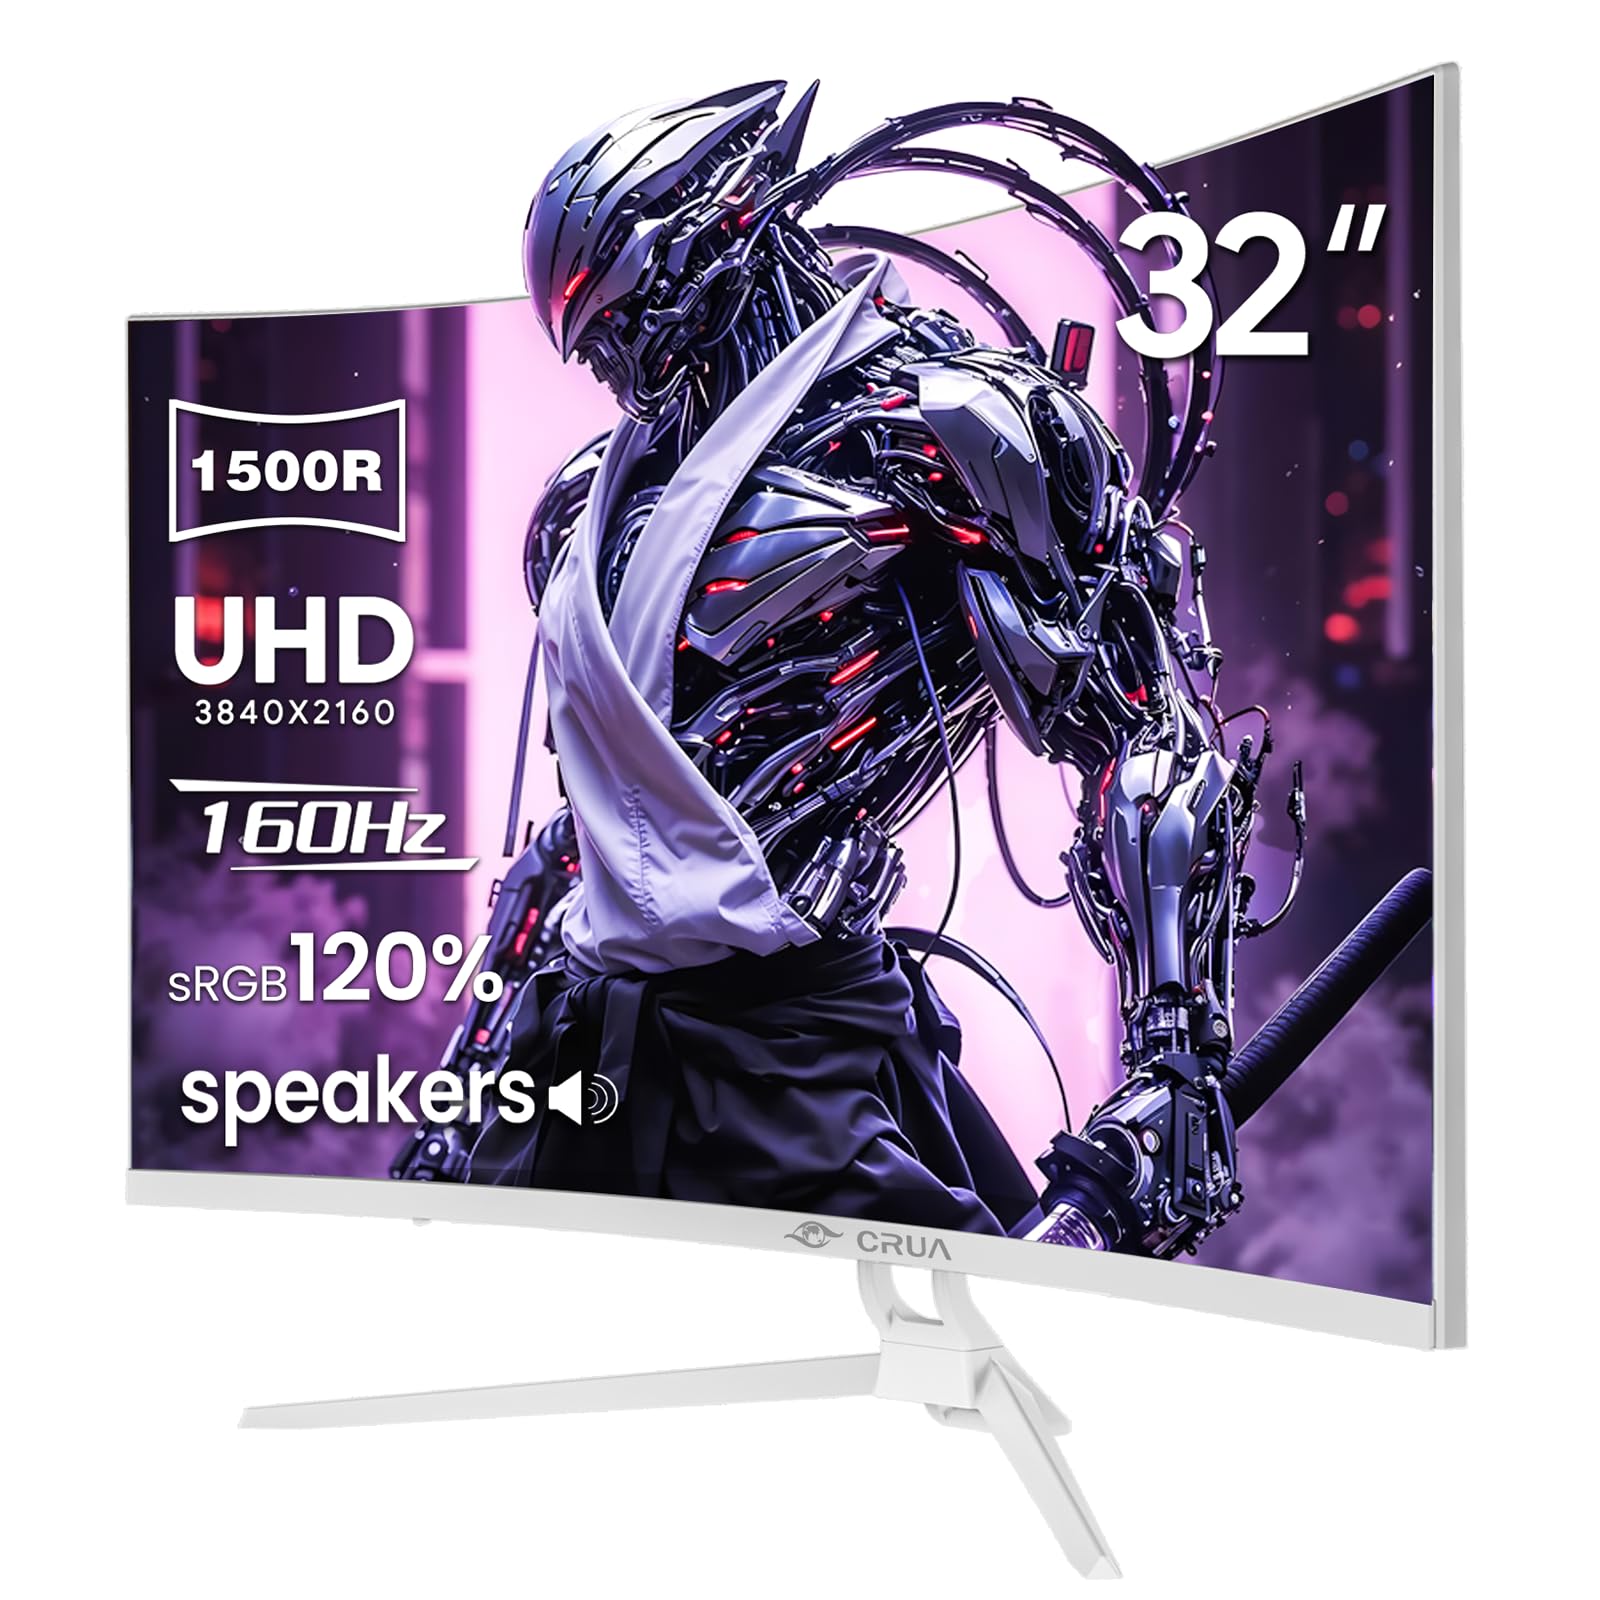
Figure 1: Front view of the CRUA 32-inch 4K UHD 160Hz Curved Gaming Monitor.
2. What's in the Box
Verify that all components are present in the packaging:
- CRUA 32-inch Monitor
- Monitor Base and Support
- DisplayPort (DP) Cable
- Power Supply Unit
- User Manual (this document)
3. Setup
3.1 Assembling the Stand
- Carefully remove the monitor from its packaging, placing it face down on a soft, clean surface to prevent screen damage.
- Attach the monitor support arm to the back of the monitor. Ensure it clicks securely into place or is fastened with screws if provided.
- Connect the base to the support arm and secure it with the provided screw(s).
Note: The included stand is fixed and does not offer height, tilt, or swivel adjustments. For adjustable positioning, the monitor supports VESA wall mounting (75mm x 75mm) using a compatible VESA mount (sold separately).

Figure 2: Rear view of the monitor with stand attachment area and RGB lighting.
3.2 Connecting Cables
- Connect the DisplayPort (DP) cable from your computer's graphics card to the DP 1.4 port on the monitor. Alternatively, use an HDMI 2.1 cable for compatible devices.
- Connect the power supply unit to the monitor's power input, then plug the power cord into an electrical outlet.
- Ensure all connections are secure.

Figure 3: Monitor connectivity ports including HDMI 2.1, DP 1.4, and audio out.
4. Operating the Monitor
4.1 Power On/Off
Press the power button, usually located on the back or bottom right of the monitor, to turn the monitor on or off. The power indicator light will illuminate when the monitor is on.
4.2 On-Screen Display (OSD) Menu
The OSD menu allows you to adjust various monitor settings. Use the navigation buttons (joystick or individual buttons) typically found on the back or bottom of the monitor to access and navigate the OSD.
- Input Source: Select between DisplayPort and HDMI inputs.
- Picture Settings: Adjust brightness, contrast, sharpness, and color temperature.
- Color Settings: Fine-tune color gamut (120% sRGB), gamma, and color depth (8-bit).
- Gaming Settings: Enable/disable AMD FreeSync, adjust refresh rate (144Hz/160Hz), and other gaming-specific features.
- Audio Settings: Control volume for the built-in speakers or connected external audio devices.
- RGB Lighting: Customize the RGB lighting effects on the back of the monitor.

Figure 4: Visual representation of color and brightness capabilities.
4.3 AMD FreeSync
This monitor supports AMD FreeSync technology, which synchronizes the monitor's refresh rate with your graphics card's frame rate to eliminate screen tearing and stuttering. Ensure FreeSync is enabled in both the monitor's OSD and your graphics card's control panel for optimal performance.

Figure 5: Visualizing the benefit of 160Hz refresh rate and FreeSync.
4.4 Curved Display (1500R)
The 1500R curvature of the screen provides an immersive viewing experience, reducing eye strain and enhancing depth perception, especially beneficial for gaming and multimedia content.

Figure 6: The 1500R curved screen design.
5. Maintenance
5.1 Cleaning the Monitor
- Always power off the monitor and unplug the power cord before cleaning.
- Use a soft, lint-free cloth slightly dampened with water or a non-abrasive screen cleaner.
- Do not spray cleaner directly onto the screen. Apply it to the cloth first.
- Avoid using alcohol, ammonia, or abrasive cleaners, as these can damage the screen surface.
5.2 General Care
- Keep the monitor away from direct sunlight, excessive heat, and humidity.
- Ensure adequate ventilation around the monitor to prevent overheating.
- Avoid placing heavy objects on the monitor or its cables.
6. Troubleshooting
6.1 No Power
- Check if the power cord is securely connected to both the monitor and the power outlet.
- Verify that the power outlet is functioning correctly by plugging in another device.
- Ensure the monitor's power button is pressed.
6.2 No Signal
- Confirm that the video cable (DP or HDMI) is securely connected to both the monitor and your computer/device.
- Ensure the correct input source is selected in the monitor's OSD menu.
- Check if your computer/device is powered on and outputting a signal.
- Try a different video cable or port if available.
6.3 Screen Flickering or Tearing
- Ensure AMD FreeSync is enabled in both the monitor's OSD and your graphics card settings.
- Verify that your graphics card drivers are up to date.
- Check the refresh rate setting in your operating system's display settings; it should be set to 144Hz or 160Hz.
6.4 Washed Out Colors or Poor Picture Quality
- Access the OSD menu and adjust picture settings such as brightness, contrast, and color temperature.
- Reset the monitor to factory default settings via the OSD menu.
- Ensure your graphics card output settings are correctly configured for the monitor's resolution (3840x2160) and color depth.
6.5 No Sound from Built-in Speakers
- Check the volume level in the monitor's OSD menu.
- Verify that the audio output on your computer/device is set to the monitor.
- Ensure the video cable (DP or HDMI) supports audio transmission.
7. Specifications
| Feature | Specification |
|---|---|
| Model Number | CR320A |
| Screen Size | 32 Inches |
| Panel Type | VA |
| Curvature | 1500R |
| Resolution | 4K UHD (3840 x 2160 Pixels) |
| Aspect Ratio | 16:9 |
| Refresh Rate | 144Hz / 160Hz |
| Brightness | 320 Candela (cd/m²) |
| Contrast Ratio | 3000:1 |
| Color Gamut | 120% sRGB |
| Color Depth | 8-bit |
| Screen Surface | Matte |
| Connectivity | HDMI 2.1, DisplayPort 1.4 |
| Audio | Built-in Speakers |
| VESA Mount Compatibility | 75mm x 75mm |
| Product Dimensions (L x W x H) | 1 x 28 x 16.6 inches |
| Item Weight | 16.57 pounds |
8. Warranty and Support
8.1 Product Assurance
CRUA is committed to providing high-quality computer monitors and premium services. We offer assurances for our products to ensure customer satisfaction.
8.2 Customer Support
If you encounter any issues or have questions regarding your CRUA monitor, please contact our customer support team. We are available to assist you and resolve any problems you may experience.
For support, please refer to the contact information provided on the official CRUA website or your purchase documentation.


