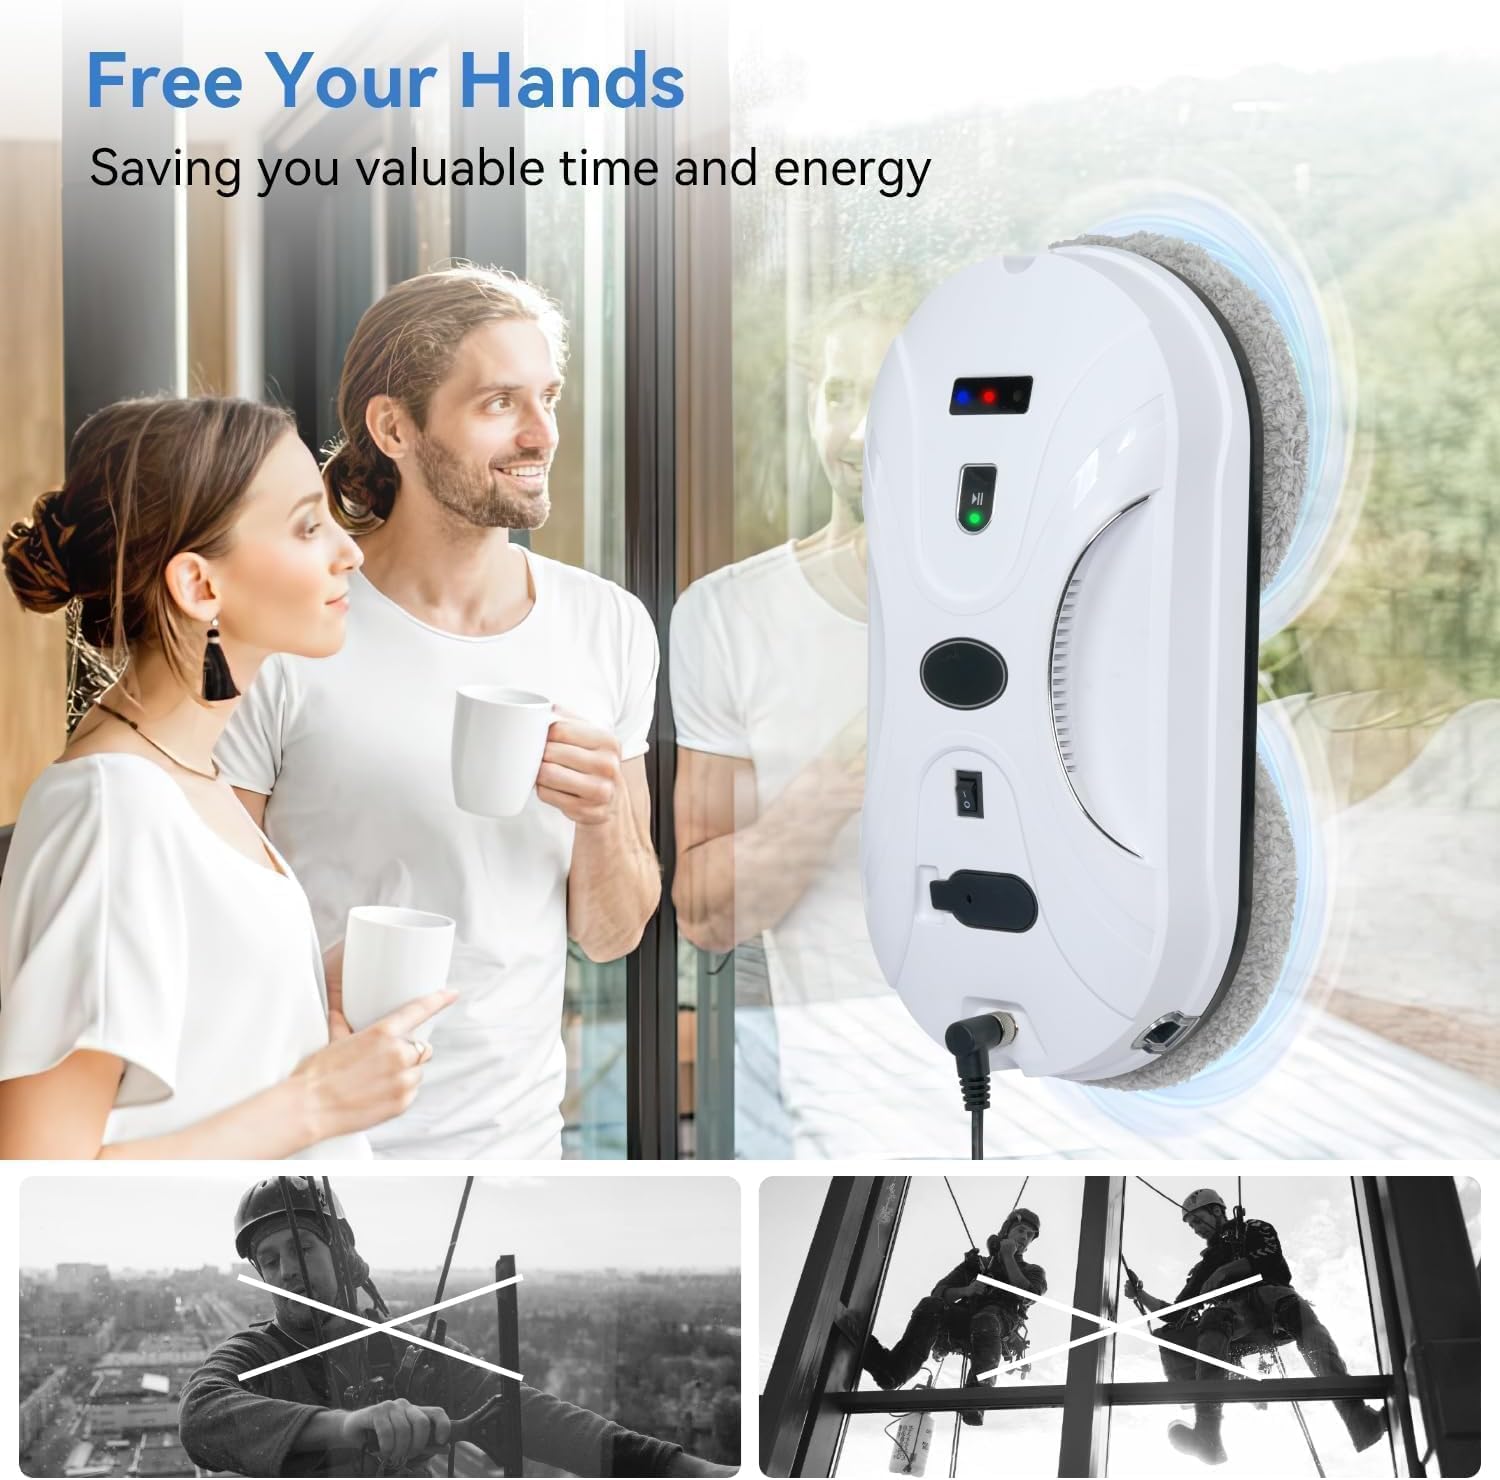
Introduction
Welcome to your Anminto Automatic Window Cleaning Robot. This manual provides essential instructions for the safe operation, proper maintenance, and effective troubleshooting of your device. Please read this manual thoroughly before first use and retain it for future reference.
Safety Information
Adhering to these safety guidelines is crucial for preventing accidents and ensuring the longevity of your window cleaning robot.
- Always connect the high-strength safety rope to the robot and secure the other end to a sturdy indoor fixture before operation.
- Ensure the robot is securely attached to the window surface with its 3000Pa vacuum suction before releasing it.
- The integrated UPS power storage system provides up to 30 minutes of backup power during unexpected outages; however, continuous power connection is recommended for optimal performance and safety.
- Do not use the robot on cracked, damaged, or uneven glass surfaces.
- Keep hands, hair, and loose clothing away from moving parts during operation.
- Use only recommended window cleaning solutions or distilled water in the reservoir. Avoid corrosive or foamy liquids.
- Do not operate the robot in direct sunlight for extended periods or in extreme temperatures.
Package Contents
Please verify that all the following items are present in your product box:
- 1 x Anminto Window Cleaning Robot
- 1 x Remote Control
- 8 x Microfiber Mops (4 pairs)
- 1 x AC Power Cord
- 1 x Power Adapter
- 1 x Safety Cable (4 meters)
- 1 x 100ml Sprayer Bottle
- 1 x User Manual
- 2 x Cleaning Rings

This image displays the complete set of items included with your Anminto Window Cleaning Robot, ensuring you have all necessary components for operation.
Product Overview
The Anminto Window Cleaning Robot (Model ANM-06-0522) is designed for efficient and streak-free cleaning of various glass surfaces. It incorporates advanced technology for autonomous operation.

This image shows the Anminto Window Cleaning Robot, its remote control, and a set of microfiber cleaning pads.
Key Features:
- AI 5.0 Path Planning for optimized cleaning patterns.
- Dual water nozzles and double helix cleaning heads for thorough cleaning.
- Powerful 3000Pa vacuum suction for secure attachment.
- Intelligent edge detection system for comprehensive coverage.
- UPS power storage for blackout protection (up to 30 minutes).
- Infrared remote control for convenient operation.
- High-strength safety rope for added security.

This diagram highlights the comprehensive safety features integrated into the robot, ensuring secure operation.
Setup
1. Attach Cleaning Pads
Securely attach the microfiber cleaning pads to the double helix cleaning heads on the underside of the robot. Ensure they are centered and flat for optimal cleaning performance.

This image demonstrates the process of attaching and detaching the microfiber cleaning pads to the robot's cleaning heads.
2. Fill Water Reservoir
Locate the water reservoir cap. Open it and carefully fill the 50ml reservoir with a suitable window cleaning solution or distilled water. Close the cap securely to prevent leaks.

This image illustrates the robot's dual spray system and the location of its 50ml water reservoir.
3. Connect Power and Safety Rope
Connect the AC power adapter to the robot and then to a power outlet. This ensures continuous operation and charges the internal UPS battery.
Attach the high-strength safety rope to the designated anchor point on the robot and secure the other end to a sturdy fixture indoors. This is a critical safety measure to prevent falls.

This diagram illustrates the connection of the robot to its power cord and safety rope, emphasizing the length of each component.
Operating Instructions
1. Power On
Ensure the robot is connected to power and the safety rope is secured. Place the robot on the window surface. Press the power button on the robot or the remote control. The robot will activate its suction to adhere firmly to the glass.

This image shows the robot firmly attached to a window, illustrating its strong suction capability.
2. Select Cleaning Mode
Use the infrared remote control to select one of the three automatic cleaning modes: Up to Down, Left to Down, or Right to Down. You can also use manual control for specific movements and to activate the water spray as needed.

This diagram explains the AI 5.0 path planning, detailing the various cleaning patterns the robot can follow.
3. Start Cleaning
Press the start button on the remote control. The robot will begin its cleaning cycle according to the selected mode, utilizing its AI 5.0 path planning and edge detection system to cover the entire surface efficiently.

This image shows the robot actively cleaning a window, demonstrating its autonomous operation.

This image illustrates the robot's edge detection capability, showing it adjusting its path upon encountering a window frame.
4. Finish Cleaning
Once the cleaning cycle is complete, the robot will return to its starting position or stop. Carefully remove the robot from the window by pressing the release button and detaching it from the surface. Always hold the robot firmly when removing it.
Maintenance
1. Cleaning Pads
After each use, remove the microfiber cleaning pads from the robot. They can be hand-washed or machine-washed with a mild detergent. Allow them to air dry completely before reuse. Replace pads when they show signs of wear or reduced cleaning effectiveness to maintain optimal results.

This image details the quality of the cleaning pads, highlighting the microfiber and ultra-fine chiffon materials used for effective and gentle cleaning.
2. Robot Body
Wipe the robot's exterior with a soft, dry cloth to remove any dust or residue. Do not use abrasive cleaners or immerse the robot in water.
3. Water Reservoir
Empty any remaining cleaning solution from the reservoir after use. Rinse with clean water and allow to air dry to prevent residue buildup and maintain hygiene.
Troubleshooting
Refer to the table below for common issues and their solutions.
| Problem | Possible Cause | Solution |
|---|---|---|
| Robot loses grip or falls | Insufficient suction; dirty pads; uneven surface; power interruption. | Ensure power cord is securely connected. Check if pads are clean and properly attached. Ensure surface is relatively clean before use. Verify safety rope is secured. |
| Leaves streaks | Dirty or worn pads; incorrect cleaning solution; insufficient solution. | Replace or clean pads. Use appropriate window cleaning solution. Ensure reservoir is filled. |
| Robot is noisy | Normal operation sound of vacuum motor. | This is typical for the device. Ensure no foreign objects are obstructing movement. |
| Does not clean corners | Design limitation due to circular pads. | Manual touch-up may be required for sharp corners. |
| Water spray misses glass | Robot position; wind conditions. | Adjust robot position or use manual spray control. |
Specifications
- Brand: Anminto
- Model Name: ANM-06-0522
- Special Feature: Window Cleaning
- Color: White
- Product Dimensions: 4.2"L x 5.9"W x 11.8"H
- Item Weight: 4.82 pounds
- Capacity (Water Reservoir): 50 Milliliters
- Suction Power: 3000Pa
- Battery Life (UPS): Up to 30 minutes (for power outages)
- Power Cord Length: 5.5 meters (approx. 18 feet)
- Safety Rope Length: 4 meters (approx. 13 feet)
- Manufacturer: Anminto
- Date First Available: January 13, 2025
This image highlights key performance specifications of the robot, including its suction power, noise level, and cleaning efficiency.
Warranty and Customer Support
Anminto provides professional customer service for the ANM-06-0522 Window Cleaning Robot.
For any questions, concerns, or issues with your product, please contact our dedicated customer service team via email. We aim to respond within 24 hours to ensure your complete satisfaction.
Please refer to your purchase documentation for specific warranty details and terms.
Applicable Surfaces
The Anminto Window Cleaning Robot is suitable for a wide range of smooth, non-porous glass and similar surfaces, including:
- Windows (framed and frameless)
- Mirrors
- Glass Doors
- Smooth Tiled Walls
- Smooth Wooden Furniture (e.g., tabletops, panels)

This image demonstrates the versatility of the robot, showing its application on windows, mirrors, wooden furniture, and smooth wall surfaces.