1. Product Overview
This manual provides instructions for the Acer Vero 24-inch FHD IPS Monitor and the accompanying ErgoFlexy Dual Monitor Mount. The monitor features a 1920x1080 resolution, 120Hz refresh rate, 4ms response time, anti-glare screen, integrated speakers, and VESA mount compatibility. The dual monitor mount allows for ergonomic adjustments including tilt, swivel, and height.
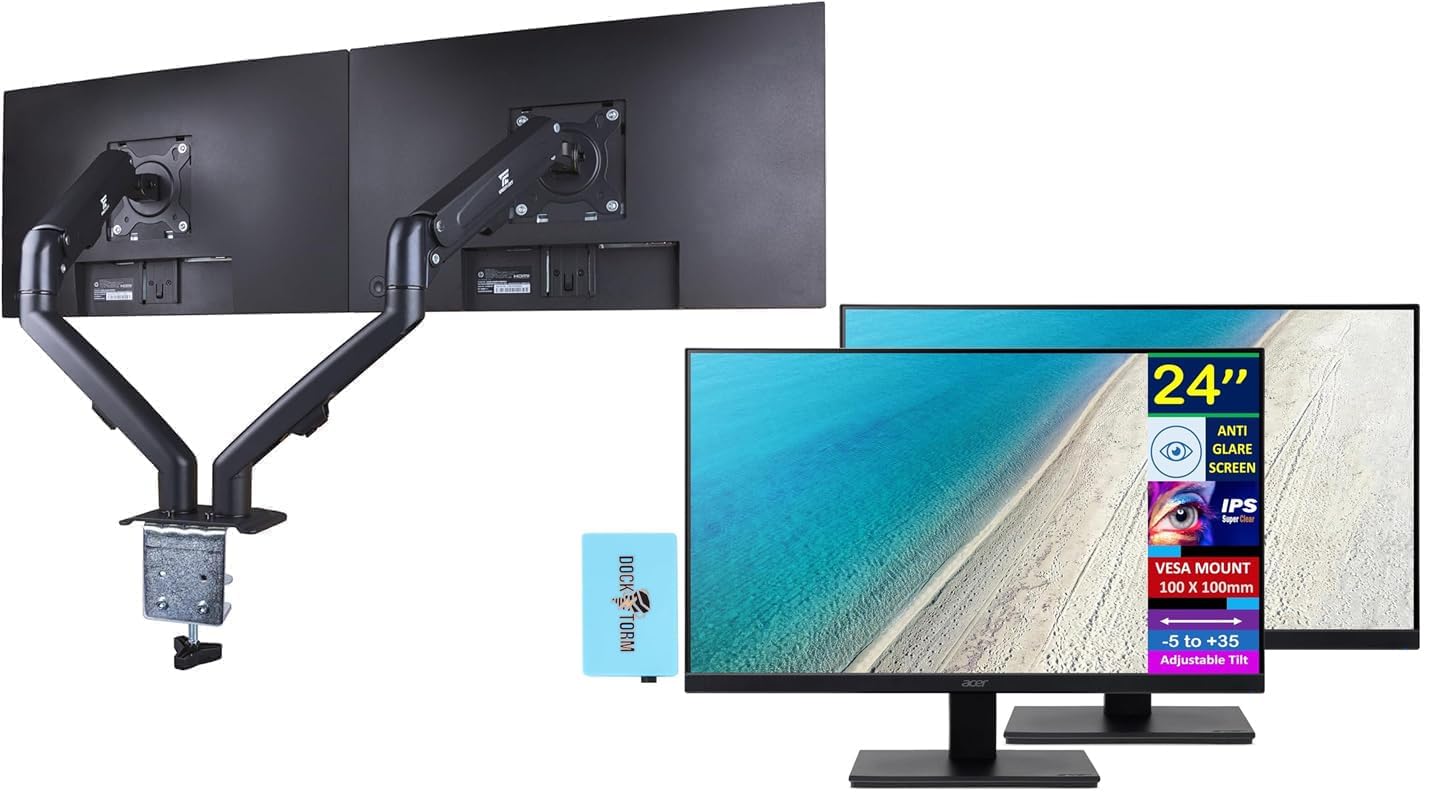
Image 1.1: Two Acer Vero 24-inch monitors attached to the ErgoFlexy Dual Monitor Mount, showcasing the setup.
2. Package Contents
Verify that all components are present in the package. If any items are missing or damaged, contact your retailer.
- Acer Vero 24-inch FHD IPS Monitor (x2)
- ErgoFlexy Dual Monitor Mount (x1)
- Power Cords (x2)
- HDMI Cables (x2)
- VGA Cables (x2)
- Dockztorm Hub (x1)
- User Manual (this document)
- Mounting Hardware (screws, washers, Allen keys)
3. Setup Instructions
3.1 Monitor Assembly (if not using mount)
If you are not using the dual monitor mount, you can assemble the monitor with its included stand.
- Carefully remove the monitor from its packaging.
- Attach the stand base to the stand neck. Secure with the provided screw.
- Attach the assembled stand to the back of the monitor until it clicks into place or is secured with screws.

Image 3.1: Front view of the Acer Vero 24-inch monitor with its standard stand.

Image 3.2: Rear view of the Acer Vero 24-inch monitor, highlighting the VESA mounting holes and input ports.
3.2 ErgoFlexy Dual Monitor Mount Installation
The ErgoFlexy Dual Monitor Mount is designed for desks with a thickness between 10mm and 18mm.
- Attach Desk Clamp: Secure the desk clamp component of the mount to the edge of your desk. Tighten the screw until the mount is stable.
- Assemble Arms: Connect the monitor arms to the central pole of the desk clamp.
- Attach Monitors:
- Remove any pre-attached stands from the monitors.
- Align the VESA mounting holes (100mm x 100mm) on the back of each Acer Vero monitor with the mounting plate on each arm.
- Secure the monitors to the mounting plates using the provided screws.

Image 3.3: Side view of the dual monitor setup, illustrating the monitor arms and their connection points.
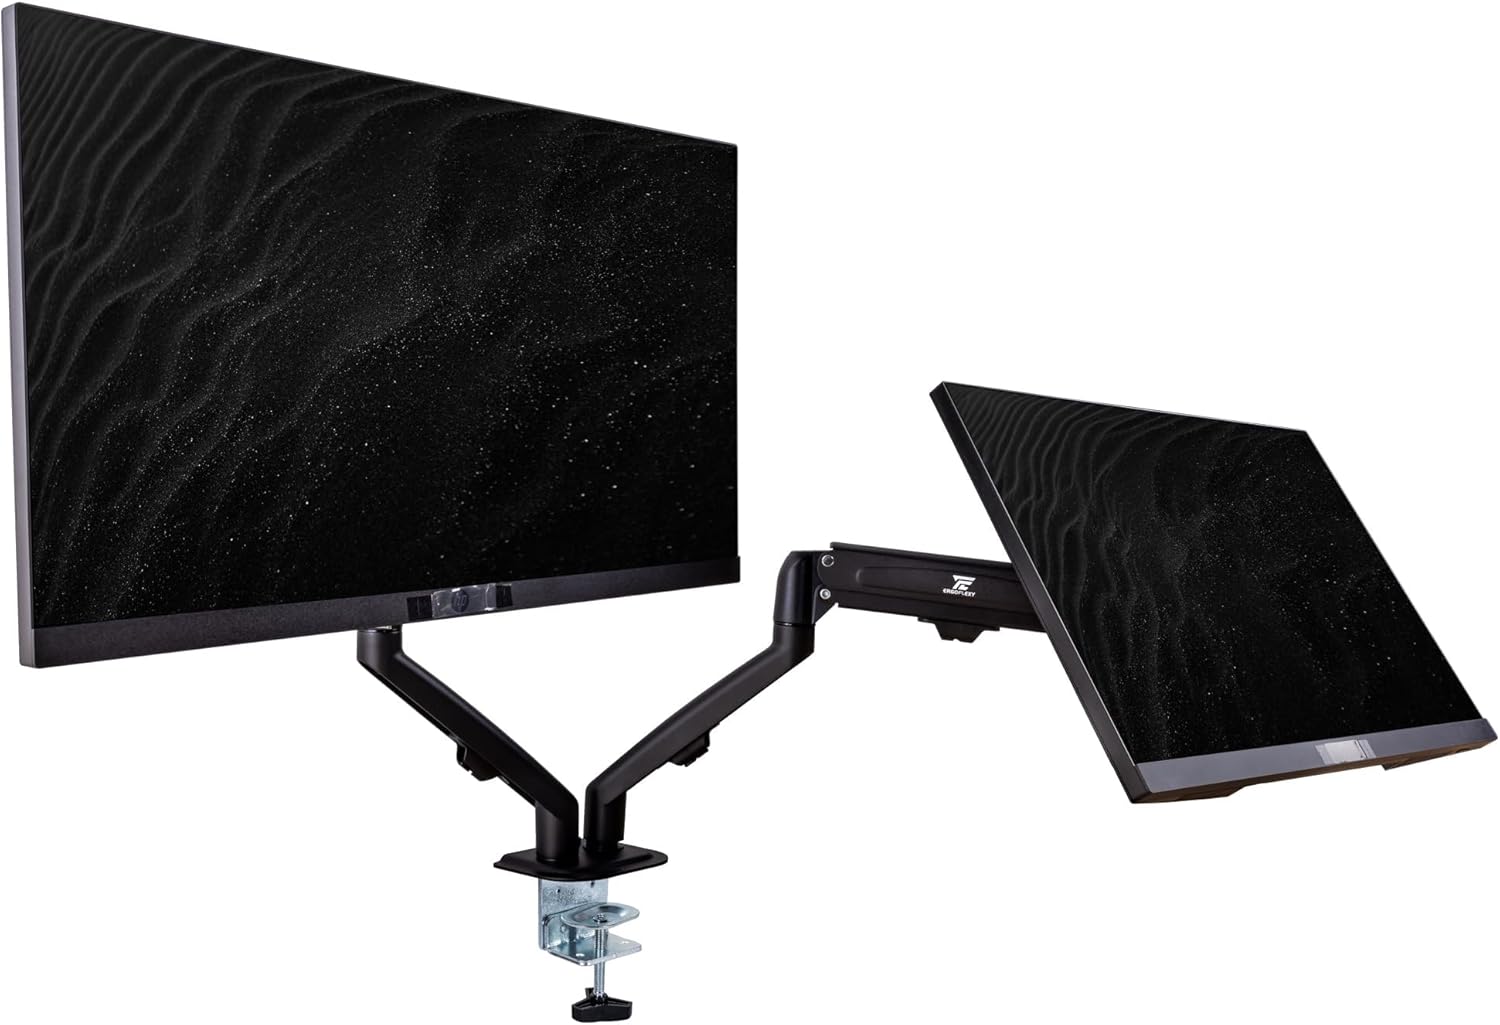
Image 3.4: Diagram detailing the maximum height, extension, swivel, and tilt ranges of the ErgoFlexy Dual Monitor Mount, along with supported screen sizes (17"-27") and weight capacity (2-7kg).
3.3 Connecting Cables
Connect the necessary cables to each monitor and your computer.
- Power Cable: Connect one end of the power cable to the monitor's power input and the other end to a power outlet.
- Video Cable: Connect either an HDMI cable or a VGA cable from your computer's video output to the corresponding input port on each monitor. The monitor supports 1 x HDMI and 1 x VGA.
- Audio Cable: If using external speakers or headphones with the monitor's audio output, connect an audio cable from the monitor's audio line out to your audio device.
- Dockztorm Hub: Connect the Dockztorm Hub to your computer via USB for additional connectivity.
4. Operating Instructions
4.1 Powering On/Off
- To power on the monitor, press the power button located on the monitor's frame.
- To power off, press and hold the power button until the monitor turns off.
4.2 Adjusting Display Settings
Use the OSD (On-Screen Display) menu buttons, typically located on the bottom or back of the monitor, to adjust settings such as:
- Brightness/Contrast: Adjust for optimal visual comfort.
- Color Settings: Modify color temperature, gamma, and saturation.
- Input Selection: Manually switch between HDMI and VGA inputs if auto-detection fails.
- Audio Settings: Control volume for integrated speakers or connected audio devices.
4.3 Ergonomic Adjustments with ErgoFlexy Mount
The ErgoFlexy Dual Monitor Mount allows for flexible positioning of your monitors.
- Height Adjustment: Lift or lower the monitor arms along the central pole to achieve your desired viewing height.
- Tilt: Adjust the monitor screen vertically from -5 to +35 degrees for optimal viewing angle. The mount itself supports +90° / -45° tilt.
- Swivel: Rotate the monitor horizontally up to 180 degrees (+/- 90 degrees from center) on the mount. The mount supports +/- 180° swivel.
- Rotation: Pivot the monitor from landscape to portrait orientation (0 to 90 degrees). The mount supports 180° rotation.
- Extension: Extend or retract the monitor arms to adjust the distance from your eyes. The maximum extension is 15 inches (28mm).

Image 4.1: Side profile of the Acer Vero 24-inch monitor, demonstrating its slim design.
5. Maintenance
5.1 Cleaning the Monitor Screen
To clean the anti-glare screen, use a soft, lint-free cloth lightly dampened with water or a specialized screen cleaner.
- Do not spray cleaner directly onto the screen.
- Avoid using abrasive cleaners, alcohol, or ammonia-based solutions, as these can damage the screen surface.
- Ensure the monitor is powered off and unplugged before cleaning.
5.2 General Care
- Keep the monitor and mount in a clean, dry environment.
- Avoid exposing the product to extreme temperatures or humidity.
- Do not block ventilation openings on the monitor.
6. Troubleshooting
| Problem | Possible Cause | Solution |
|---|---|---|
| No image on screen |
|
|
| Flickering or unstable image |
|
|
| No audio from integrated speakers |
|
|
| Monitor mount feels unstable |
|
|
7. Specifications
| Feature | Specification |
|---|---|
| Display Size | 24 inches |
| Panel Type | IPS |
| Resolution (Maximum) | FHD (1920 x 1080) |
| Aspect Ratio | 16:9 |
| Refresh Rate | 120Hz |
| Response Time | 4ms (GTG) |
| Brightness | 250 nits |
| Contrast Ratio | 1000:1 |
| Viewing Angle (H/V) | 178° / 178° |
| Color Support | 16.7 Million Colors |
| Screen Coating | Anti-glare |
| Ports | 1 x HDMI, 1 x VGA, Audio line In/Out |
| Integrated Speakers | Yes |
| VESA Mount Compatibility | 100mm x 100mm |
| Monitor Tilt | -5° to +35° |
| Product Dimensions (W x D x H) | 21.26 x 7.72 x 16.69 inches (with stand) |
| Item Weight | 9.70 lb (monitor only) |
| Mount Swivel Angle | +/- 180° |
| Mount Rotation Angle | 180° |
| Mount Tilt Angle | +90° / -45° |
| Mount Max Extension | 15 inches (28mm) |
| Mount Fit Desk Thickness | 10 - 18mm |
| Mount Weight Capacity | 2 - 7 Kg per arm |
8. Warranty Information
For detailed warranty information regarding your Acer Vero monitors and ErgoFlexy Dual Monitor Mount, please refer to the warranty card included in your product packaging or visit the official Acer website.
Optional protection plans are available for purchase separately, offering extended coverage beyond the standard manufacturer's warranty. These plans typically cover defects and malfunctions for a specified period (e.g., 3-year or 4-year plans).
9. Support
If you encounter issues not covered in the troubleshooting section or require further assistance, please contact Acer customer support.
- Acer Support Website: Visit www.acer.com/support for drivers, FAQs, and contact information.
- Online Resources: Check the Acer Store on Amazon for additional product information.