
1. Introduction
This manual provides detailed instructions for the installation, operation, and maintenance of your ANNKE Wireless Security Solar Camera System. This system features a 7-inch IPS touch screen NVR, two 4MP wireless cameras equipped with solar panels, human detection, 360° pan and tilt capabilities, and two-way audio. Please read this manual thoroughly before using the product to ensure proper setup and functionality.
Package Contents
Verify that all items listed below are included in your package:
- 1 x 7'' IPS Touch Screen NVR
- 2 x 4MP Wireless Camera
- 2 x Solar Panel
- 1 x 64GB SD Card (pre-installed or separate)
- 1 x NVR Power Adapter
- 2 x Solar Panel Bracket
- 5 x Screw Pack
- 2 x Warning Stickers
- 1 x Quick Start Guide

Image 1.1: Illustration of all components included in the ANNKE Wireless Security Solar Camera System package.
2. Setup
2.1 NVR Initial Setup
- Connect Power: Connect the NVR Power Adapter to the 7-inch IPS Touch Screen NVR and plug it into a power outlet. The NVR will power on automatically.
- Initial Configuration: Follow the on-screen prompts on the touch screen to complete the initial setup, including language selection, time zone, and password creation.
- SD Card Installation: If the 64GB SD card is not pre-installed, locate the SD card slot on the NVR and insert the card until it clicks into place. The system supports up to 256GB Micro SD cards.
2.2 Camera Installation
The cameras are 100% wire-free and powered by solar panels and built-in rechargeable batteries, offering flexible placement.
- Choose a Location: Select an outdoor location for each camera that provides the desired viewing angle and receives ample direct sunlight for the solar panel. Ensure the camera has a clear line of sight to the NVR for optimal wireless signal.
- Mount the Solar Panel: Use the provided solar panel bracket and screw pack to securely mount the solar panel in a location that maximizes sun exposure throughout the day.
- Mount the Camera: Attach the camera to a wall or suitable surface using the remaining screw pack. Position the camera to cover the desired monitoring area.
- Connect Solar Panel to Camera: Connect the cable from the solar panel to the charging port on the camera. Ensure a secure connection to provide continuous power.

Image 2.1: A wireless camera connected to its solar panel, illustrating the wire-free power solution.
2.3 Camera Pairing (Automatic)
The cameras are typically pre-paired with the NVR. Upon powering on both the NVR and cameras, the live feed should appear on the NVR screen. If a camera does not connect, refer to the troubleshooting section or the Quick Start Guide for manual pairing instructions.
3. Operating the System
3.1 Live View and Navigation
Once the system is set up, the NVR's 7-inch IPS touch screen will display the live video feeds from the connected cameras. Tap on a camera's feed to view it in full screen or access specific controls.
3.2 Pan and Tilt Control
The cameras feature 360° pan and tilt functionality. In full-screen live view, use the on-screen controls to remotely adjust the camera's viewing angle. This allows you to cover a wide area without blind spots.

Image 3.1: Diagram illustrating the 270° horizontal pan and 90° vertical tilt range of the camera.
3.3 Recording and Storage
The system supports 24/7 continuous recording. Recordings are stored on the installed 64GB SD card. The system also offers cloud storage options (subscription may be required) for additional backup and accessibility.
3.4 Human Detection and Alerts
The cameras are equipped with advanced PIR (Passive Infrared) human detection technology. When a human presence is detected, the system will:
- Trigger an instant alert on the NVR.
- Send notifications to your linked mobile application.
- Send email alerts (if configured).
This feature helps reduce false alarms caused by pets or other non-human movements.

Image 3.2: Visual representation of human detection triggering app notifications and email alerts.
3.5 Two-Way Audio
Utilize the two-way audio feature to communicate with individuals near the camera. In live view, activate the microphone icon on the NVR screen or mobile app to speak, and listen through the camera's speaker.
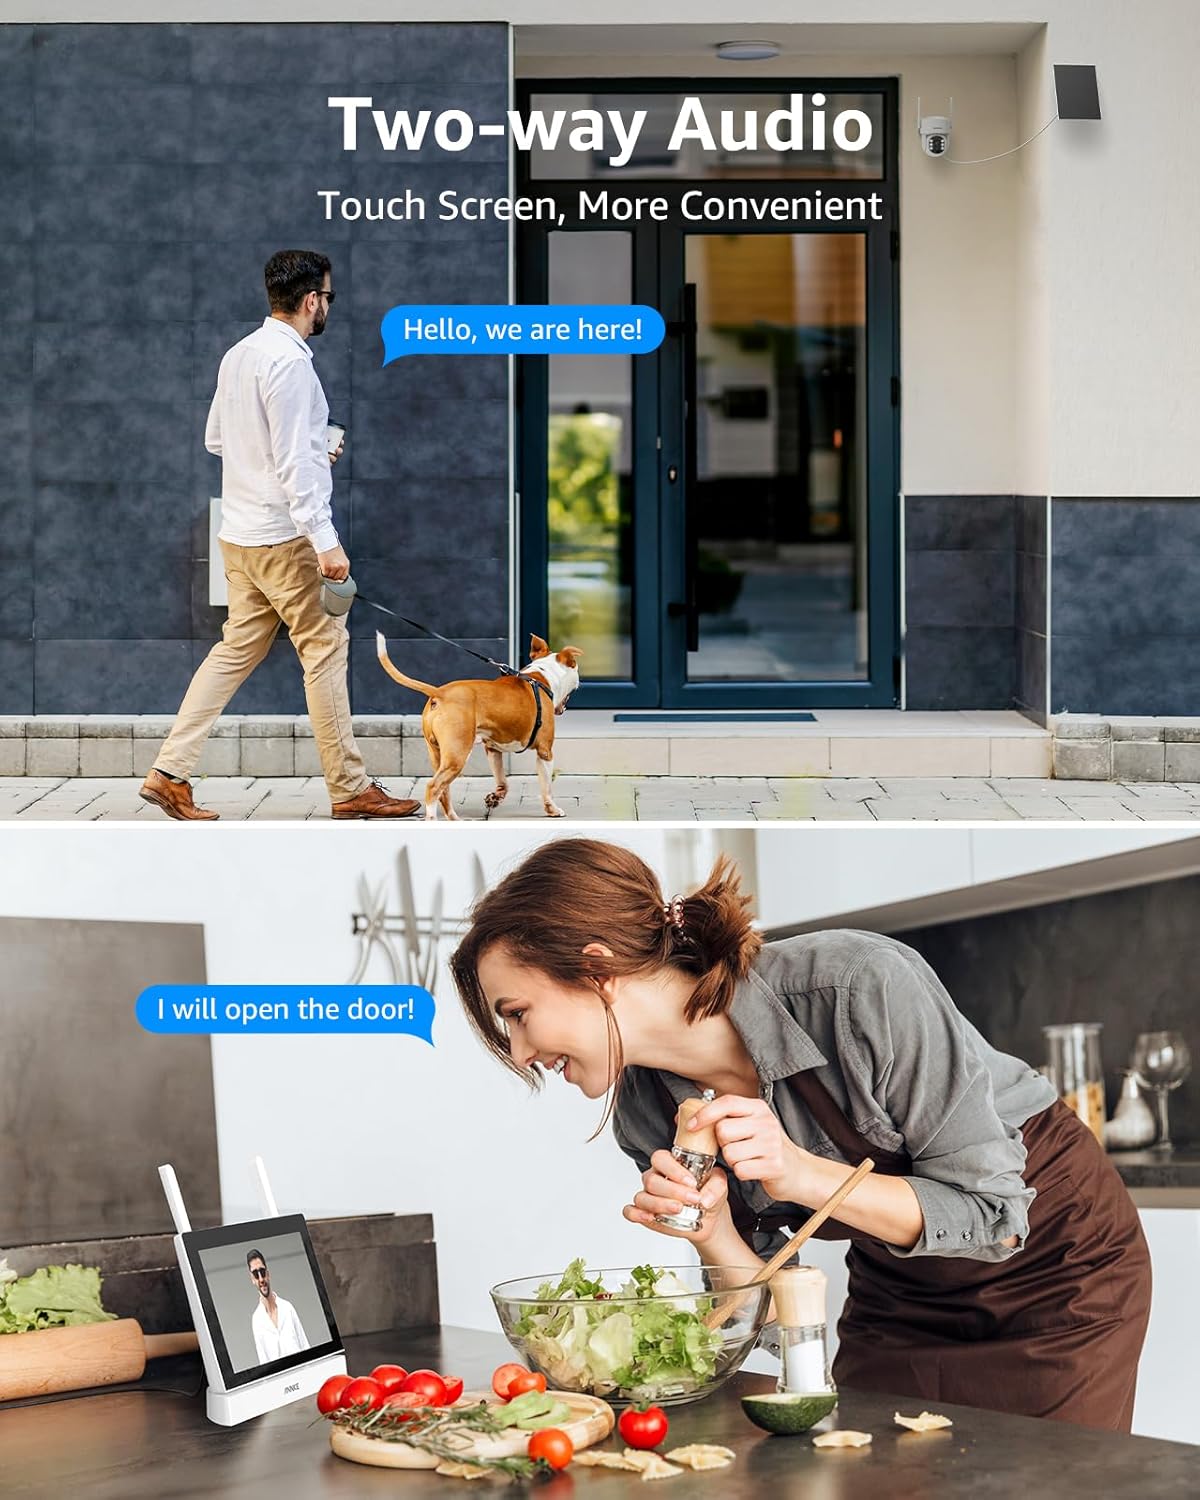
Image 3.3: Depiction of two-way audio functionality, allowing communication through the camera and NVR.
3.6 Remote Access via Mobile App
Download the official ANNKE mobile application from your device's app store. Follow the in-app instructions to connect your NVR system for remote viewing, playback, and system management from anywhere.
3.7 Night Vision
The cameras provide clear visual monitoring both day and night, with a night vision range of up to 49 feet (15 meters).

Image 3.4: Comparison of camera footage during daytime and nighttime, highlighting night vision clarity.
3.8 Clear Visuals and Zoom
The 4MP cameras deliver clear images. The system also supports digital zoom, allowing you to magnify details in live view or playback.

Image 3.5: Demonstration of the camera's ability to maintain clarity when digitally zoomed in 8x.
4. Maintenance
4.1 Solar Panel Care
To ensure optimal charging efficiency, regularly inspect and clean the surface of the solar panels. Remove any dust, dirt, leaves, or snow that may obstruct sunlight. Use a soft, damp cloth for cleaning.
4.2 Camera Lens Cleaning
Periodically clean the camera lens with a soft, lint-free cloth to prevent smudges or dirt from affecting image quality. Avoid using harsh chemicals.
4.3 Battery Management
The cameras are equipped with a built-in 9000mAh rechargeable battery, continuously charged by the solar panel. Ensure the solar panel receives adequate sunlight to maintain battery levels. In prolonged periods of low sunlight, the battery may deplete, requiring temporary manual charging if available, or repositioning the solar panel.
5. Troubleshooting
This section addresses common issues you might encounter. For more detailed troubleshooting, please refer to the ANNKE support website.
- No Image on NVR Screen:
- Ensure the NVR is powered on and the power adapter is securely connected.
- Check if cameras are powered on and within range of the NVR.
- Verify camera batteries are charged (check solar panel exposure).
- Camera Not Connecting:
- Move the camera closer to the NVR to improve signal strength.
- Restart both the camera and the NVR.
- Refer to the Quick Start Guide for manual camera pairing instructions.
- No Motion Detection Alerts:
- Ensure human detection is enabled in the NVR settings or mobile app.
- Check alert settings (app notifications, email) are correctly configured.
- Verify the camera's field of view covers the desired detection area.
- Poor Night Vision:
- Clean the camera lens to remove any obstructions.
- Ensure there are no strong light sources directly facing the camera at night, which can interfere with infrared illumination.
6. Specifications
| Feature | Specification |
|---|---|
| Model Name | AU-N44WET0-82BM-OP |
| Indoor/Outdoor Usage | Outdoor |
| Power Source | Corded Electric (NVR), Solar Panel & Rechargeable Battery (Cameras) |
| Video Capture Resolution | 4MP |
| Number of Channels | 4 |
| Night Vision Range | 49 Feet (15 meters) |
| Item Dimensions (L x W x H) | 12.99 x 7.28 x 6.89 inches |
| Item Weight | 4.85 pounds |
| Flash Memory Installed Size | 64 GB (SD Card) |
| Flash Memory Supported Size Maximum | 256 GB (Micro SD) |
| Connectivity Technology | Wireless |
| Special Features | 2-Way Audio, 24/7 Recording, Human Detection, PIR Detection, Weather Proof |
7. Warranty and Support
ANNKE products are designed for reliability and performance. For specific warranty information, product support, or to access frequently asked questions and software updates, please visit the official ANNKE website or contact ANNKE customer service.
You can find more information and support resources by visiting the ANNKE Store on Amazon.