
Introduction
This manual provides comprehensive instructions for the safe and effective use of your Temodu 1080P Ear Cleaner Camera. This device is designed to assist in the visual inspection of the ear canal, nasal cavity, and skin, featuring a high-definition display and integrated lighting. Please read this manual thoroughly before operation and retain it for future reference.
Product Overview and Components
The Temodu Ear Cleaner Camera is equipped with a 1080P HD camera and a 1.38-inch HD IPS display, providing clear visuals for examination. It includes various accessories for different inspection needs.
Included Components:
- 1 x Temodu Ear Otoscope with Display
- 10 x Cotton Swabs
- 10 x Ear Canal and Nasal Observation Covers (Speculums)
- 2 x Skin Observation Covers
- 1 x Data Cable (Type-C)
- 1 x User Manual

Figure 1: Contents of the Temodu Ear Cleaner Camera Q10 package. This image displays the otoscope device, a USB-C charging cable, cotton swabs, and different types of silicone covers for ear, nasal, and skin examinations.

Figure 2: Detailed view of the 3.2mm HD otoscope lens, highlighting its four integrated LED lights and optical structure. The image also illustrates the improved clarity of the device's view compared to other methods.
Setup Instructions
1. Charging the Device:
Before first use, fully charge the device. Connect the provided data cable to the Type-C port on the otoscope and to a 5V/1A adapter (not included). A full charge takes approximately 3 hours and provides up to 8 hours of usage.
2. Powering On:
Press and hold the power button to turn on the device. The 1.38-inch HD IPS display will activate.
3. Attaching Observation Covers:
Select the appropriate silicone observation cover (ear canal/nasal or skin) and securely attach it to the otoscope lens. Ensure it is firmly in place before use.

Figure 3: Illustration of the various silicone observation covers included with the device, designed for different examination areas such as the ear canal, nasal cavity, and skin. The image also shows the device being used for ear inspection.
Operating Instructions
1. Basic Operation:
Once powered on, the device is ready for use. The 1.38-inch display provides a real-time view. The optimal working distance for clear images is 1.4-2cm from the lens to the object.
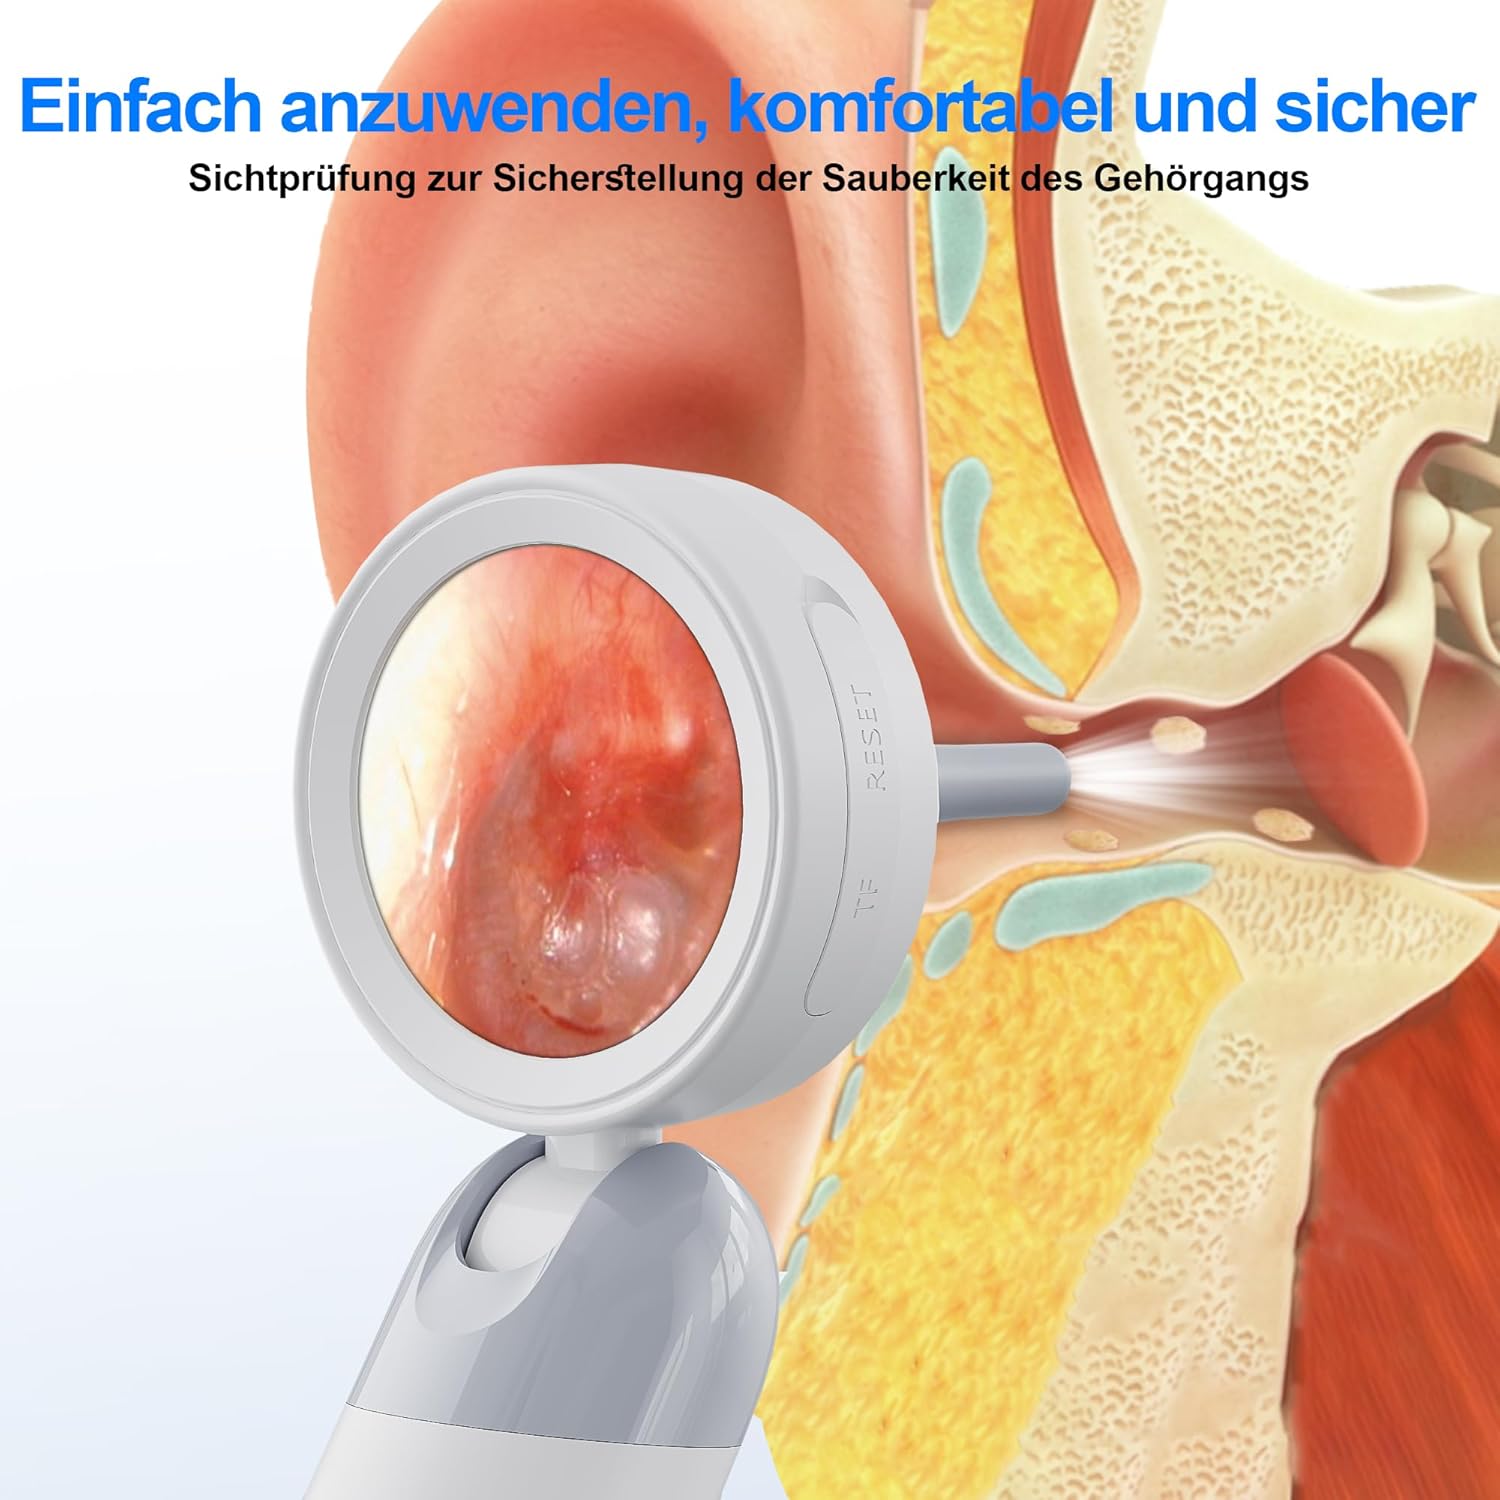
Figure 4: Visual representation of the otoscope in use, demonstrating how it provides a clear and magnified view of the ear canal on its integrated screen, ensuring safe and precise examination.
2. Taking Photos and Videos:
The device supports taking live photos and recording videos. It has built-in storage for up to 100 pictures. An SD card is not included but can be used for expanded storage (supports up to 128GB Micro SD card).

Figure 5: The otoscope's screen displaying an internal ear view, alongside a visual cue for the SD card slot, indicating the device's capability to store images and videos.
3. Screen Rotation:
The screen can rotate 90 degrees, allowing for comfortable viewing from various angles during self-examination or when assisting others.

Figure 6: This image demonstrates the 90-degree rotational feature of the otoscope's inspection head, allowing for versatile viewing angles during examinations.
4. PC Connection and Observation Modes:
The otoscope can be connected to a PC for real-time monitoring and image analysis. It supports Windows Vista/XP/7/8/10/11 and MacOS X11.0 or later. There are three observation modes:
- Device Observation Mode: View directly on the otoscope's screen.
- Memory Card Reading Mode: Access stored images/videos from an inserted SD card (not included).
- Computer Observation Mode: Connect to a PC via the data cable for a larger display and analysis.

Figure 7: The otoscope connected to a laptop, displaying the live feed of an ear canal on the computer screen. This illustrates the device's compatibility with Windows and MacOS for enhanced viewing and analysis.
5. Safety Precautions:
- Always use an observation cover to prevent direct contact with the ear canal.
- Insert the otoscope gently and avoid excessive force.
- Do not insert the device too deeply into the ear canal to prevent injury to the eardrum.
- If you experience discomfort or pain, discontinue use immediately.
- Consult a medical professional for any concerns regarding ear health.
Maintenance
1. Cleaning the Lens and Covers:
After each use, remove the silicone observation cover and clean it with mild soap and water, then dry thoroughly. Gently wipe the otoscope lens with a soft, dry, lint-free cloth. Ensure the lens is clean to maintain clear image quality.
2. Battery Care:
To prolong battery life, charge the device regularly and avoid completely draining the battery. Store the device in a cool, dry place when not in use.
Troubleshooting
| Problem | Solution |
|---|---|
| Device not charging |
|
| Computer cannot connect |
|
| The lens shows a blurry image |
|
Specifications
- Model: Q10
- Camera Resolution: 1080P HD
- Display: 1.38-inch HD IPS Display
- LED Lights: 4
- Optimal Working Distance: 1.4-2 cm
- Battery: Built-in 2000mAh rechargeable Lithium Polymer battery
- Charging Time: Approximately 3 hours
- Usage Time: Up to 8 hours
- Internal Storage: Up to 100 pictures (expandable with Micro SD card, not included)
- PC Compatibility: Windows Vista/XP/7/8/10/11, MacOS X11.0 or later
- Manufacturer: Temodu
- Parcel Dimensions: 22.6 x 13.2 x 5.9 cm
- Weight: 370 g
Warranty and Support
Temodu is committed to customer satisfaction. If you are not satisfied with your product or encounter any issues, please contact us directly. Our goal is to ensure 100% satisfaction for all customers.
For support, please refer to the contact information provided with your purchase or visit the official Temodu website.
Important Safety Information
Always read labels, warnings, and directions before using this product. This device is intended for visual inspection and not for self-diagnosis or treatment of medical conditions. Consult a healthcare professional for any medical concerns.
Official Product Video
Watch this video for a visual guide on how to use the Temodu Ear Cleaner Camera.
Video 1: A demonstration video titled "How to use" by BanSong, showing the practical application and features of the ear cleaner camera. This video provides a visual walkthrough of the device's operation.