
1. Product Overview
The Luqeeg Digital Camera is a compact and portable device designed for capturing high-definition photos and videos. It features a unique dual-screen design, 16x digital zoom, and various photography modes to enhance your creative experience. This manual provides essential information for setting up, operating, and maintaining your camera.
2. Package Contents
Upon unboxing, please verify that all items listed below are present and in good condition:
- 1 x Luqeeg Digital Camera
- 1 x Data Cable (USB)
- 1 x Lanyard
- 1 x Storage Bag
- 1 x User Manual (this document)

Figure 2.1: Luqeeg Digital Camera with its accessories, including the data cable, lanyard, and storage bag.
3. Camera Features
The Luqeeg Digital Camera incorporates several features for enhanced usability and image capture:
- Dual Screen Design: Features a 2.8-inch main screen and a 1.4-inch front screen for versatile viewing and selfie capture.
- High Definition Imaging: Supports 1080P resolution for clear and detailed photos and videos.
- 16x Digital Zoom: Allows for magnification of distant subjects.
- Smile Catch: Automatically captures photos when a smile is detected.
- Auto Focus: Ensures subjects are sharp and in focus.
- Fill Light: Provides additional illumination in low-light conditions.
- Anti-Shake Technology: Reduces blur caused by camera movement.
- Delay Photography (Self-Timer): Sets a delay before photo capture.
- Filters: Offers various creative filters for image enhancement.
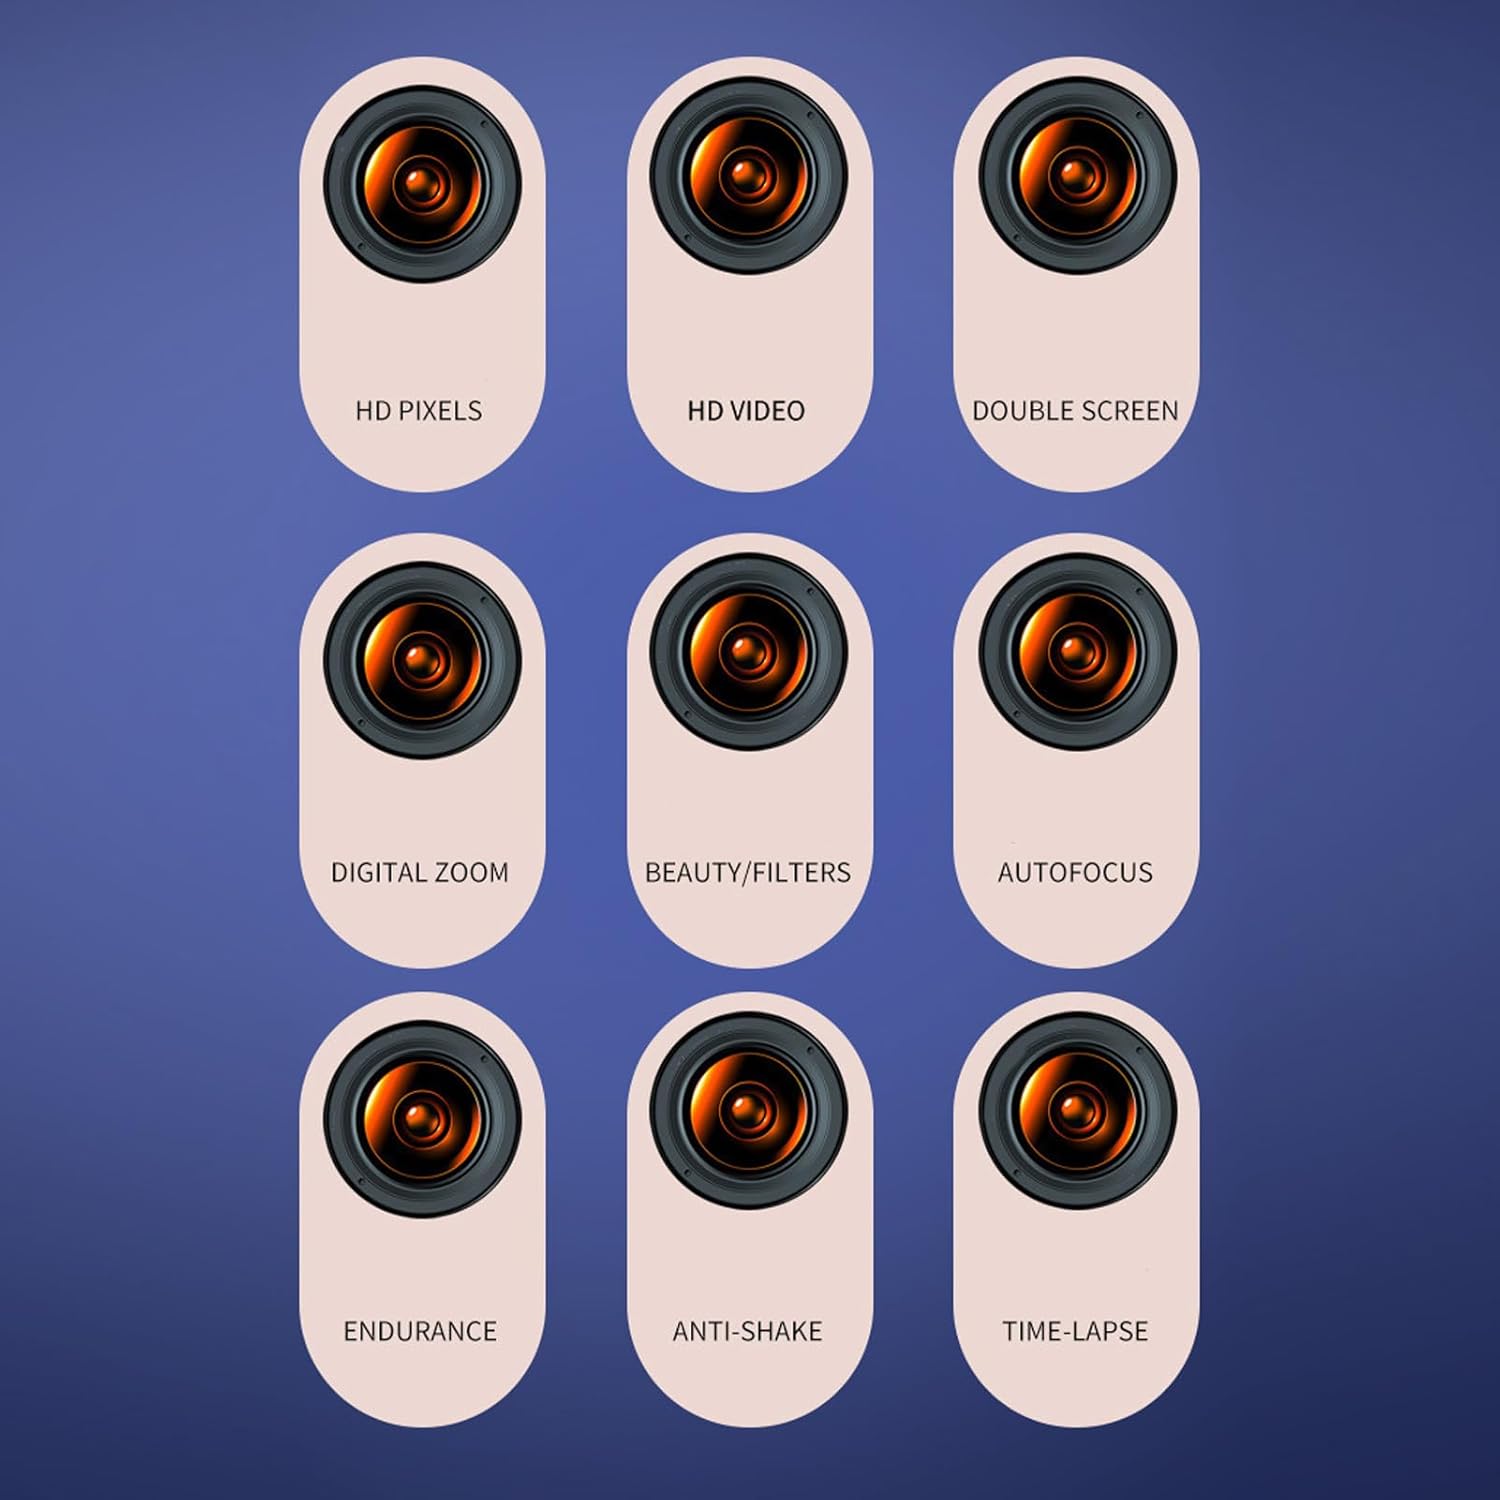
Figure 3.1: Visual representation of key camera features.
4. Setup and Initial Use
4.1. Charging the Battery
The camera has a built-in 700mAh battery. Before first use, ensure the battery is fully charged. Connect the provided data cable to the camera's charging port and the other end to a USB power source (e.g., computer USB port, USB wall adapter). The charging indicator will typically show the charging status and turn off or change color when fully charged.
4.2. Inserting a Memory Card
The camera supports memory cards up to 32GB (not included). Locate the memory card slot, usually on the side or bottom of the camera. Insert the memory card with the metal contacts facing the correct direction until it clicks into place. Ensure the camera is powered off before inserting or removing the memory card.
4.3. Powering On/Off
To power on the camera, press and hold the power button (location may vary, typically on the top or side). The screen will illuminate. To power off, press and hold the power button again until the screen turns off.

Figure 4.1: Rear view of the camera, highlighting the screen and control layout.
5. Operating the Camera
5.1. Basic Photography
Once powered on, the camera is typically in photo mode. Frame your subject using the main screen. Press the shutter button (usually on top) to capture a photo. The camera's auto-focus will attempt to bring the subject into sharp focus before capture.

Figure 5.1: Example of camera usage in an outdoor setting.
5.2. Using Digital Zoom
The camera features 16x digital zoom. Use the zoom buttons (often marked 'W' for Wide and 'T' for Telephoto, or '+' and '-') to adjust the magnification. Digital zoom crops and enlarges the image, which may result in some loss of image quality at higher zoom levels.

Figure 5.2: Demonstration of 16x digital zoom capability.
5.3. Switching Between Screens (Dual Screen)
To switch between the main 2.8-inch screen and the 1.4-inch front screen (for selfies), locate the dedicated screen switch button or a menu option. Refer to the on-screen interface for specific instructions.
5.4. Video Recording
To enter video recording mode, typically press a mode button or select the video icon on the screen. Press the shutter/record button to start and stop recording. Videos are captured in 1080P resolution.
5.5. Accessing Settings and Filters
Navigate through the camera's menu system using the directional buttons and the 'OK' button. Here you can adjust settings such as resolution, white balance, exposure, and apply various filters to your photos and videos. Options like Smile Catch, Delay Photography, and Anti-Shake can also be enabled or disabled from the settings menu.
6. Maintenance and Care
- Cleaning: Use a soft, lint-free cloth to clean the camera body and screens. For the lens, use a specialized lens cleaning cloth and solution. Avoid abrasive materials or harsh chemicals.
- Storage: When not in use, store the camera in the provided storage bag to protect it from dust and scratches. Keep it in a cool, dry place away from direct sunlight and extreme temperatures.
- Battery Care: Avoid fully discharging the battery frequently. If storing for an extended period, charge the battery to about 50% and store in a cool, dry place.
- Memory Card: Periodically back up your photos and videos from the memory card to a computer or external storage device. Format the memory card in the camera regularly to maintain optimal performance.
7. Troubleshooting
| Problem | Possible Cause | Solution |
|---|---|---|
| Camera does not power on. | Battery is depleted or not charged. | Charge the camera battery using the provided data cable. |
| Cannot take photos/videos. | Memory card is full, not inserted, or corrupted. | Insert a memory card, free up space, or format the card (after backing up data). |
| Images are blurry. | Lens is dirty, anti-shake is off, or insufficient light. | Clean the lens. Ensure anti-shake is enabled. Use fill light or shoot in better lighting conditions. |
| Camera freezes or becomes unresponsive. | Software glitch. | Power off the camera by holding the power button. If unresponsive, allow battery to drain or look for a reset pinhole (if available). |
8. Specifications
| Feature | Detail |
|---|---|
| Item Type | Digital Camera |
| Material | ABS |
| Main Screen Size | 2.8 inches |
| Front Screen Size | 1.4 inches |
| Resolution | 1080P |
| Digital Zoom | 16x |
| Smile Catch | Supported |
| Auto Focus | Supported |
| Fill Light | Supported |
| Anti Shake | Supported |
| Delay Photography | Supported |
| Filters | Supported |
| Storage | Up to 32GB Memory Card (not included) |
| Battery Type | Built-in 700mAh Battery |
| Model Name | Luqeegrnot3c9w24-12 |
| Color | Pinkish |
9. Warranty and Support
For warranty information and technical support, please refer to the documentation provided with your purchase or contact Luqeeg customer service through their official channels. Keep your proof of purchase for warranty claims.