
1. Introduction
This manual provides detailed instructions for the installation, operation, and maintenance of your Acegoo 12V Aluminum Round Rocker Switch. Please read this manual thoroughly before installation and use to ensure proper function and safety.
2. Product Overview
The Acegoo 12V Aluminum Round Rocker Switch is a durable, single-pole, single-throw (SPST) ON/OFF switch designed for various 12V or 24V DC applications in automotive, RV, marine, and truck environments. It features a robust aluminum housing, pre-wired leads, and a red LED indicator.
Key Features:
- Robust Aluminum Housing: Constructed from full aluminum with a copper nut for secure mounting, ensuring durability and safety.
- 20A Current Rating: Supports up to 20A at 12VDC or 10A at 24VDC, with UL listed 14 AWG wire leads.
- Pre-Soldered Leads: Wires are pre-soldered and covered with shrink wrap for reliable, long-lasting connections.
- Red LED Indicator: Illuminates when the switch is in the 'ON' position, providing clear status indication.
- Easy Installation: Designed for a 1-inch (25mm) drill hole with nut fastening mount.
Product Components:
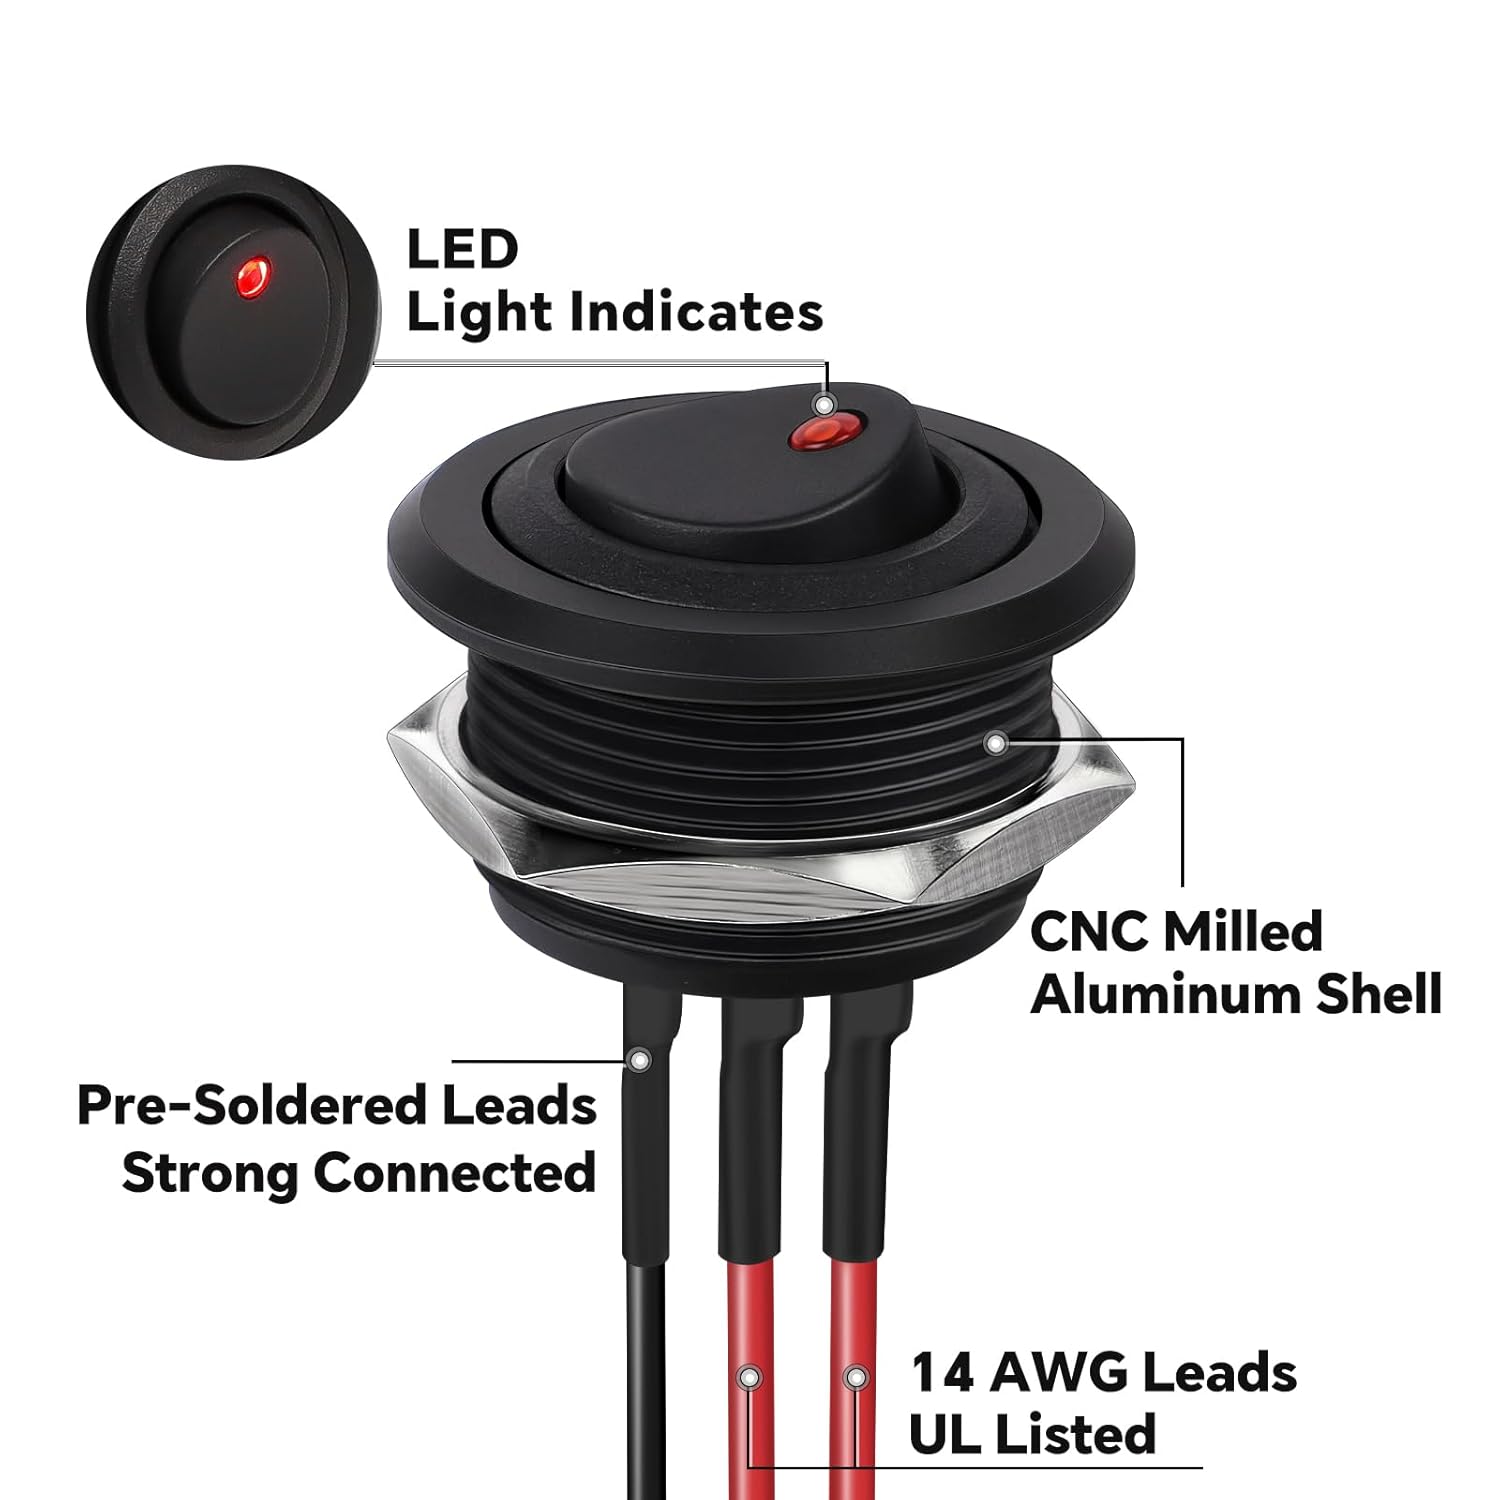
Figure 1: Diagram showing the LED light indicator, CNC milled aluminum shell, pre-soldered leads, and 14 AWG UL listed leads.
Durability and Design:

Figure 2: Comparison highlighting the robust aluminum housing of the Acegoo switch against a plastic alternative, emphasizing safety and resistance to melting.

Figure 3: Image illustrating the rugged and shockproof nature of the switch, featuring full aluminum housing and a nut fixing design for strong, pre-wired connections.
Dimensions:

Figure 4: Detailed dimensions of the switch, showing a 1-inch (25mm) mounting diameter and overall compact design suitable for various installations.
Product Demonstration:
Video 1: A demonstration of the Acegoo 20A Rocker Switch, showcasing its physical attributes and operational functionality.
3. Specifications
| Specification | Value |
|---|---|
| Model | ACE-20A-IR-RS |
| Operation Mode | ON-OFF |
| Current Rating | 20 A (12VDC), 10 A (24VDC) |
| Operating Voltage | 12-24 Volts DC |
| Wattage | Max 240 watts |
| Switch Type | Toggle (Rocker) |
| Material | Aluminum, Copper |
| Mounting Type | Recessed Mount (Nut Fastening) |
| Drill Hole Size | 1 inch (25mm) |
| Wire Gauge | 14 AWG (UL Listed) |
| LED Indicator Color | Red |
| International Protection Rating | IP65 |
| Certification | CE |
| Item Dimensions (L x W x H) | 1.25 x 1 x 0.55 inches |
| Compatible Vehicle Types | Automotive, RV, Marine, Truck, ATV, Off Road Vehicles |
4. Setup and Installation
Follow these steps for safe and proper installation of your rocker switch.
4.1 Mounting the Switch
- Choose a suitable mounting surface that is no thicker than 7/16 inch (10mm).
- Using an appropriate drill bit, create a 1-inch (25mm) diameter hole in the chosen mounting surface. Ensure the hole is clean and free of debris.
- Insert the switch body into the drilled hole from the front.
- Secure the switch from the rear using the provided copper nut. Tighten firmly but do not overtighten.

Figure 5: Illustration showing the required 1-inch (25mm) drill hole and maximum panel thickness for installation.
4.2 Wiring Instructions
The switch comes with pre-soldered 14 AWG leads. Refer to the wiring diagram below for correct connections.
- Red Wire (Power +): Connect to the positive (+) terminal of your 12V/24V power source (e.g., battery). It is recommended to include an inline fuse for protection.
- Red Wire (Load +): Connect to the positive (+) terminal of the device you wish to power (e.g., lights, fan).
- Black Wire (Power -): Connect to the negative (-) terminal of your 12V/24V power source or a common ground point.

Figure 6: Wiring diagram showing connections from battery (with fuse) to the switch and then to two loads (e.g., lights).
4.3 Installation and Functionality Video:
Video 2: A short video demonstrating the connection and basic ON/OFF function of the 12V switch.
5. Operating Instructions
The Acegoo Rocker Switch operates as a simple ON/OFF control for your connected devices.
- To turn the connected device ON, press the rocker switch to the 'ON' position. The red LED indicator will illuminate, confirming that power is being supplied to the device.
- To turn the connected device OFF, press the rocker switch to the 'OFF' position. The red LED indicator will turn off, indicating that power to the device has been disconnected.
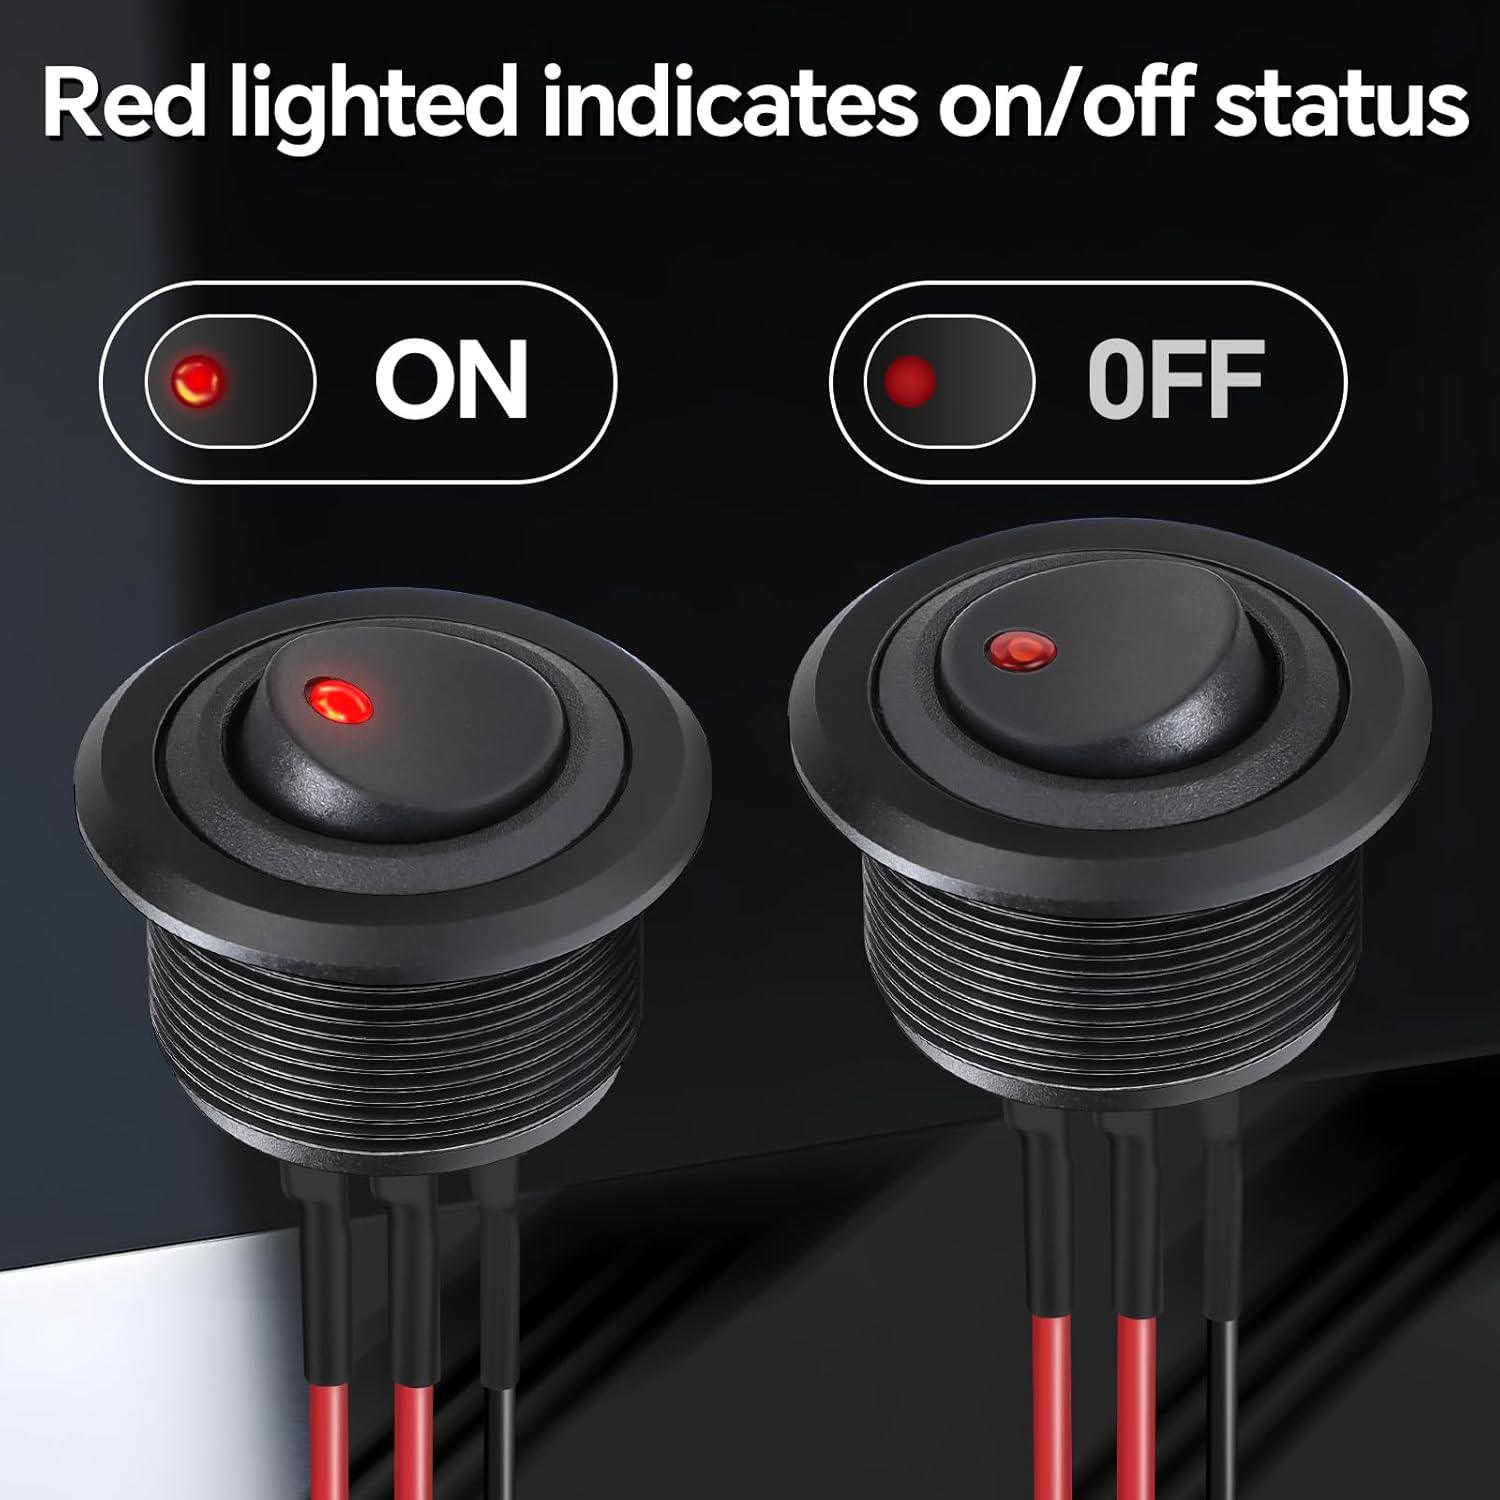
Figure 7: Image showing the red LED indicator illuminated when the switch is ON and off when the switch is OFF.
6. Maintenance
The Acegoo Aluminum Round Rocker Switch requires minimal maintenance.
- Periodically inspect the switch and wiring for any signs of damage, corrosion, or loose connections.
- Clean the switch surface with a soft, dry cloth. Avoid using abrasive cleaners or solvents, as these may damage the finish or internal components.
- Ensure the mounting nut remains tight to prevent movement or damage.
7. Troubleshooting
If you experience issues with your Acegoo Rocker Switch, consider the following common troubleshooting steps:
- Switch Not Functioning:
- Check all wiring connections to ensure they are secure and correctly wired according to the diagram.
- Verify that the power source (battery) is providing the correct voltage (12V or 24V) and is adequately charged.
- Inspect any inline fuses for the circuit; replace if blown.
- Ensure the connected device is functioning correctly by testing it with a known good power source.
- LED Indicator Not Lighting Up:
- Confirm the switch is in the 'ON' position.
- Check power supply and ground connections to the switch.
- If the switch functions but the LED does not light, there may be an issue with the LED itself; however, the switch should still operate.
If problems persist after troubleshooting, contact customer support.
8. Warranty and Support
Acegoo products are designed for reliability and durability. For warranty information, technical support, or any questions regarding your product, please refer to the Acegoo official website or contact their customer service directly. Keep your purchase receipt for warranty claims.