
1. Introduction
This manual provides essential information for the safe installation, operation, and maintenance of your Lynnoland Farmhouse Chandelier Light Fixture, Model L240046P5. Please read these instructions thoroughly before beginning installation and retain them for future reference.
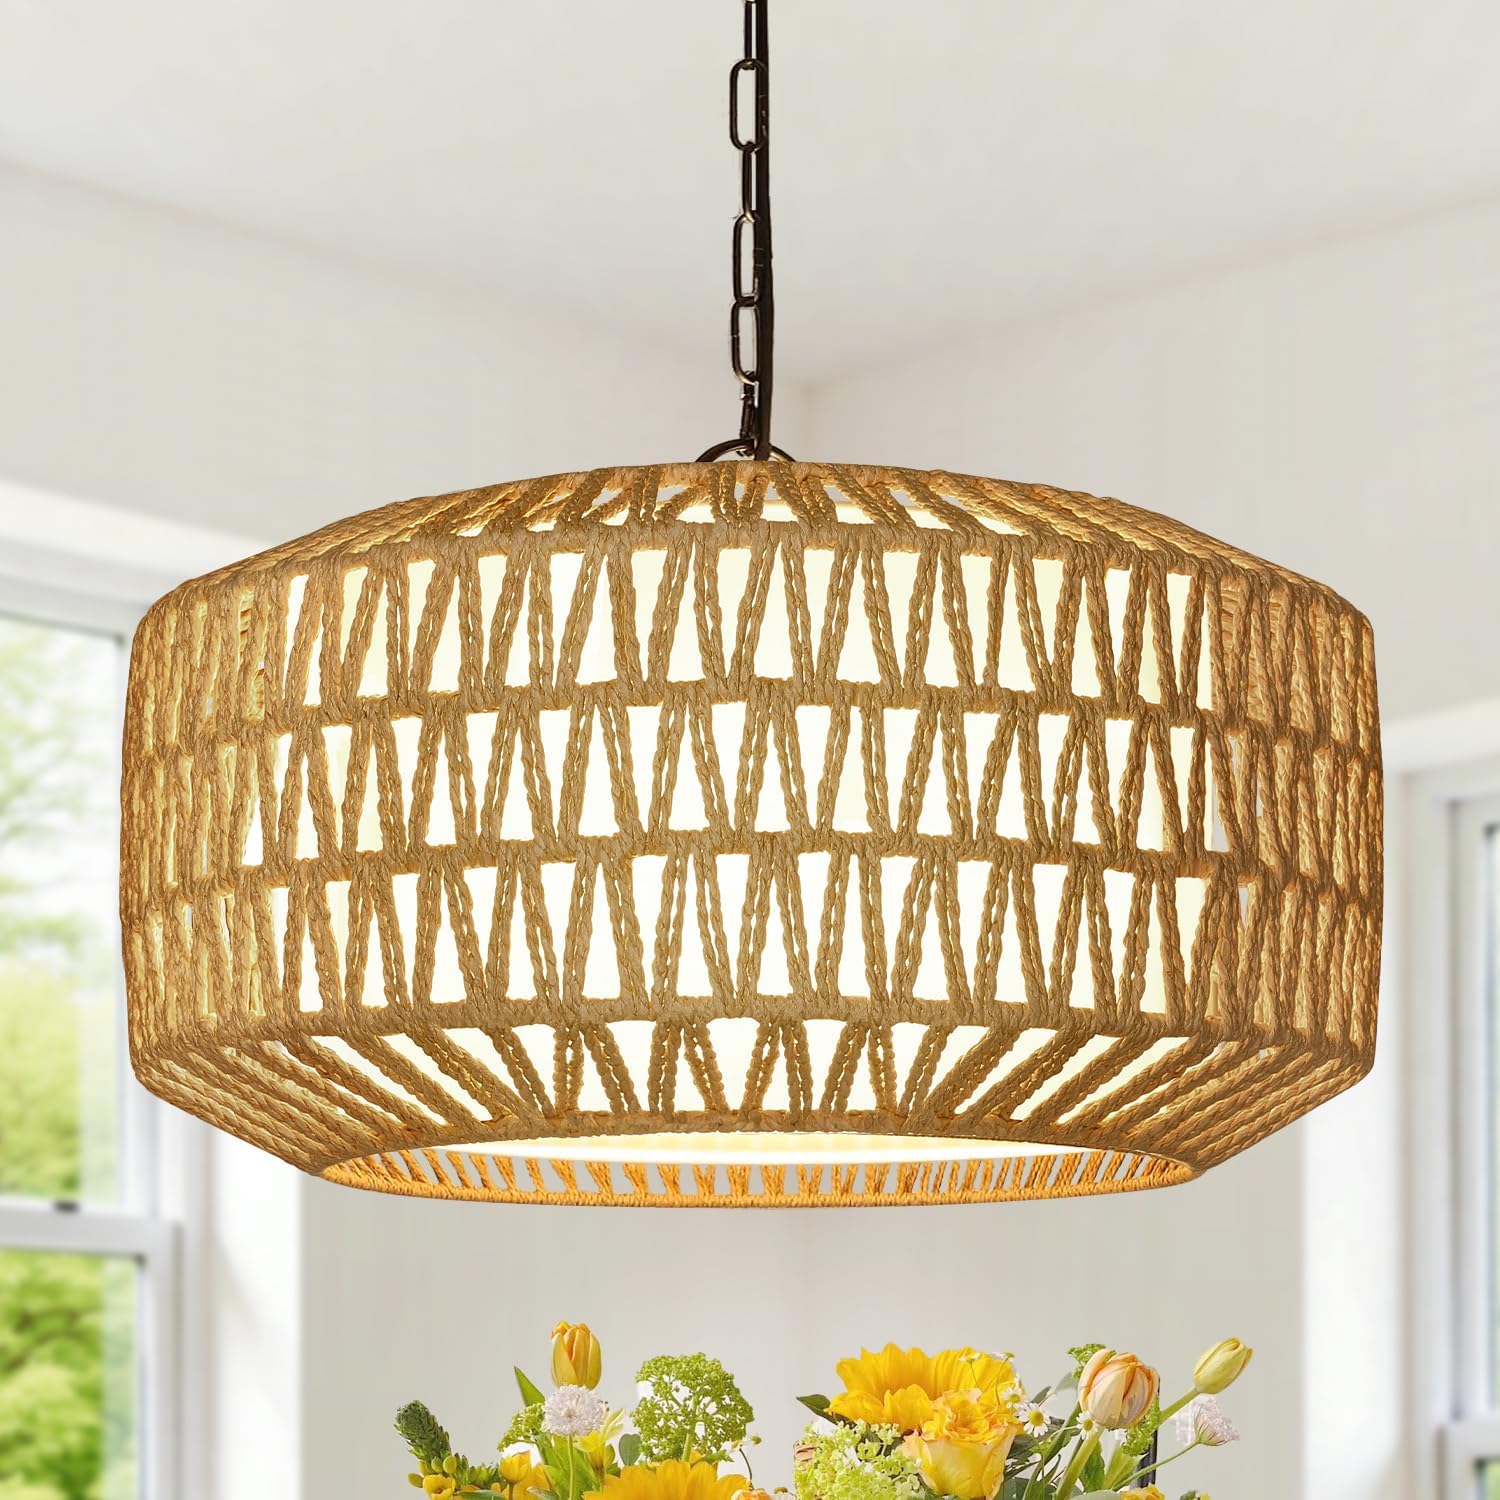
Image 1.1: Lynnoland Farmhouse Chandelier Light Fixture
The Lynnoland Farmhouse Chandelier is a 5-light fixture featuring a hand-woven rattan shade and a linen diffuser, designed for indoor use. Its adjustable height allows for versatile placement in various room types.
2. Important Safety Instructions
To reduce the risk of fire, electric shock, or personal injury, always follow these basic safety precautions:
- Disconnect Power: Always turn off the main power supply at the circuit breaker or fuse box before installing, servicing, or cleaning the fixture.
- Qualified Electrician: Installation should be performed by a qualified electrician or a person familiar with the construction and operation of the product and the hazards involved.
- Grounding: Ensure the fixture is properly grounded to avoid potential electrical shock.
- Bulb Type: Use only E26 base bulbs with a maximum wattage of 40 watts per bulb. Do not exceed the recommended wattage. LED bulbs are recommended for energy efficiency and reduced heat.
- Handle with Care: The rattan lampshade is hand-woven and delicate. Handle it carefully during installation and maintenance.
- Indoor Use Only: This fixture is designed for indoor use in dry locations. Do not expose to moisture or direct water.
- Secure Mounting: Ensure the mounting surface can support the weight of the fixture.
3. Package Contents
Verify that all components are present and undamaged before beginning installation. If any parts are missing or damaged, contact customer support.
- Chandelier Fixture with Rattan Shade and Linen Diffuser
- Mounting Plate
- Adjustable Chain
- Canopy
- Mounting Hardware (screws, wire nuts)
- Instruction Manual

Image 3.1: Chandelier Components and Basic Installation Diagram
4. Product Specifications
| Brand | Lynnoland |
| Model Number | L240046P5 |
| Style | Bohemian, Farmhouse |
| Material | Linen, Metal, Rattan |
| Color | Brown (Rattan), Beige (Shade) |
| Product Dimensions | 18.8"L x 18.8"W x 52"H (Adjustable Height) |
| Item Weight | 7.98 pounds (3.63 kg) |
| Number of Light Sources | 5 |
| Bulb Base | E26 |
| Maximum Compatible Wattage | 40 Watts per bulb |
| Voltage | 120 Volts |
| Power Source | Corded Electric |
| Installation Type | Semi Flush Mount / Hanging |
| Indoor/Outdoor Usage | Indoor |

Image 4.1: Product Dimensions
5. Setup and Installation
Warning: Ensure power is disconnected at the circuit breaker before installation. If you are unsure about electrical wiring, consult a qualified electrician.
- Prepare for Installation:
- Turn off power at the main circuit breaker.
- Unpack all components and inspect for damage.
- Gather necessary tools (screwdriver, wire strippers, electrical tape, ladder).
- Determine Hanging Height: The chain length is adjustable. Measure and determine the desired hanging height for your fixture. You may need to remove links from the chain using pliers.
- Attach Mounting Plate: Secure the mounting plate to the ceiling junction box using the provided screws. Ensure it is firmly attached.
- Connect Wiring:
- Connect the fixture's ground wire (usually bare copper or green) to the ground wire from the junction box.
- Connect the fixture's neutral wire (usually white) to the neutral wire from the junction box.
- Connect the fixture's hot wire (usually black) to the hot wire from the junction box.
- Secure all connections with wire nuts and electrical tape.
- Mount the Canopy: Carefully push the canopy up to the ceiling, covering the junction box and wiring. Secure it in place with the provided screws or nuts.
- Install Bulbs: Screw five E26 base bulbs (not included) into the sockets. Do not exceed 40 watts per bulb.
- Restore Power: Turn the power back on at the circuit breaker and test the fixture.
6. Operating Instructions
Once installed and powered, the chandelier operates via your wall switch. This fixture is compatible with E26 bulbs and dimmable bulbs, allowing you to customize brightness if connected to a compatible dimmer switch (not included).
- Power On/Off: Use the standard wall switch connected to the fixture to turn the lights on or off.
- Dimming (Optional): If a dimmer switch is installed, adjust the switch to control the light intensity. Ensure you use dimmable E26 bulbs.
7. Maintenance
Regular maintenance ensures the longevity and optimal performance of your chandelier.
- Cleaning: Disconnect power before cleaning. Use a soft, dry cloth to wipe the rattan shade and metal components. Do not use abrasive cleaners or solvents, as they may damage the finish or natural materials.
- Bulb Replacement: Disconnect power before replacing bulbs. Allow old bulbs to cool completely before removal. Replace with E26 base bulbs, ensuring they do not exceed 40 watts each.
- Inspection: Periodically check all connections and mounting hardware to ensure they remain secure.

Image 7.1: Detail of the Chandelier's Rattan Material
8. Troubleshooting
If you encounter issues with your chandelier, refer to the following common problems and solutions:
- Light Does Not Turn On:
- Check if the power supply is on at the circuit breaker.
- Ensure the wall switch is in the 'ON' position.
- Verify that bulbs are screwed in tightly and are not burnt out. Replace if necessary.
- Inspect wiring connections for looseness or improper contact (ensure power is off before checking).
- Flickering Lights:
- Ensure bulbs are fully tightened.
- If using dimmable bulbs with a dimmer switch, ensure compatibility between the bulbs and the dimmer.
- Check for loose wiring connections (ensure power is off before checking).
- Fixture is Loose:
- Turn off power.
- Tighten the mounting screws securing the canopy to the mounting plate and the mounting plate to the junction box.
9. Warranty and Customer Support
Lynnoland is committed to the quality of its products. If you encounter any issues or have questions regarding your Farmhouse Chandelier Light Fixture, please contact our customer service team. We aim to provide a prompt solution within 24 hours.
For support, please use the "Contact Seller" option on the platform where you purchased the product.