Introduction
This manual provides essential instructions for the installation, operation, and maintenance of your YANPXDOE Robot Vacuum Cleaner Mop Replacement Pads. These pads are designed to maintain the cleaning performance of your compatible robot vacuum cleaner.
Compatibility
These replacement mop pads are compatible with the following robot vacuum cleaner models:
- Dreame D10S
- Dreame D10S PRO
- Dreame D9 Max
- Dreame F9
Package Contents
Each package contains:
- 4 x Mop Cloths
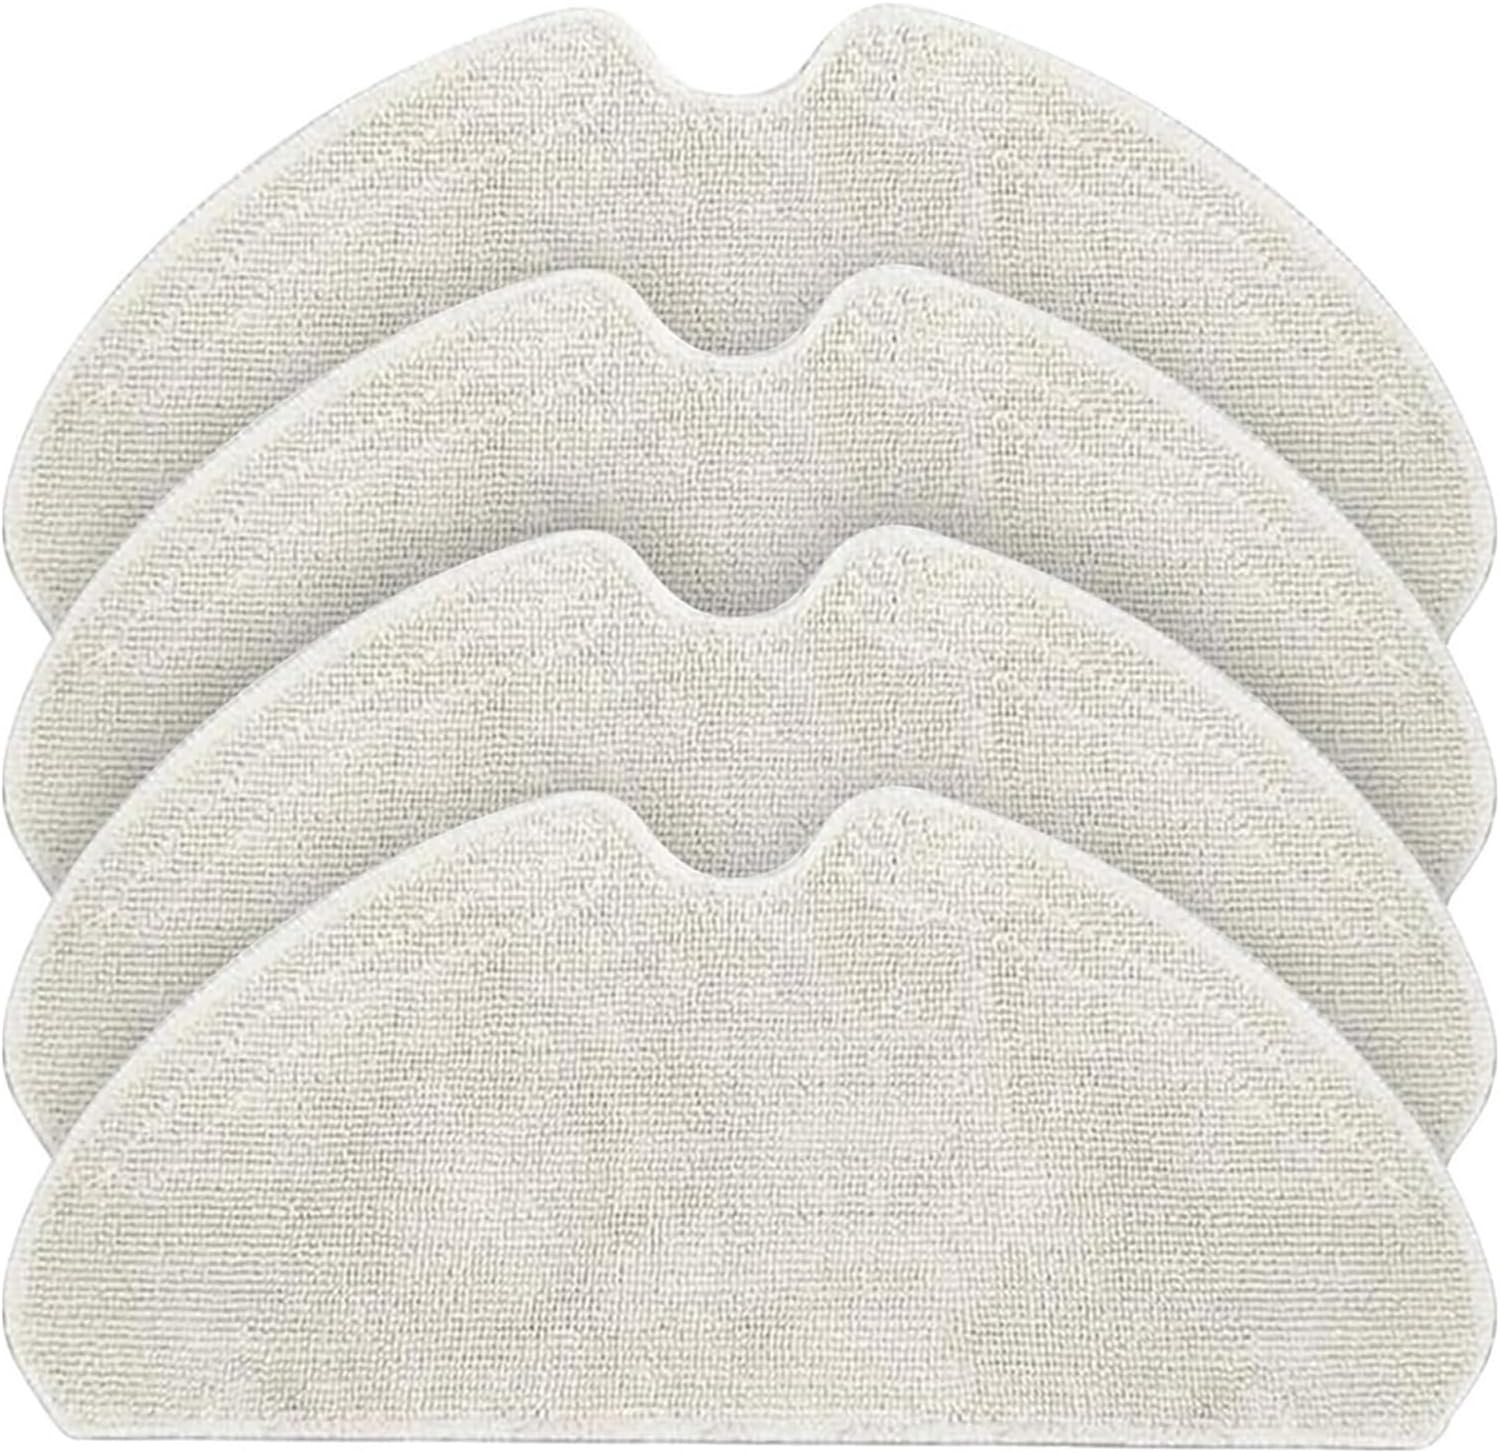
Image 1: Four YANPXDOE replacement mop pads, showing their general shape and texture.
Installation Instructions
- Prepare the Robot: Ensure your robot vacuum cleaner is powered off before attempting to install or remove any accessories.
- Remove Old Mop Pad (if applicable): Locate the mop pad attachment area on the underside of your robot vacuum. Gently detach the used mop pad, typically by peeling it off the Velcro or sliding it out of its slot.
- Attach New Mop Pad: Align the new YANPXDOE replacement mop pad with the attachment area on the robot. The pads feature a universal design with Velcro for secure attachment. Press firmly to ensure the pad is securely installed and will not fall off or move during operation.
- Verify Installation: Double-check that the mop pad is flat and evenly attached to prevent uneven cleaning or interference with the robot's movement.

Image 2: A YANPXDOE mop pad securely attached to the underside of a robot vacuum cleaner, demonstrating the installation context.
Operating Considerations
Once the mop pad is installed, your robot vacuum cleaner is ready for mopping tasks. For optimal performance:
- Water Absorption: The microfiber material of these pads offers excellent absorbency, enhancing the mopping effect by effectively removing liquids and stains from the floor.
- Cleaning Efficiency: The micro fine fibers are suitable for cleaning various types of stains, ensuring thorough floor cleaning.

Image 3: A detailed view of the microfiber material used in the mop pads, highlighting its texture and suitability for various stains.
Maintenance and Care
Proper maintenance extends the lifespan of your mop pads and ensures consistent cleaning performance.
- Cleaning: After each use, remove the mop pad from the robot. These pads are washable. Hand wash with mild detergent and warm water, or machine wash on a gentle cycle.
- Drying: Allow the mop pads to air dry completely before reattaching them to the robot or storing them. Ensure they are fully dry to prevent mildew or odors.
- Replacement: The material of the mop pad directly affects cleaning efficiency and durability. Replace mop pads regularly (e.g., every 1-3 months, depending on usage) to maintain optimal cleaning performance.

Image 4: A diagram illustrating the dimensions (30.8cm / 12in length, 13.5cm / 5.31in width) and key features of the mop pad, emphasizing its superfine, washable fiber and secure Velcro attachment.
Specifications
| Brand | YANPXDOE |
| Model Name | lihuanxiaodian |
| Compatible Models | Dreame D10S, D10S PRO, D9 Max, F9 |
| Material | Microfiber (Superfine fiber) |
| Dimensions (approx.) | 30.8 cm (12 in) x 13.5 cm (5.31 in) |
| Item Weight (per pad) | Approx. 12.5 grams |
| Color | One Color (typically white/light grey) |
| Assembly Required | No |
Troubleshooting
- Mop Pad Not Staying Attached: Ensure the mop pad is pressed firmly onto the Velcro attachment area. If the Velcro on your robot is worn, it may need replacement or a more secure attachment method.
- Poor Cleaning Performance:
- Check if the mop pad is clean. A dirty pad will not clean effectively.
- Ensure the mop pad is adequately damp (if your robot uses a water tank).
- Replace the mop pad if it shows signs of wear, thinning, or reduced absorbency.
- Unpleasant Odor from Mop Pad: This usually indicates incomplete drying or mildew. Ensure pads are thoroughly washed and air-dried completely after each use.
Warranty and Support
For any questions regarding the YANPXDOE Robot Vacuum Cleaner Mop Replacement Pads, please contact your retailer or the manufacturer directly. Please refer to your purchase documentation for specific warranty information.