
1. Introduction
The Daytech Refrigerator and Freezer Door Alarm (Model DA10) is designed to alert you when a refrigerator, freezer, or other door/window remains open for a set period. This helps prevent food spoilage, reduces energy waste, and enhances security. This manual provides detailed instructions for setup, operation, and maintenance.

Image 1: Two Daytech Refrigerator and Freezer Door Alarm units. Each unit consists of a main alarm module and a smaller magnetic strip.
2. Package Contents
Please verify that all items are present in your package:
- Daytech Refrigerator Door Alarm (Main Unit)
- Magnetic Strip
- AAA Batteries (2 per alarm unit)
- 3M Adhesive Tape (pre-applied or included for mounting)
- Mounting Screws (for optional installation)
- User Manual
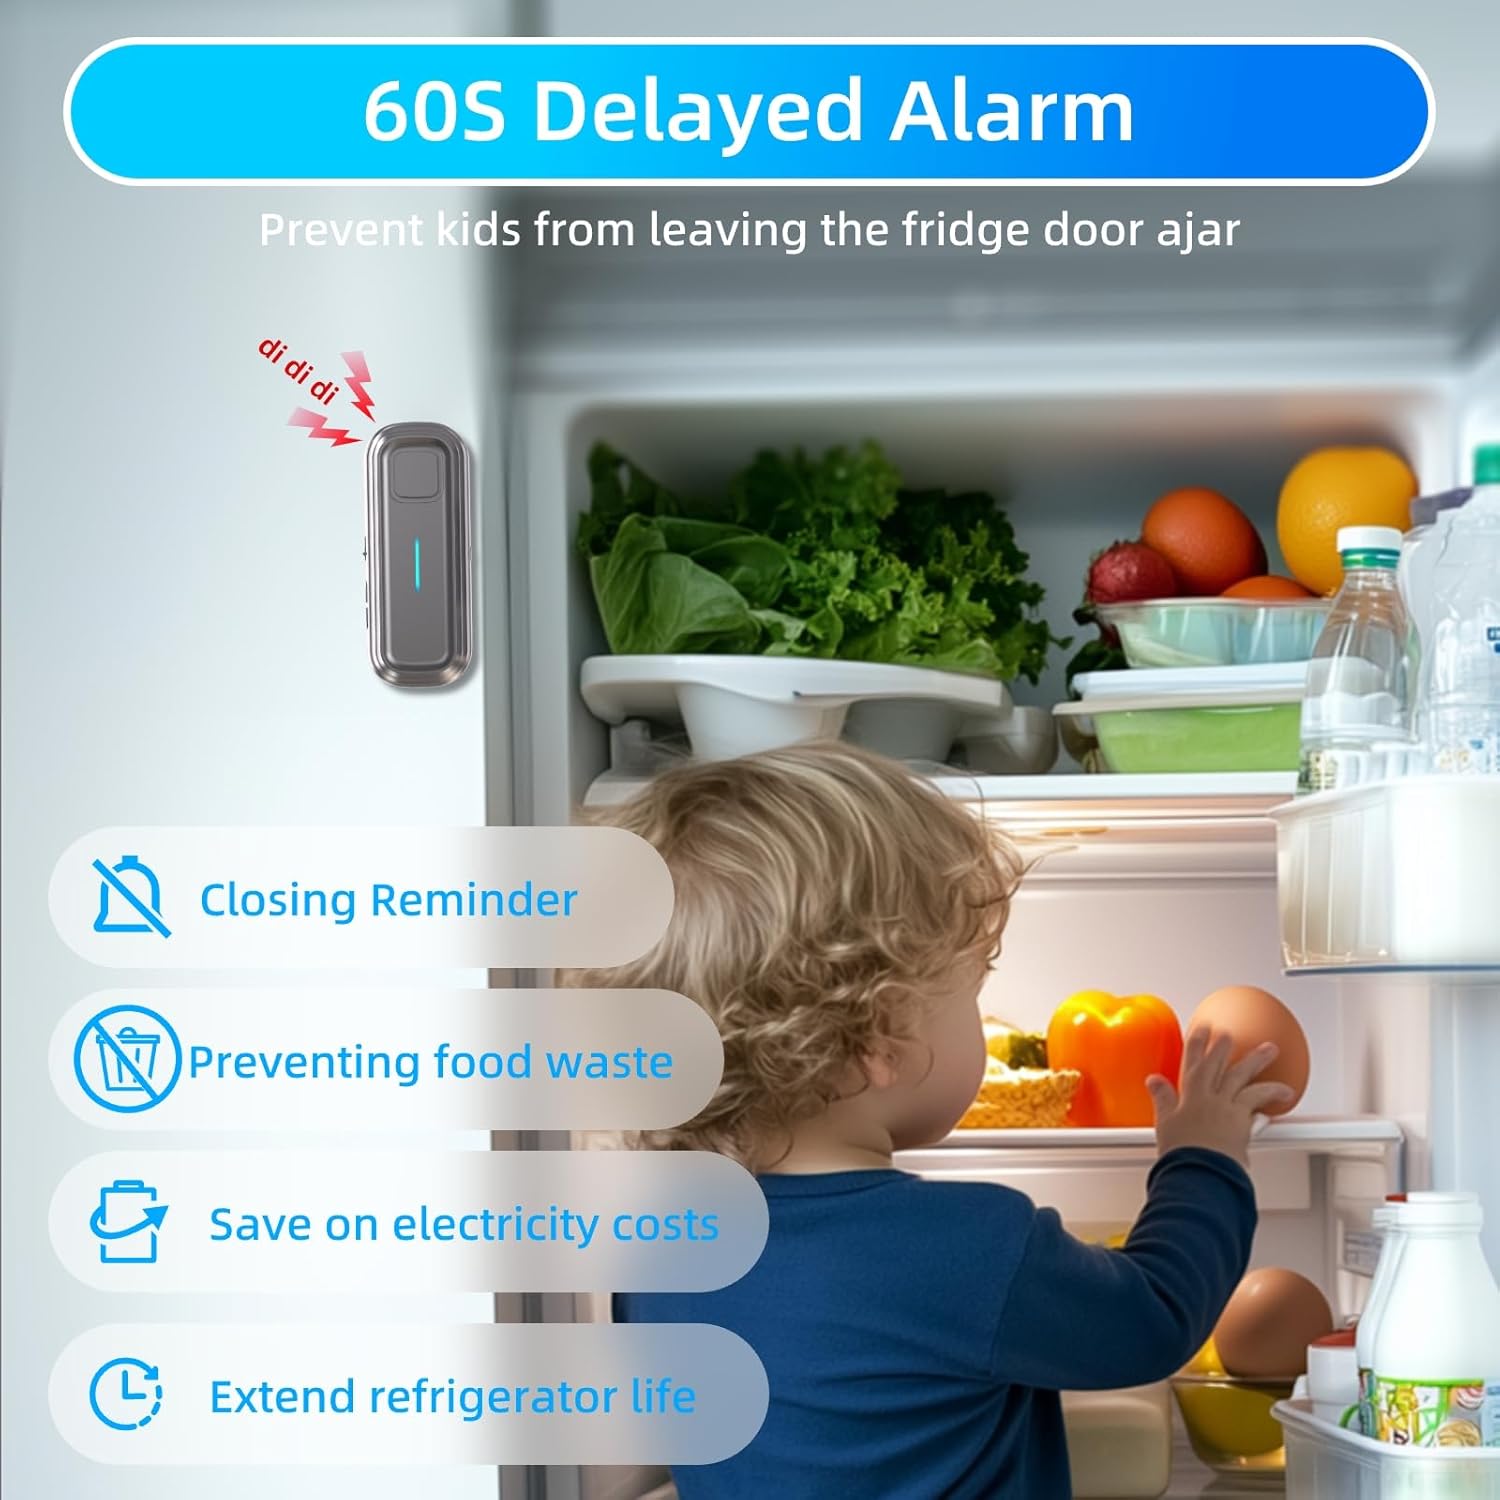
Image 2: A single Daytech Freezer Door Alarm unit with its magnetic strip, highlighting key features such as delayed alert, 5 volume levels (0-120dB), chime/alarm modes, and multi-delay options (60s, 2min, 3min, 4min).
3. Product Features
- Adjustable Delay: Set the alarm to trigger after 1, 2, 3, or 4 minutes of the door being open.
- Dual Ringing Modes: Choose between a gentle 'CHIME' or a loud 'ALARM' sound.
- Adjustable Volume: 5 levels of volume adjustment, from 0 dB (silent) to 120 dB.
- Low Battery Warning: The alarm will emit shorter beeps when batteries are low, indicating replacement is needed.
- Automatic Shut-off: If the door remains open, the alarm will stop after 30 minutes of continuous activation.
- Easy Installation: Mounts with adhesive tape or screws, no tools required for basic setup.
- Versatile Application: Suitable for refrigerators, freezers, doors, windows, cabinets, and more.
4. Setup and Installation
Follow these steps for proper installation:
- Prepare the Surface: Ensure the mounting surface on your appliance or door frame is clean and dry.
- Attach Adhesive Tape: Apply the provided 3M adhesive tape to the back of both the main alarm unit and the magnetic strip. Alternatively, use the included screws for a more permanent installation.
- Position the Units: Carefully peel off the backing from the adhesive tape. Mount the main alarm unit and the magnetic strip on the door/frame. Ensure the triangle marks on both components are aligned.
- Maintain Proper Gap: The distance between the main unit and the magnetic strip must be less than or equal to 0.98 inches (2.5 cm) when the door is closed. This ensures proper detection.
- Insert Batteries: Open the battery compartment on the main unit and insert two AAA batteries (included), observing the correct polarity.

Image 3: Visual guide for easy installation, showing how to apply adhesive tape, align the triangle markers on the main unit and magnetic strip, and maintain the correct mounting distance.

Image 4: Examples of where the Daytech Door Alarm can be installed, including refrigerators, freezers, windows, doors, and cabinets, demonstrating its versatility.
Installation Video Guide
Video 1: An introduction to the Daytech Freezer Door Alarm, demonstrating its features and installation process.
5. Operating Instructions
5.1. Setting Delay Modes
The alarm offers four delay modes before activation. Use the 'SET' key on the side of the main unit to cycle through the modes. Each mode is confirmed by a specific number of beeps:
- Mode 1 (1-minute delay): Alarm sounds after 1 minute, beeping every 15 seconds for 5 seconds until the door closes. (Ideal for refrigerators, basement doors).
- Mode 2 (2-minute delay): Alarm sounds after 2 minutes, beeping every 10 seconds for 10 seconds until the door closes. (Ideal for garages, shed doors).
- Mode 3 (3-minute delay): Alarm sounds after 3 minutes, beeping every 5 seconds for 15 seconds until the door closes. (Ideal for windows, cabinet doors).
- Mode 4 (4-minute delay): Alarm sounds after 4 minutes, beeping every 20 seconds for 15 seconds until the door closes. (Ideal for offices, shop doors).

Image 5: A visual representation of the four distinct delay modes and their recommended applications.
5.2. Adjusting Volume and Sound Type
The alarm features a switch to select between 'CHIME', 'ALARM', or 'OFF' for the sound type. Additionally, there are buttons to adjust the volume across 5 levels, ranging from 0 dB (silent) to 120 dB (loudest).
- Slide the switch to 'CHIME' for a softer alert.
- Slide the switch to 'ALARM' for a louder, more urgent alert.
- Slide the switch to 'OFF' to disable the sound temporarily.
- Use the volume buttons (+/-) to select your desired sound level.

Image 6: Detailed diagram of the alarm unit, pointing out the buzzer, LED indicator, chime/alarm/off switch, volume controls, and work mode set key, along with its dimensions.
Operation Video Guide
Video 2: Demonstrates the Daytech Freezer Door Alarm's delay settings (1, 2, 3, 4 minutes) and how the alarm functions after the set delay.
6. Battery Replacement
The alarm is powered by two AAA batteries. When the batteries are running low, the alarm will emit shorter beeps to indicate that it's time for replacement.
- Locate the battery compartment on the back of the main alarm unit.
- Slide the battery cover open.
- Remove the old AAA batteries.
- Insert two new AAA batteries, ensuring correct polarity (+/-).
- Close the battery cover securely.
Battery Replacement Video Guide
Video 3: A visual demonstration of how to replace the batteries in the Daytech Freezer Door Alarm.
7. Specifications
| Feature | Specification |
|---|---|
| Model Number | DA10 |
| Power Source | 2 x AAA Batteries (included) |
| Voltage | 3 Volts (DC) |
| Control Method | Touch |
| Mounting Type | Door Mount (Adhesive/Screws) |
| Maximum Sensor Range | 0.98 Inches (2.5 cm) |
| Sensor Technology | Contact Sensor |
| Volume Levels | 5 (0 dB to 120 dB) |
| Delay Settings | 1, 2, 3, or 4 Minutes |
| Item Weight | 6.4 ounces |
| Product Dimensions | 2.52 x 1.34 x 4.57 inches |
8. Troubleshooting
If you encounter issues with your Daytech Door Alarm, please refer to the following common solutions:
- Alarm Not Sounding:
- Ensure batteries are correctly installed and not depleted. Replace if necessary.
- Verify the main unit and magnetic strip are aligned with the triangle marks and within 0.98 inches (2.5 cm) when the door is closed.
- Check that the Chime/Alarm/OFF switch is not set to 'OFF'.
- Confirm the volume is not set to 0 dB.
- False Alarms:
- Re-check the alignment and gap between the main unit and the magnetic strip. Ensure they are securely mounted and do not shift.
- Ensure the mounting surface is stable and free from vibrations that could cause slight movement.
- Low Volume:
- Adjust the volume using the +/- buttons on the side of the unit.
- Replace batteries if the low battery warning is active.
9. Warranty and Support
Daytech products are designed for reliability and performance. For warranty information, technical support, or further assistance, please refer to the contact details provided in your product packaging or visit the official Daytech website. Keep your purchase receipt for warranty claims.