Introduction
This manual provides detailed instructions for the installation, operation, and maintenance of your Zalman T6 MINI Compact MATX PC Case. Please read this manual thoroughly before beginning assembly to ensure proper setup and optimal performance.

Image: Front view of the Zalman T6 MINI PC Case, showcasing its minimalist design and front panel I/O ports.
Key Features
- Compact & Efficient Design: Space-saving m-ATX mini tower suitable for compact builds.
- Modern Connectivity: Includes 1 x USB 3.0 and 2 x USB 2.0 ports for convenient device connections.
- Hardware Support: Accommodates ATX PSUs (up to 160mm), GPUs (up to 250mm length), and CPU coolers (up to 147mm height).
- Storage Options: Supports up to 2 x 3.5" HDDs and up to 4 x 2.5" SSDs.
- Cooling System: Features 1 x preinstalled 80mm rear exhaust fan (1400±10% RPM) and supports 1 x 120mm side fan.
Product Dimensions and Compatibility
Understanding the dimensions and compatibility is crucial for component selection and installation.
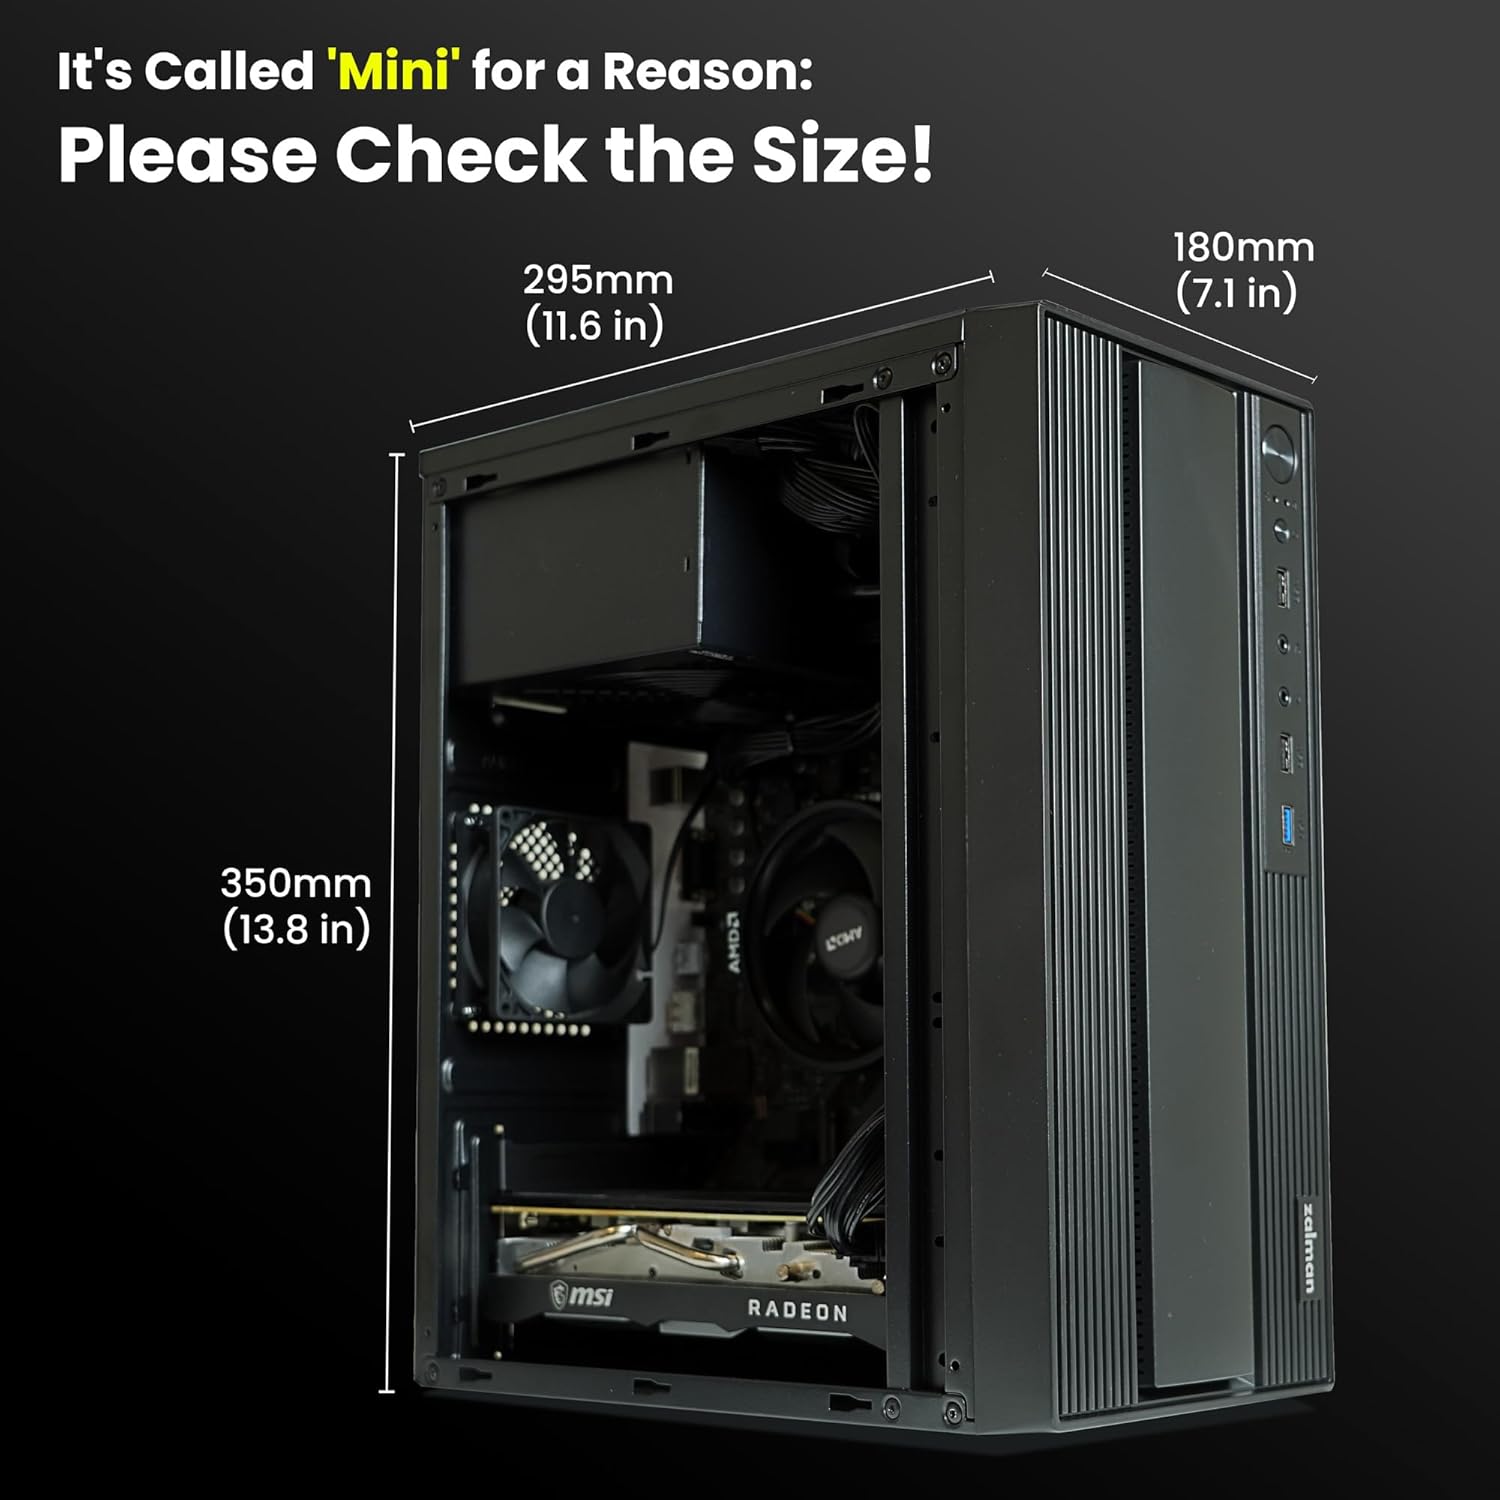
Image: Diagram illustrating the dimensions of the Zalman T6 MINI PC Case (11.6 in / 295mm depth, 7.1 in / 180mm width, 13.8 in / 350mm height).

Image: Visual guide detailing component compatibility, including motherboard (M-ATX, Mini-ITX), GPU length (max 250mm), CPU cooler height (max 147mm), and PSU length (max 160mm).
Setup and Installation
Follow these steps for assembling your PC components within the Zalman T6 MINI case.
1. Preparing the Case
Before installing components, ensure the side panels are removed. The case is designed for easy access to the interior.
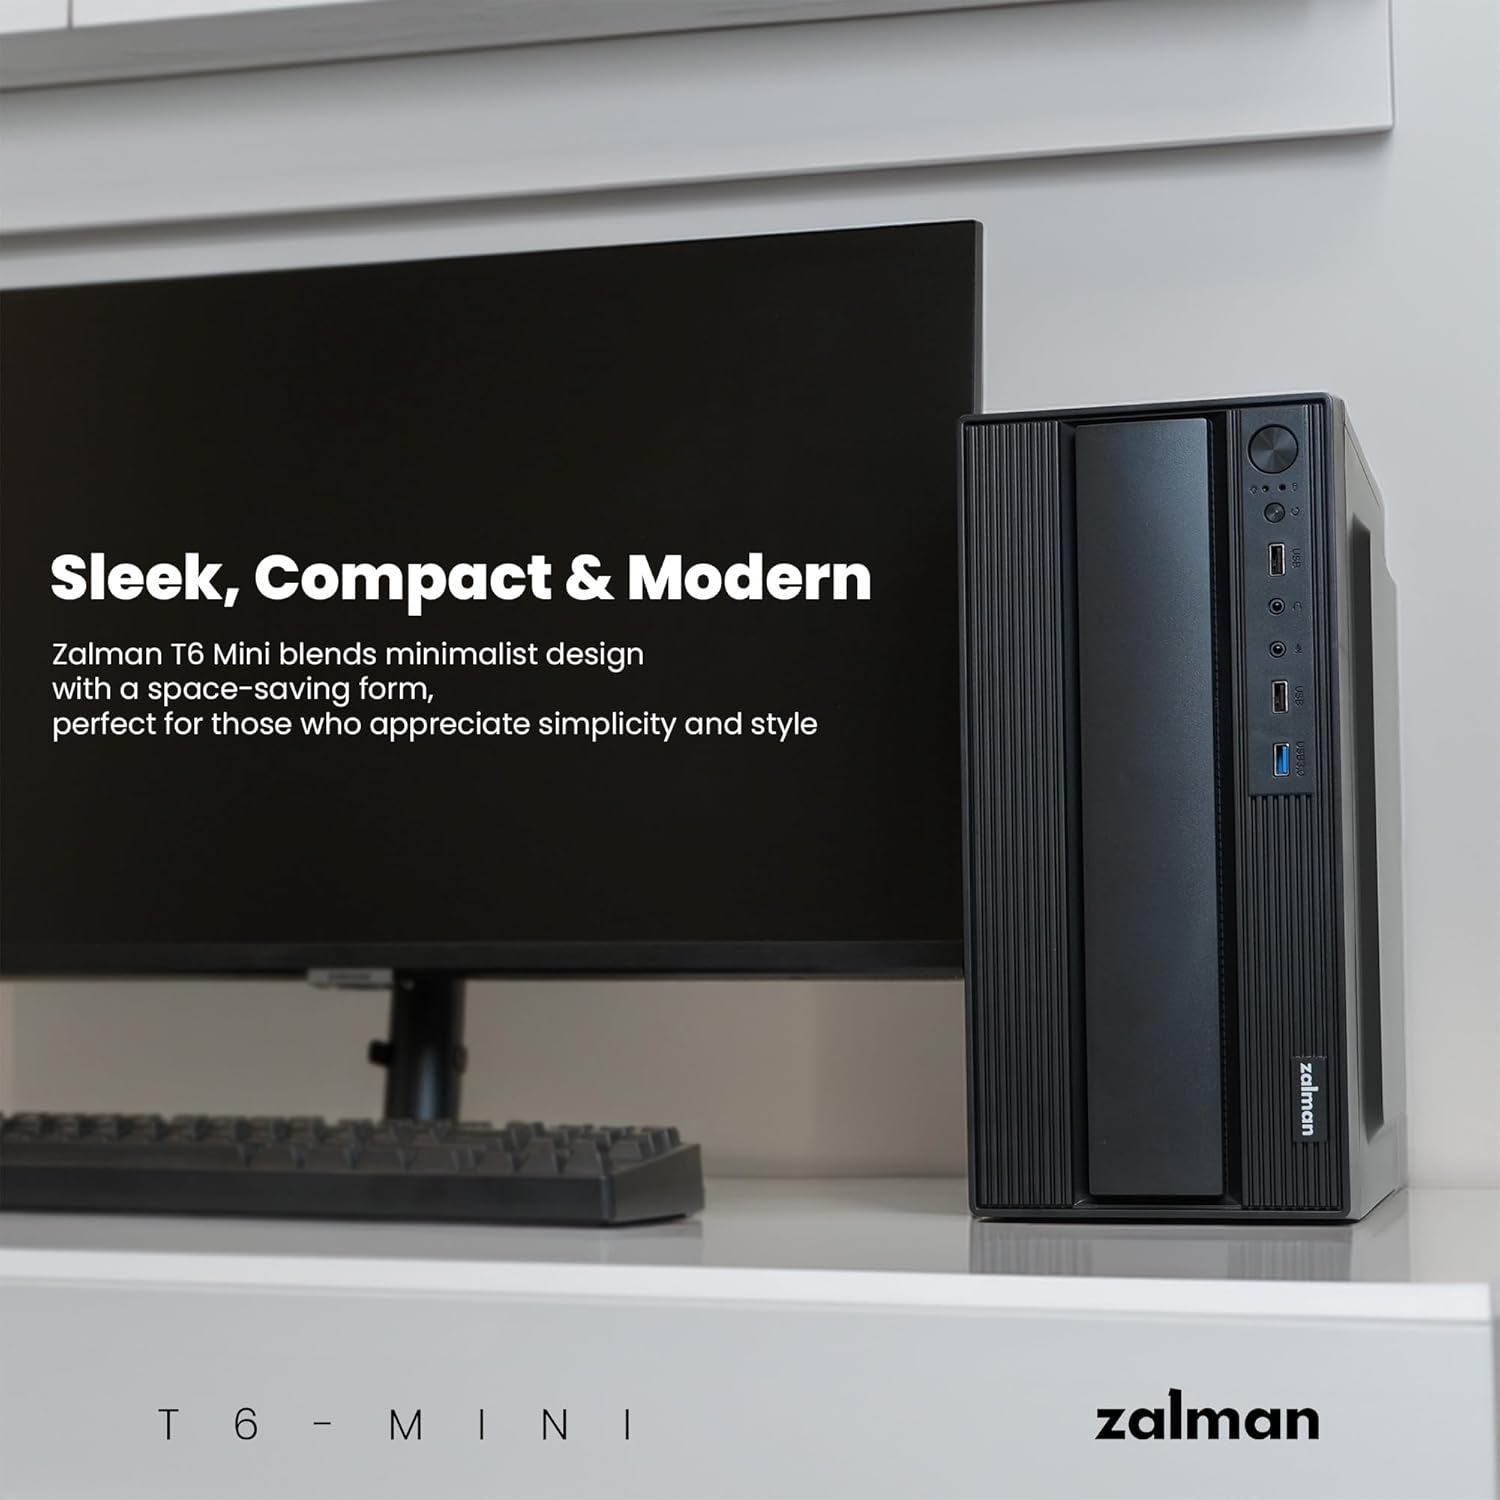
Image: The Zalman T6 MINI PC Case with its side panel removed, revealing the internal structure and component mounting areas.
2. Motherboard and GPU Installation
Install your Micro-ATX or Mini-ITX motherboard. Ensure proper alignment with the standoffs. When installing the graphics card, note the maximum supported length of 250mm. For low-profile graphics cards, ensure the blocking plate is correctly replaced.
Video: A detailed tutorial demonstrating the installation process of components within a PC case, including motherboard and graphics card. This video is provided by the seller.
3. Power Supply Installation
The case supports ATX PSUs up to 160mm in length. Mount the power supply securely in its designated area.
4. Storage Drive Installation
Install your 3.5" HDDs and 2.5" SSDs in the provided drive bays. The case supports up to 2 x 3.5" HDDs and up to 4 x 2.5" SSDs. Note: If installing an HDD, the CPU cooler height should not exceed 40mm to ensure proper clearance.
5. Cable Management
Utilize the internal routing options to manage cables neatly. This improves airflow and maintains a clean interior aesthetic.
Operating Your PC Case
The front panel provides convenient access to essential controls and ports.

Image: Close-up of the front panel I/O of the Zalman T6 MINI, showing the Power button, Reset button, USB 2.0 ports, Microphone jack, Auxiliary Stereo jack, and USB 3.0 port.
- Power Button: Press to turn on/off your PC.
- Reset Button: Press to restart your PC.
- USB 3.0 Port: For high-speed data transfer devices.
- USB 2.0 Ports: For connecting standard USB devices.
- Audio Jacks: Separate ports for microphone and headphones/speakers.
Maintenance
Regular maintenance helps ensure the longevity and optimal performance of your PC case and components.
- Dust Cleaning: Periodically clean dust from the case interior and fan filters to maintain efficient airflow. Use compressed air or a soft brush.
- Fan Inspection: Check the preinstalled 80mm rear fan and any optional side fans for dust buildup or obstructions. Ensure they are spinning freely.
- Cable Check: Verify that all internal cables remain securely connected and are not obstructing airflow.
Troubleshooting
If you encounter issues, consider the following common troubleshooting steps:
- No Power: Ensure the power supply is correctly installed and connected to the motherboard and wall outlet. Check all power cables.
- Overheating: Verify that all fans are operating correctly and that there is no excessive dust buildup restricting airflow. Ensure proper component installation within the specified dimensions.
- USB Ports Not Working: Check the internal USB headers connected to the motherboard. Ensure drivers are up to date.
- Component Fit Issues: Refer to the "Product Dimensions and Compatibility" section to confirm all components adhere to the maximum supported sizes.
Specifications
| Feature | Detail |
|---|---|
| Brand | Zalman |
| Model Name | T6 MINI |
| Case Type | Mini-Tower |
| Motherboard Compatibility | Micro ATX, Mini ITX |
| Product Dimensions (LxWxH) | 11.6 x 7 x 13.8 inches (295 x 180 x 350 mm) |
| Item Weight | 4.49 pounds |
| Material | Alloy Steel, Metal, Plastic |
| Color | Black |
| Max GPU Length | 250mm |
| Max CPU Cooler Height | 147mm |
| Max PSU Length | 160mm (ATX PSU) |
| Drive Bays | Up to 2 x 3.5" HDDs, up to 4 x 2.5" SSDs |
| Front I/O Ports | 1 x USB 3.0, 2 x USB 2.0, Mic, Aux Stereo |
| Included Fans | 1 x 80mm Rear Exhaust Fan (1400±10% RPM) |
| Fan Support | 1 x 120mm Side, 1 x 80mm Rear |
| Liquid AIO Cooler Support | Not supported |
Warranty and Support
For warranty information and technical support, please refer to the official Zalman website or contact your retailer. Keep your proof of purchase for warranty claims.
You can visit the official Zalman Store for more products and support: Zalman Store


