
1. Introduction
Thank you for choosing the UIKOP Hidden Camera Detector. This compact and versatile device is designed to enhance your privacy and security by detecting various hidden surveillance equipment, including wireless and wired cameras, GPS trackers, and RF listening devices. This manual provides detailed instructions on how to effectively use and maintain your detector.
2. Product Overview
The UIKOP T15 detector features multiple detection modes and a user-friendly interface. Familiarize yourself with its components:

Figure 2.1: UIKOP T15 Detector Components
- Antenna: Extendable for RF signal detection.
- Lens Identification LED: Used for infrared camera detection.
- Lighting: Built-in flashlight for low-light conditions.
- Magnetic Detection: Identifies magnetic GPS trackers.
- Signal Light/LED Light: Indicates signal strength and detection status.
- Function Switching Button: Cycles through detection modes.
- Signal Strength Adjustment Button: Adjusts sensitivity for RF detection.
- On/Off/Vibration Mode Key: Powers the device on/off and toggles vibration alerts.
- Charging Port: For recharging the internal battery.
- Lanyard Hole: For attaching a lanyard for portability.
3. Setup
- Charging the Device: Connect the detector to a USB power source using the provided charging cable. The charging indicator light will illuminate during charging and turn off when fully charged. A full charge takes approximately 1.5 hours.
- Power On/Off: Press and hold the On/Off/Vibration Mode Key for 3 seconds to power on the device. The device will typically start in RF signal detection mode. To power off, press and hold the same button again.
- Vibration Mode: Briefly press the On/Off/Vibration Mode Key while the device is on to toggle between audible alerts and vibration alerts.
4. Operating Modes
4.1. RF Signal Detection (Wireless Devices)
This mode detects active RF transmitters such as wireless cameras, audio bugs, and GSM/3G/4G bugs. The detection range is 5cm to 8m.
- Ensure the device is powered on and in RF signal detection mode (indicated by blue signal lights).
- Extend the antenna fully.
- Slowly sweep the detector around the area you wish to scan. The signal lights will illuminate, and an audible or vibration alert will increase in intensity as you approach a signal source.
- Use the Signal Strength Adjustment Button to decrease sensitivity if the signal is too strong or to pinpoint the exact location of a weaker signal.

Figure 4.1: RF Signal Detection in Use
Demonstration Video:
Video 4.1: This video demonstrates the various functions of the T18 Hidden Camera Detector, including its RF signal detection capabilities. It shows how the device reacts to signals from mobile phones and other electronic devices, indicating the presence of wireless transmissions.
4.2. Infrared Camera Detection (Hidden Pinhole Cameras)
This mode uses infrared laser scanning to visually identify hidden pinhole cameras, even those that are turned off.
- Press the Function Switching Button to switch to Infrared Camera Detection mode (indicated by the red LED lights on the front).
- Look through the red lens on the detector.
- Slowly scan the area, paying close attention to common hiding spots like smoke detectors, alarm clocks, vents, and picture frames. Hidden camera lenses will appear as bright, reflective red dots when illuminated by the detector's infrared lights.
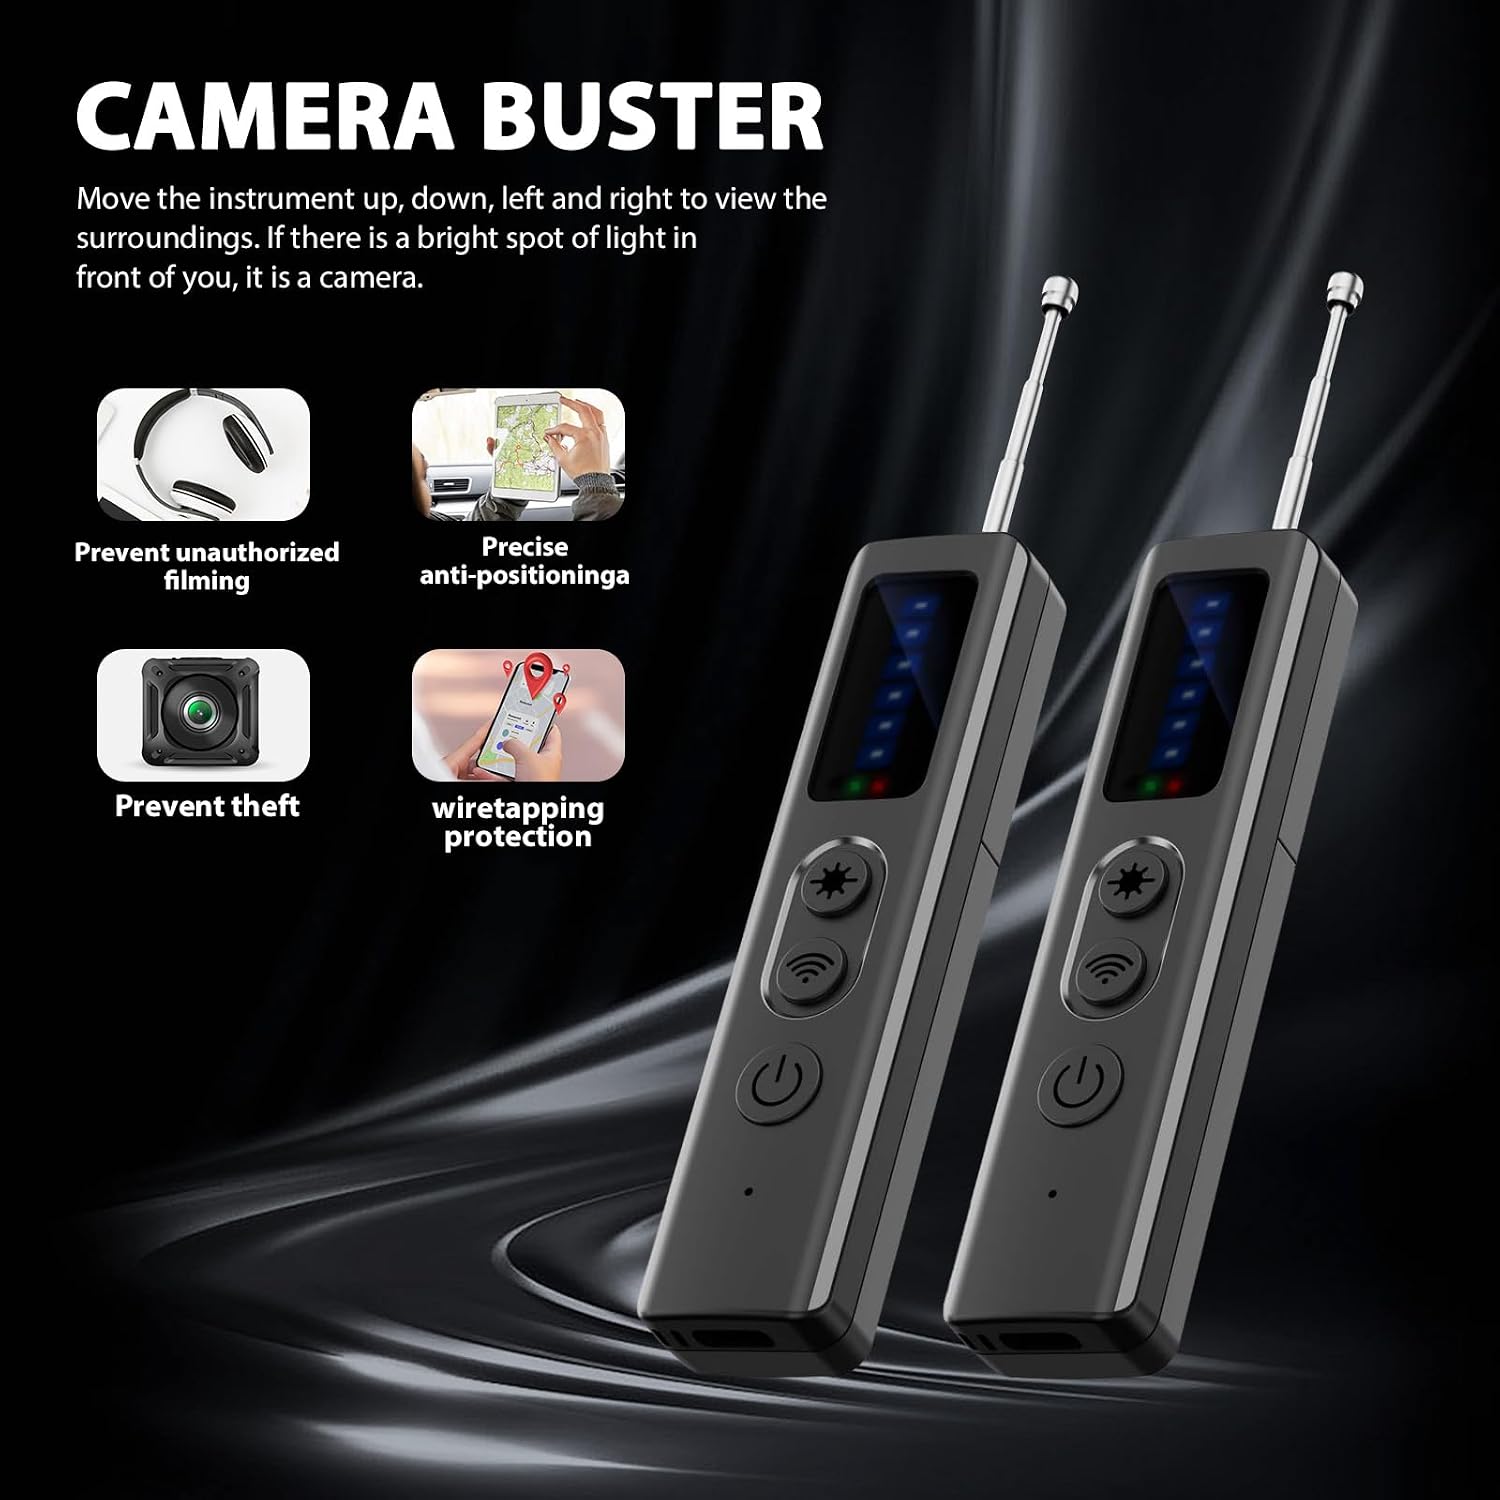
Figure 4.2: Infrared Camera Detection
Demonstration Video:
Video 4.2: This video demonstrates the infrared detection mode of the T18 Hidden Camera Detector. It shows how the red lights help to identify hidden camera lenses by reflecting off them, making them visible through the detector's viewing window, even in dark environments.
4.3. Magnetic Detection (GPS Trackers)
This mode is specifically designed to find GPS trackers that are often attached magnetically to vehicles or other surfaces.
- Press the Function Switching Button to switch to Magnetic Detection mode (indicated by a green light).
- Move the detector close to surfaces where a magnetic tracker might be hidden, such as under a car, inside furniture, or behind panels.
- The device will emit an audible or vibration alarm when it detects a strong magnetic field, indicating the presence of a magnetic tracker.

Figure 4.3: Magnetic Detection for GPS Trackers
Demonstration Video:
Video 4.3: This video demonstrates the magnetic detection feature of the T18 Hidden Camera Detector. It shows how the device can identify magnetic locators, which is useful for finding hidden GPS trackers often attached to vehicles or other metallic surfaces.
4.4. Flashlight Feature
The detector includes a built-in flashlight for convenience in dark environments.
- While the device is on, briefly press the Lighting button (star icon) to turn the flashlight on or off.
Demonstration Video:
Video 4.4: This video also demonstrates the flashlight feature of the T18 Hidden Camera Detector, showing its utility for illuminating dark areas during inspections.
5. Maintenance
- Keep the device clean by wiping it with a soft, dry cloth.
- Avoid exposing the detector to extreme temperatures, humidity, or direct sunlight.
- Store the device in a cool, dry place when not in use.
- Do not attempt to disassemble or repair the device yourself, as this will void the warranty.
6. Troubleshooting
| Problem | Possible Cause | Solution |
|---|---|---|
| Device does not power on. | Low battery. | Charge the device fully. |
| No signal detected. | Device not in correct mode; signal too weak; no active signals present. | Ensure correct mode is selected. Adjust sensitivity. Confirm there are active signals in the area. |
| False alarms in RF mode. | High sensitivity; interference from legitimate devices (Wi-Fi, cell phones). | Reduce sensitivity using the Signal Strength Adjustment Button. Move away from known signal sources. |
| Infrared detection not working. | Not in infrared mode; lens not clean. | Switch to infrared mode. Clean the red lens. Ensure the area is dark enough for optimal viewing. |
7. Specifications
| Feature | Detail |
|---|---|
| Product Dimensions | 5 x 3 x 10 inches |
| Item Weight | 2.89 ounces |
| Item Model Number | T15 |
| Batteries | 1 Lithium Polymer battery (included) |
| Battery Life (Standby) | Up to 30 days |
| Battery Life (Continuous Work) | Up to 20 hours |
| Charging Time | 1.5 hours |
| RF Signal Detection Range | 1M Hz - 6.5Ghz (5cm to 8m) |
| Manufacturer | UIKOP |
| Country of Origin | China |
| UPC | 797430168676 |
8. Warranty and Support
The UIKOP Hidden Camera Detector comes with a standard manufacturer's warranty. For specific warranty details, product support, or technical assistance, please refer to the contact information provided on the product packaging or the official UIKOP website. Please retain your proof of purchase for warranty claims.