1. Introduction
This user manual provides essential information for the safe and efficient operation of your TOPBULL 3000W Pure Sine Wave Power Inverter. This inverter is designed to convert 12V DC power from a battery source to 110V/120V AC power, suitable for various electronic devices and home appliances. It offers a continuous output of 3000W and a peak power of 6000W, making it ideal for vehicle, home, RV, truck, and off-grid solar system applications.

Figure 1: TOPBULL 3000W Pure Sine Wave Power Inverter and accessories.
The inverter utilizes advanced pure sine wave technology, ensuring a stable and clean power output comparable to utility power, which helps protect your sensitive electronics from damage. Its robust aircraft aluminum housing and intelligent cooling system contribute to its durability and efficient performance.
2. Safety Instructions
Always prioritize safety when installing and operating the power inverter. Failure to follow these instructions may result in serious injury or damage to the equipment.
- Proper Ventilation: Ensure the inverter is installed in a well-ventilated area to prevent overheating. Do not block the cooling fans or air passages.
- Correct Polarity: Always connect the battery cables with the correct polarity (positive to positive, negative to negative). Incorrect connections can cause severe damage to the inverter and battery.
- Cable Sizing: Use appropriately sized, high-quality pure copper cables for connecting the inverter to the battery. Undersized or poor-quality cables can overheat and pose a fire hazard, especially under heavy loads.
- Pre-charging Capacitors: Before making the final positive connection to the battery, briefly touch the positive cable to the battery terminal to pre-charge the inverter's capacitors. This prevents a large spark.
- Protection Features: The inverter includes built-in protections against overload, overvoltage, undervoltage, high temperature, short circuit, leakage, and reverse polarity. While these features enhance safety, proper installation and operation are still crucial.
- Dry Environment: Install the inverter in a dry location, away from water, moisture, and flammable materials.
- Load Management: Do not exceed the inverter's continuous power rating (3000W) or peak power rating (6000W). Overloading can trigger protection shutdowns or damage the unit.
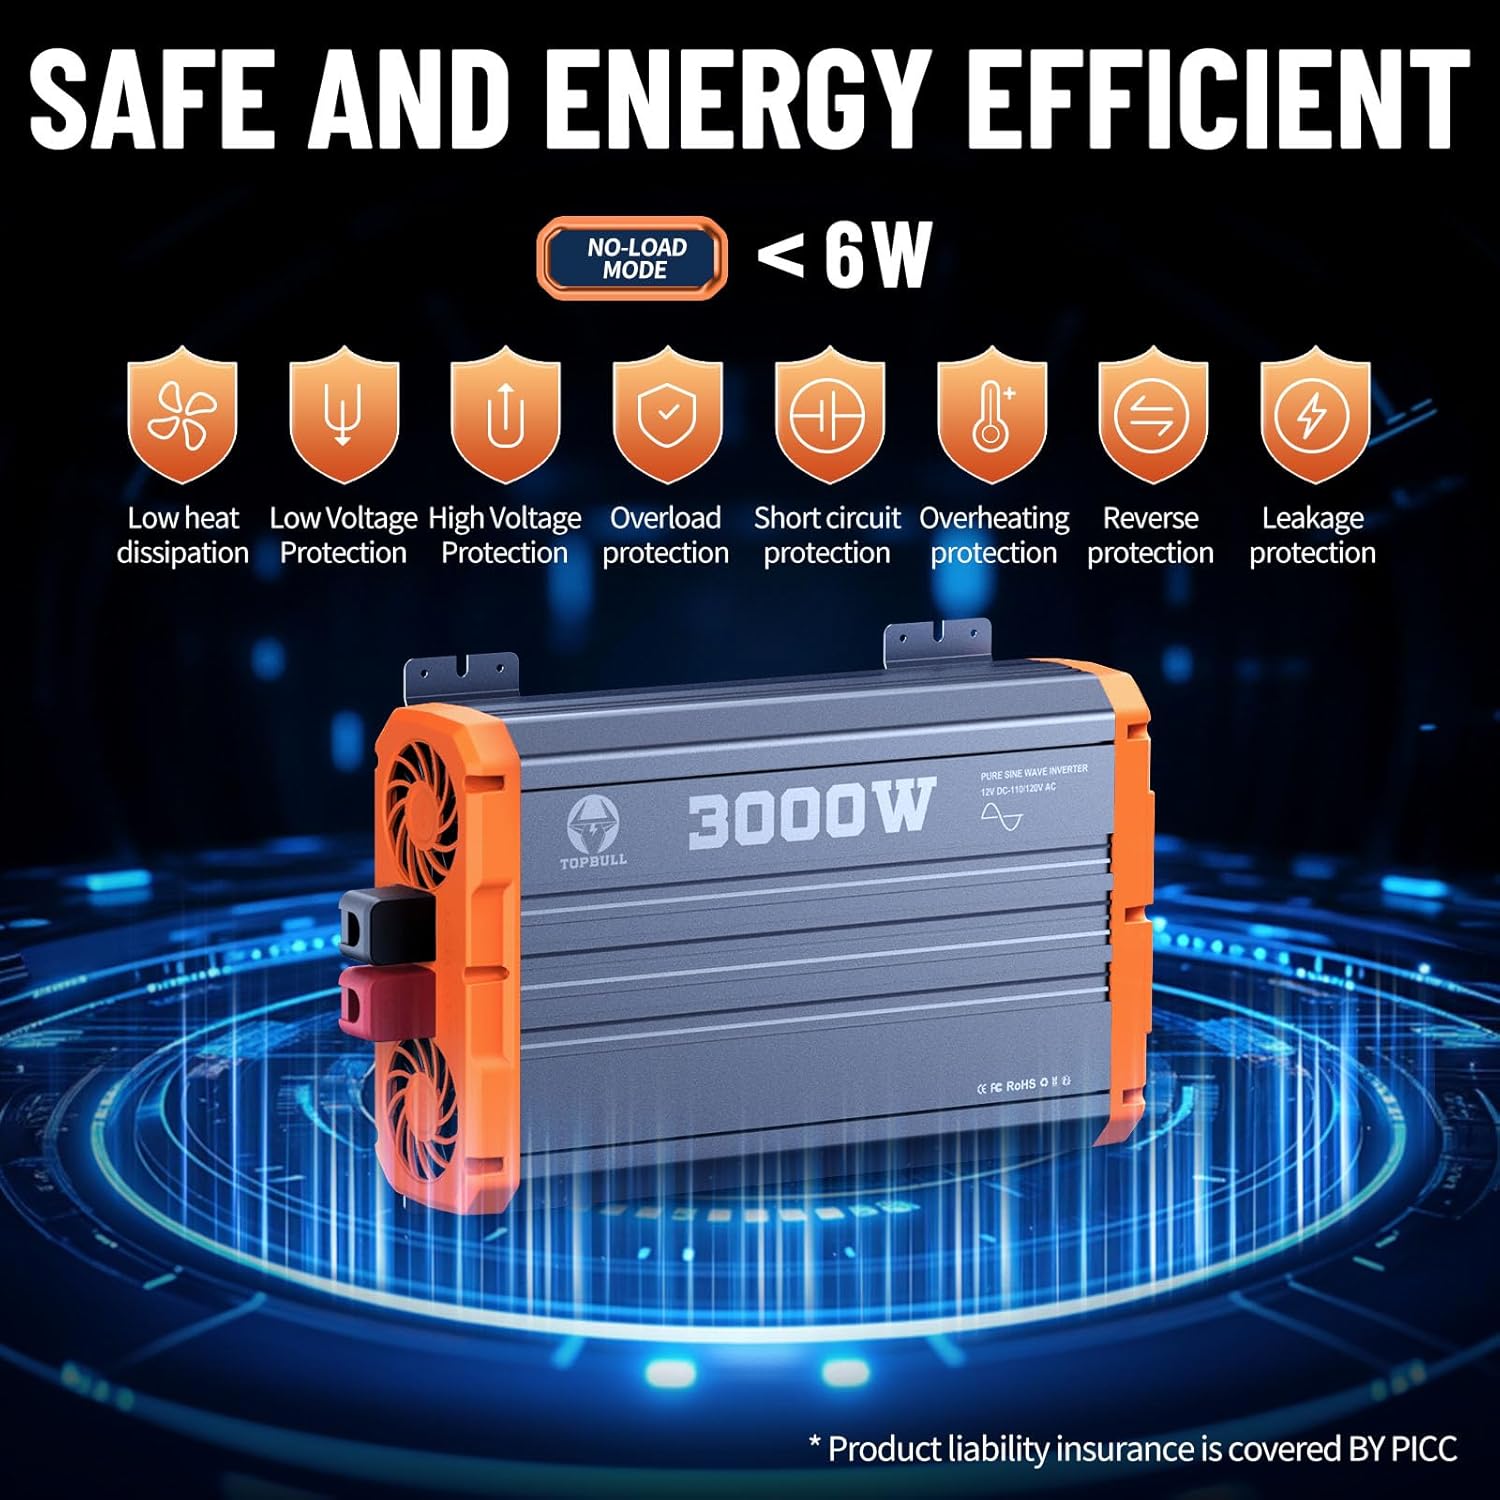
Figure 2: Inverter's comprehensive safety protection features.
3. Package Contents
Upon unpacking your TOPBULL 3000W Pure Sine Wave Power Inverter, please verify that all the following items are included and in good condition:
- 1 x TOPBULL 3000W Pure Sine Wave Power Inverter Unit
- 1 x User Manual
- 2 x Battery Cables (1 Red for Positive, 1 Black for Negative)
- 1 x Remote Controller with Display
- 1 x Remote Control Cable (16.5 feet)
- 12 x Spare Fuses (30A)

Figure 3: All items included in the product package.
If any items are missing or damaged, please contact TOPBULL customer support immediately.
4. Product Overview
Familiarize yourself with the various components and ports of your inverter for optimal use.

Figure 4: Labeled diagram of the inverter's features and ports.
Front Panel Features:
- AC Outlets: Two U.S. standard AC outlets (110V/120V) for connecting your appliances.
- USB Port: Standard USB-A port for charging compatible devices.
- Type-C Port: USB Type-C fast charging port for modern devices.
- LCD Display: Shows real-time operational status, including wattage, output voltage, battery voltage, temperature, and battery capacity. It also displays error codes.
- ON/OFF Switch: Main power switch for the inverter.
- Remote Control Port: Connects the wired remote controller for convenient operation from a distance.
Rear Panel Features:
- DC Input Terminals: Large positive (red) and negative (black) terminals for connecting to your 12V DC battery bank.
- Cooling Fans: Dual intelligent temperature-controlled cooling fans to dissipate heat and maintain optimal operating temperature.

Figure 5: The wired remote controller for convenient operation.
5. Setup
Proper setup is critical for the safe and efficient performance of your inverter.
5.1. Connecting to the Battery
- Prepare Cables: Ensure you are using high-quality, appropriately sized pure copper cables for your battery connections. The included cables are suitable for initial testing, but for sustained high-power applications, consider upgrading to thicker gauge pure copper cables to minimize heat generation and maximize efficiency.
- Secure Connections: Loosen the nuts on the inverter's DC input terminals. Connect the red battery cable to the positive (+) terminal of the inverter and the black battery cable to the negative (-) terminal. Tighten the nuts securely.
- Pre-charge Capacitors: Before connecting the positive cable to the battery, briefly touch the positive cable's terminal to the positive battery post. This will create a small spark as the inverter's internal capacitors pre-charge. This is a normal and necessary step to prevent a larger spark when making the final connection.
- Final Battery Connection: Connect the black battery cable to the negative (-) terminal of your 12V battery. Then, securely connect the red battery cable to the positive (+) terminal of your 12V battery.

Figure 6: Inverter connected to a 12V battery.
5.2. Mounting the Inverter
The inverter features integrated mounting brackets for secure installation. Choose a stable, dry, and well-ventilated location. Ensure there is sufficient clearance around the cooling fans for proper airflow.
6. Operating Instructions
6.1. Powering On/Off
- Main Switch: Flip the ON/OFF switch on the inverter's front panel to the "ON" position. The internal cooling fans will briefly activate upon startup and then turn off if no significant load is detected, or if the unit is cool.
- Remote Controller: Connect the remote control cable to the dedicated port on the inverter. Ensure the main ON/OFF switch on the inverter is in the "OFF" position to enable remote control functionality. Press the button on the remote controller to power the inverter on or off.
6.2. Understanding the LCD Display
The dual LCD displays (on the inverter and remote controller) provide real-time feedback on the inverter's status:
- Output Wattage (W): Displays the current power consumption of connected devices.
- Output Voltage (V): Shows the AC output voltage (e.g., 110V/120V).
- Battery Voltage (V): Indicates the current DC voltage of your battery.
- Temperature (°C/°F): Monitors the internal temperature of the inverter.
- Battery Capacity Indicator: Provides a visual representation of the remaining battery charge.
- Error Codes/Symbols: Flashing symbols or messages will appear to notify you of any issues (e.g., overload, low voltage, high temperature).
6.3. Connecting Appliances
Once the inverter is powered on, you can connect your AC appliances to the two standard AC outlets. For charging smaller devices, use the USB-A or Type-C ports.

Figure 7: Examples of appliances that can be powered by the inverter.
The inverter is capable of powering a wide range of US electrical equipment up to 3000W, including electric drills, car washers, refrigerators, air conditioners, and various electronic devices. Always ensure the total wattage of your connected devices does not exceed the inverter's capacity.
7. Maintenance
Regular maintenance ensures the longevity and reliable performance of your inverter.
- Keep Clean: Periodically clean the exterior of the inverter, especially the cooling fan vents, to prevent dust and debris buildup. Use a soft, dry cloth.
- Inspect Cables: Regularly check the battery cables and connections for any signs of wear, corrosion, or loose connections. Tighten connections as needed.
- Fuse Replacement: If the inverter stops functioning due to an overload or short circuit, a fuse may have blown. Refer to the user manual for specific instructions on how to safely replace the internal fuses. Use only the specified 30A fuses.
- Storage: When not in use for extended periods, store the inverter in a cool, dry place. Disconnect it from the battery.
8. Troubleshooting
If your inverter is not functioning as expected, refer to the LCD display for error indications and consult the following common troubleshooting steps:
| Problem | Possible Cause | Solution |
|---|---|---|
| Inverter not turning on | Loose battery connections, low battery voltage, blown fuse. | Check and tighten all battery connections. Charge or replace battery. Check and replace fuses if necessary. |
| Overload warning on display | Connected load exceeds inverter's capacity. | Reduce the total wattage of connected appliances. Disconnect some devices. |
| High temperature warning | Poor ventilation, excessive load, high ambient temperature. | Ensure proper airflow around the inverter. Reduce load. Move to a cooler environment. |
| Low/High voltage warning | Battery voltage is outside the acceptable range. | Charge the battery if voltage is low. Check battery health if voltage is consistently high or unstable. |
| No AC output | Inverter is off, fault condition, or appliance issue. | Ensure inverter is on. Check for error codes. Test appliance with another power source. |
For persistent issues, contact TOPBULL technical support.
9. Specifications
| Feature | Detail |
|---|---|
| Brand | TOPBULL |
| Model Name | New-3000W Pure Sine Wave |
| Model Number | d13acba1-c391-48cc-ac30-5e435a6d4e56 |
| Continuous Output Power | 3000 Watts |
| Peak Power | 6000 Watts |
| Input DC Voltage | 12V DC |
| Output AC Voltage | 110V/120V AC |
| Output Waveform | Pure Sine Wave |
| Power Source | Solar and Battery Powered |
| Product Dimensions | 14.57 x 9.06 x 3.86 inches |
| Item Weight | 12.45 pounds |
| Manufacturer | TOPBULL |

Figure 8: Pure Sine Wave Technology ensures stable and clean power.
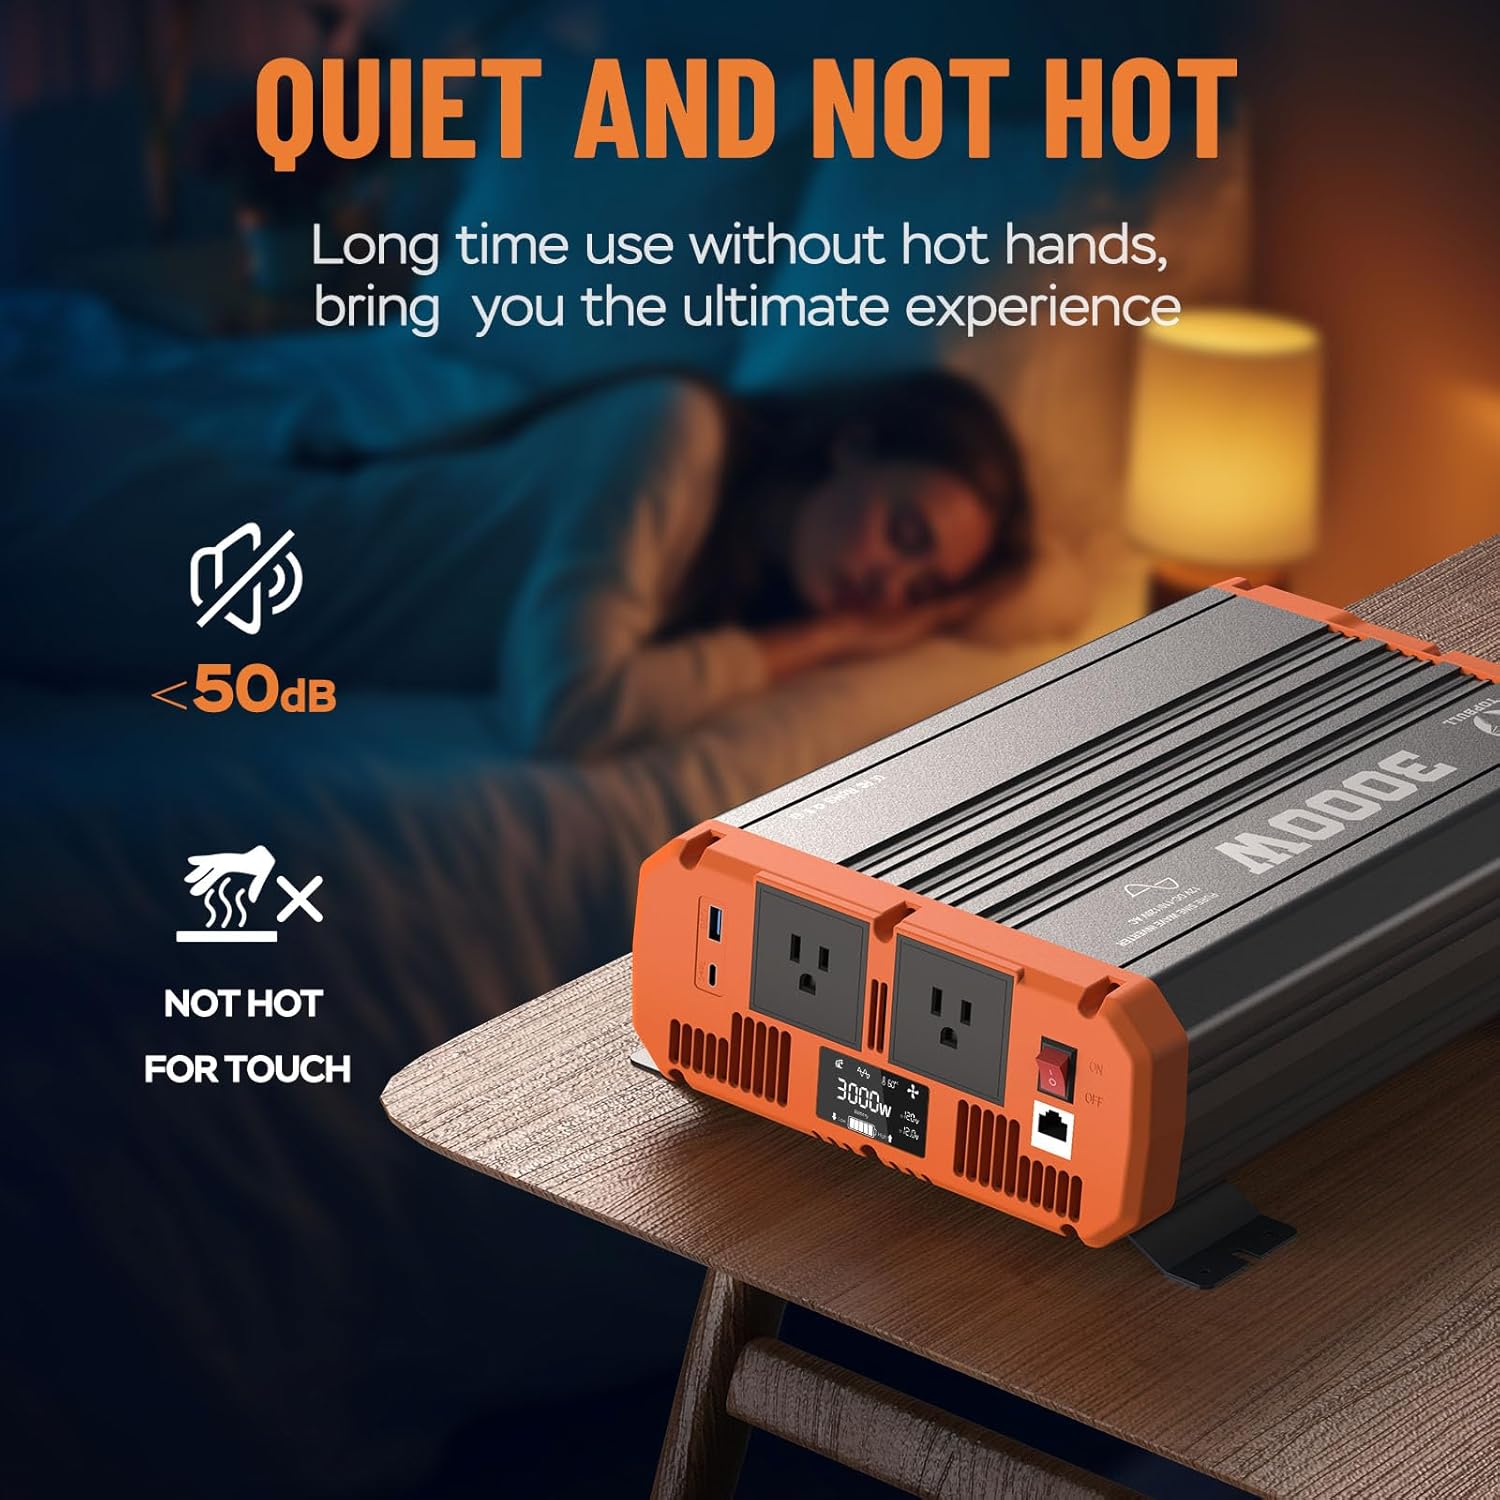
Figure 9: Inverter operates quietly and remains cool during use.
10. Warranty and Support
TOPBULL is committed to providing high-quality products and excellent customer service.
- Technical Support: TOPBULL offers 24/7 technical support to assist you with any questions or issues regarding your inverter.
- Product Liability: Product liability insurance is covered by PICC, ensuring an additional layer of protection.
- Warranty Information: For detailed warranty terms and conditions, please refer to the product packaging or visit the official TOPBULL website.


