
1. Introduction
This manual provides detailed instructions for the installation, operation, and maintenance of your CAMCAMP Wireless Security Camera System, Model SC53. This system is designed for home surveillance, offering features such as full-color night vision, motion detection, and local recording capabilities. Please read this manual thoroughly before using the product to ensure proper setup and functionality.
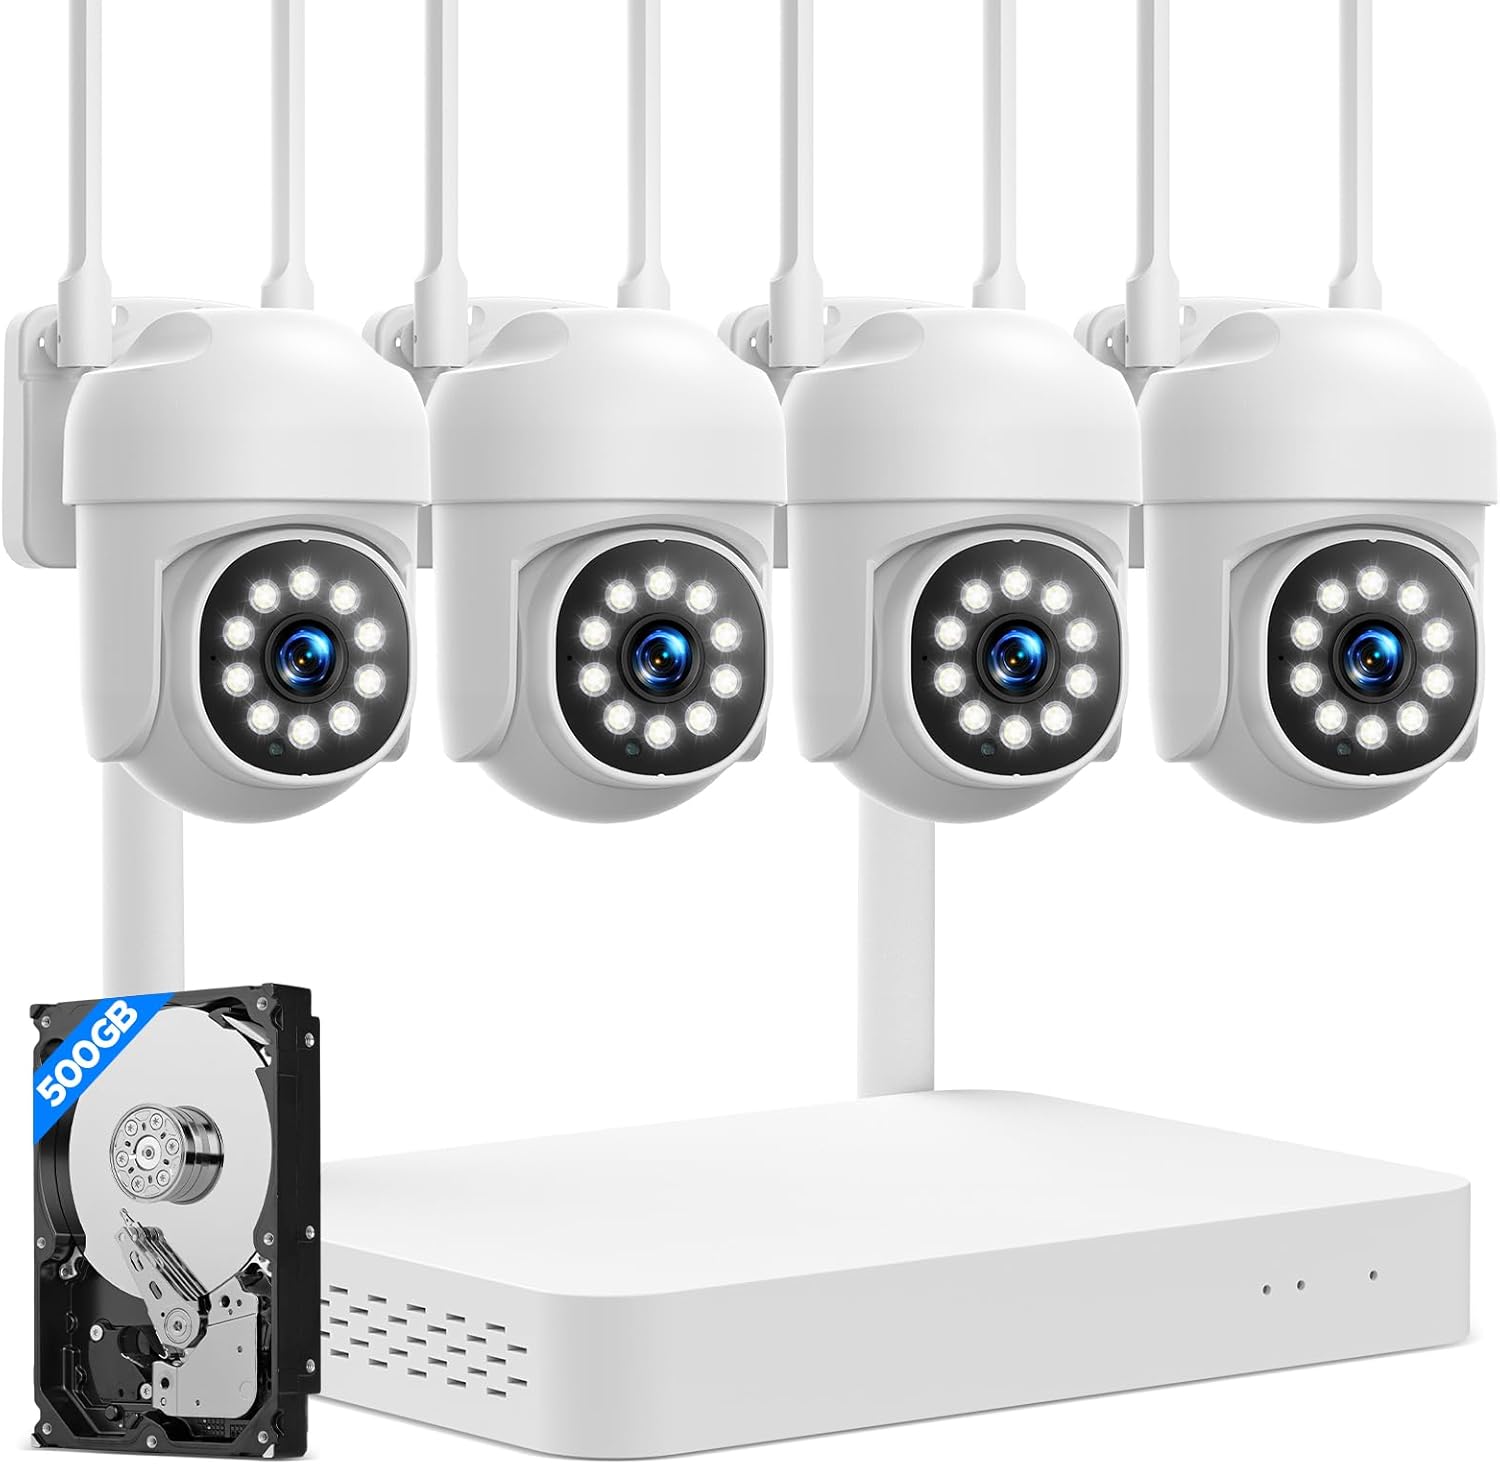
Image 1.1: The CAMCAMP Wireless Security Camera System, including the NVR, four wireless cameras, and a 500GB hard drive.
2. What's in the Box
Verify that all components are present in your package:
- 4x Wireless Security Cameras
- 1x 10-Channel Network Video Recorder (NVR)
- 1x Built-in 500GB Hard Drive (pre-installed in NVR)
- Power Adapters for NVR and Cameras
- USB Mouse
- Ethernet Cable
- HDMI Cable
- Mounting Screws and Anchors
- User Manual (this document)
3. Setup Instructions
3.1 System Overview and Connection
The CAMCAMP system utilizes a wireless connection between the cameras and the NVR. Each camera requires a power supply. The NVR connects to your display and network.

Image 3.1: Basic system connection diagram illustrating wireless camera communication with the NVR and NVR connections to power, display, and optional router.
3.2 NVR Setup
- Connect the NVR: Connect the NVR to a monitor or TV using the provided HDMI cable.
- Connect Power: Plug the NVR's power adapter into the NVR and then into a power outlet.
- Connect Mouse: Plug the USB mouse into a USB port on the NVR.
- Network Connection (Optional): For remote viewing and app control, connect the NVR to your router using the Ethernet cable or configure Wi-Fi settings via the NVR's interface.
3.3 Camera Installation
The cameras are pre-paired with the NVR for ease of setup. They communicate wirelessly with the NVR but require a wired power connection.
- Choose Mounting Locations: Select locations that provide optimal viewing angles and are within reach of a power outlet. Consider the camera's 360° pan and tilt capabilities for comprehensive coverage.
- Mount Cameras: Use the provided screws and anchors to securely mount each camera. Ensure the cameras are positioned to avoid obstructions.
- Power Cameras: Connect each camera to its respective power adapter and plug it into a power outlet.

Image 3.2: Illustration of two connection methods: wireless connection between camera and NVR (both powered) and wired connection for camera to NVR (both powered).
3.4 Initial Configuration
Upon first power-up, the NVR will guide you through initial setup steps, including language selection, time zone, and password creation. The cameras should automatically connect to the NVR.

Image 3.3: The system supports stable dual-band Wi-Fi connectivity (2.4GHz for wider range, 5GHz for faster data transfer) for reliable signal strength.
4. Operating Instructions
4.1 Live View and Playback
Access live camera feeds and recorded footage through the NVR connected to a monitor or via the dedicated mobile application (CloudEye 365).
4.2 Pan, Tilt, and Zoom (PTZ) Control
The cameras feature 350° horizontal pan and 90° vertical tilt capabilities. Use the NVR interface or the mobile app to remotely adjust the camera's viewing angle.

Image 4.1: Remote control of camera pan (355°) and tilt (90°) via a smartphone application, allowing for comprehensive area viewing.
4.3 Motion Detection and Auto Tracking
The system is equipped with intelligent motion detection and auto-tracking features. When motion is detected, the camera can automatically follow the subject and send instant alerts to your mobile phone.

Image 4.2: The camera's 360° surveillance and AI tracking capabilities allow it to automatically follow detected persons, vehicles, or pets.

Image 4.3: The motion auto-tracking feature allows the camera to follow movement within its field of view.
4.4 Night Vision Modes
The cameras offer multiple night vision modes, including infrared for black and white footage, and full-color night vision utilizing built-in spotlights for clear, vivid images in low-light conditions.

Image 4.4: Comparison showing the clarity and detail provided by superior full-color night vision versus standard infrared night vision.

Image 4.5: Visual representation of Infrared Night Vision, Color Night Vision, and Smart Night Vision modes.
4.5 Two-Way Audio
Each camera includes a built-in microphone and speaker, enabling two-way audio communication through the mobile app. This allows you to speak to visitors or deter intruders remotely.

Image 4.6: Two-way audio functionality allows direct communication with individuals near the camera via the mobile app.
4.6 Local Recording and Storage
The NVR comes with a pre-installed 500GB hard drive for continuous local recording, eliminating the need for monthly cloud subscription fees. The storage is expandable up to 6TB.

Image 4.7: The NVR supports continuous recording to its built-in 500GB HDD, expandable to 6TB for extended storage.

Image 4.8: The system provides 24/7 continuous recording to ensure no critical moments are missed.

Image 4.9: Data security is ensured with recordings stored locally on the device, providing control over your footage.

Image 4.10: The NVR supports multiple storage methods, including 2.5" SATA HDD and optional cloud storage.
5. Maintenance
Regular maintenance ensures optimal performance and longevity of your security system.
- Clean Camera Lenses: Periodically wipe camera lenses with a soft, damp cloth to remove dust, dirt, or water spots that may obscure the view.
- Check Connections: Ensure all power cables and network connections (if wired) are secure and free from damage.
- Software Updates: Check for firmware updates for the NVR and cameras through the system settings or mobile app to ensure you have the latest features and security patches.
- Hard Drive Health: Monitor the health of the built-in hard drive through the NVR's system settings. Consider backing up important footage periodically.
6. Troubleshooting
This section addresses common issues you might encounter.
- No Camera Feed:
- Ensure the camera is powered on and its power adapter is securely plugged into a working outlet.
- Verify the camera is within range of the NVR's wireless signal.
- Check NVR settings to confirm the camera is enabled and properly linked.
- Poor Video Quality / Pixelation:
- Ensure the camera lens is clean.
- Check for strong wireless interference. Try repositioning the camera or NVR.
- Verify your network bandwidth if viewing remotely.
- Motion Detection Not Working / False Alarms:
- Adjust motion detection sensitivity settings in the NVR or app.
- Define specific detection zones to exclude areas with frequent irrelevant movement (e.g., trees swaying).
- Ensure the camera's view is not obstructed.

