1. Introduction
This manual provides detailed instructions for the installation, operation, maintenance, and troubleshooting of your Hobbywing XERUN XR8 Pro G3 Combo. This high-performance electronic speed controller (ESC) and motor combination is designed for 1/10 scale racing applications, offering precise control and robust power. Please read this manual thoroughly before using the product to ensure correct operation and maximize its lifespan.
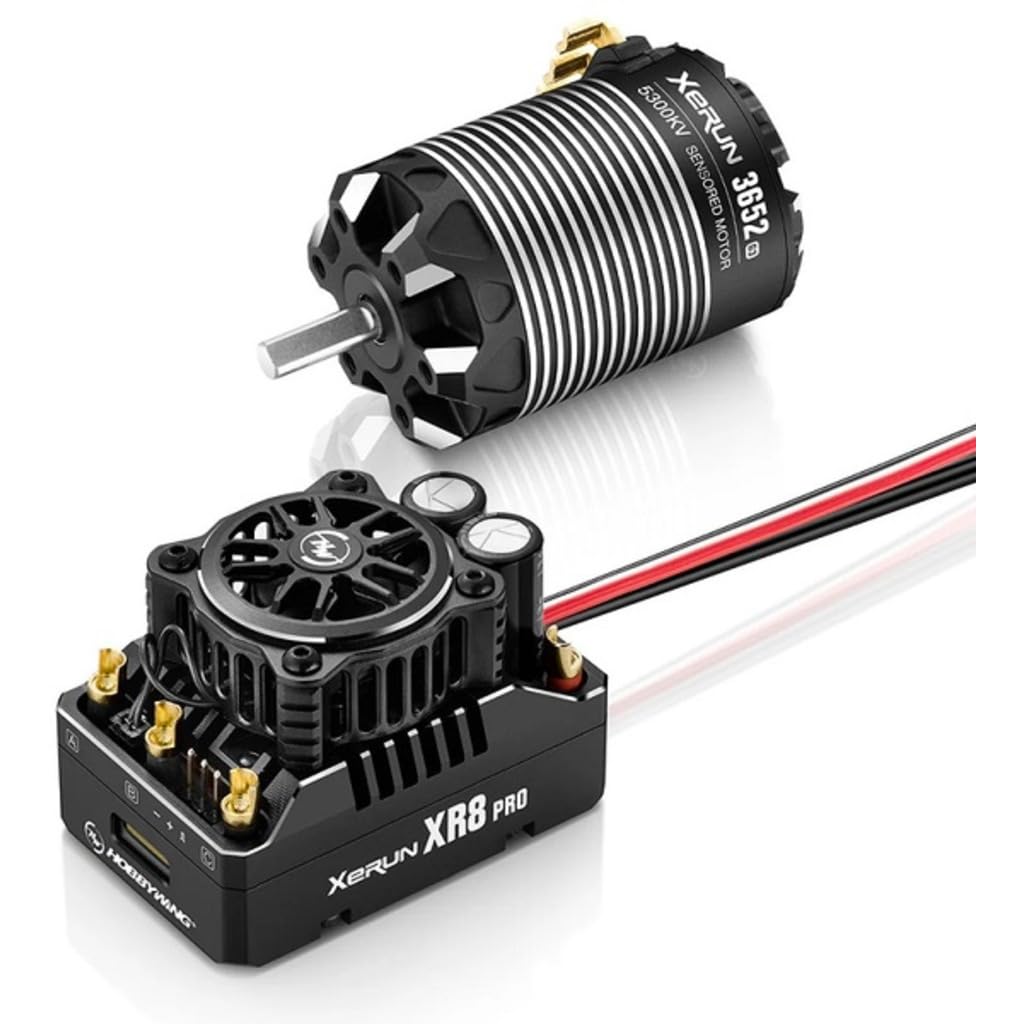
Image 1.1: The Hobbywing XERUN XR8 Pro G3 Combo, featuring the electronic speed controller and the 5300KV brushless motor.
2. Safety Precautions
Always observe the following safety guidelines to prevent injury or damage to the product and surrounding environment:
- Battery Safety: Use only compatible batteries. Incorrect battery types or improper handling can lead to fire, explosion, or severe injury. Always disconnect the battery when not in use.
- Heat: The ESC and motor can become extremely hot during operation. Avoid touching them immediately after use to prevent burns. Allow components to cool down before handling.
- Moving Parts: Keep hands, hair, and loose clothing away from rotating motor shafts and gears to prevent entanglement and injury.
- Water and Moisture: This product is not waterproof unless explicitly stated. Avoid exposure to water or high humidity to prevent electronic damage.
- Wiring: Ensure all wiring connections are secure and correctly polarized. Incorrect wiring can cause short circuits and damage components.
- Ventilation: Ensure adequate airflow around the ESC and motor during operation to prevent overheating.
3. Package Contents
Verify that all items listed below are included in your package:
- XERUN XR8 Pro G3 Electronic Speed Controller (ESC)
- XERUN 3652SD 5300KV G3 Brushless Motor
- Sensor Cable
- Input Wires (pre-soldered to ESC)
- Output Wires (pre-soldered to ESC)
- User Manual
- Hobbywing Decals (may vary)
4. Setup
4.1 Mounting the ESC and Motor
Securely mount the ESC and motor in your 1/10 scale vehicle chassis. Ensure the motor is properly meshed with the pinion gear and that the ESC has adequate ventilation.
- Motor Mounting: Use appropriate screws to attach the motor to the motor mount. Ensure the motor is aligned correctly with the spur gear.
- ESC Mounting: Use double-sided tape or screws to secure the ESC to a flat surface in the chassis. Position it to allow for good airflow and easy access to connections.
4.2 Wiring Connections
Follow these steps for correct wiring:
- Motor to ESC: Connect the three motor wires (A, B, C) from the motor to the corresponding output wires on the ESC. For sensored motors, connect the sensor cable from the motor to the sensor port on the ESC. Ensure the sensor cable is inserted correctly.
- ESC to Receiver: Plug the ESC's throttle cable (usually a black, red, white wire bundle) into the throttle channel (CH2) of your receiver.
- Battery to ESC: Connect your battery pack to the input wires of the ESC. Ensure correct polarity (red to positive, black to negative). Incorrect polarity will cause severe damage.
4.3 Throttle Range Calibration
Calibrate the ESC's throttle range with your radio system for optimal performance:
- Turn on your transmitter and ensure throttle trim is at neutral, and throttle travel is set to 100%.
- With the ESC off and battery connected, press and hold the SET button on the ESC.
- Turn on the ESC. Release the SET button when the red LED flashes.
- Neutral Position: Leave the throttle trigger at neutral. Press the SET button once. The green LED will flash once.
- Full Throttle: Pull the throttle trigger to the full throttle position. Press the SET button once. The green LED will flash twice.
- Full Brake/Reverse: Push the throttle trigger to the full brake/reverse position. Press the SET button once. The green LED will flash three times.
- The ESC is now calibrated and ready for use.
5. Operating Instructions
5.1 Powering On/Off
- To Power On: Ensure the battery is connected, then press the power button on the ESC. The LED will illuminate.
- To Power Off: Press and hold the power button until the LED turns off. Always disconnect the battery after use.
5.2 Driving Your Vehicle
After successful setup and calibration, your vehicle is ready for operation. Use your transmitter's throttle trigger to control forward, brake, and reverse functions. The XERUN XR8 Pro G3 offers smooth throttle response and powerful acceleration.
5.3 LED Indicators
The ESC features LED indicators to provide status information:
- Solid Red: ESC is powered on and ready.
- Flashing Red: Indicates a protection status (e.g., low voltage cutoff, overheating). Refer to the troubleshooting section.
- Solid Green: Full throttle forward.
- Solid Blue: Full brake/reverse.
6. Maintenance
Regular maintenance ensures the longevity and optimal performance of your XERUN XR8 Pro G3 Combo:
- Cleaning: After each use, gently clean the ESC and motor to remove dirt, dust, and debris. Use a soft brush or compressed air. Avoid using solvents or liquids directly on electronic components.
- Inspection: Periodically inspect all wires and connectors for signs of wear, fraying, or damage. Ensure all connections are secure. Check the motor for any obstructions or damage to the rotor.
- Storage: Store the ESC and motor in a cool, dry place away from direct sunlight and extreme temperatures. Disconnect batteries before storage.
7. Troubleshooting
If you encounter issues, refer to the following common problems and solutions:
| Problem | Possible Cause | Solution |
|---|---|---|
| ESC does not power on. | Battery not connected or discharged; faulty power switch; incorrect wiring. | Check battery connection and charge level; inspect power switch; verify wiring polarity. |
| Motor does not spin or runs erratically. | Incorrect throttle calibration; motor wires loose; sensor cable disconnected/damaged; radio interference. | Recalibrate throttle range; check motor and sensor cable connections; ensure no radio interference. |
| ESC overheats. | Poor ventilation; incorrect gearing; excessive load; faulty component. | Improve airflow; adjust gearing; reduce load; contact support if component is faulty. |
| Vehicle has no reverse. | ESC programming setting; throttle calibration issue. | Check ESC programming for reverse mode; recalibrate throttle range. |
8. Specifications
Key technical specifications for the Hobbywing XERUN XR8 Pro G3 Combo:
- Brand: HOBBYWING
- Model Name: HWI38020438
- Motor KV: 5300KV
- Material: Plastic (for certain components)
- Product Dimensions: 6 x 6 x 6 inches
- Manufacturer: Hobbywing
- ASIN: B0DSCM5RTT
- UPC: 088718530033
- Date First Available: January 6, 2025
9. Warranty and Support
For warranty information and technical support, please refer to the official Hobbywing website or contact your local Hobbywing distributor. Keep your proof of purchase for any warranty claims. Do not attempt to repair damaged components yourself, as this may void your warranty.


