
1. Introduction
This manual provides essential information for the safe and effective operation of your ComMarker B6 30W Fiber Engraver. This portable laser engraver features a 30W JPT M7 laser source, an auto-focus screen, and is compatible with Lightburn and EzCad2 software. It is designed for precision marking and engraving on various materials including metals, plastics, and jewelry.
2. Safety Information
The ComMarker B6 is a Class 1 Laser Product (IEC 60825-1 Report Number: 2501Q25848E-SFA1, FDA Accession No.: 2521455-000) with a power output of 1.95mW. Adherence to safety guidelines is crucial to prevent injury and ensure proper operation.
- Always wear protective goggles: Laser radiation can cause severe eye damage. Ensure all users wear appropriate laser safety goggles during operation.
- Never look directly into the laser beam: Even reflected beams can be harmful.
- Ensure proper ventilation: Engraving certain materials can produce fumes. Operate in a well-ventilated area or use a fume extractor.
- Keep the work area clear: Remove flammable materials and clutter from the engraving area.
- Do not operate unattended: Monitor the engraving process at all times.
- Emergency Stop: Familiarize yourself with the location and function of the emergency stop button.
3. Package Contents
Verify that all items listed below are included in your package:
- 1x B6 Laser Engraver
- 1x Power Adaptor
- 1x Data Cable
- 1x Foot Switch
- 1x Type-C Cable
- 1x Riser
- 1x Allen Wrench Set
- 1x Placing Helper
- 1x Ruler
- 1x Goggles
- 2x OTG Adapters
- 1x USB Drive (containing software and drivers)
- 1x Paperboard (for testing)
- 1x Steel For Testing
- Screws: M5*14 x 6, M5*10 x 12, M4*12 x 4, M5*12 x 2
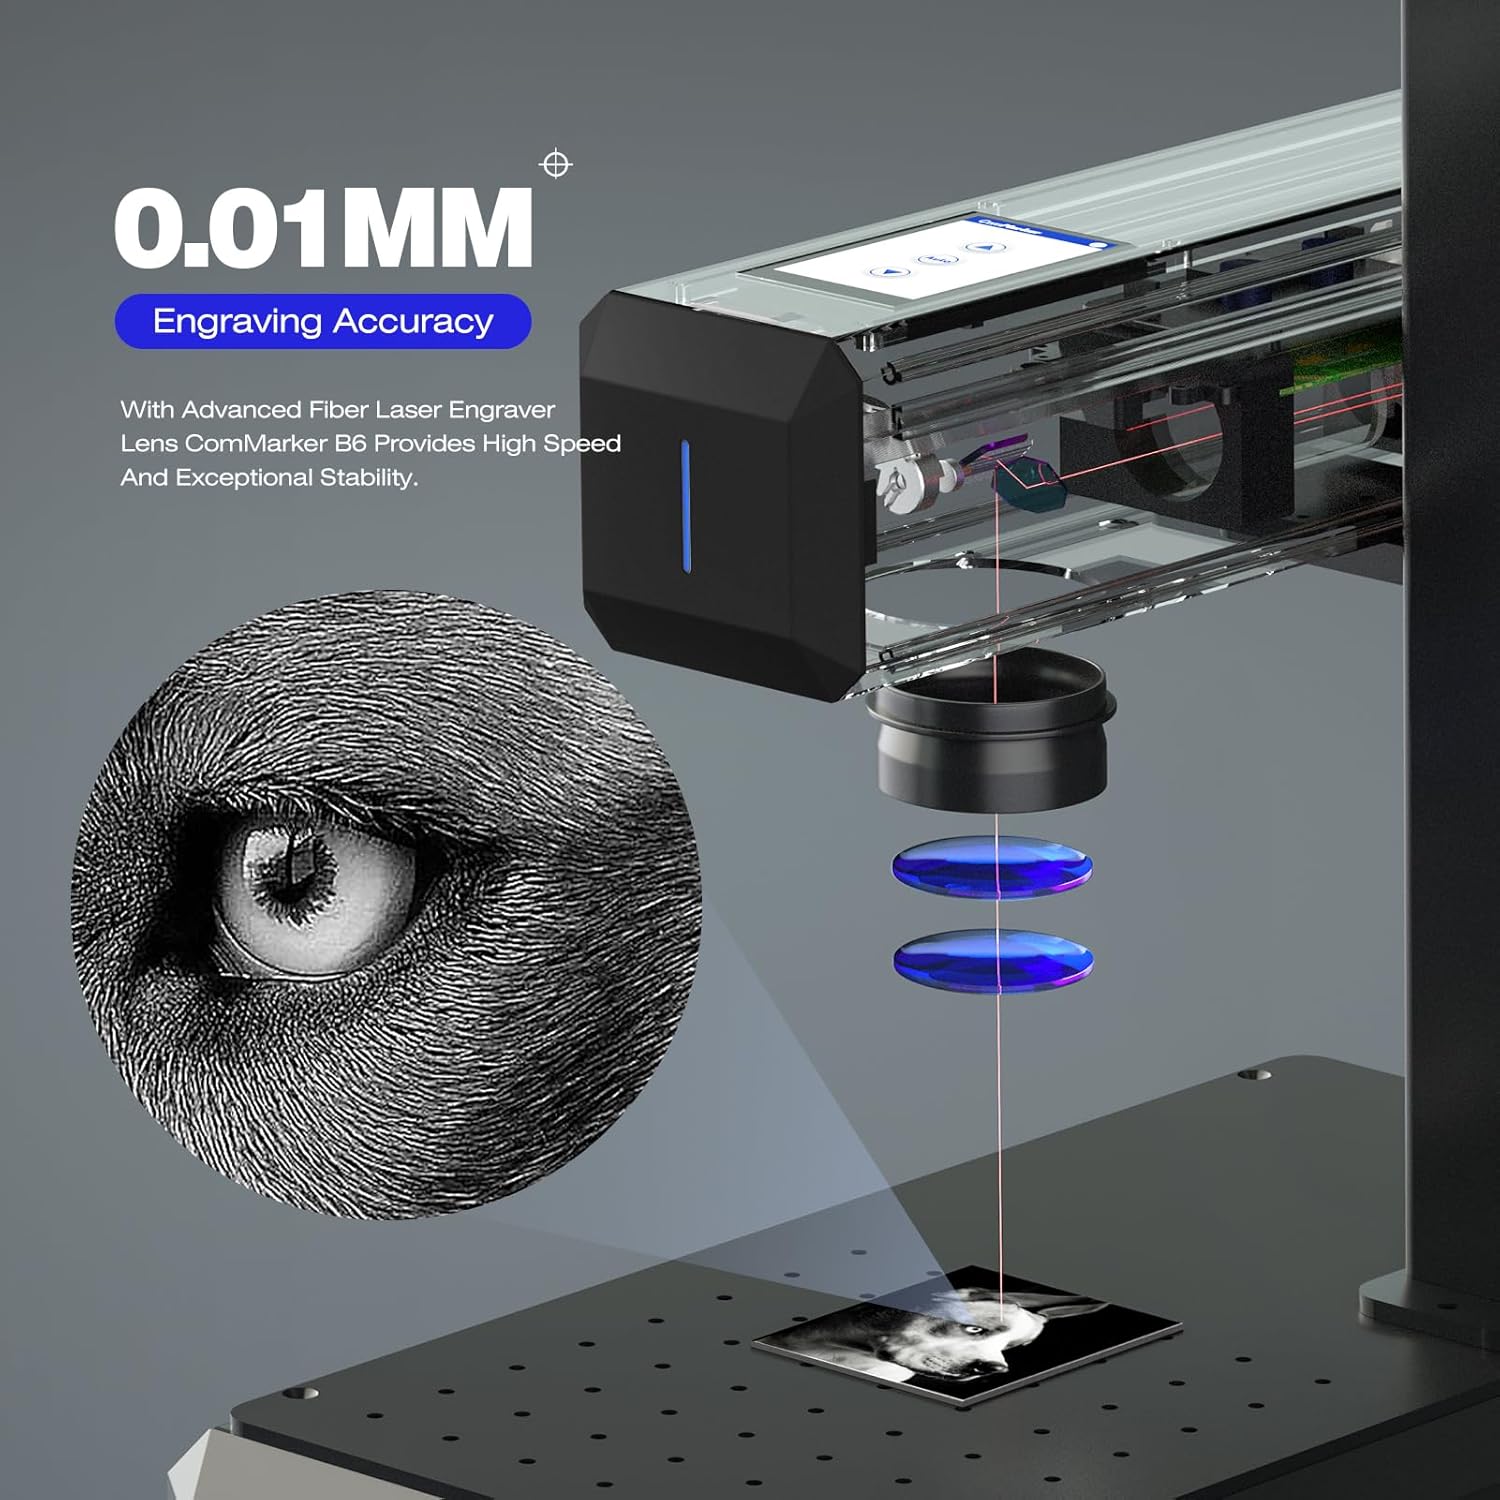
Image 3.1: The ComMarker B6 30W Fiber Engraver with all its included accessories.
4. Setup
The ComMarker B6 is designed for both desktop and tabletop use. Follow these steps for initial setup:
- Unpacking: Carefully remove all components from the packaging. Retain packaging for future transport or storage.
- Placement: Place the engraver on a stable, level surface in a well-ventilated area. Ensure adequate space around the machine for operation and heat dissipation.
- Assembly (if required): If using the riser for increased working height, securely attach it according to the diagrams provided in the quick start guide.
- Power Connection: Connect the power adaptor to the engraver and then to a suitable power outlet (110V).
- Data Connection: Connect the engraver to your computer using the provided data cable.
- Software Installation: The engraver supports Lightburn and EzCad2. Install the software from the provided USB drive or download the latest version from the official ComMarker website.

Image 4.1: The ComMarker B6 engraver highlighting its one-touch autofocus system.
4.1 Software Installation Guides
Refer to the following videos for detailed instructions on installing Lightburn software on your operating system:
Video 4.1: Guide on how to install Lightburn software on a Mac operating system.
Video 4.2: Guide on how to install Lightburn software on a Windows operating system.
5. Operating Instructions
The ComMarker B6 offers high-speed and precise engraving capabilities. Always ensure safety goggles are worn before starting any operation.
- Prepare Your Design: Create or import your design using Lightburn or EzCad2 software. The engraver supports various graphic formats including BMP, GIF, JPG, JPEG, DXF, DST, AI.
- Place Material: Position the material to be engraved on the work platform. Use the placing helper and ruler for accurate positioning.
- Autofocus: Utilize the one-touch autofocus system via the integrated screen or software to automatically set the correct focal distance. This eliminates manual adjustments and ensures optimal engraving quality.
- Set Parameters: Adjust laser power, speed, and other parameters in the software based on the material type and desired engraving effect.
- Start Engraving: Initiate the engraving process from the software. The foot switch can also be used to control the laser operation.
- Monitor Process: Observe the engraving process. The B6 can achieve engraving speeds of up to 15,000mm/s with an accuracy of 0.01mm.
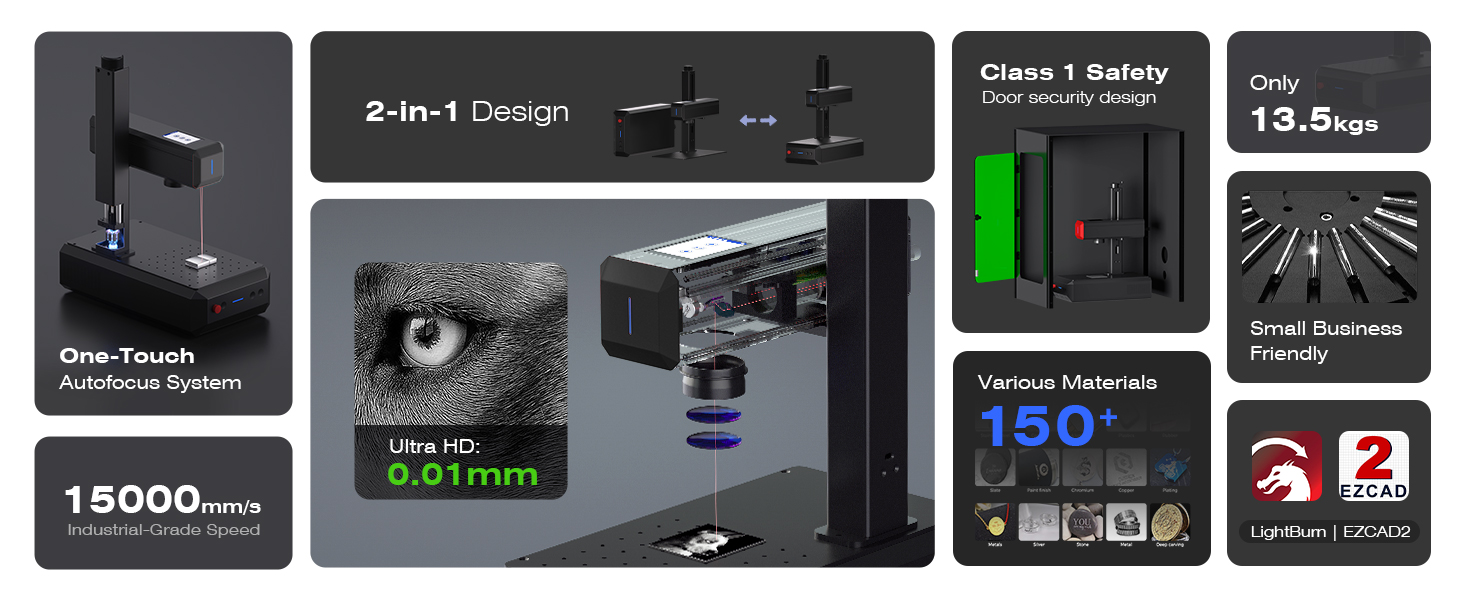
Image 5.1: Diagram illustrating the 0.01mm engraving accuracy of the ComMarker B6.
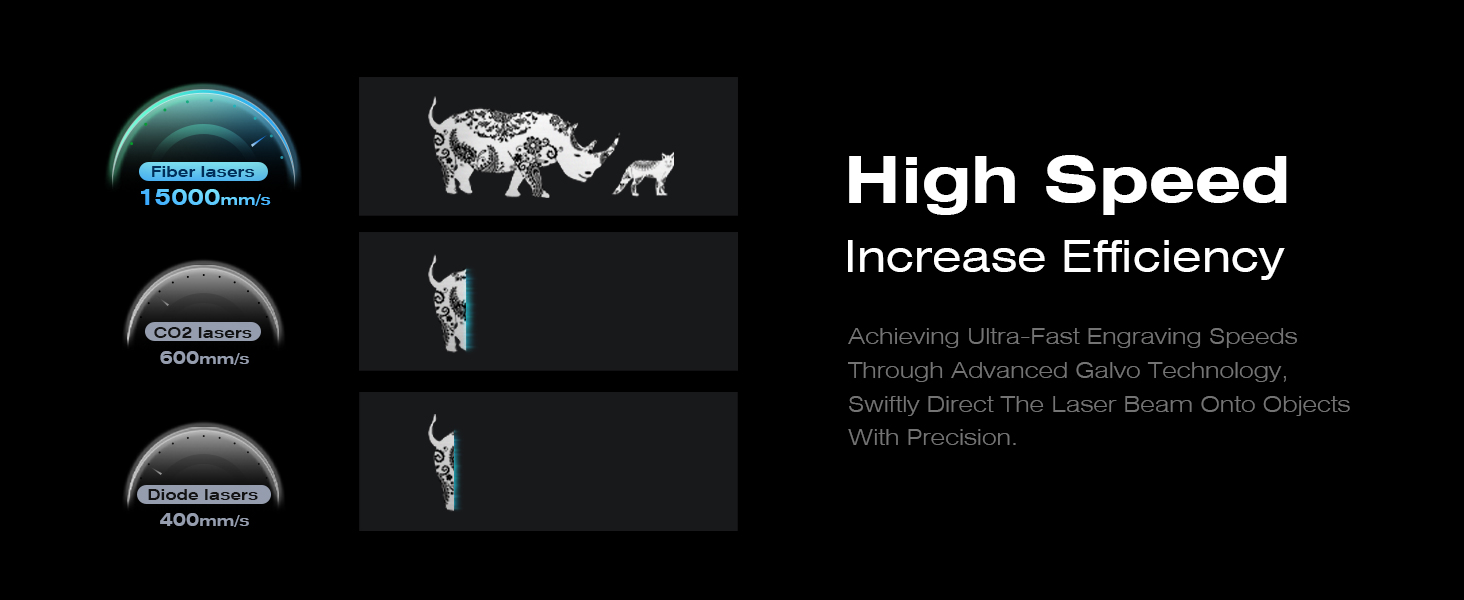
Image 5.2: The ComMarker B6 is compatible with Lightburn and EzCad2 software for design and control.
5.1 Engraving Examples
The ComMarker B6 is versatile for various materials and applications:
Video 5.1: Demonstrates the ComMarker fiber laser engraving various items such as knives, coins, jewelry, and cups.
Video 5.2: Shows the ComMarker B6 Mopa Fibre Laser Engraving process on different materials.

Image 5.3: Detailed view of the ComMarker B6 engraving a brass coin.

Image 5.4: A collection of diverse engraving samples showcasing the capabilities of the ComMarker B6.
6. Maintenance
Regular maintenance ensures the longevity and optimal performance of your ComMarker B6 Fiber Engraver.
- Cleaning the Lens: Periodically inspect and gently clean the laser lens with a specialized lens cleaning solution and lint-free cloth. Avoid touching the lens with bare hands.
- Dust Removal: Use compressed air to remove dust and debris from the machine's interior and ventilation openings. Ensure the machine is powered off before cleaning.
- Cable Inspection: Regularly check all cables for signs of wear or damage. Replace any damaged cables immediately.
- Software Updates: Keep your engraving software (Lightburn, EzCad2) updated to the latest version for best performance and new features.
7. Troubleshooting
This section addresses common issues you might encounter. For problems not listed here, please contact customer support.
| Problem | Possible Cause | Solution |
|---|---|---|
| Laser not firing | Power cable loose; Emergency stop engaged; Software error; Laser head not connected. | Check power connections; Disengage emergency stop; Restart software/computer; Ensure laser head is properly seated. |
| Poor engraving quality | Incorrect focus; Incorrect power/speed settings; Dirty lens; Material not flat. | Use autofocus; Adjust power/speed settings for material; Clean laser lens; Ensure material is flat and secure. |
| Software not connecting to engraver | Data cable loose/damaged; Driver not installed; Incorrect port selected in software. | Check data cable; Install correct drivers from USB drive; Select correct COM port in software. |
| Machine not turning on | Power cable not connected; Power outlet faulty; Power adapter faulty. | Verify power connections; Test power outlet with another device; Contact support if power adapter is suspected faulty. |
8. Specifications
Key technical specifications for the ComMarker B6 30W Fiber Engraver:
- Brand: ComMarker
- Model Number: B6
- Laser Source: JPT M7 Fiber Laser
- Laser Power: 30W
- Laser Wavelength: 1064nm
- Engraving Speed: Up to 15,000mm/s
- Engraving Accuracy: 0.01mm
- Engraving Area: 150mm x 150mm (standard)
- Operation Mode: Automatic (Autofocus)
- System Compatibility: Windows 7/8/10/11, MAC (with Lightburn)
- Supported Graphic Formats: BMP, GIF, JPG, JPEG, DXF, DST, AI, etc.
- Material Compatibility: Stainless steel, aluminum, gold, silver, alloys, most painted products, non-transparent plastics.
- Weight: Approximately 13kg
- Laser Class: CLASS 1 LASER PRODUCT (IEC 60825-1)
9. Warranty and Support
Your ComMarker B6 Fiber Engraver comes with a 2-year manufacturer's warranty.
For technical assistance, warranty claims, or further inquiries, please contact ComMarker customer support through their official channels or visit the ComMarker Store on Amazon.


