
1. Product Overview
The Homirxan 6.0 Cubic Foot Home Safe is designed to provide secure storage for your valuable documents, money, medicines, and other personal items. It features a robust alloy steel construction, a programmable digital keypad, and an alarm system for enhanced security. The safe is equipped with a removable shelf to accommodate various item sizes and can be anchored to a wall or floor for added stability.

Image 1.1: The Homirxan 6.0 Cubic Foot Home Safe with its door open, revealing a spacious interior with a removable shelf, suitable for storing various valuables.
2. Important Safety Information
- Always keep the emergency keys in a secure location away from the safe and out of reach of children. Do not store them inside the safe.
- Ensure the safe is installed on a flat, stable surface. For maximum security, anchor the safe to a wall or floor using the provided expansion screws. Failure to do so may result in the safe tipping over when the door is open, especially if it is not fully loaded.
- Do not attempt to force the safe open if the digital lock malfunctions. Refer to the troubleshooting section or contact customer support.
- While the safe is designed with fire-resistant and water-resistant features, it is important to understand that no safe is completely impervious to extreme conditions. Always take additional precautions for highly sensitive items.
- Keep the keypad clean and dry. Avoid using abrasive cleaners or solvents.
3. Package Contents
Please verify that all components are present in the package before proceeding with installation and setup.
- 1 x Homirxan Home Safe
- 4 x Expansion Screws
- 2 x Emergency Keys
- 1 x User Manual (this document)
- 1 x Carpeted Floor Mat

Image 3.1: Included components with the Homirxan Home Safe, featuring the safe itself, expansion screws, spare keys, user manual, and a floor mat.
4. Setup Instructions
4.1 Initial Opening
- Locate the emergency keyhole, usually concealed behind the keypad cover or a small emblem.
- Insert one of the emergency keys into the keyhole and turn it clockwise.
- Simultaneously turn the knob on the keypad clockwise to open the safe door.
4.2 Battery Installation
The safe requires 4 AA batteries (not included) to power the digital keypad.
- With the safe door open, locate the battery compartment on the inside of the door.
- Open the battery compartment cover.
- Insert 4 AA batteries, ensuring correct polarity (+/-).
- Close the battery compartment cover. The keypad should now be powered on.
4.3 Setting Your Personal Passcode
It is recommended to set a new personal passcode immediately after battery installation.
- With the safe door open, press the red reset button located on the inside of the door, near the hinge. You will hear a beep.
- On the keypad, enter your desired 3-8 digit passcode.
- Press the "#" button to confirm. The safe will beep twice, indicating the new passcode is set.
- Test the new passcode with the door open before closing it. Enter your passcode, then turn the knob clockwise to ensure it operates correctly.
4.4 Anchoring the Safe
Anchoring the safe to a wall or floor significantly enhances its security and prevents tipping.
- Choose a suitable location for the safe, preferably against a solid wall or on a concrete floor.
- Mark the drilling points through the pre-drilled holes at the back or bottom of the safe.
- Drill pilot holes into the wall or floor using an appropriate drill bit (refer to expansion screw specifications for size).
- Align the safe with the drilled holes and insert the expansion screws.
- Tighten the screws firmly to secure the safe in place.
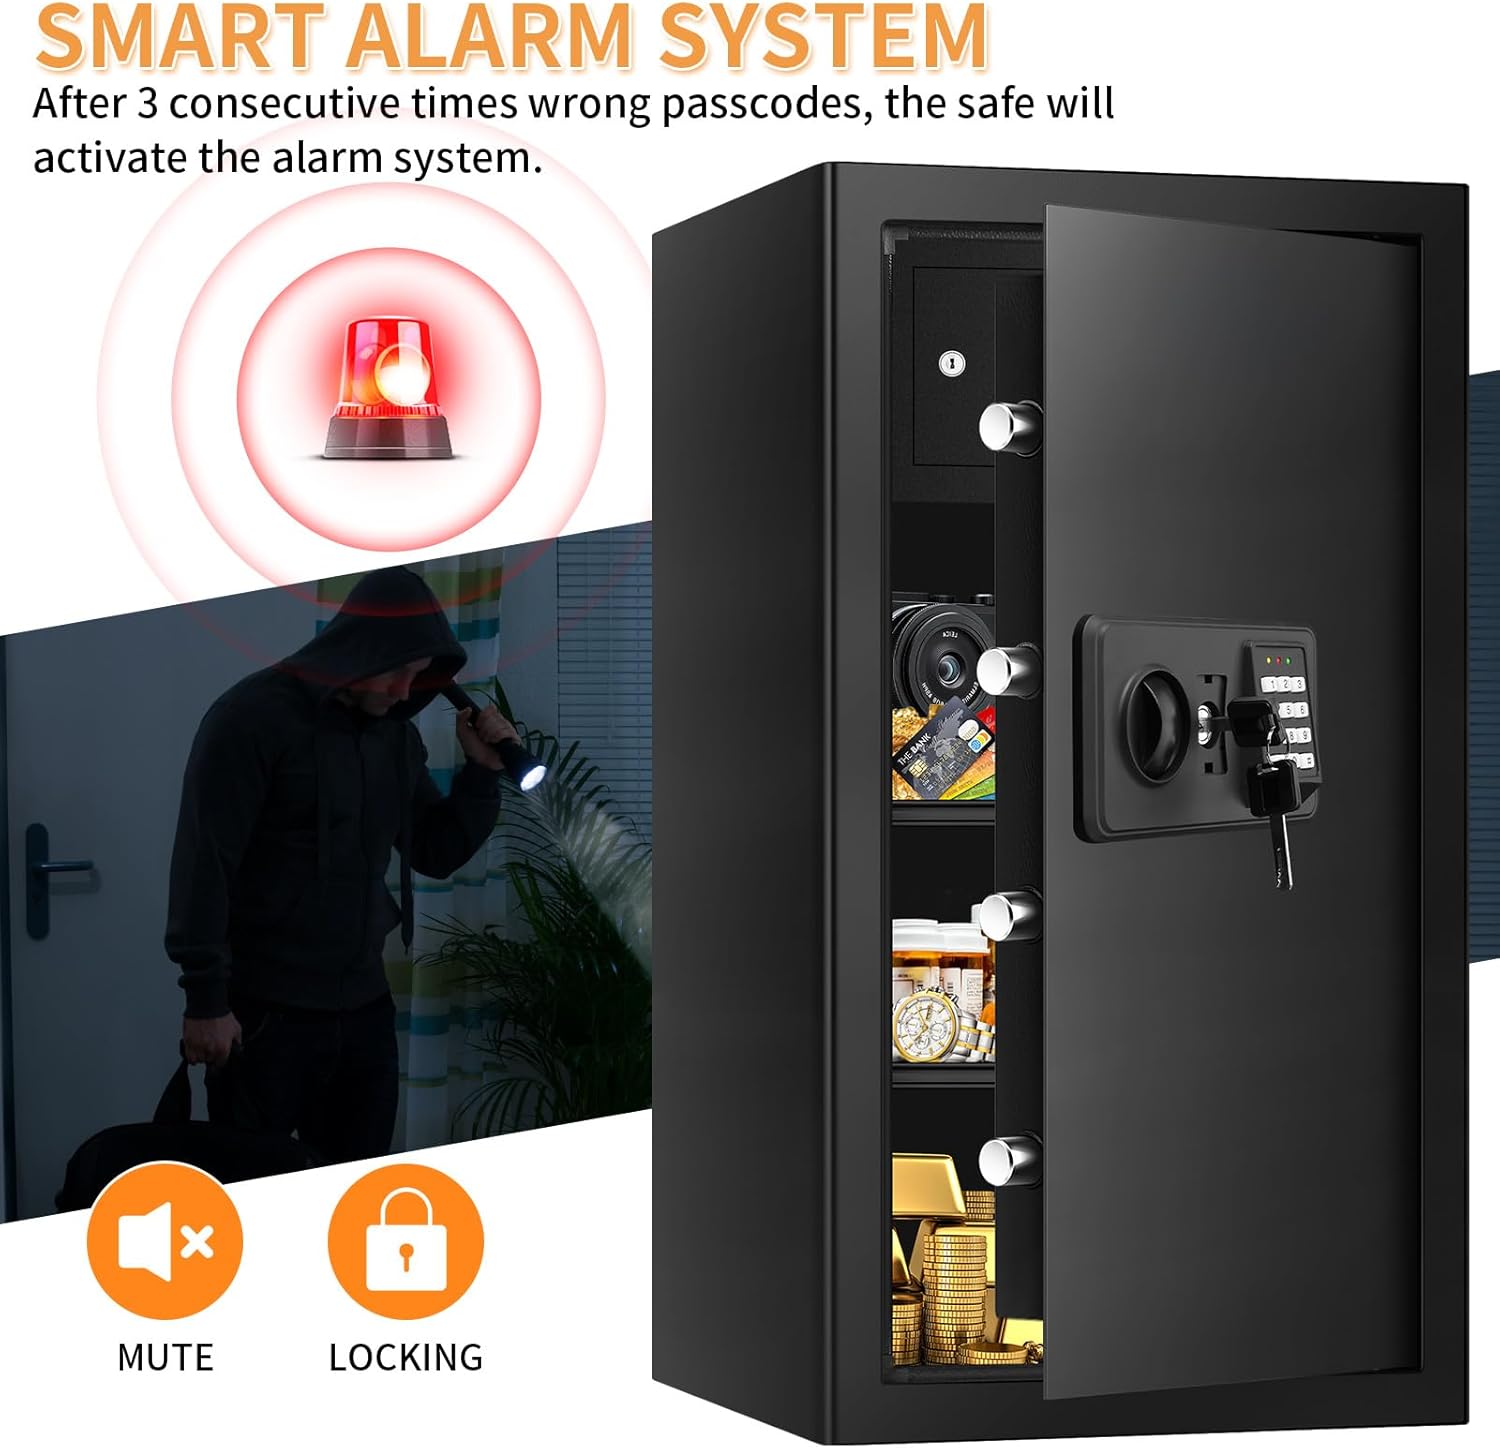
Image 4.1: Step-by-step diagram illustrating the process of anchoring the safe to a wall or floor for enhanced security.
5. Operating Instructions
5.1 Opening the Safe with Passcode
- Enter your personal 3-8 digit passcode on the keypad.
- Press the "#" button. The green light will illuminate, and you will hear a beep.
- Within 5 seconds, turn the knob clockwise to open the safe door.
5.2 Opening the Safe with Emergency Key
Use the emergency key if you forget your passcode or if the batteries are depleted.
- Locate the emergency keyhole.
- Insert the emergency key and turn it clockwise.
- Simultaneously turn the knob clockwise to open the safe door.

Image 5.1: Illustration of the two methods for opening the safe: digital passcode combined with the knob, or emergency key combined with the knob.
5.3 Closing and Locking the Safe
- Close the safe door firmly.
- Turn the knob counter-clockwise until it locks into place. The safe is now secured.
5.4 Alarm System
The safe is equipped with an anti-theft alarm system.
- If an incorrect passcode is entered 3 consecutive times, the alarm system will activate, and the safe will lock for 20 seconds.
- During the alarm period, the keypad will be unresponsive. Wait for the alarm to cease before attempting to open the safe again.

Image 5.2: The safe's smart alarm system activates after three incorrect passcode attempts, deterring unauthorized access.
5.5 Muting Keypad Beep Sound
To disable the keypad's audible feedback:
- Press the "*" button, then "6", then "3", then "3". Alternatively, press "*", then "O", then "F", then "F".
- The keypad sound should now be muted. Note that if the batteries are removed or power is lost for an extended period (e.g., 30 seconds), the sound setting may reset to default.
6. Maintenance
- Battery Replacement: Replace batteries annually or when the low battery indicator (if present) illuminates. Always use 4 new AA alkaline batteries.
- Cleaning: Wipe the safe's exterior with a soft, damp cloth. Avoid harsh chemicals or abrasive materials that could damage the finish.
- Key Storage: Store emergency keys in a secure, hidden location outside the safe. Do not store them inside the safe.
- Internal Organization: Utilize the removable shelf to organize your items efficiently. The shelf can be adjusted up or down to accommodate different sizes.

Image 6.1: The safe's interior with and without the removable shelf, illustrating adaptable storage for various items.
7. Troubleshooting
| Problem | Possible Cause | Solution |
|---|---|---|
| Safe does not open with passcode. | Incorrect passcode entered; Low batteries; Keypad malfunction. | Re-enter passcode carefully. Replace batteries. Use emergency key to open. |
| Keypad is unresponsive. | Dead batteries; Alarm activated (locked for 20 seconds). | Replace batteries. Wait for alarm to reset (20 seconds). |
| Alarm sounds unexpectedly. | Incorrect passcode entered 3 times; Physical tampering. | Ensure correct passcode entry. Check for external impacts. |
| Safe door does not close properly. | Obstruction in door frame; Locking bolts misaligned. | Check for items blocking the door. Gently push the door while turning the knob. |
| Safe tips over when door is open. | Safe is not anchored; Uneven surface. | Anchor the safe to a wall or floor. Ensure installation on a level surface. |
8. Product Specifications
| Feature | Detail |
|---|---|
| Brand | Homirxan |
| Model Number | 70SA |
| Capacity | 6.0 Cubic Feet |
| Exterior Dimensions (D x W x H) | 12.2" x 15.75" x 27.56" (31cm x 40cm x 70cm) |
| Interior Dimensions (D x W x H) | 11.8" x 15" x 27" (approximate, based on exterior and chamber depth) |
| Item Weight | 49 Pounds |
| Material | Alloy Steel |
| Lock Type | Electronic Combination Lock, Key |
| Special Features | Alarm System, Combination Lock, Fire-resistant, Removable Shelf, Sensor Light, Water-resistant |
| Mounting Type | Floor Mount (can also be wall-mounted) |
| Power Source | 4 x AA Batteries (not included) |
9. Customer Support
For any questions, technical assistance, or warranty inquiries regarding your Homirxan Home Safe, please contact Homirxan customer support through the retailer where the product was purchased. Please have your model number (70SA) and purchase details available when contacting support.
In case of lost keys, please contact customer support with the serial number of your safe to inquire about replacement options.