
FIREGAS FGS-EWV32D860CC
FIREGAS 60 cm Inclined Cooker Hood
User Manual
Model: FGS-EWV32D860CC
1. Introduction
Thank you for choosing the FIREGAS 60 cm Inclined Cooker Hood. This appliance is designed to provide efficient ventilation and enhance the aesthetic of your kitchen. To ensure safe and optimal operation, please read this user manual thoroughly before installation, operation, or maintenance. Keep this manual for future reference.

Image: The FIREGAS 60 cm Inclined Cooker Hood in white, shown with two circular carbon filters, highlighting its sleek design and included accessories.
2. Safety Information
Always adhere to the following safety precautions to prevent personal injury or damage to the appliance.
- Electrical Safety: Ensure the power supply matches the voltage specified on the rating plate. Do not use extension cords. Disconnect the appliance from the power supply before any cleaning or maintenance.
- Installation: Installation must be performed by a qualified person in accordance with local regulations. Ensure adequate ventilation in the room when the cooker hood is used simultaneously with gas or other fuel-burning appliances.
- Operation: Never leave frying food unattended as fats and oils can ignite. Do not flambé under the cooker hood.
- Cleaning: Regularly clean the appliance and its filters to prevent grease build-up, which can be a fire hazard. Do not use abrasive cleaners or corrosive detergents.
- Bulb Replacement: Refer to the maintenance section for instructions on replacing LED bulbs. Ensure the appliance is disconnected from power before attempting to replace bulbs.
- Disposal: Dispose of packaging materials and old appliances responsibly, following local recycling guidelines.
3. Product Overview and Features
The FIREGAS Inclined Cooker Hood combines modern design with powerful performance. It features a white tempered glass finish and stainless steel accents, designed to save space and prevent head bumps during cooking.
- Modern and Practical Design: Inclined 60 cm design with white tempered glass and stainless steel finish.
- Dual Air Intake: Front and bottom suction for enhanced coverage and efficient smoke/odor capture.
- Powerful Suction & Low Consumption: Brushless motor with 684 m³/h capacity and A+++ energy efficiency (10 kWh/year).
- Quiet Operation: Low noise level between 46 and 61 dB.
- Smart Control: Touch and gesture control with 9 speed settings and a timer function.
- Efficient LED Lighting: Two 1.5 W LED lights provide clear illumination over the cooking area.
- Versatile Installation: Supports external extraction or recirculation with carbon filters.
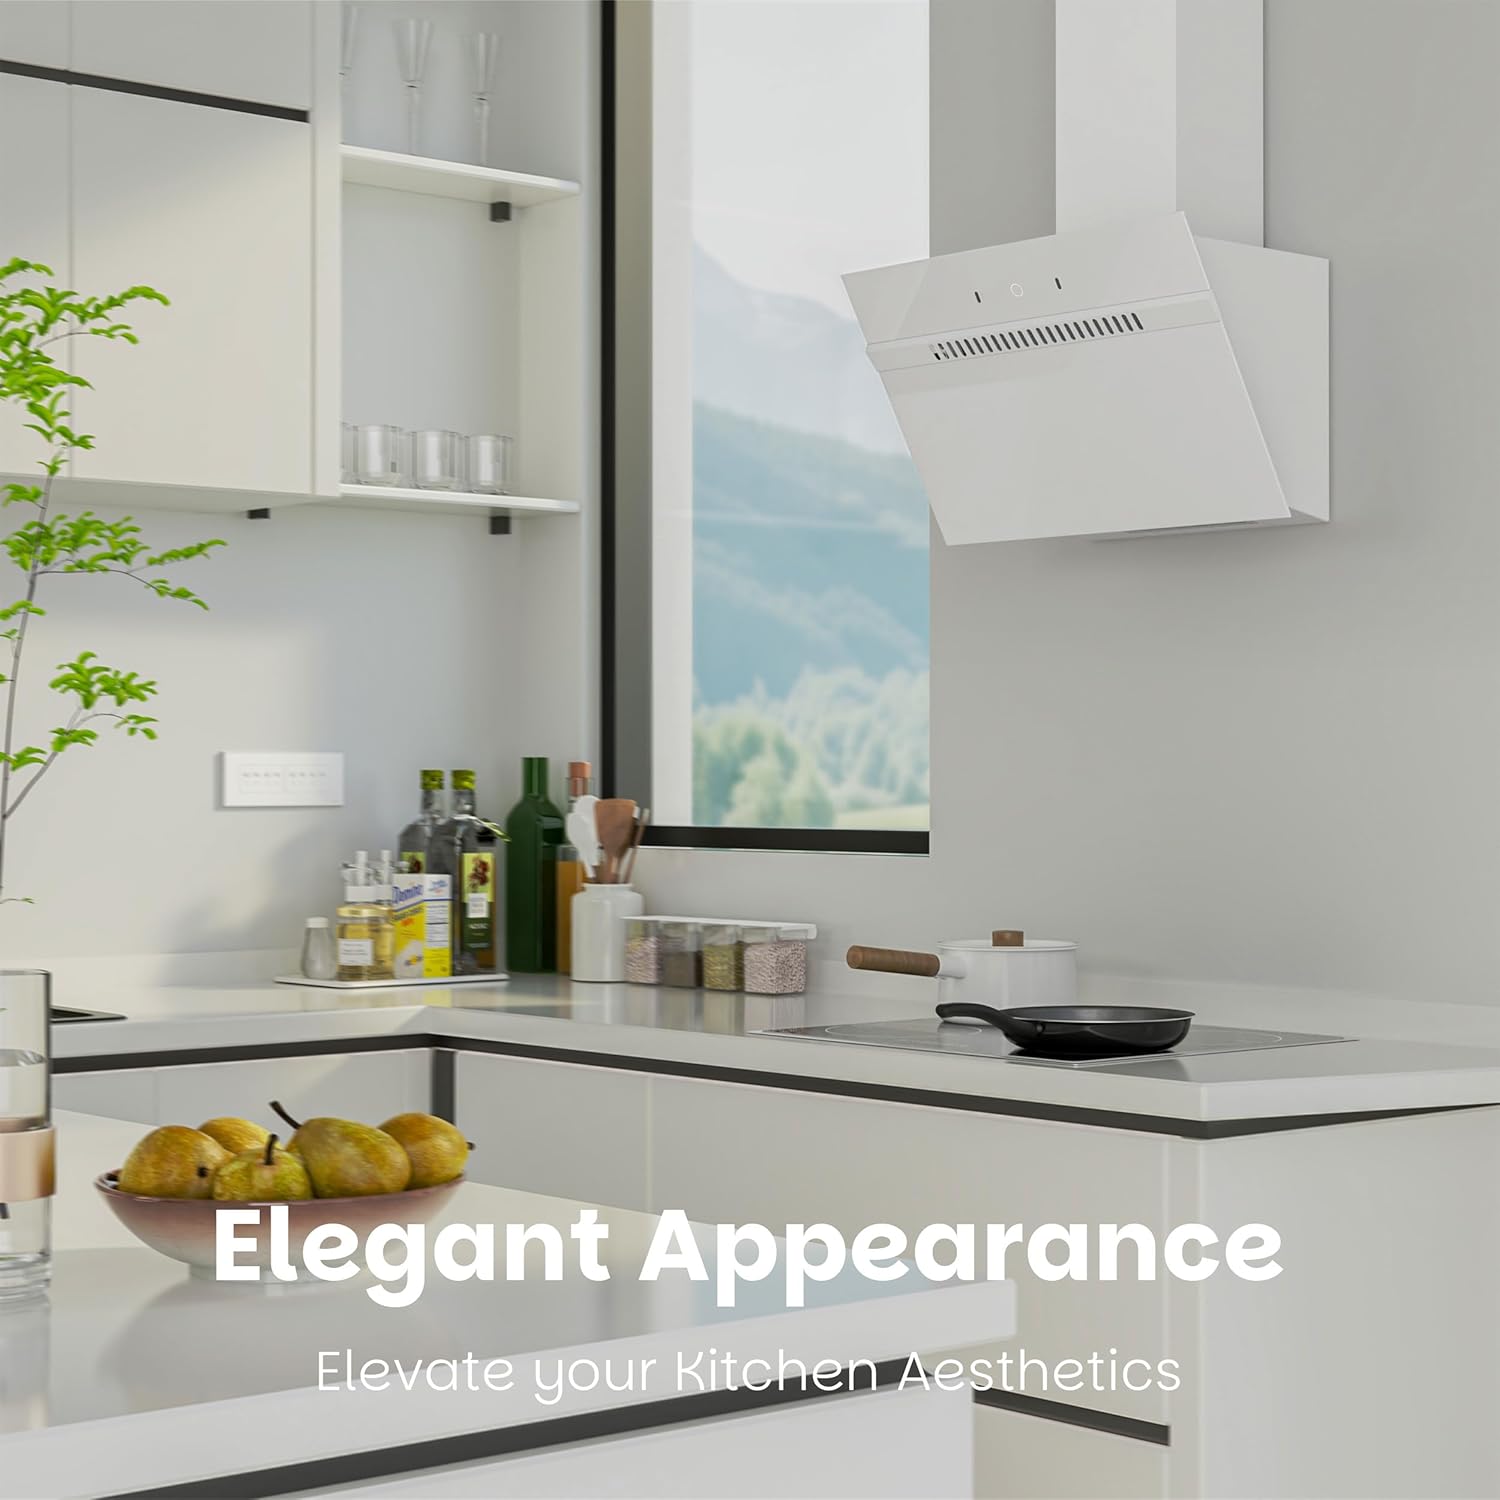
Image: The cooker hood seamlessly integrated into a modern kitchen, showcasing its elegant appearance and space-saving design.

Image: Visual representation of the cooker hood's A+++ energy efficiency, with leaves symbolizing environmental friendliness.
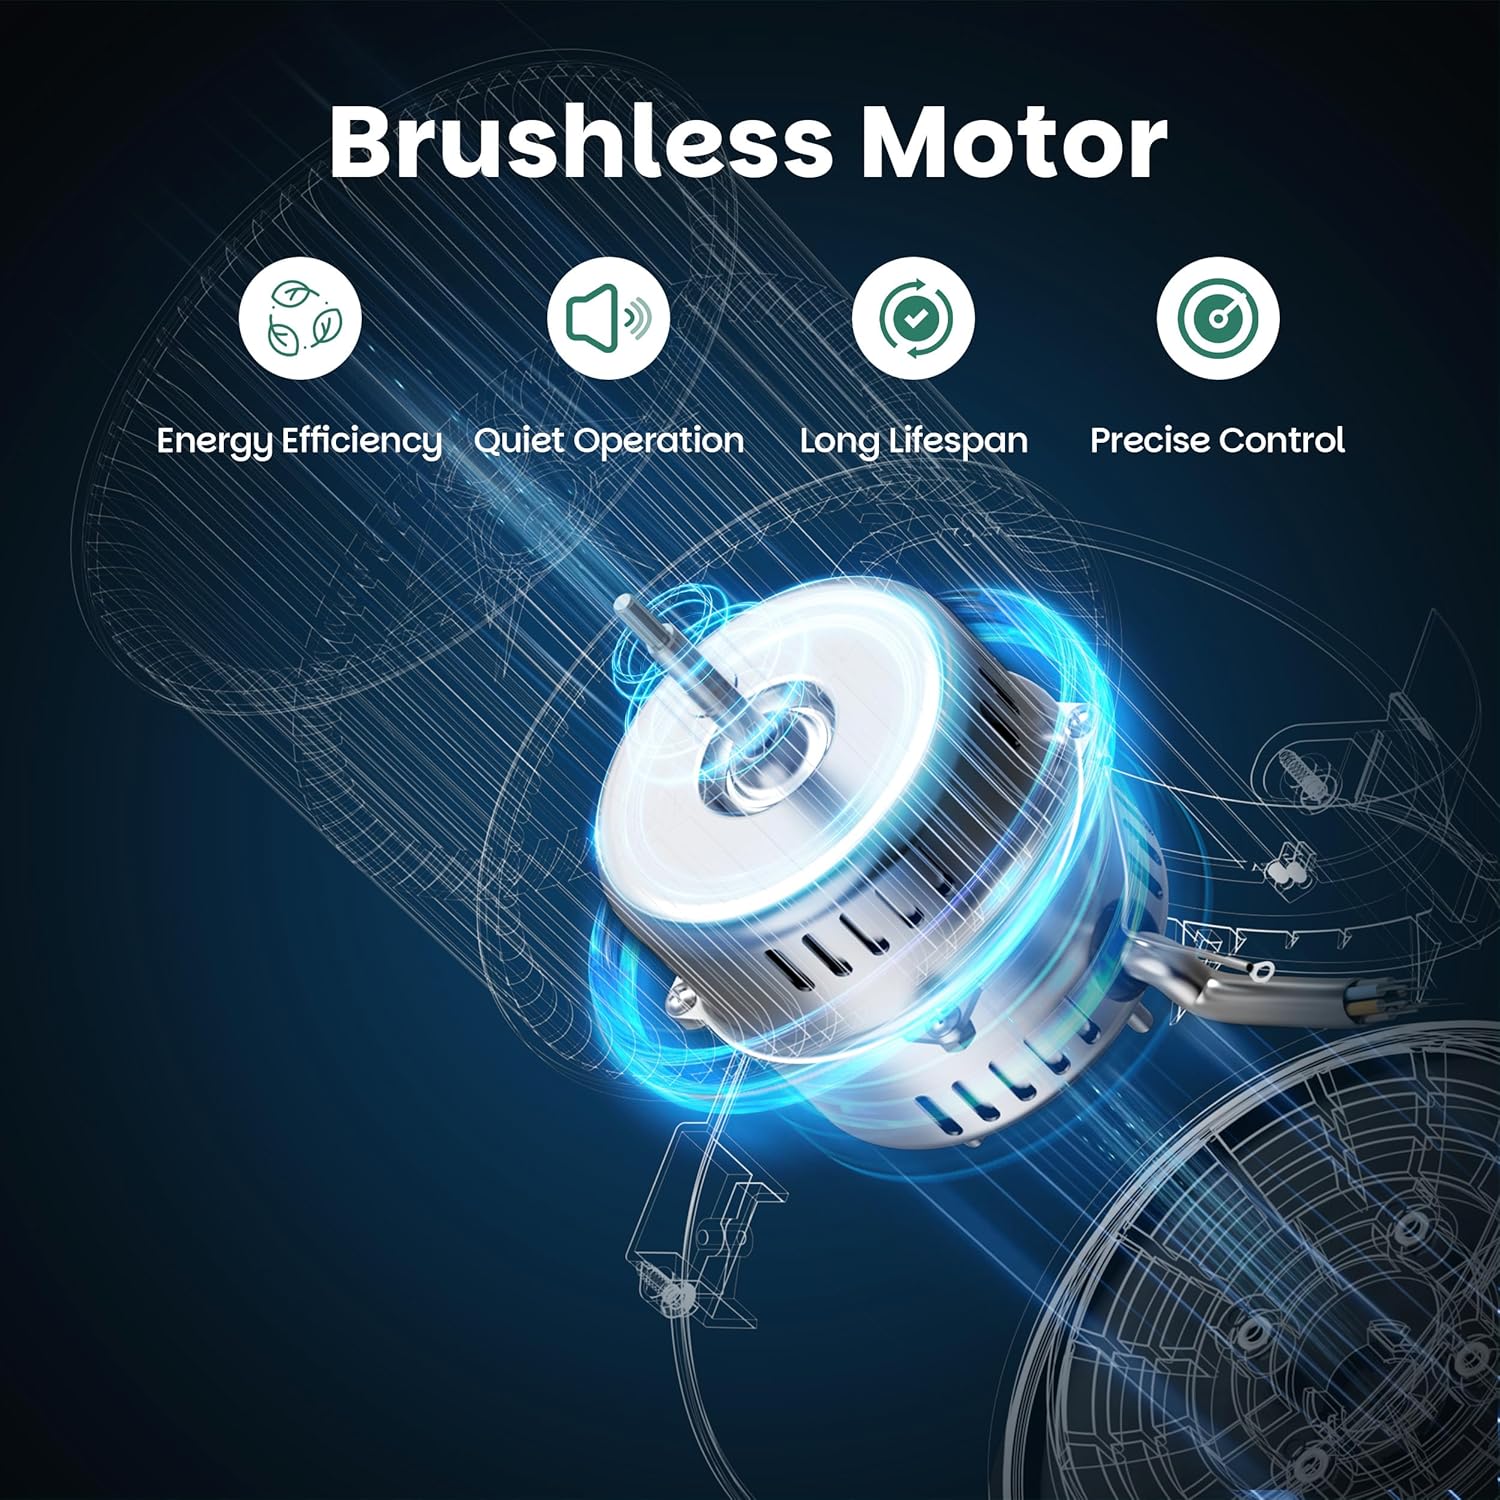
Image: An illustration of the brushless motor, highlighting its benefits: energy efficiency, quiet operation, long lifespan, and precise control.
4. Installation
The cooker hood can be installed in two modes: external extraction or internal recirculation. The installation kit includes all necessary components for both options.
4.1. Components Included:
- Cooker Hood Unit
- Activated Carbon Filter (for recirculation mode)
- Installation Kit (screws, wall plugs, etc.)
- Expandable Ducting Pipe (2 meters)
- Five-Layer Aluminium Filters (pre-installed)
- Chimney Mounting Bracket
- Dampers
- Decorative Tube (Chimney covers)
- Installation Drawing
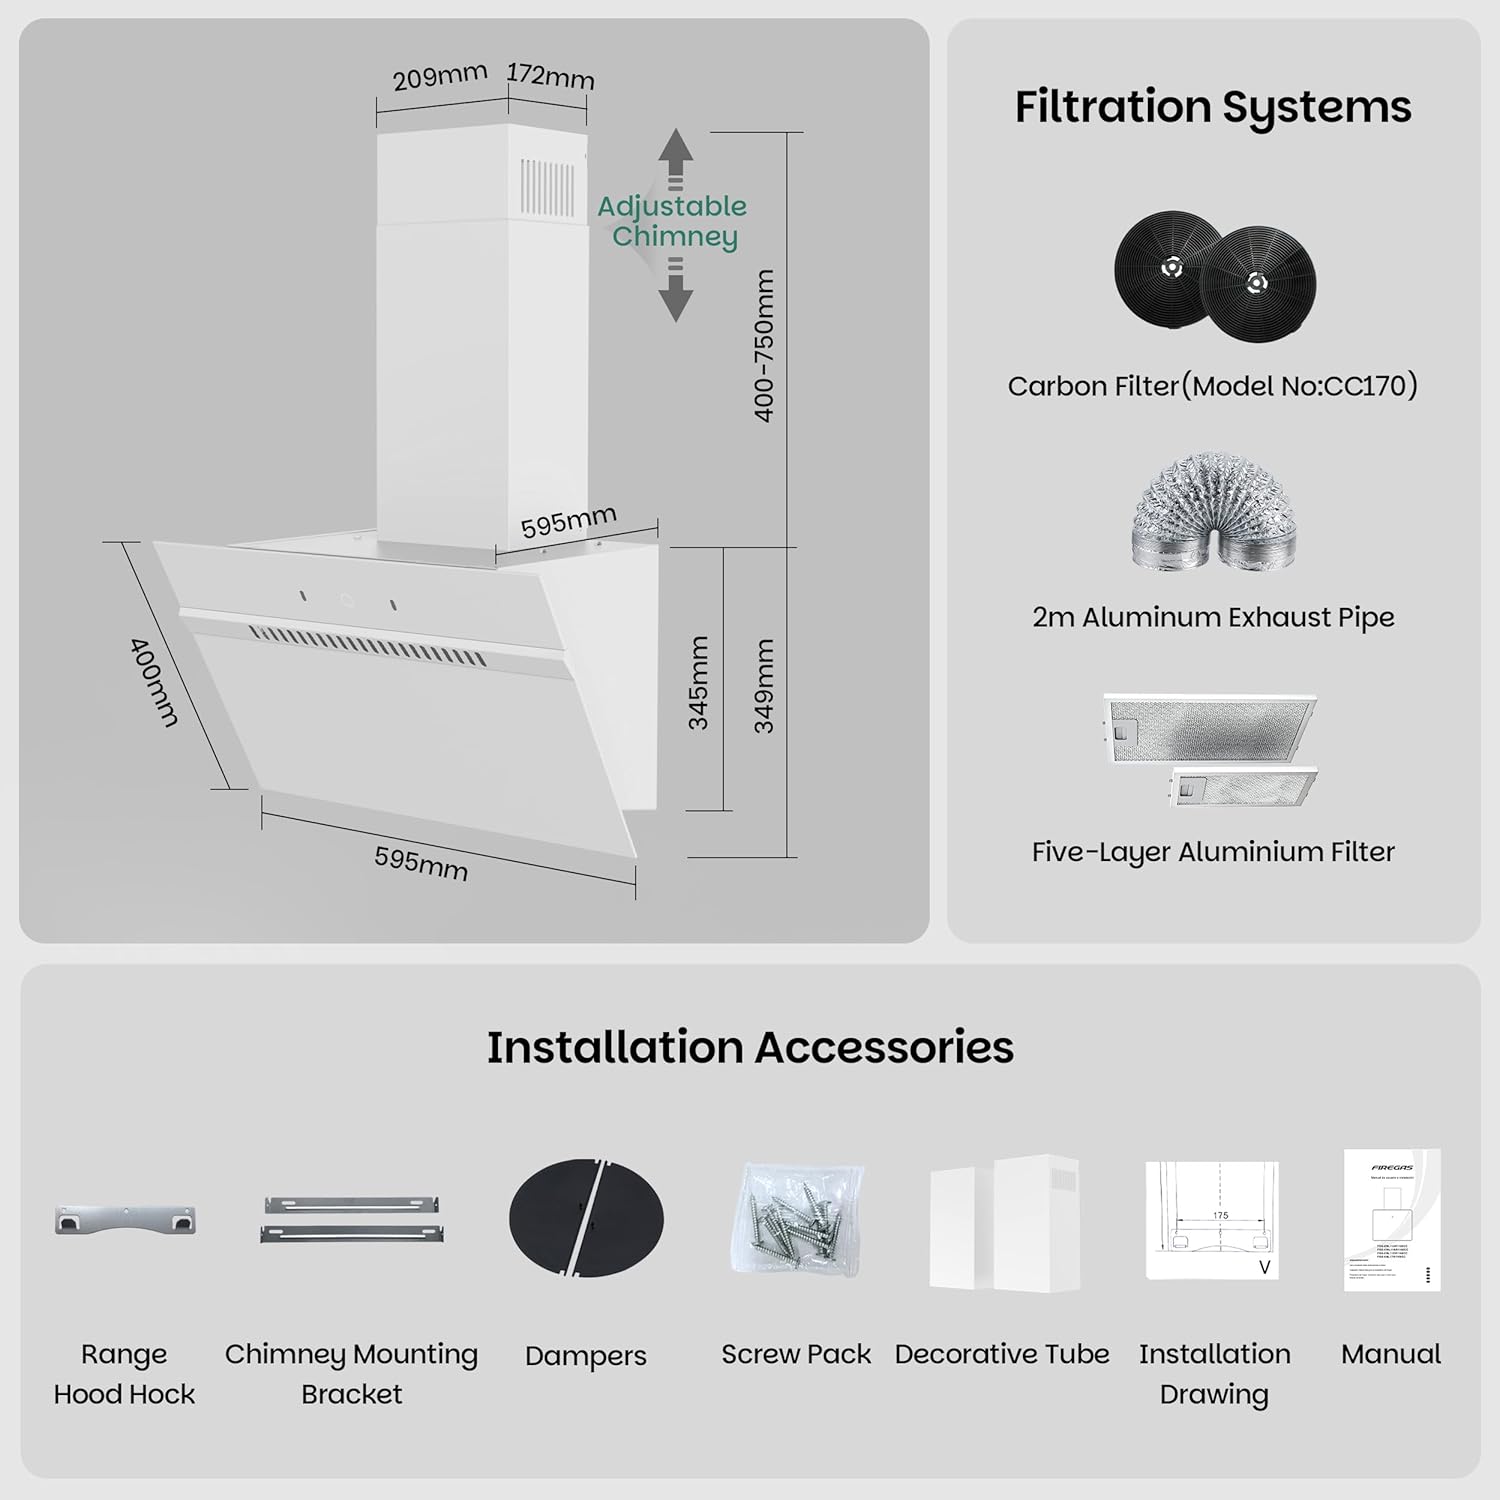
Image: A detailed diagram illustrating the dimensions of the cooker hood and a visual list of all included installation accessories, such as carbon filters, exhaust pipe, aluminum filter, and mounting hardware.
4.2. Installation Steps (General):
- Preparation: Ensure the installation area is clear and the wall is suitable for mounting. Mark the drilling points according to the provided installation drawing.
- Mounting the Bracket: Securely attach the chimney mounting bracket to the wall using the provided screws and wall plugs.
- Mounting the Hood: Carefully lift and hang the cooker hood unit onto the main mounting bracket. Ensure it is level and securely fastened.
- Ducting Connection:
- External Extraction: Connect the expandable ducting pipe to the hood's outlet and route it to an external vent. Ensure the dampers are correctly installed to prevent backflow.
- Internal Recirculation: Install the activated carbon filters onto the motor unit inside the hood. No external ducting is required, as air is filtered and recirculated into the kitchen.
- Electrical Connection: Connect the cooker hood to a suitable power outlet. It is recommended to have this step performed by a qualified electrician.
- Decorative Chimney Covers: Install the decorative tube sections to cover the ducting and mounting hardware, ensuring a clean finish.

Image: A visual comparison demonstrating the two venting options: external extraction with ducting and internal recirculation using carbon filters.
5. Operation
The FIREGAS cooker hood offers intuitive control through its touch panel and gesture recognition system.
5.1. Control Panel:
The touch control panel is located on the front of the hood. It allows for precise adjustment of fan speed, lighting, and timer functions.

Image: The cooker hood's control panel with a hand gesture indicating the gesture control functionality for turning on/off or changing speed.
5.2. Functions:
- Power On/Off: Press the power button on the touch panel or use the designated gesture.
- Fan Speed Adjustment: Select from 9 adjustable speeds using the '+' and '-' buttons on the touch panel or by specific gestures. Higher speeds are recommended for heavy cooking, while lower speeds are suitable for simmering.
- LED Lighting: Press the light button to turn the dual 1.5W LED lights on or off. These lights provide clear illumination of your cooking surface.
- Timer Function: Activate the timer to set a specific duration for the hood to operate before automatically shutting off. Consult the detailed instructions in the full manual for timer settings.
- Gesture Control: Wave your hand in front of the sensor to turn the hood on/off or to cycle through fan speeds without touching the panel.

Image: The cooker hood in operation, illustrating its powerful suction and the availability of 9 adjustable speeds, with a suction capacity of up to 684 m³/h.

Image: The cooker hood's dual LED lights providing bright and clear illumination over the stovetop, ensuring perfect visibility while cooking.
6. Maintenance
Regular maintenance ensures the longevity and optimal performance of your cooker hood.
6.1. Cleaning the Cooker Hood:
- Clean the exterior surfaces regularly with a soft cloth and mild, non-abrasive detergent.
- For tempered glass surfaces, use a glass cleaner. Avoid harsh chemicals that could damage the finish.
6.2. Cleaning/Replacing Filters:
- Aluminium Grease Filters: These 5-layer filters are washable. Remove them by releasing the latch, wash them by hand with hot soapy water or in a dishwasher (on a low-temperature cycle), and ensure they are completely dry before re-installing. Clean every 2-4 weeks depending on usage.
- Activated Carbon Filters (for recirculation mode): These filters cannot be washed and must be replaced periodically, typically every 3-6 months, depending on usage. Refer to the specific model number (CC170) for replacement filters.
6.3. LED Bulb Replacement:
The cooker hood is equipped with long-lasting LED lights. If replacement is necessary, ensure the appliance is disconnected from the main power supply. Consult a qualified technician or refer to the detailed instructions in the full manual for specific bulb replacement procedures.
7. Troubleshooting
If you encounter any issues with your cooker hood, refer to the following common problems and solutions. If the problem persists, contact customer support.
| Problem | Possible Cause | Solution |
|---|---|---|
| Cooker hood does not turn on. | No power supply; power cord disconnected; fuse blown. | Check power connection; check household fuse/circuit breaker; ensure power button is pressed. |
| Low suction power. | Grease filters are dirty; carbon filters are saturated (recirculation mode); ducting is blocked or too long/narrow. | Clean grease filters; replace carbon filters; check ducting for obstructions or proper installation. |
| Excessive noise. | Loose components; fan obstruction; improper installation of ducting. | Check for loose screws or parts; ensure no foreign objects are in the fan; verify ducting is securely installed and not vibrating. |
| Lights not working. | LED bulbs faulty; electrical connection issue. | Check light button; if bulbs are replaceable, replace them (ensure power is off); consult technician for electrical issues. |
8. Specifications
Technical specifications for the FIREGAS 60 cm Inclined Cooker Hood (Model: FGS-EWV32D860CC).
| Feature | Specification |
|---|---|
| Model Number | FGS-EWV32D860CC |
| Dimensions (D x W x H) | 38.4 x 59.5 x 109.4 cm |
| Weight | 13.11 kg |
| Material | Stainless Steel, Aluminum, Tempered Glass |
| Color | White |
| Airflow Capacity | 684 m³/h |
| Energy Efficiency Class | A+++ |
| Annual Energy Consumption | 10 kWh/year |
| Noise Level | 46 dB (min) - 61 dB (max) |
| Control Method | Touch, Gesture |
| Number of Speeds | 9 |
| Lighting Type | LED (2 x 1.5 W) |
| Filter Type | 5-layer Aluminum Grease Filter, Activated Carbon Filter (optional) |
| Venting Type | Convertible (Extraction or Recirculation) |
| Voltage | 220V |

Image: A product data sheet providing detailed technical specifications and energy ratings for the cooker hood.
9. Warranty and Support
Specific warranty details are not provided in this manual. Please refer to your purchase documentation or the manufacturer's official website for warranty terms and conditions.
For technical support, spare parts, or any inquiries not covered in this manual, please contact FIREGAS customer service or the retailer from whom you purchased the product. Ensure you have your model number (FGS-EWV32D860CC) and purchase date available when contacting support.
Ask a question about this manual
Ask about setup, troubleshooting, compatibility, parts, safety, or missing instructions. Manuals+ will review the question and use this page’s manual context to help answer it.