Introduction
This manual provides comprehensive instructions for the proper use, installation, and maintenance of your 6-pin Wire Connector Kit. Please read this manual thoroughly before operation to ensure safe and efficient use.
The 6-pin Wire Connector Kit is a versatile solution designed for various electrical applications. It supports 18-24 AWG wires and features a standard 0.165-inch (4.2 mm) pin spacing, ensuring broad compatibility with many electronic components and systems. Its robust design ensures stable current transmission and reliable connections for both low-voltage control and medium-load power supply lines.
Package Contents
Verify that all components are present in the package:
- 10 x 6-pin Male Connector Housings
- 10 x 6-pin Female Connector Housings
- 60 x Male Terminal Pins (for 18-24 AWG wires)
- 60 x Female Terminal Pins (for 18-24 AWG wires)
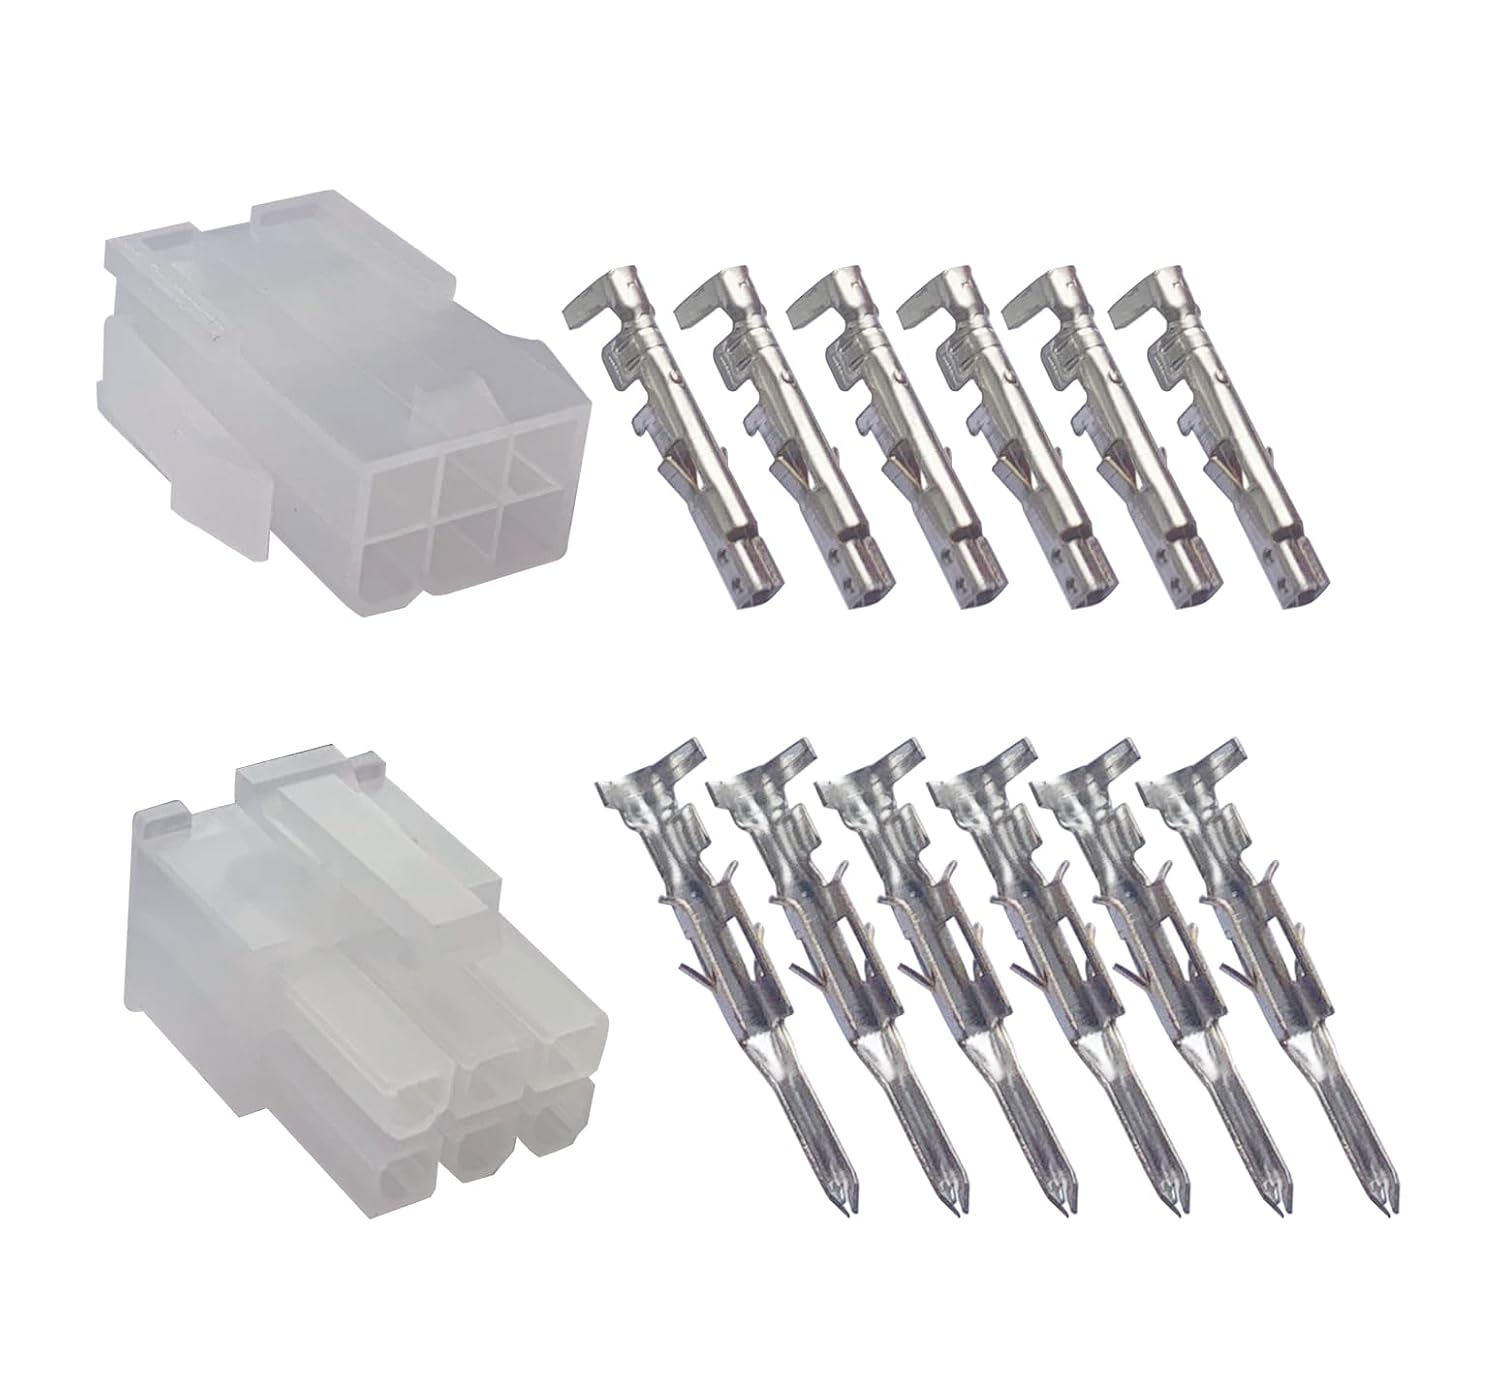
Figure 1: Complete 6-pin wire connector kit components.
Specifications
| Attribute | Value |
|---|---|
| Product Name | 6-pin Wire Connector Kit |
| Model Number | 6-pin with 18-24 AWG |
| Wire Gauge Compatibility | 18-24 AWG |
| Pin Spacing | 0.165 inch (4.2 mm) |
| Connector Type | Male and Female Plugs |
| Terminal Type | Terminal Sockets |
| Contact Material | Brass |
| Insulation Material | Acrylonitrile Butadiene Styrene (ABS) |
| Product Dimensions | 0.1 x 0.1 x 0.1 inches (approximate) |
| Item Weight | 1.6 ounces (approximate) |
Setup and Installation
Follow these steps to properly assemble and install the 6-pin wire connectors:
- Prepare Wires: Strip approximately 3-4 mm of insulation from the end of each 18-24 AWG wire you intend to connect. Ensure the copper strands are clean and untwisted.
- Crimp Terminals: Insert the stripped end of a wire into the barrel of the appropriate male or female terminal pin. Use a suitable crimping tool to securely crimp the terminal onto the wire. Ensure a firm connection that will not pull out easily.

Figure 2: Individual terminal pins for crimping.
- Insert Terminals into Housing: Carefully insert the crimped terminal into the correct cavity of the male or female connector housing. Push until you hear a click, indicating that the terminal's locking tab has engaged with the housing. Gently pull on the wire to confirm it is securely seated.

Figure 3: Connector housings and terminals before assembly.
- Repeat for all Wires: Repeat steps 1-3 for all 6 wires on both the male and female sides of the connector. Ensure correct pin assignment for your application.
- Connect the Plugs: Align the male and female connector plugs and push them together firmly until the snap-lock mechanism engages. This creates a secure and stable connection.
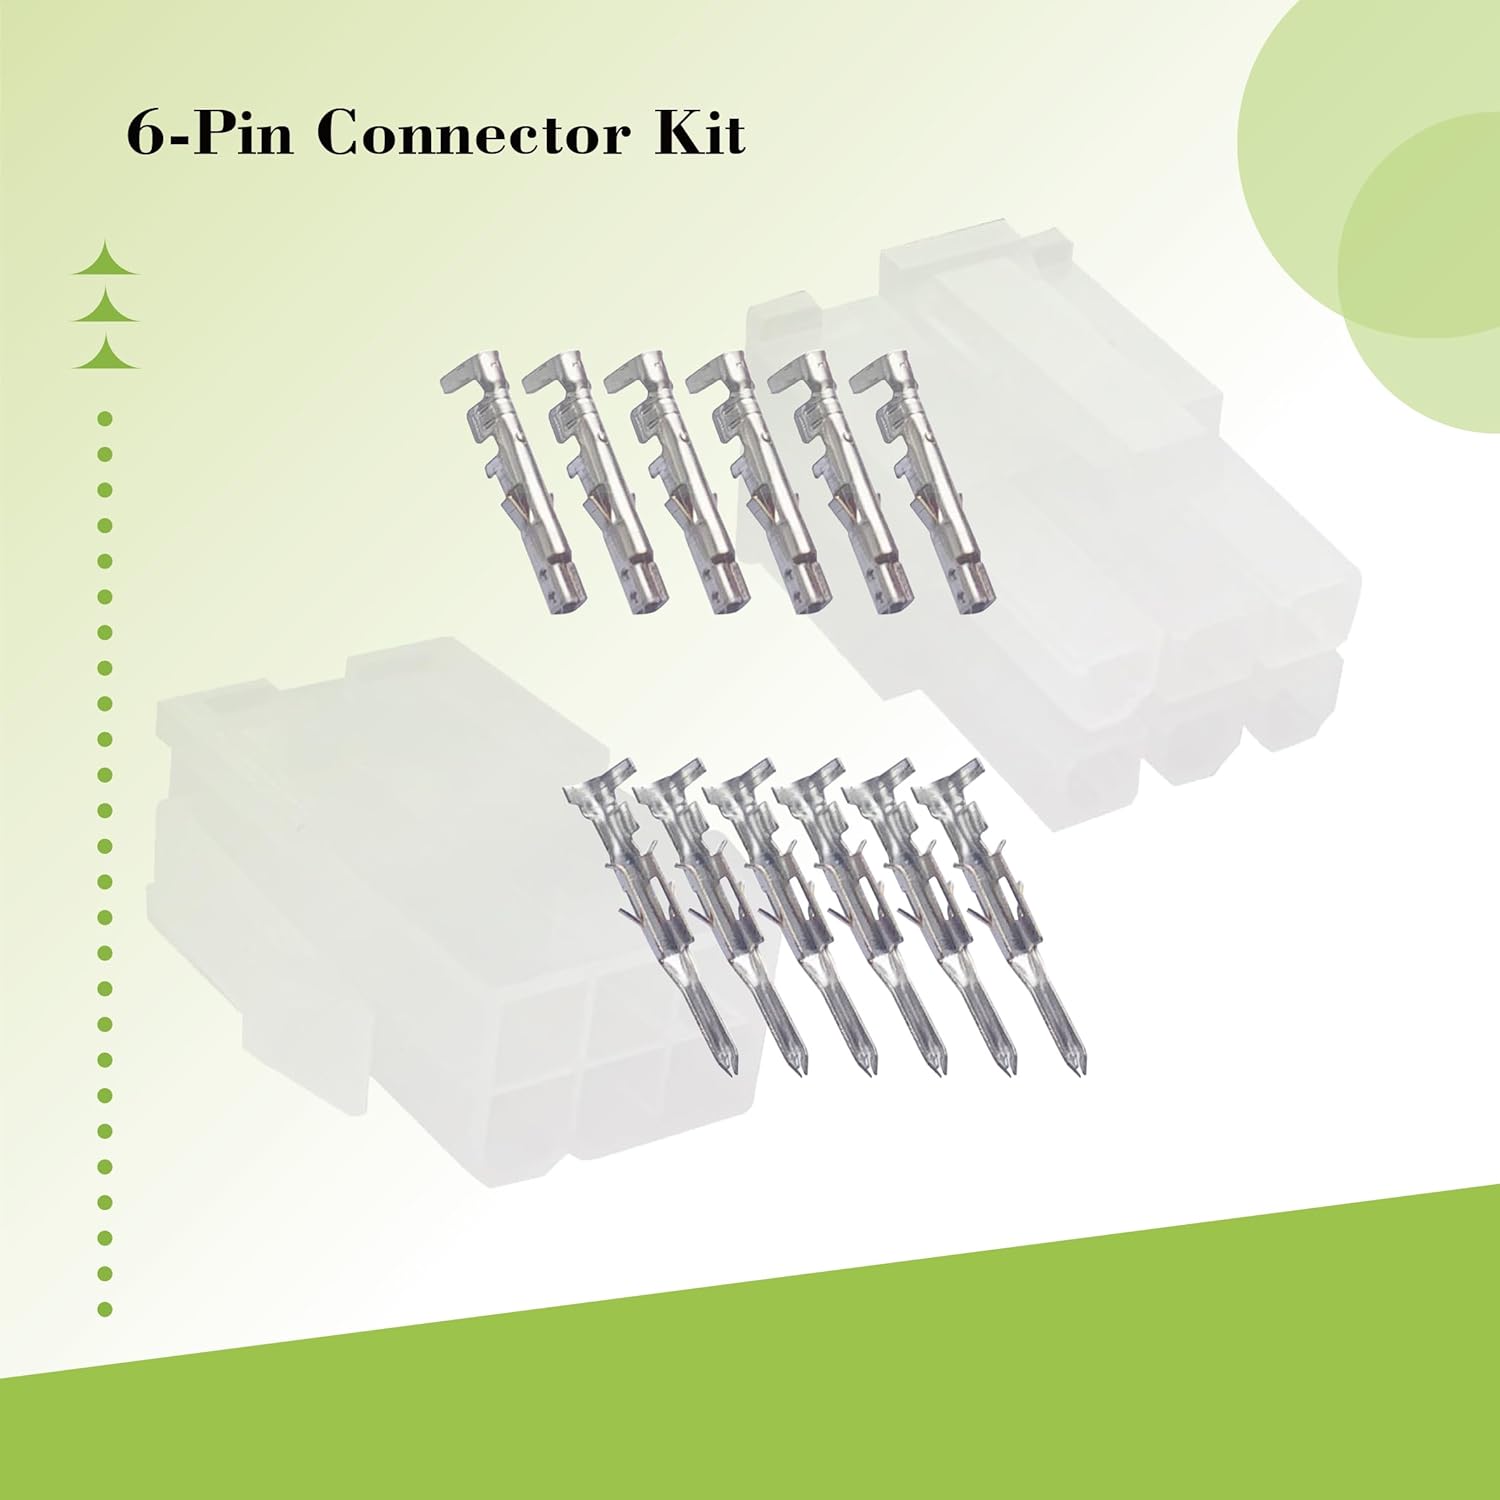
Figure 4: Mating the male and female connectors.
Note: The sturdy snap-lock door lock structure ensures the connection remains secure even during vibrations, preventing accidental disconnection.
Operating Principles
Once assembled, the 6-pin wire connector facilitates the transmission of electrical signals or power between two connected circuits. Its design ensures stable current transmission and good contact performance, suitable for both low-voltage control and medium-load power supply lines.
- Secure Connection: The tight fit and snap-lock mechanism prevent accidental disconnections, even in environments with frequent movement or vibration.
- Versatility: Suitable for a wide range of applications including automotive wiring harnesses, electric vehicles, lighting systems, power conversion, and electronic control modules.
- Reliability: High-strength housing and highly conductive terminals ensure long-term electrical reliability.
Maintenance
The 6-pin wire connector kit is designed for durability and requires minimal maintenance. However, periodic inspection can prolong its lifespan and ensure optimal performance:
- Visual Inspection: Regularly inspect the connectors for any signs of physical damage, such as cracks in the housing, bent pins, or corrosion on the terminals.
- Cleanliness: If operating in dusty or dirty environments, occasionally disconnect the plugs and gently clean the terminals and housing with a dry, soft brush or compressed air. Avoid using liquid cleaners unless specifically designed for electrical contacts.
- Connection Integrity: Periodically check that the male and female plugs are securely mated and that individual wires are still firmly crimped into their terminals and seated in the housing.
Do not attempt to modify the connectors. Any unauthorized modifications may compromise the integrity and safety of the connection.
Troubleshooting
This section addresses common issues you might encounter with the 6-pin wire connector kit.
| Problem | Possible Cause | Solution |
|---|---|---|
| Loose connection / Intermittent signal |
|
|
| Difficulty inserting terminals into housing |
|
|
| Plugs won't mate |
|
|
Warranty and Support
For information regarding warranty coverage or technical support, please refer to the product packaging or contact the manufacturer directly. Keep your purchase receipt as proof of purchase.
Manufacturer: China
Brand: Szuenh
For further assistance, you may visit the product page on Amazon: Amazon Product Page


