1. Introduction
The Oxva NeXLIM Pod Vape Kit is designed to provide an advanced and versatile vaping experience. This manual provides essential information on how to set up, operate, maintain, and troubleshoot your NeXLIM device to ensure optimal performance and longevity. Please read this manual thoroughly before using the device.
2. Package Contents
Upon unboxing your Oxva NeXLIM Vape Kit, please verify that all the following items are included:
- 1 x Oxva NeXLIM 1500 mAh Device
- 1 x Oxva NeXLIM 0.6Ω Cartridge (Pre-installed)
- 1 x Oxva NeXLIM 0.8Ω Cartridge (Spare)
- 1 x Type-C USB charging cable
- 1 x User Manual
- 1 x Button Operation Instructions

Image: Oxva NeXLIM Vape Kit with included accessories: device, two pods, and USB-C charging cable.
3. Product Features
The Oxva NeXLIM Vape Kit incorporates several advanced features for an optimized vaping experience:
- Dual Mesh Technology: Enhanced coil design for improved flavor and extended coil lifespan.
- Boost & Eco Modes: Offers a 40W Boost Mode for intense performance and an Eco Mode to conserve battery life.
- 1500mAh Battery: Long-lasting internal battery with 5V/2A fast charging capability.
- 2ml Pod Capacity: Leak-proof pod system compatible with nic salts and 50VG/50PG e-liquids.
- 0.85" Color Screen: Dynamic display for clear information and interactive animations.
- Adjustable Airflow: Sliding airflow system for customizing MTL (Mouth-to-Lung) and RDL (Restricted Direct-to-Lung) vaping styles.
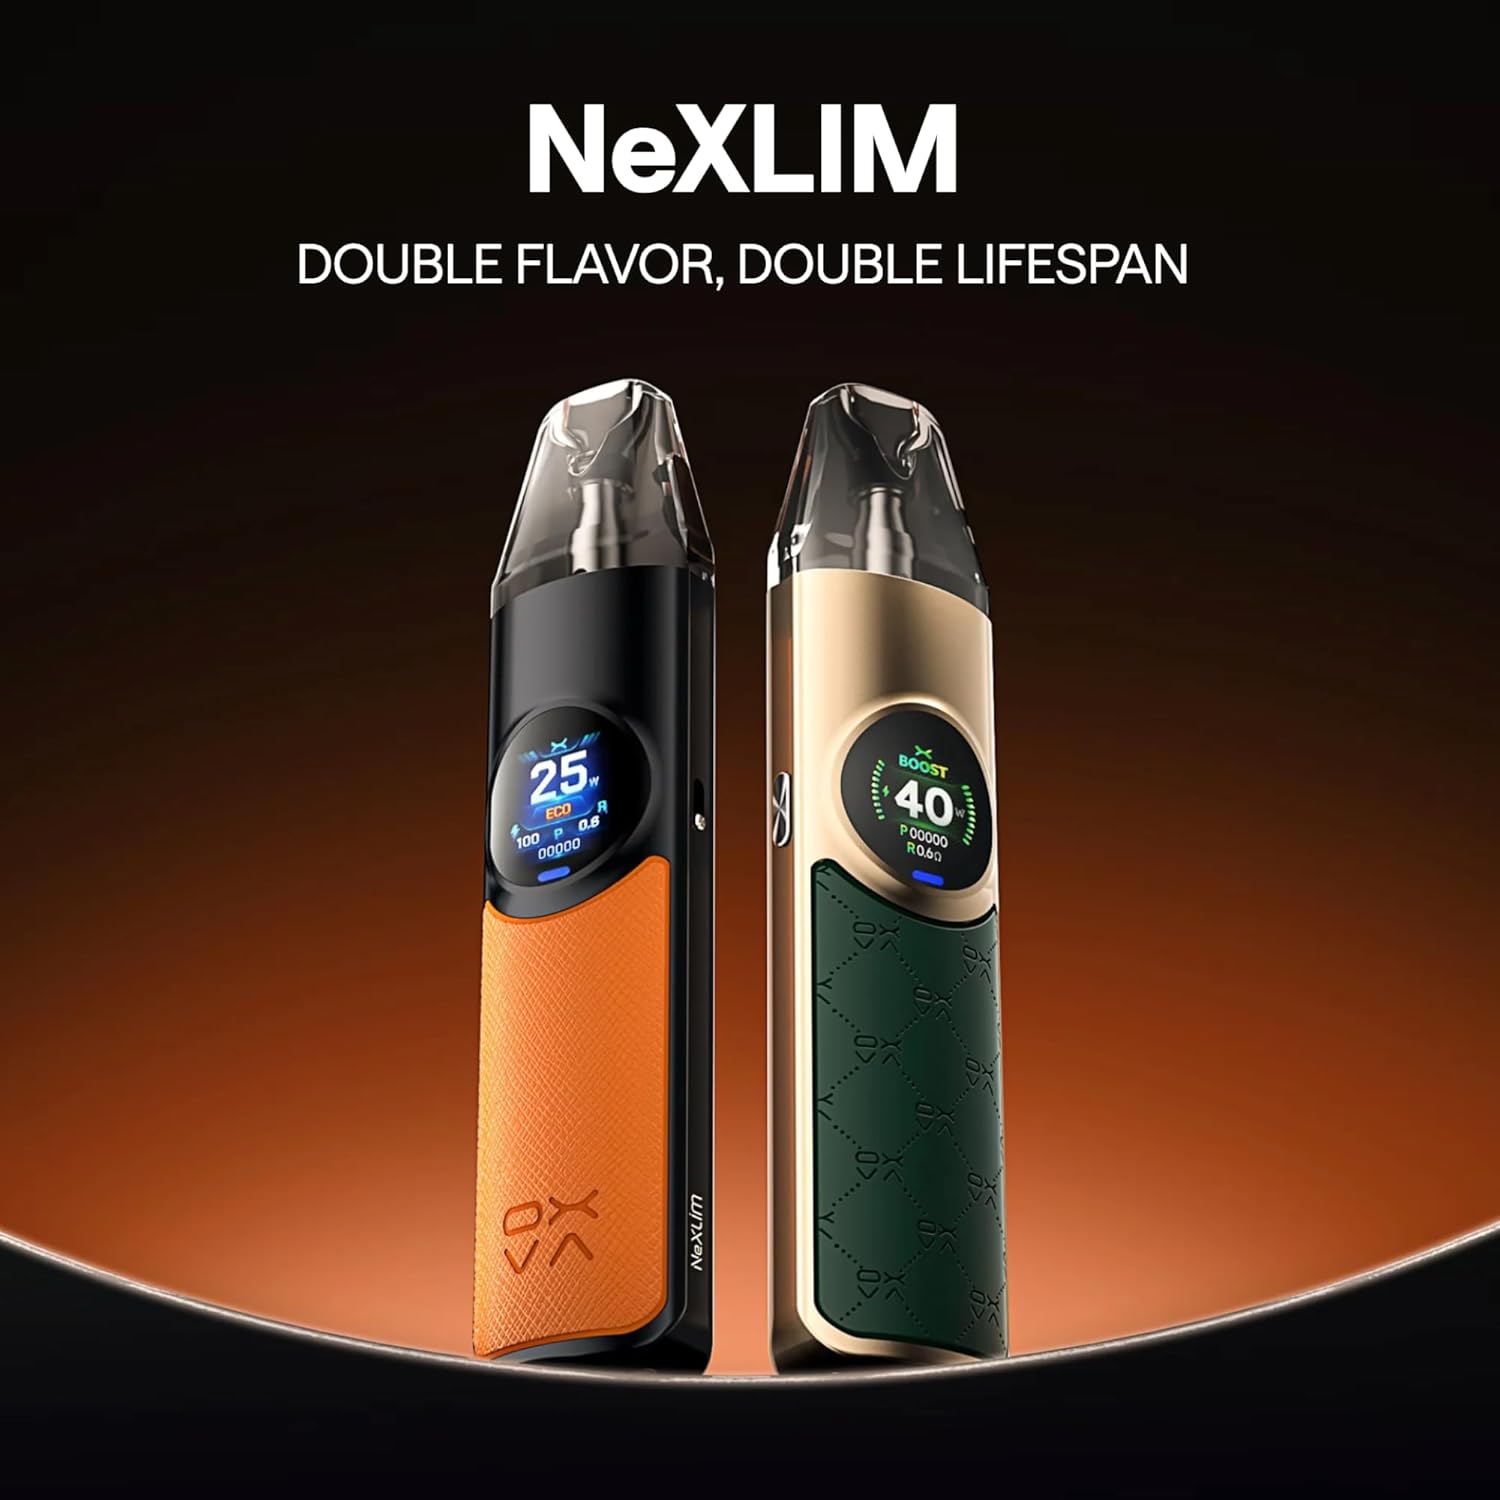
Image: Two Oxva NeXLIM Vape Kits, showcasing different color options and the sleek design.

Image: Diagram illustrating the Dual Mesh Technology for enhanced flavor and coil lifespan.

Image: Close-up of the Oxva NeXLIM device display showing Boost and Eco modes.

Image: Illustration of the 2ml large capacity pod for the Oxva NeXLIM Vape Kit.
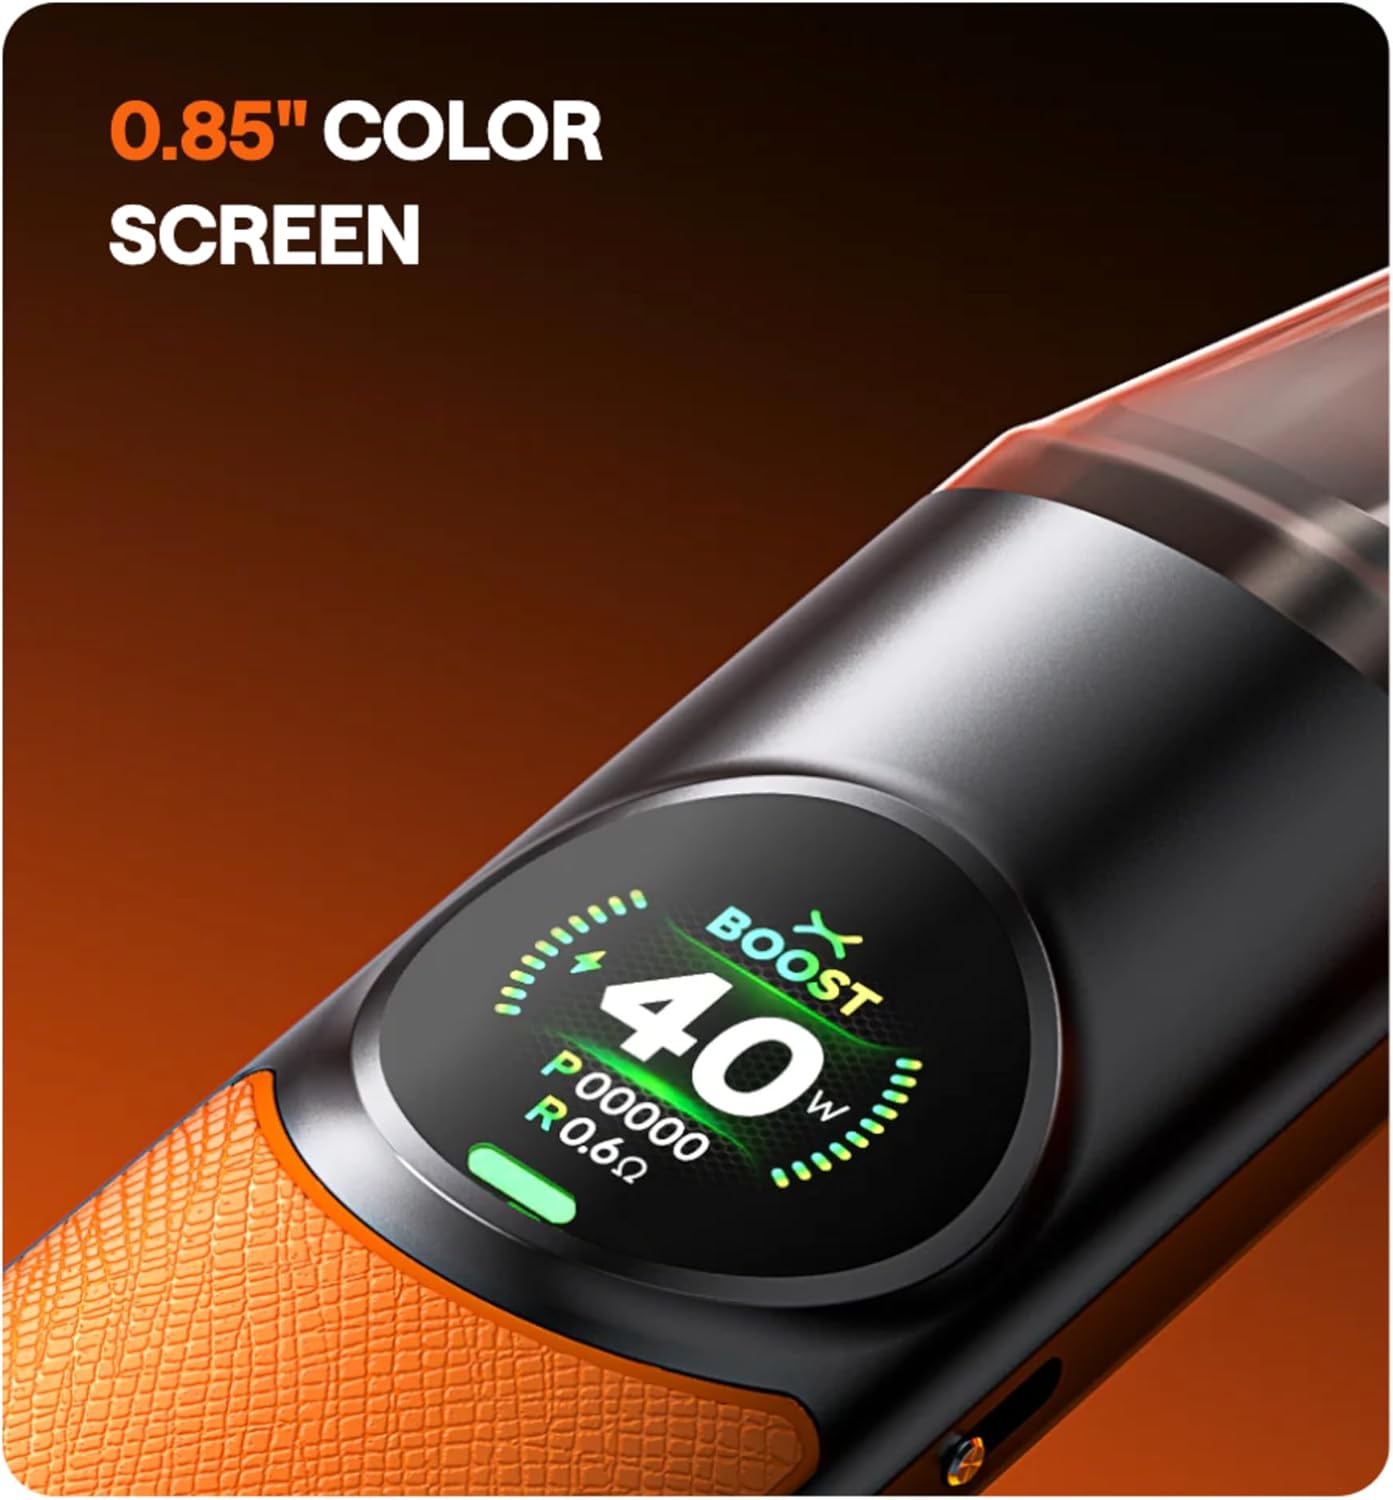
Image: Detailed view of the 0.85-inch color screen on the Oxva NeXLIM device.
4. Getting Started
4.1 Charging the Device
- Locate the Type-C USB charging port on the device.
- Connect the provided Type-C USB cable to the device and plug the other end into a compatible 5V/2A USB power adapter (not included).
- The screen will indicate charging status. The device is fully charged when the indicator shows full battery.
4.2 Filling the Pod
- Remove the pod from the device.
- Locate the silicone stopper on the side of the pod.
- Carefully open the stopper and insert the nozzle of your e-liquid bottle into the filling port.
- Fill the pod with up to 2ml of e-liquid. Avoid overfilling.
- Securely close the silicone stopper.
- Important: After filling a new pod, wait at least 5-10 minutes before vaping to allow the coil to saturate with e-liquid. This prevents dry hits and extends coil life.
4.3 Installing the Pod
- Ensure the pod is filled with e-liquid.
- Align the pod with the pod slot on the device.
- Gently push the pod into place until it clicks securely.
5. Operating Instructions
5.1 Power On/Off
- To turn the device on or off, press the power button 5 times rapidly. The screen will display a power on/off animation.
5.2 Adjusting Airflow
- Locate the sliding airflow control switch on the side of the device.
- Slide the switch up or down to adjust the airflow to your preferred draw tightness. A more open setting provides an airier draw (RDL), while a more closed setting provides a tighter draw (MTL).
5.3 Selecting Modes (Boost/Eco)
- The NeXLIM device supports Boost Mode (40W) for maximum power and Eco Mode for extended battery life.
- Refer to the Button Operation Instructions included in your package for specific steps on how to switch between these modes.
5.4 Vaping
- Once the device is powered on and the pod is filled and installed, simply inhale from the mouthpiece to activate the device and produce vapor.
6. Maintenance
6.1 Cleaning
- Regularly clean the device, especially the pod connection area, with a dry cloth or cotton swab to remove any e-liquid condensation or debris.
- Ensure the charging port is free of dust and lint.
6.2 Pod Replacement
- Pods are consumable items and should be replaced when you notice a burnt taste, reduced vapor production, or diminished flavor.
- To replace, simply pull out the old pod and insert a new one after filling it with e-liquid.
6.3 Storage
- Store the device in a cool, dry place away from direct sunlight and extreme temperatures.
- Keep out of reach of children and pets.
7. Troubleshooting
| Problem | Possible Cause | Solution |
|---|---|---|
| No vapor production | Device off; Low battery; Pod not installed correctly; Coil burnt out; No e-liquid. | Turn on device; Charge device; Re-install pod; Replace pod; Fill pod. |
| Burnt taste | Coil dry/burnt; Low e-liquid level; Chain vaping. | Ensure coil is saturated (wait 5-10 min after filling new pod); Refill pod; Allow device to cool between puffs. |
| Leaking pod | Overfilled pod; Damaged pod; Incorrect e-liquid viscosity. | Do not overfill; Replace pod; Use recommended 50VG/50PG e-liquid. |
| Device not charging | Cable/adapter issue; Dirty charging port. | Try a different cable/adapter; Clean charging port. |
8. Specifications
| Feature | Detail |
|---|---|
| Model | Oxva NeXLIM Vape Kit |
| Battery Capacity | 1500 mAh |
| Max Output Power | 40W |
| Charging | Type-C USB, 5V/2A Fast Charging |
| Pod Capacity | 2 Millilitres |
| Compatible Pods | Oxva NeXLIM Pods (0.6Ω, 0.8Ω, 1.2Ω) |
| Dimensions (L x W x H) | 13 x 8.4 x 2.2 cm |
| Weight | 190 g |
| Manufacturer | Survival Boyz |
| Country of Origin | China |
9. Safety Information
Please observe the following safety precautions:
- This product is intended for adult users only.
- Keep the device and e-liquids out of reach of children and pets.
- Do not expose the device to extreme temperatures, direct sunlight, or water.
- Use only the provided charging cable and a compatible power adapter.
- Do not disassemble or modify the device.
- Dispose of the device and pods responsibly according to local regulations.
- While this specific product is advertised as 'No Nicotine', be aware that e-liquids containing nicotine are highly addictive.
10. Warranty and Support
For warranty information and customer support, please refer to the documentation provided with your purchase or contact the retailer where you purchased the Oxva NeXLIM Vape Kit. Keep your proof of purchase for any warranty claims.


