
1. Introduction
Thank you for choosing the ARGENDON 120 Pints Commercial Dehumidifier. This high-capacity unit is designed to efficiently remove excess moisture from large spaces, including basements, homes, offices, and industrial environments. It features advanced moisture control, smart auto-defrost, and versatile drainage options to ensure optimal performance and convenience.

Figure 1.1: Front view of the ARGENDON 120 Pints Commercial Dehumidifier.
Key Features:
- Powerful Moisture Removal: Extracts up to 120 pints of moisture per day (90°F, 90% RH) or 55 pints (80°F, 60% RH).
- Wide Coverage: Effective in areas up to 1,500 sq. ft.
- Smart Auto-Defrost: Prevents frost buildup for continuous operation in cold conditions.
- Dual Drainage Options: Includes both gravity drainage (6.56 ft hose) and pump drainage (19.67 ft hose) for flexible water removal.
- User-Friendly Controls: Digital display and intuitive buttons for easy operation.
- Safety Features: Automatic restart after power outages and a safety control lock.
- Durable Construction: Utilizes sheet metal construction for superior load-bearing capacity, high-temperature resistance, and corrosion resistance.
2. Safety Information
Please read all safety instructions carefully before operating the dehumidifier. Failure to comply with these instructions may result in electric shock, fire, or personal injury.
- Always plug the unit into a grounded electrical outlet of the correct voltage.
- Do not operate the dehumidifier with a damaged power cord or plug.
- Keep the unit away from water and other liquids. Do not immerse the unit in water.
- Ensure proper ventilation around the unit. Do not block air inlets or outlets.
- Do not insert fingers or foreign objects into the air inlets or outlets.
- Unplug the dehumidifier before cleaning, performing maintenance, or moving it.
- This appliance is not intended for use by persons (including children) with reduced physical, sensory or mental capabilities, or lack of experience and knowledge, unless they have been given supervision or instruction concerning use of the appliance by a person responsible for their safety.
- The unit features a Control Lock function to prevent accidental setting changes, especially useful in households with children.
3. Setup and Installation
3.1 Unpacking
- Carefully remove the dehumidifier from its packaging.
- Remove all packing materials, including any tape or protective films.
- Check the unit for any signs of damage. If damaged, do not operate and contact customer support.
- Retain the original packaging for future storage or transportation.
3.2 Placement
Place the dehumidifier on a flat, stable surface in the area where moisture control is needed. Ensure there is at least 8 inches (20 cm) of space around all sides of the unit for proper airflow.
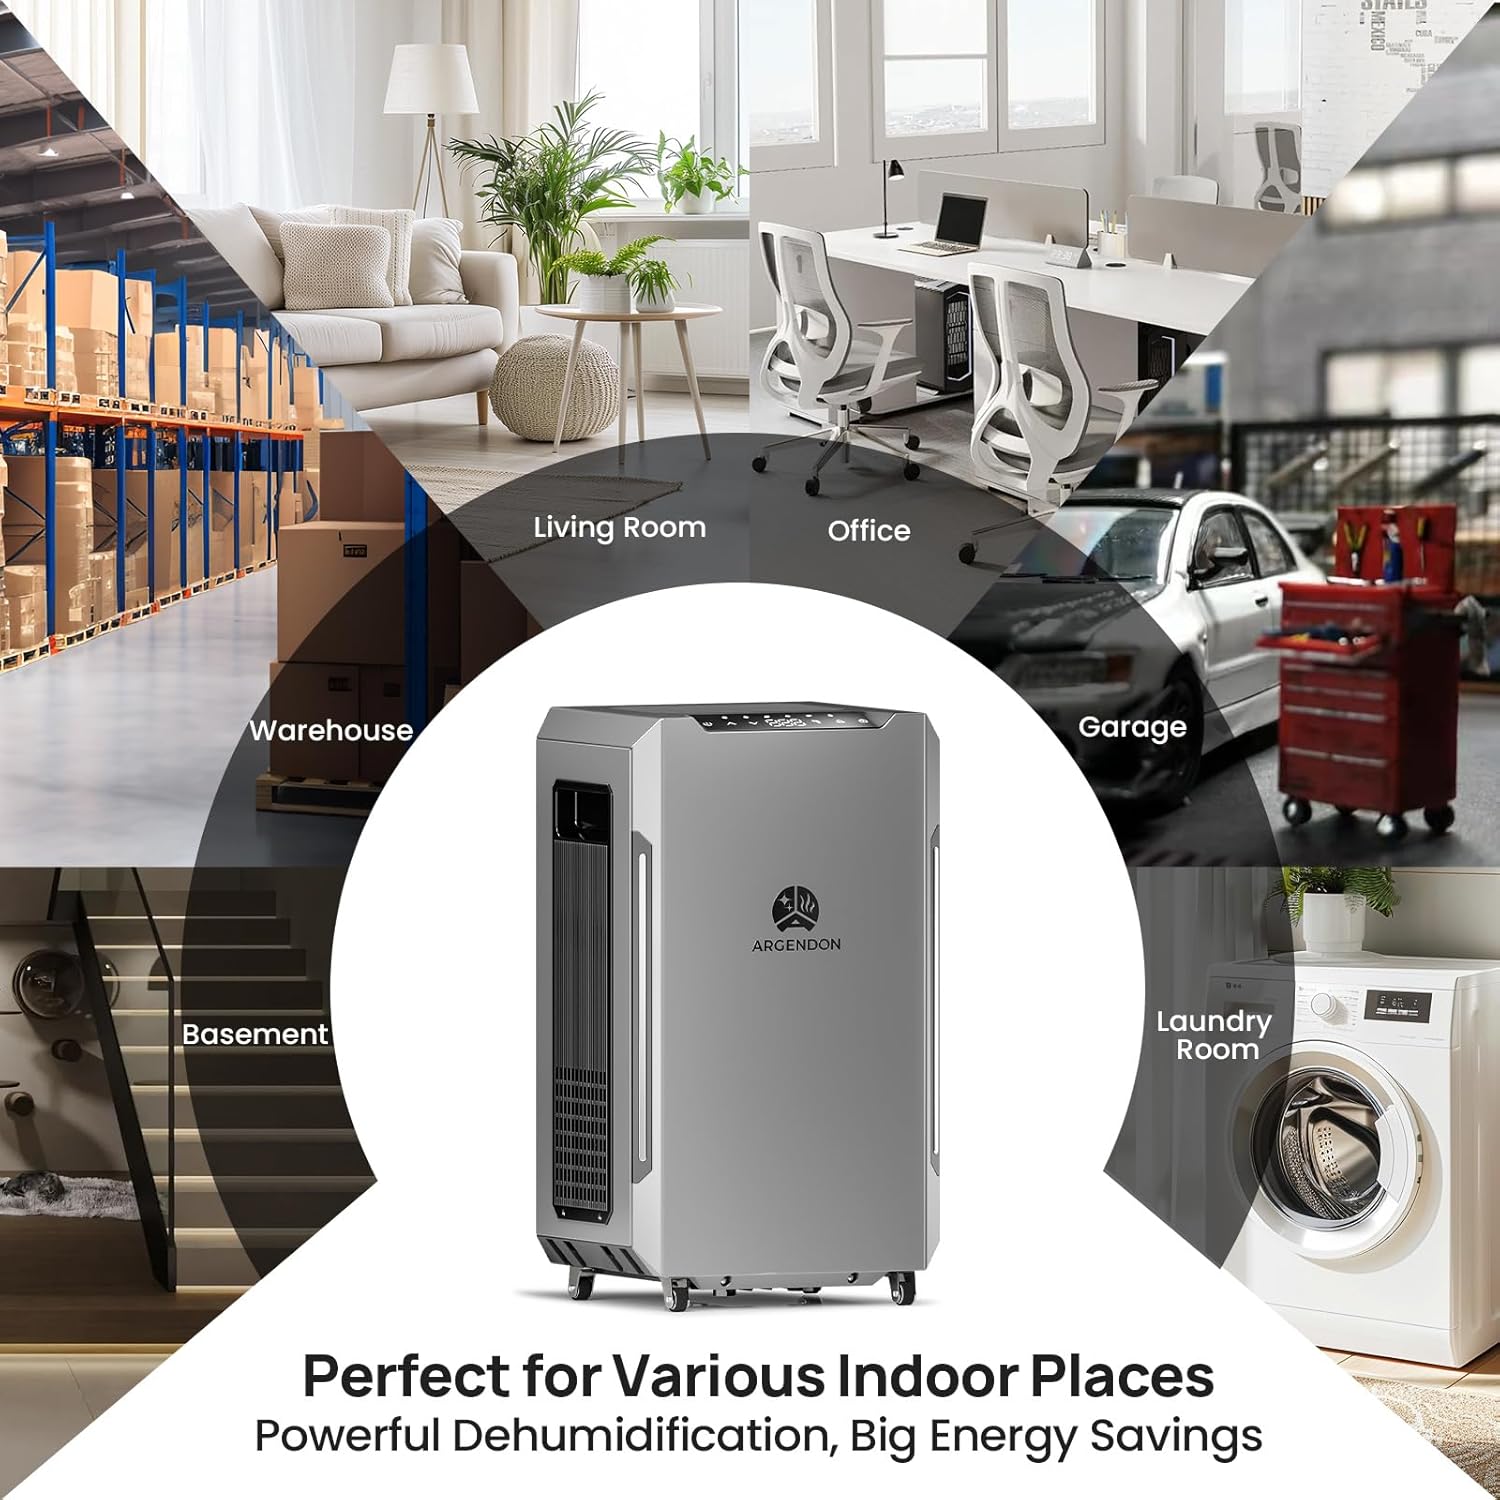
Figure 3.1: The dehumidifier is suitable for various indoor environments up to 1,500 sq. ft.
3.3 Drainage Options
The ARGENDON dehumidifier offers two convenient drainage methods:

Figure 3.2: Illustration of the two drainage options.
3.3.1 Gravity Drainage
For continuous drainage to a floor drain or lower level, use the included 6.56 ft (2m) gravity drain hose.
- Locate the gravity drain outlet on the back of the unit.
- Connect one end of the gravity drain hose to the outlet.
- Ensure the hose is sloped downwards without kinks or obstructions to allow water to flow by gravity.
- Direct the other end of the hose into a suitable drain.
3.3.2 Pump Drainage
The built-in condensate pump allows for drainage to a higher level, up to 19.6 feet (6m) vertically. Use the included 19.67 ft (6m) pump drain hose.
- Locate the pump drain outlet on the back of the unit.
- Connect one end of the pump drain hose to the outlet.
- Direct the other end of the hose to your desired drainage location (e.g., sink, window, or higher drain).
- Activate the pump mode via the control panel (see Section 4.2).
4. Operating Instructions
4.1 Control Panel Overview

Figure 4.1: Intelligent Control Panel.
- Power Button (⏻): Turns the dehumidifier ON or OFF.
- Up/Down Buttons (▲ / ▼): Adjusts the desired humidity level (25% to 80% RH) or sets the timer.
- Live Humidity Display: Shows the current ambient humidity level.
- Lock Button (🔒): Locks or unlocks the control panel to prevent accidental changes.
- GPP Mode Button: Turns GPP (Grain Per Pound) mode ON or OFF for precise control and energy efficiency at low temperatures.
- Drain Button: Activates or deactivates the built-in pump for continuous drainage.
4.2 Basic Operation
- Power On: Press the Power button to turn on the unit. The display will show the current room humidity.
- Set Desired Humidity: Use the Up or Down buttons to set your desired humidity level. The unit will operate until the set humidity is reached, then cycle ON/OFF to maintain it.
- Activate Pump Drainage (if desired): If using pump drainage, press the Drain button to activate the pump.
- Engage Control Lock: To prevent unintended changes, press and hold the Lock button for a few seconds until the lock icon appears on the display. Repeat to unlock.
4.3 Special Functions
- Auto-Defrost System: The unit is equipped with an automatic defrost function that activates when frost is detected on the coils, ensuring efficient operation in cooler environments.
- Automatic Restart: In case of a power outage, the dehumidifier will automatically restart with the previous settings once power is restored.
- GPP Mode: This mode adjusts the set point based on absolute humidity for precise control and can save up to 30% on energy bills, especially at low temperatures.
5. Maintenance
Regular maintenance ensures the longevity and optimal performance of your dehumidifier. Always unplug the unit before performing any maintenance.
5.1 Cleaning the Air Filter
The dehumidifier is equipped with High Dense MERV-1 Filters. For best performance, clean the filter every three months, or more frequently depending on usage and air quality.

Figure 5.1: Steps for cleaning the air filter.
- Step 1: Open the lid covering the filter compartment.
- Step 2: Gently pull out the filter.
- Clean the filter with a vacuum cleaner or wash it with warm, soapy water. Rinse thoroughly.
- Allow the filter to air dry completely before reinserting it.
- Replace the filter and close the lid.
5.2 Drainage System Maintenance
Periodically check the drain hoses for any blockages, kinks, or debris. Ensure the hoses are securely connected to prevent leaks.
5.3 Replacing the Pump (Advanced)
In the event of a pump malfunction, the built-in pump can be replaced. This procedure is for advanced users or qualified technicians.

Figure 5.2: General steps for pump replacement. Consult a professional if unsure.
- Step 1: Disconnect power and carefully open the side panel of the unit.
- Step 2: Detach the existing pump assembly, noting its connections.
- Step 3: Install the new pump assembly, ensuring all connections are secure, and reattach the side panel.
6. Troubleshooting
Before contacting customer support, please refer to the following troubleshooting guide for common issues.
| Problem | Possible Cause | Solution |
|---|---|---|
| Dehumidifier does not turn on. | No power supply. Power cord not securely plugged in. Unit is in standby mode. | Ensure the unit is plugged into a live, grounded outlet. Check the power cord connection. Press the Power button to turn on. |
| Unit is running but not collecting water. | Humidity level is too low. Air filter is clogged. Temperature is too low (below 37.4°F / 3°C). Drain hose is kinked or blocked. | Adjust the desired humidity setting lower than the ambient humidity. Clean the air filter (see Section 5.1). The unit may be in auto-defrost mode or the environment is too cold for efficient operation. Check and clear any obstructions in the drain hose. |
| Unit is making unusual noise. | Unit is not on a level surface. Internal component issue. | Place the unit on a flat, stable surface. If noise persists, contact customer support. |
| Water is leaking from the unit. | Drain hose not properly connected. Drain hose is damaged or blocked. | Ensure drain hoses are securely attached. Inspect hoses for damage or blockages and replace if necessary. |
| Control panel is unresponsive. | Control Lock is activated. | Press and hold the Lock button to deactivate the control lock. |
7. Specifications
| Specification | Value |
|---|---|
| Model | 120 Pints Commercial Dehumidifier |
| Moisture Removal Capacity | 120 Pints/Day (90°F, 90% RH) 55 Pints/Day (80°F, 60% RH) |
| Coverage Area | Up to 1,500 Sq. Ft. |
| Humidity Range | 25% - 80% RH |
| Temperature Range | 37.4°F ~ 100.4°F (3°C ~ 38°C) |
| Airflow | 187 CFM / 318 CMH |
| Item Weight | 45 Pounds |
| Color | Grey |
| Included Components | 1 x ARGENDON Dehumidifier 1 x Gravity Drain Hose (6.56 ft) 1 x MERV-1 Filter 1 x Pump Drain Hose (19.67 ft) User Manual |
8. Warranty and Support
8.1 Limited Warranty
Every ARGENDON basement dehumidifier comes with a 5-Year Limited Warranty. This warranty covers:

Figure 8.1: ARGENDON Warranty Structure.
- 6 Month Parts and Labor: Includes shipment charges for replacement parts or unit.
- 1 Year Parts and Labor: Excludes shipment charges to send the defective product back for repair or replacement.
- 3 Year Parts and Labor: Covers refrigeration system only.
- 5 Year Compressor and Coil.
For additional warranty information, please refer to the detailed user manual included with your product or contact customer support.
8.2 Customer Support
If you have any questions, require technical assistance, or need to claim warranty service, please contact the professional ARGENDON customer support team. They are ready to assist you at any time.
Visit the official ARGENDON store for more information: ARGENDON Store on Amazon