1. Introduction
Thank you for purchasing the Generic Stick Corded Vacuum Cleaner and Mop All in One. This appliance is designed to provide efficient cleaning for various hard floor surfaces by combining vacuuming and mopping functions. Please read this manual thoroughly before operating the device to ensure safe and correct usage, and retain it for future reference.
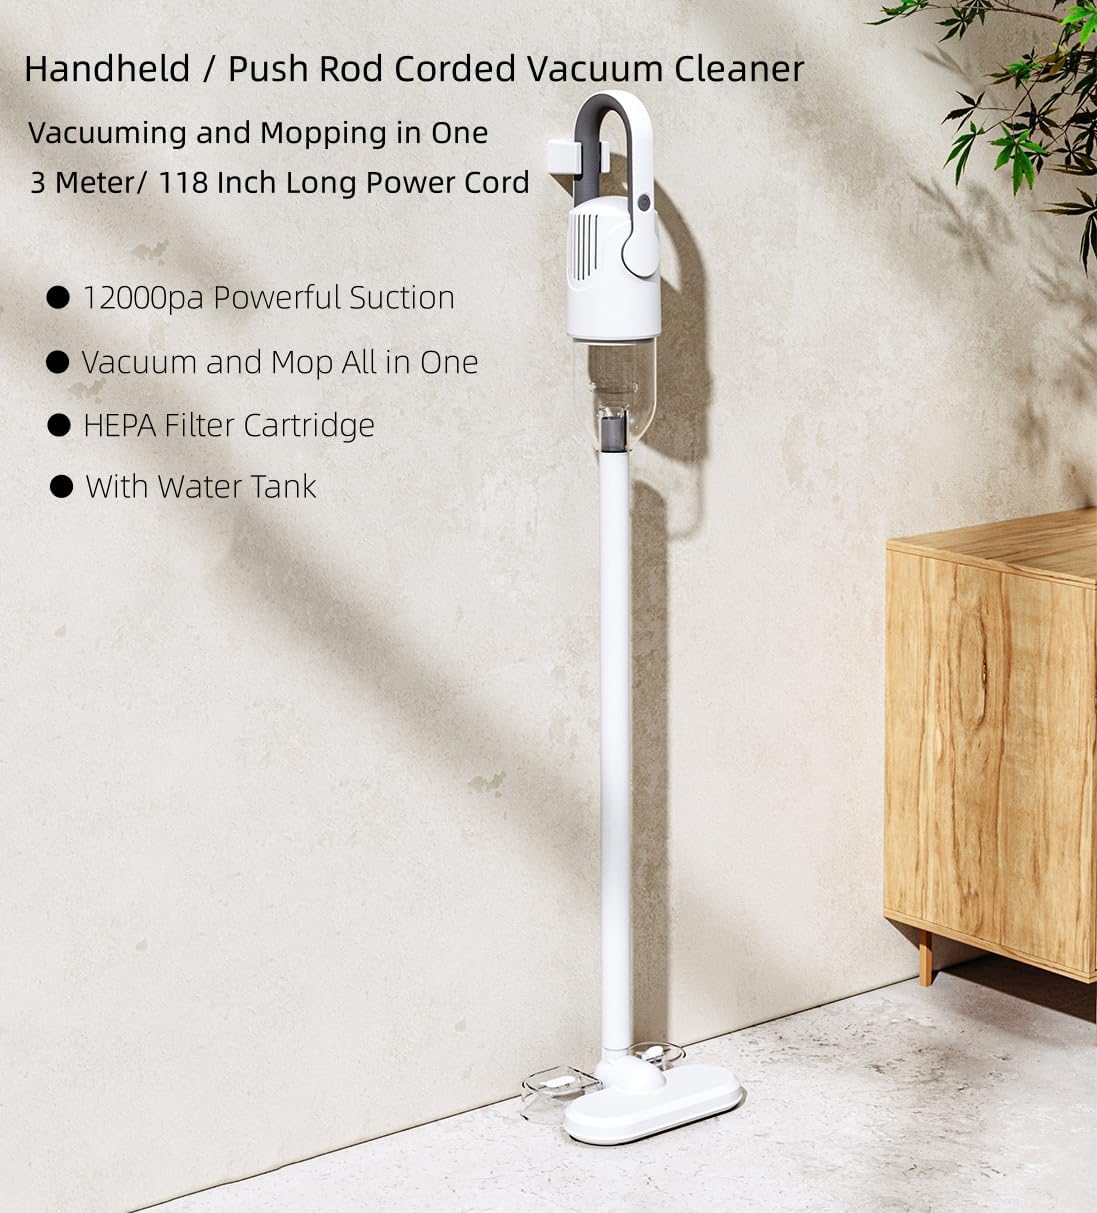
Image 1.1: The Generic Stick Corded Vacuum Cleaner and Mop All in One, showcasing its upright design and integrated features.
2. Safety Instructions
Always follow basic safety precautions when using electrical appliances to reduce the risk of fire, electric shock, or injury.
- Read all instructions before use.
- Do not use outdoors or on wet surfaces. This appliance is designed for indoor use on hard floors.
- Do not allow the appliance to be used as a toy. Close attention is necessary when used by or near children.
- Use only as described in this manual. Use only manufacturer’s recommended attachments.
- Do not use with a damaged cord or plug. If the appliance is not working as it should, has been dropped, damaged, left outdoors, or dropped into water, return it to a service center.
- Do not pull or carry by cord, use cord as a handle, close a door on cord, or pull cord around sharp edges or corners. Do not run appliance over cord. Keep cord away from heated surfaces.
- Do not unplug by pulling on cord. To unplug, grasp the plug, not the cord.
- Do not handle plug or appliance with wet hands.
- Do not put any object into openings. Do not use with any opening blocked; keep free of dust, lint, hair, and anything that may reduce airflow.
- Keep hair, loose clothing, fingers, and all parts of body away from openings and moving parts.
- Turn off all controls before unplugging.
- Use extra care when cleaning on stairs.
- Do not use to pick up flammable or combustible liquids, such as gasoline, or use in areas where they may be present.
- Do not pick up anything that is burning or smoking, such as cigarettes, matches, or hot ashes.
- Do not use without dust cup and/or filters in place.
- Always disconnect from electrical outlet before connecting or disconnecting hose, or any other accessories.
- Store the appliance indoors in a cool, dry area.
3. Package Contents
Carefully unpack your new vacuum cleaner and check that all items are present and in good condition. If any items are missing or damaged, please contact customer support.
- Host body (Main Unit)
- Floor brush (with integrated water tank)
- Long Flat suction nozzle
- Brush suction nozzle
- Water tank (for floor brush)
- Rag (mop pad)
- User Manual
4. Product Overview
Familiarize yourself with the main components of your vacuum cleaner.

Image 4.1: Illustration of the main unit and included cleaning attachments.
Main Components:
- Main Unit: Contains the motor, dustbin, and handle.
- Extension Wand: Connects the main unit to the floor brush or other attachments.
- Floor Brush: The primary cleaning head for floors, featuring a water tank for mopping.
- HEPA Filter: Located within the dustbin, captures fine dust and allergens.
- Power Cord: A 3-meter (118-inch) cord for continuous power.
Attachments:
- Long Flat Suction Nozzle: Ideal for reaching into narrow gaps, crevices, and corners.
- Brush Suction Nozzle: Suitable for cleaning delicate surfaces, upholstery, curtains, and removing pet hair.
5. Setup
5.1 Assembly
- Connect the Extension Wand: Insert the extension wand firmly into the main unit until it clicks into place.
- Attach the Floor Brush: Connect the floor brush to the other end of the extension wand, ensuring it is securely fastened.
- Attach Water Tank and Rag (for mopping): If you intend to mop, attach the water tank to the floor brush and secure the mop rag to the bottom of the water tank.
5.2 Filling the Water Tank
- Detach the water tank from the floor brush.
- Open the water tank cap.
- Fill the tank with clean water. A small amount of floor cleaning solution or disinfectant can be added if desired (do not use corrosive liquids or excessive foam-producing detergents).
- Close the cap securely and reattach the water tank to the floor brush.
5.3 Power Connection
Unwind the power cord and plug it into a standard electrical outlet. Ensure the cord is not tangled or obstructed during operation.
6. Operating Instructions
6.1 Powering On/Off
Press the power button located on the main unit handle to turn the vacuum cleaner on. Press it again to turn the appliance off.
6.2 Vacuuming
For dry vacuuming, simply turn on the appliance and move the floor brush over the desired surface. The powerful 12000Pa suction will effectively pick up dust, dirt, and debris.
6.3 Mopping
If the water tank is filled and the mop rag is attached, the appliance will automatically dispense water to keep the mop pad wet as you clean. This allows for simultaneous vacuuming and mopping.

Image 6.1: Close-up of the floor brush with the integrated water tank, illustrating the wet mopping function.
6.4 Combined Vacuuming and Mopping
The design allows for both functions to occur simultaneously. As you vacuum, the mop pad will clean the floor, providing a one-step cleaning solution for hard surfaces.
6.5 Maneuvering
The floor brush features a flexible joint allowing 180° left and right rotation and 90° front and rear rotation. This enables easy navigation around furniture and access to hard-to-reach areas. The slim design also allows cleaning under furniture.
6.6 Using Attachments
To use the long flat suction nozzle or brush suction nozzle, detach the extension wand from the floor brush and connect the desired attachment directly to the main unit or the extension wand for handheld cleaning. This is ideal for cleaning sofas, car interiors, curtains, and high areas.
7. Maintenance
Regular maintenance ensures optimal performance and extends the lifespan of your vacuum cleaner.
7.1 Emptying the Dustbin
- Ensure the appliance is unplugged.
- Locate the dustbin release button on the main unit.
- Press the button to detach the dustbin.
- Empty the contents into a waste bin.
- Reattach the dustbin securely.
7.2 Cleaning the HEPA Filter
The HEPA filter should be cleaned regularly to maintain suction power and air quality. It is washable and reusable.
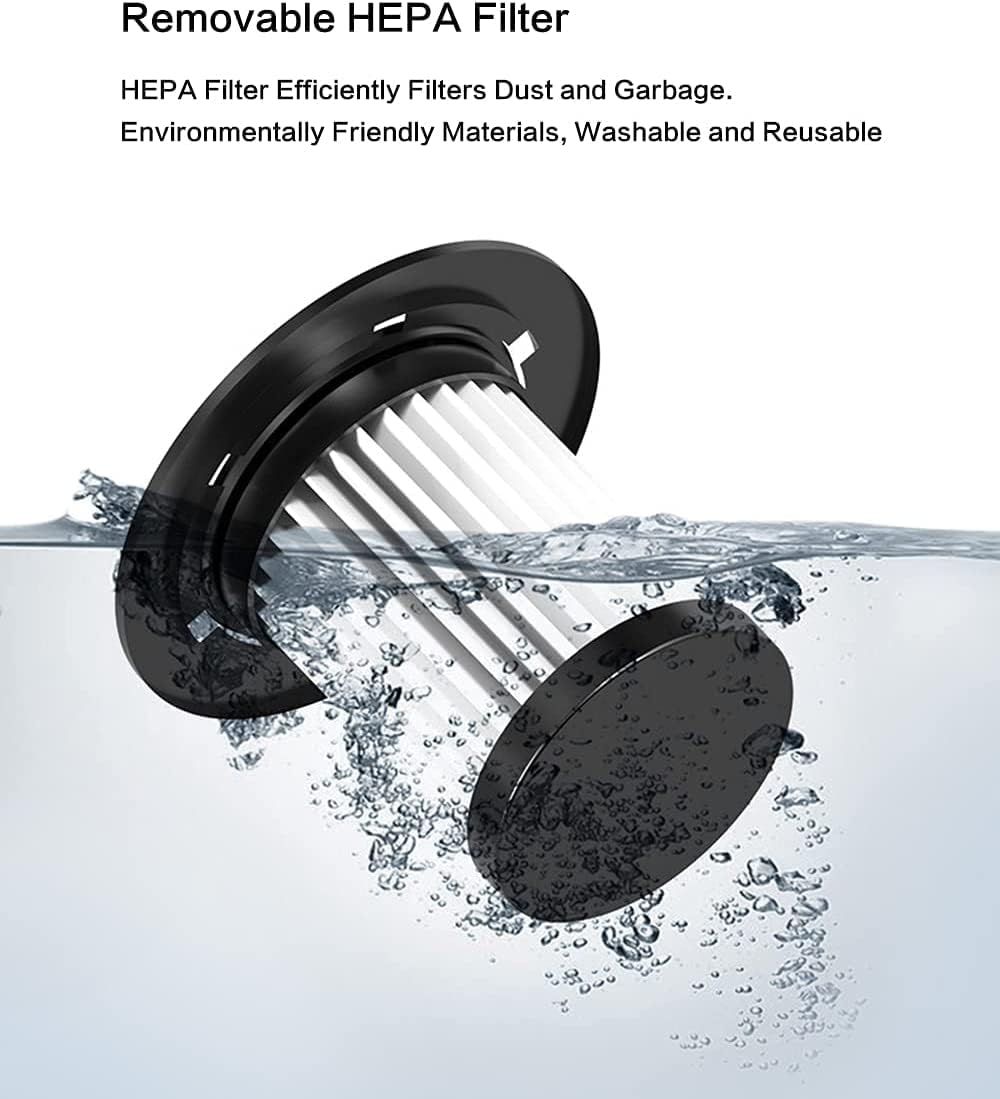
Image 7.1: The removable HEPA filter, shown being rinsed under water for cleaning.
- Unplug the vacuum cleaner.
- Remove the dustbin.
- Carefully remove the HEPA filter from the dustbin.
- Rinse the filter under running water until clean. Do not use detergents.
- Allow the filter to air dry completely for at least 24 hours before reinserting it. Do not use the vacuum with a wet filter.
- Once dry, place the filter back into the dustbin and reattach the dustbin to the main unit.
7.3 Cleaning the Water Tank and Mop Pad
- Empty any remaining water from the tank after each use.
- Rinse the water tank with clean water.
- Remove the mop rag and wash it by hand or machine.
- Allow the water tank and mop rag to air dry completely before reassembly or storage.
7.4 General Cleaning and Storage
- Wipe the exterior of the vacuum cleaner with a soft, damp cloth. Do not use harsh chemicals or abrasive cleaners.
- Store the vacuum cleaner in a cool, dry place, away from direct sunlight and moisture.
8. Troubleshooting
If you encounter any issues with your vacuum cleaner, refer to the following table for common problems and solutions.
| Problem | Possible Cause | Solution |
|---|---|---|
| Vacuum does not turn on | Not plugged in; Power outlet fault; Damaged power cord | Check power plug; Test outlet with another appliance; Contact customer support if cord is damaged |
| Low suction power | Dustbin full; Filter clogged; Obstruction in nozzle/hose | Empty dustbin; Clean HEPA filter; Check for and remove any blockages |
| Water not dispensing for mopping | Water tank empty; Water tank not properly installed; Mop pad dry | Fill water tank; Ensure water tank is securely attached; Wet mop pad manually if needed |
| Unusual noise | Obstruction in brush roll or air duct; Loose parts | Check for and remove obstructions; Ensure all parts are securely assembled |
If the problem persists after attempting these solutions, please contact customer support for further assistance.
9. Specifications
Technical details for the Generic Stick Corded Vacuum Cleaner and Mop All in One.
- Model Name: Household Quiet Deep Clean Vacuum Cleaner and Mop in One
- Model Number: AN-20241229-421
- Brand: Generic
- Power Source: Corded Electric
- Wattage: 600 watts
- Suction Power: 12000Pa
- Cord Length: 3 meters (118 inches)
- Filter Type: HEPA Filter (Washable and Reusable)
- Dustbin Capacity: 600 Milliliters
- Noise Level: 65 Decibels
- Product Dimensions: 7"L x 4.3"W x 47.2"H (17.8cm L x 10.9cm W x 119.9cm H)
- Item Weight: 2.65 pounds (1.2 kg)
- Special Features: Lightweight, Stick Vacuum Handheld Corded, Stick Vacuum with Water Tank, Wet/Dry Functionality
- Surface Recommendation: Hard Floor (Marble, Ceramic Tile, Wood Floor)
- Color: White

Image 9.1: Illustration of the high-speed main motor and air duct design, contributing to strong suction and performance.
10. Warranty and Support
This product is covered by a manufacturer's warranty against defects in materials and workmanship. Please refer to the warranty card included in your package for specific terms and conditions, including the warranty period and coverage details.
For technical support, troubleshooting assistance, or to inquire about replacement parts, please contact the retailer or manufacturer's customer service. Keep your purchase receipt and model number (AN-20241229-421) readily available when contacting support.


