
1. Introduction
The FitSpark DC-101 Solo Dash Camera is designed to provide reliable video recording for your vehicle, enhancing safety and providing evidence in case of incidents. Featuring a Novatek AI Chipset, 2K resolution, a 2.7-inch IPS display, Super Night Vision, and Wi-Fi connectivity, this dash camera offers advanced functionality for a secure driving experience.

Figure 1.1: FitSpark DC-101 Solo Dash Camera and its mobile application interface.
2. Package Contents
Verify that all items are present in your package:
- 1N Front camera
- 1N Front camera 3M tape bracket
- 2N 3M tape spare parts
- 1N Car charger
- 5N Cable clips
- 1N User manual
- 1N Memory Card (if included with purchase)
3. Product Overview
Familiarize yourself with the components and controls of your FitSpark DC-101 Solo Dash Camera.

Figure 3.1: Dash Camera Components.
- Rear Camera Connection Port
- GPS Input (Note: External GPS box is not compatible with this product)
- Mount Locking Clip
- Mini USB Power Input
- Lens
- Microphone
- Screen
- Control Buttons
- Reset Button
- MicroSD Card Slot
- LED Status Indicator
4. Setup
4.1. Memory Card Installation
The dash camera requires a MicroSD card for recording. Always use a U3 speed class card, up to 256GB, from reputable brands such as LEXAR, KINGSTON, or SanDisk.
- Ensure the dash camera is powered off.
- Locate the MicroSD Card Slot (10) on the device.
- Insert the MicroSD card with the contacts facing the screen until it clicks into place.
- To remove, gently push the card until it clicks out.
4.2. Mounting the Camera
Proper mounting ensures optimal recording and a clear view of the road.

Figure 4.1: Mounting the Dash Camera.
- Clean the windshield area where you intend to mount the camera.
- Attach the suction cup or adhesive mount to the windshield, ensuring it does not obstruct your view. Refer to Figure 4.1 for best mounting locations.
- Secure the dash camera to the mount using the Mount Locking Clip (3).
- Adjust the camera angle to capture the road ahead clearly.
- Route the power cable neatly along the windshield and dashboard, securing it with the provided cable clips, to the car charger.
4.3. Power Connection
Connect the dash camera to your vehicle's power supply.
- Plug the car charger into your vehicle's 12V power outlet (cigarette lighter socket).
- Connect the Mini USB end of the power cable to the Mini USB Power Input (4) on the dash camera.
- The camera will automatically power on and begin recording when the vehicle's ignition is turned on.
5. Operating Instructions
5.1. Basic Recording
The camera automatically starts recording when powered on. Recordings are saved in 3-minute segments.
- Power On/Off: The camera powers on/off with the vehicle's ignition. You can also manually power it on/off using the power button (part of Control Buttons 8).
- Recording Indicator: The LED Status Indicator (11) will show the recording status.
5.2. Display and User Interface
The 2.7-inch IPS display (7) provides a live view and allows access to settings.
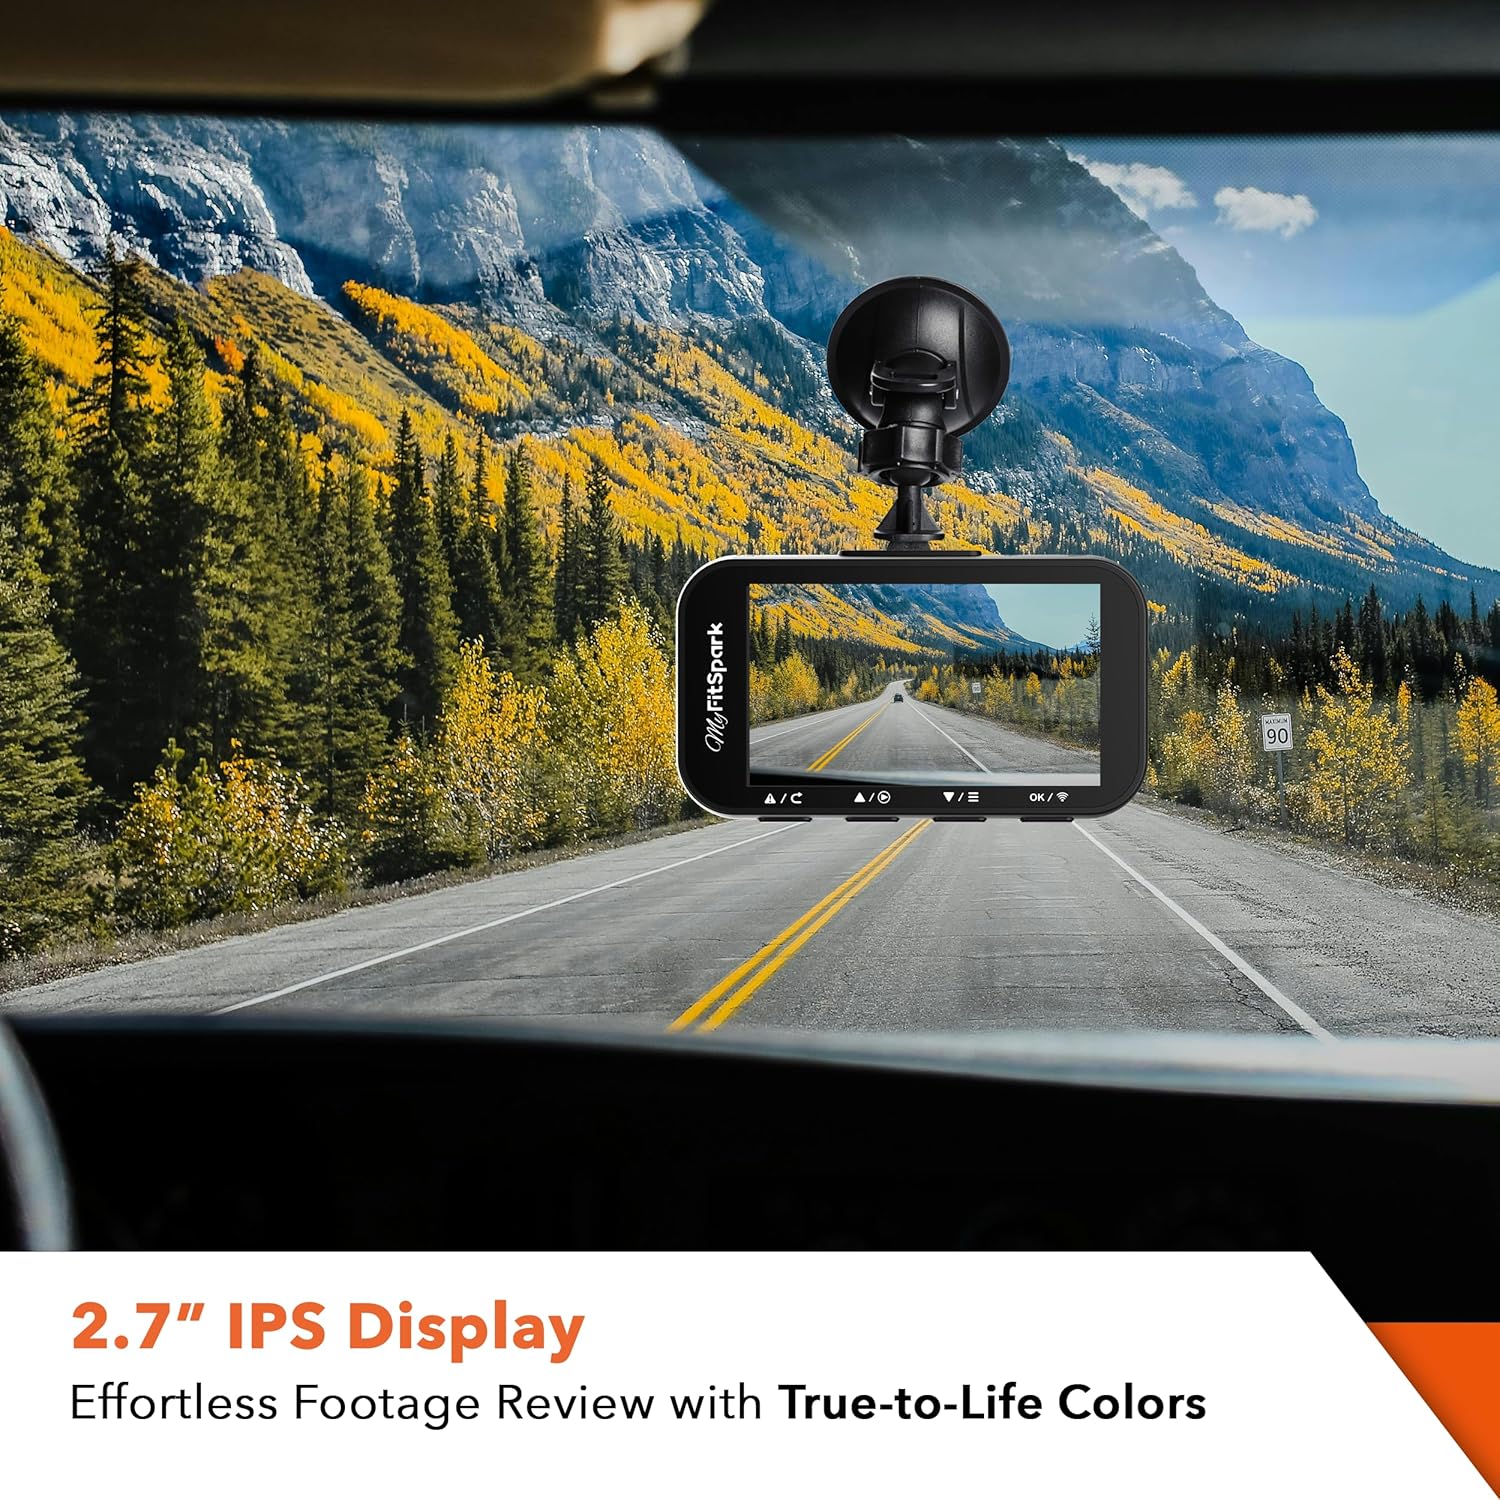
Figure 5.1: The 2.7-inch IPS display offers effortless footage review with true-to-life colors.
Use the Control Buttons (8) to navigate through menus and adjust settings.
5.3. Real 2K Video Quality
The DC-101 Solo captures crystal-clear video at 2K (1440p) resolution, ensuring details like license plates are visible.

Figure 5.2: Real 2K resolution provides superior detail compared to interpolated footage.
5.4. Super Night Vision
Equipped with a Novatek AI chipset and high-end sensors, the camera provides excellent night vision, capturing clear footage even in low-light conditions.
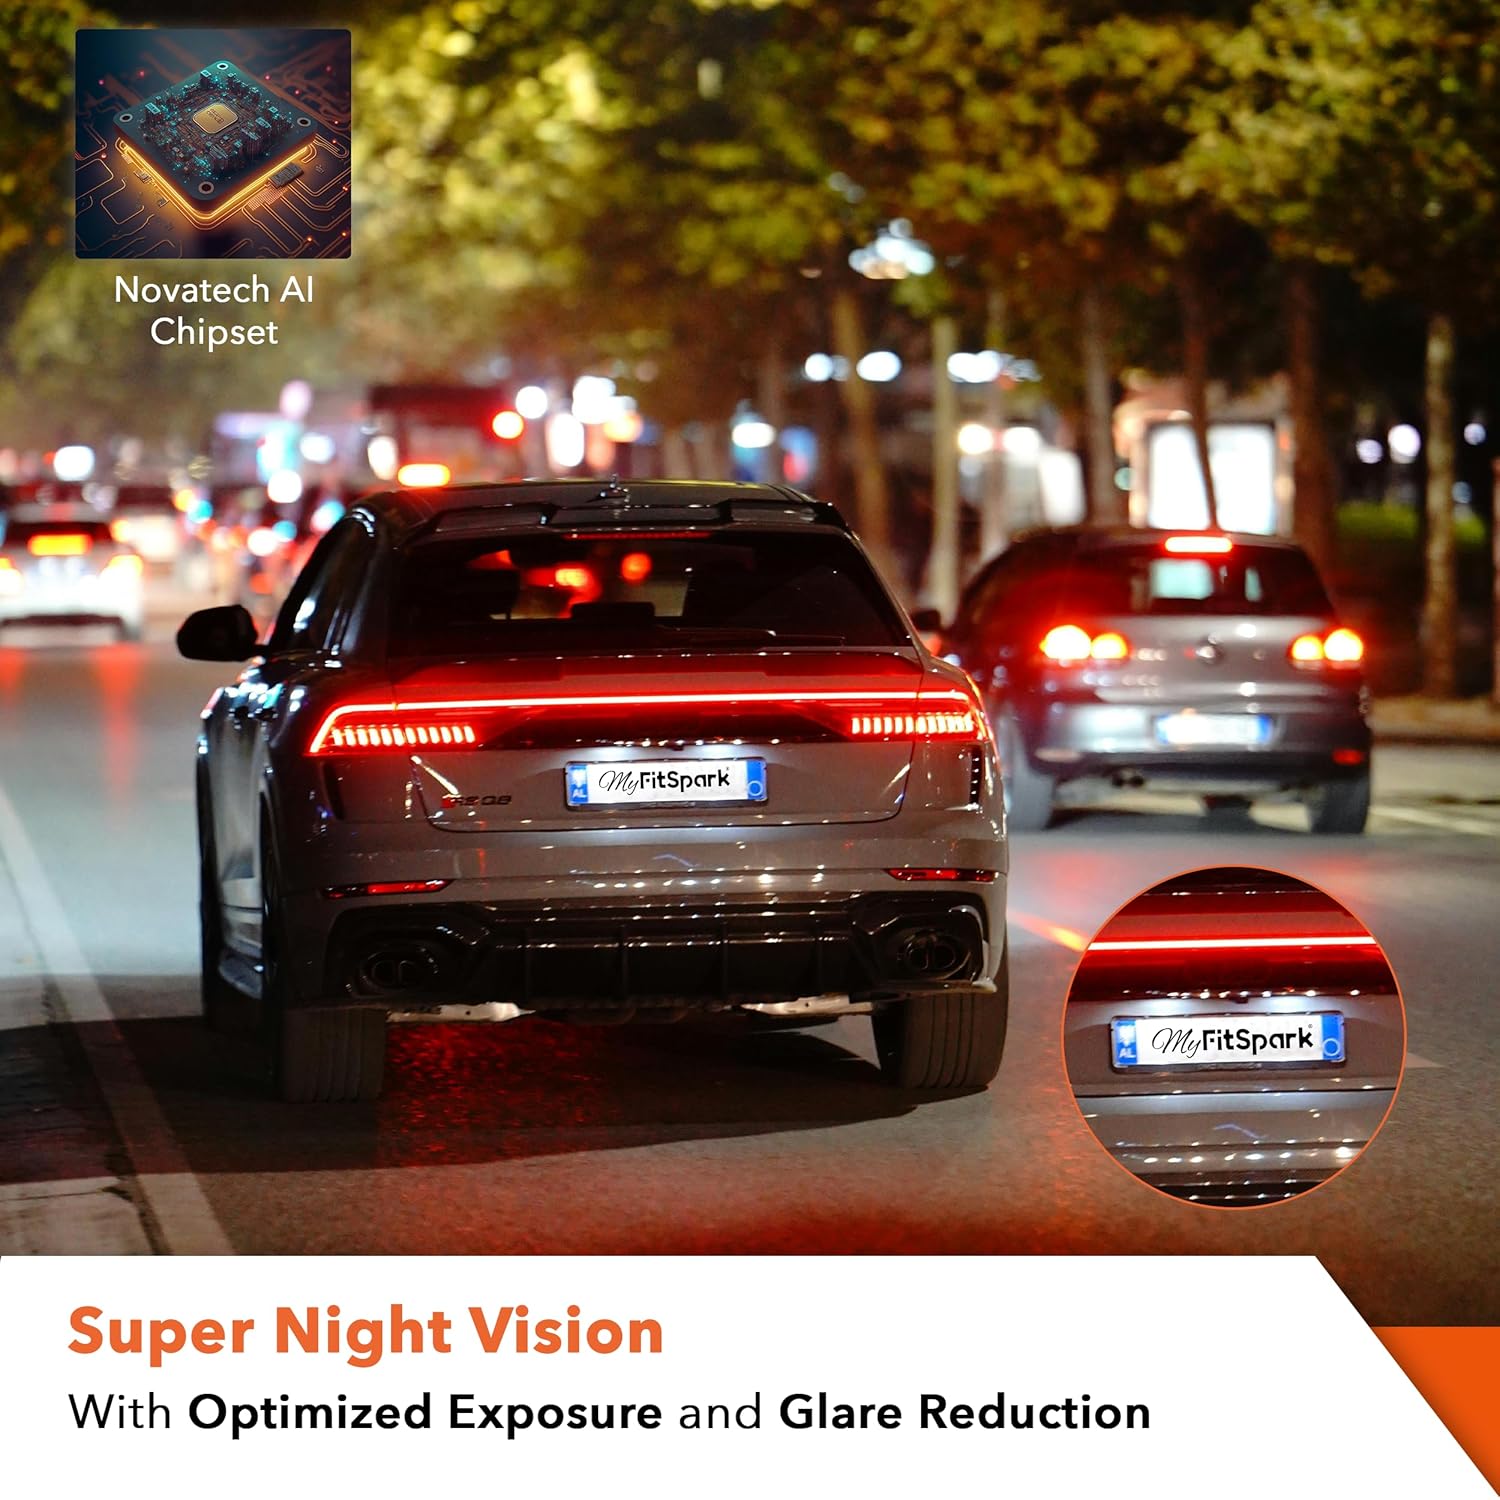
Figure 5.3: Super Night Vision ensures clear recordings in dark environments.
5.5. G-Sensor & Emergency Accident Lock
The built-in G-Sensor detects sudden impacts or collisions and automatically locks the current video segment to prevent it from being overwritten.

Figure 5.4: G-Sensor safeguards essential footage during collisions.
- G-Sensor sensitivity can be adjusted (High, Medium, Low) or disabled in the settings menu. Higher sensitivity detects minor shocks, while lower sensitivity only detects significant impacts.
5.6. Loop Recording
The dash camera records continuously in 3-minute clips. When the memory card is full, the oldest unlocked files are automatically overwritten by new recordings.
5.7. 24H Parking Surveillance (Optional)
For 24-hour parking monitoring, an optional hardwire kit is required (sold separately). This feature allows the camera to record when motion is detected around your parked vehicle, providing security against bumps or damage.

Figure 5.5: 24H Parking Monitor provides motion-activated recording when parked.
5.8. Built-in Wi-Fi & Mobile App Control
Connect your dash camera to the Dashcamplayer mobile app via Wi-Fi for convenient control and footage management.

Figure 5.6: Seamless Wi-Fi connectivity for instant phone access.

Figure 5.7: Manage recordings, download footage, share, and adjust settings directly from your smartphone.
- Download the "Dashcamplayer" app from your device's app store (iOS/Android).
- On the dash camera, enable Wi-Fi (refer to the camera's menu settings).
- On your smartphone, connect to the dash camera's Wi-Fi network. The network name and password will be displayed on the camera screen.
- Open the Dashcamplayer app to view live streaming, replay or download recorded footage, and configure camera settings.
6. Maintenance
6.1. Memory Card Care
- Regularly format your MicroSD card (e.g., once a month) within the camera's settings to ensure optimal performance and prevent data corruption.
- Avoid removing the MicroSD card while the camera is powered on or recording, as this can damage the card or data.
6.2. Cleaning
- Use a soft, dry cloth to clean the camera lens and screen. Avoid abrasive cleaners or solvents.
7. Troubleshooting
- Camera not powering on: Ensure the car charger is properly connected to both the camera and the vehicle's power outlet. Check if the vehicle's 12V outlet is functioning.
- Recording issues: Ensure a compatible MicroSD card (U3, up to 256GB) is inserted and formatted. If the card is full, loop recording should overwrite old files, but formatting can resolve persistent issues.
- Wi-Fi connection problems: Ensure Wi-Fi is enabled on the camera. Restart both the camera and your smartphone. Check that you are connecting to the correct Wi-Fi network provided by the dash camera.
- App lag: While the app connection can sometimes experience minor lag, ensure your smartphone's Wi-Fi is stable and there are no other interfering devices.
- Buttons unresponsive: Use a thin object (like a paperclip) to press the Reset Button (9) to restart the device.
8. Specifications
| Feature | Specification |
|---|---|
| Brand | FitSpark |
| Model Name | DC-101 Solo |
| Product Dimensions | 3.2 x 8 x 4.5 cm |
| Item Weight | 40 g |
| Display Size | 2.7 Inches |
| Display Type | IPS |
| Video Capture Resolution | 1440p (Real 2K) |
| Actual Viewing Angle | 130 Degrees |
| Special Features | 24H Parking Monitor (optional), Built-In 2.7" IPS Display with Wifi, Supercapacitor, G-Sensor, Compact Premium Design, Loop Recording, Motion sensor, Real 2K30FPS Front camera |
| Connectivity Technology | Wi-Fi |
| Mounting Type | Windshield Mount |
| Supported Memory Cards | U3 card up to 256GB (LEXAR, KINGSTON, SanDisk recommended) |
| Country of Origin | China |
9. Warranty and Support
For warranty information or technical assistance, please contact FitSpark customer care.
- Customer Care Email: support@myfitspark.com