
Introduction
This manual provides detailed instructions for the assembly, operation, and maintenance of your Higeego H11 Expandable Heavy Duty Garment Rack. Designed for robust storage, this freestanding wardrobe closet organizer features expandable hanger rods and adjustable shelves to accommodate a variety of clothing and accessories. Please read these instructions carefully before assembly and use to ensure proper setup and safe operation.
Product Overview
The Higeego H11 Garment Rack is a versatile storage solution constructed from carbon steel, offering significant load capacity and durability. Its design allows for customization to fit various spaces and storage needs.
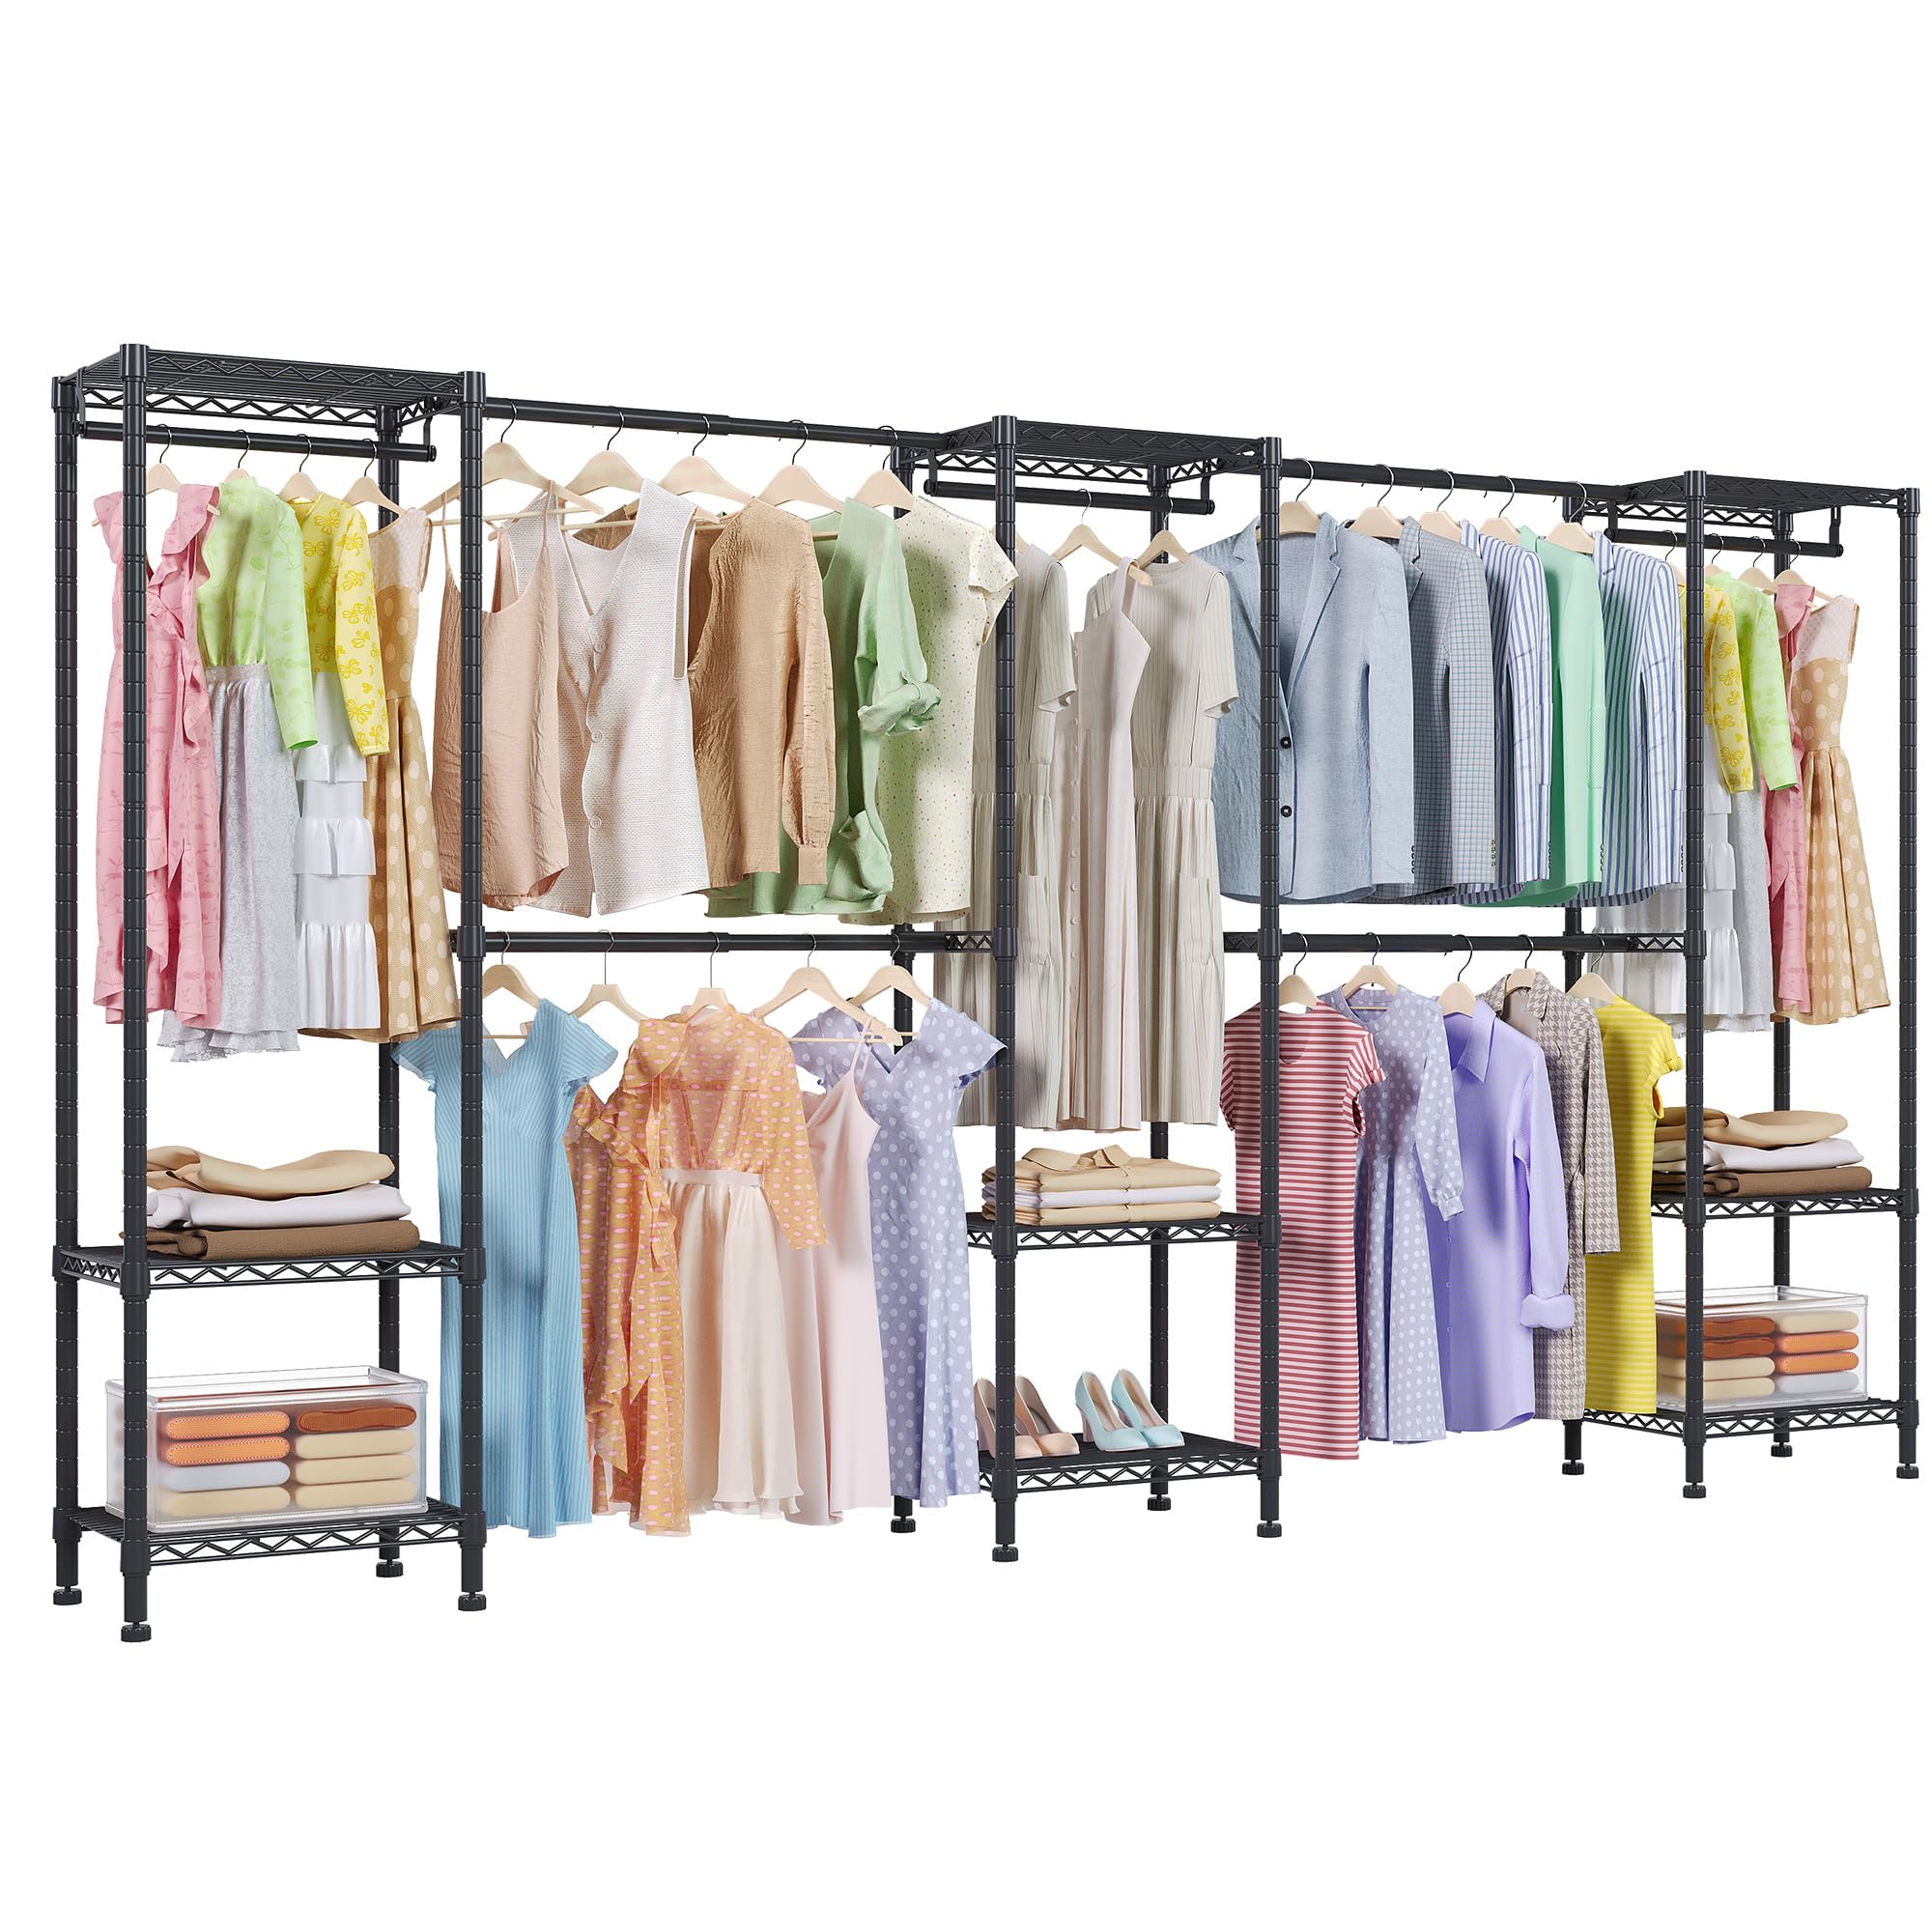
Image: The Higeego H11 Garment Rack fully assembled and in use, showcasing its storage capacity.
Setup and Assembly
Follow these steps for proper assembly. It is recommended to measure your space before beginning. The unit can be configured in various shapes, including an L-shape for corner storage.
1. Unpack Components
Carefully unpack all components and verify against the included parts list. Ensure all pieces are present and undamaged.
2. Understand Configurations
The Higeego H11 offers flexible configurations, including H-shape and L-shape layouts, to best suit your space. Plan your desired layout before assembly.

Image: Visual representation of H-shape and L-shape configurations for the customizable clothes rack.
3. Assemble the Frame
Connect the vertical poles and horizontal rods according to the provided instructions. Ensure all connections are secure. Certain shelves must be installed in a specific order for structural integrity.
4. Install Shelves and Hanger Rods
Attach the wire shelves and expandable hanger rods. The shelves are adjustable in height to accommodate different items. The middle rods can be extended up to 39 inches (3.2 feet) to customize the width.

Image: Detail of a hanging rod securely attached to the rack frame.
5. Adjust Leveling Feet
Adjust the leveling feet at the base of the rack to ensure stability on uneven surfaces.
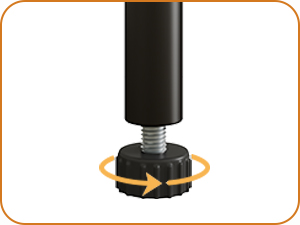
Image: Detail of an adjustable leveling foot, showing how to rotate for height adjustment.
6. Install Anti-Tip Device
For enhanced stability and safety, especially in households with children or pets, install the anti-tip device as recommended. Secure the rack to a wall using the provided hardware.

Image: Detail of the anti-tip device, showing its attachment to a vertical pole.
Assembly Video
Video: An official Higeego video demonstrating the assembly process and showcasing the rack's features.
Operating Instructions
The Higeego H11 Garment Rack is designed for flexible and efficient clothing storage.
Expanding and Adjusting Rods
The four middle rods are expandable, allowing you to customize the width of the rack from 92.2 inches to 127.6 inches. Gently pull or push the rods to achieve the desired length. A clear resistance indicates when the rod is fully extended (39 inches / 3.2 feet). Avoid forcing the rod beyond this point to prevent damage.
Adjusting Shelf Height
The wire shelves can be adjusted to different heights. This feature allows you to tailor the storage space for various items such as folded clothes, bags, shoes, or storage bins. Ensure shelves are securely clipped into place after adjustment.
Load Capacity
The rack has a maximum load capacity of 1000 lbs. Distribute weight evenly across the shelves and hanging rods to maintain stability and prevent structural stress.

Image: Diagram illustrating the dimensions of the Higeego H11 Garment Rack and its 1000 lbs load capacity.
Maintenance
Regular maintenance will ensure the longevity and optimal performance of your Higeego H11 Garment Rack.
Cleaning
Wipe down the carbon steel frame and shelves with a soft, damp cloth. Avoid using abrasive cleaners or harsh chemicals, as these can damage the rust-resistant painted finish.
Inspections
Periodically check all connections, screws, and clips to ensure they remain tight and secure. Re-tighten any loose components as needed. Verify that the anti-tip device is still firmly attached to both the rack and the wall.
Troubleshooting
If you encounter any issues with your Higeego H11 Garment Rack, refer to the following common solutions:
Rack Instability
- Check Leveling Feet: Ensure all adjustable leveling feet are properly set to stabilize the rack on uneven floors.
- Verify Connections: Confirm that all poles, rods, and shelves are securely connected and tightened.
- Anti-Tip Device: Make sure the anti-tip device is correctly installed and secured to a wall.
- Weight Distribution: Ensure the load is evenly distributed and does not exceed the 1000 lbs capacity.
Difficulty Expanding/Retracting Rods
- Lubrication: If rods are stiff, apply a small amount of silicone-based lubricant to the sliding surfaces.
- Avoid Force: Do not forcefully pull or push the rods beyond their natural resistance points, especially when fully extended (39 inches / 3.2 feet).
Specifications
| Brand | Higeego |
| Model Number | H11 |
| Material | Carbon Steel |
| Color | Black |
| Dimensions (D x W x H) | 15.7"D x (92.2"-127.6")W x 75.4"H |
| Load Capacity | Up to 1000 lbs |
| Number of Shelves | 6 |
| Assembly Required | Yes |
Warranty Information
Specific warranty details for the Higeego H11 Garment Rack are not provided in this manual. For information regarding product warranty, please refer to the product packaging, the seller's website, or contact Higeego customer support directly.
Support
For further assistance, questions, or to report any issues, please visit the official Higeego store or contact their customer service department.
- Higeego Store: Visit the Higeego Store on Amazon