
1. Introduction
Thank you for choosing the Arecovas 52-Inch Modern Ceiling Fan. This manual provides detailed instructions for installation, operation, and maintenance to ensure safe and efficient use of your new ceiling fan. Please read this manual thoroughly before installation and keep it for future reference.

Image: The Arecovas 52-inch ceiling fan, showcasing its sleek design, five blades, integrated LED light, and the included remote control. Two blade finishes (black and lighter wood) are also visible.
2. Safety Information
WARNING: To reduce the risk of fire, electric shock, or personal injury, always turn off power at the main circuit breaker or fuse box before beginning installation.
- All wiring must be in accordance with national and local electrical codes.
- The fan must be mounted to a ceiling joist or support capable of withstanding a fan weight of at least 35 lbs (15.9 kg).
- Ensure the fan blades are at least 7 feet (2.1 meters) from the floor.
- Do not operate the fan with damaged power cords or plugs.
- Do not insert objects into the fan blades while the fan is operating.
3. Package Contents
Verify that all components are present before beginning installation:
- Ceiling Fan Motor Housing
- 5 Reversible Fan Blades (Black and Lighter Wood Finish)
- Integrated LED Light Kit with Acrylic Cover
- Remote Controller with Wall Cradle
- Mounting Hardware (Canopy, Mounting Bracket, Screws, Wire Nuts)
- Downrods (5-inch and 10-inch options)
- Instruction Manual

Image: A visual representation of the fan's components, including the double-sided blades, two downrod lengths (5-inch and 10-inch), and the remote control, along with fan dimensions for both downrod and flush mount configurations.
4. Product Overview
The Arecovas ceiling fan is designed for optimal air circulation and lighting in various indoor spaces. It features a quiet DC motor, reversible blades for year-round comfort, and a dimmable LED light with adjustable color temperatures.
- Sleek Design: Modern aesthetic with a metal housing and wooden blades.
- Dual-Finish Blades: Black wood on one side, lighter wood on the other for versatile decor matching.
- Quiet DC Motor: Operates below 30 decibels, ensuring a tranquil environment.
- Integrated LED Light: Dimmable from 10% to 100% with 3 color temperature options (3000K, 5000K, 6000K).
- Remote Control: Full control over fan speeds, light settings, and timer functions.

Image: A detailed view of the fan's DC motor, highlighting its efficient and quiet operation, with text indicating 78% higher energy efficiency and noise levels below 30 dB.

Image: A close-up of the fan's double-sided blades, illustrating the two distinct wood finishes (lighter wood and black wood) available for aesthetic versatility.
5. Installation
The Arecovas ceiling fan supports both downrod and flush mount installations. Choose the method suitable for your ceiling height.
5.1 Pre-Installation Checklist
- Ensure power is OFF at the circuit breaker.
- Confirm you have all package contents.
- Gather necessary tools (screwdriver, wire strippers, ladder, etc.).
5.2 Mounting Options
Downrod Mount: Ideal for higher ceilings to optimize airflow distribution.
Flush Mount: Suitable for rooms with lower ceilings or smaller spaces, saving vertical room.

Image: Two illustrations demonstrating the two available mounting options: a downrod mount for higher ceilings and a flush mount for lower ceilings, highlighting the fan's adaptability.
5.3 General Installation Steps (Refer to detailed diagrams in the included paper manual)
- Secure the mounting bracket to the ceiling electrical box.
- Assemble the fan motor housing with the chosen downrod or prepare for flush mount.
- Hang the fan assembly onto the mounting bracket.
- Connect electrical wires (Live, Neutral, Ground) according to local codes.
- Attach the fan blades to the motor housing.
- Install the LED light kit and acrylic cover.
- Restore power and test the fan and light functions.
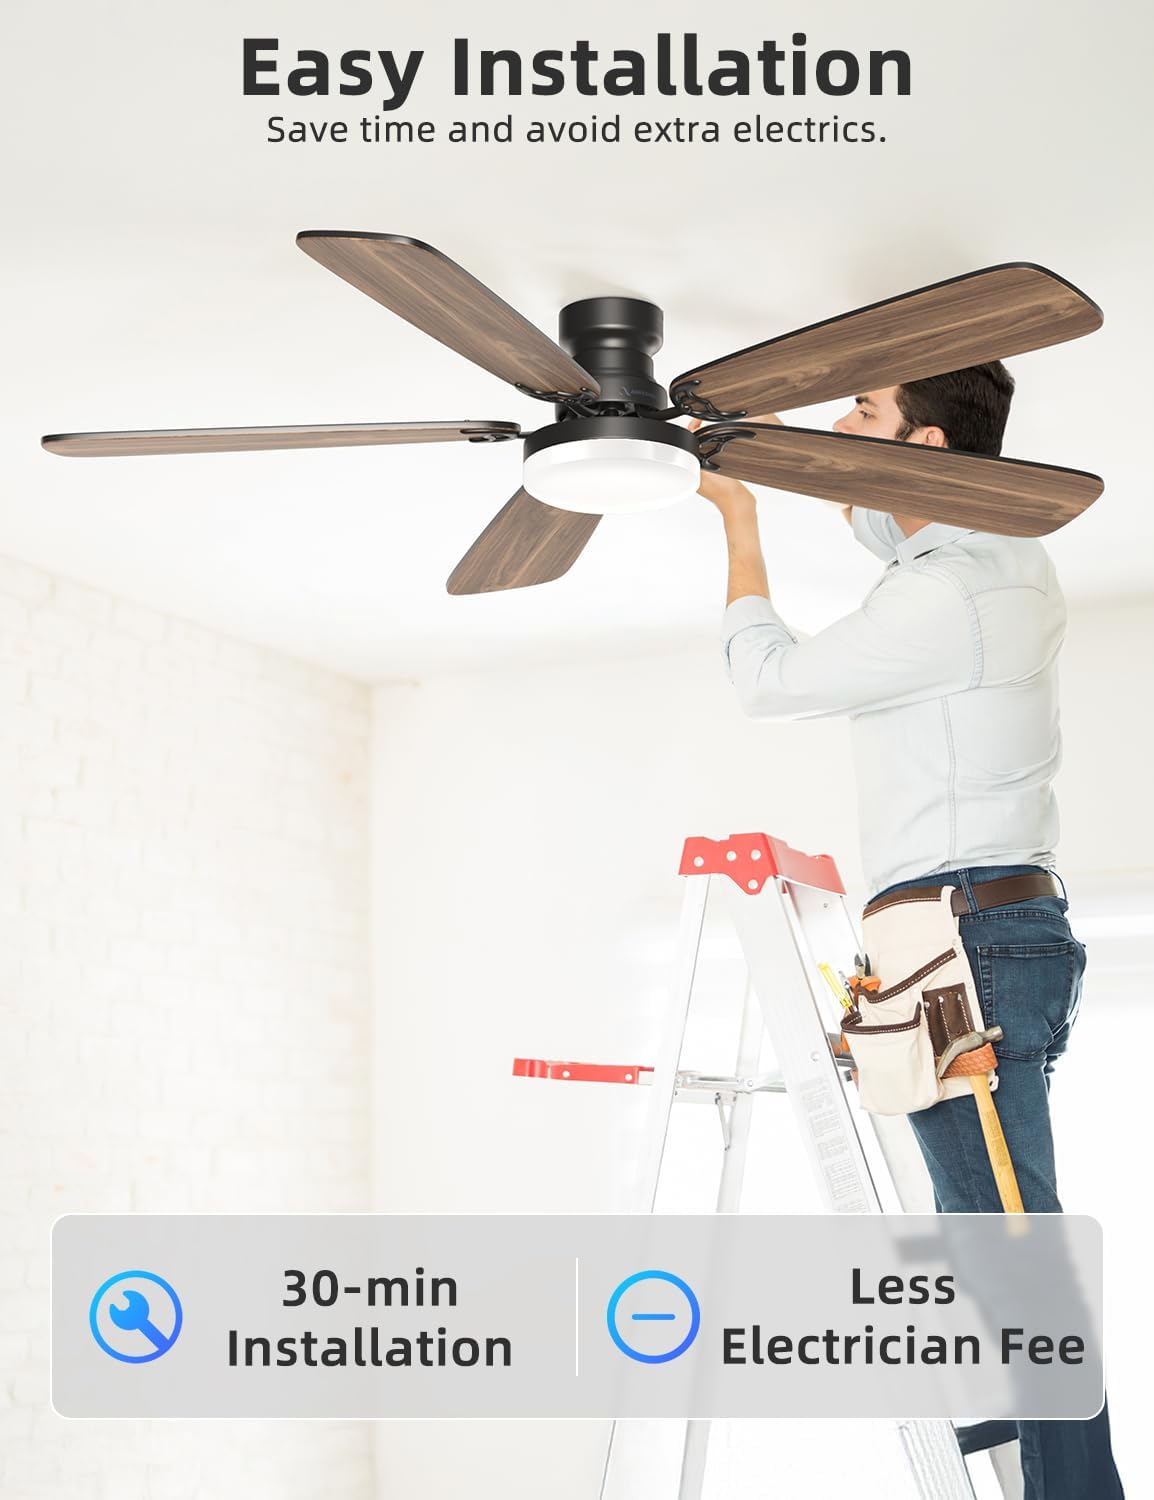
Image: A person on a ladder installing the ceiling fan, emphasizing the ease of installation and potential time/cost savings.
6. Operation
Your Arecovas ceiling fan is controlled by the included remote. Ensure batteries are installed correctly.
6.1 Remote Control Functions
- ALL OFF: Turns off both fan and light.
- LIGHT ON/OFF: Toggles the light on or off.
- F/R (Forward/Reverse): Changes fan direction for summer (downdraft) or winter (updraft) mode.
- Fan Speed Buttons (1-6): Adjusts fan speed from low (1) to high (6).
- Timer Buttons (1H/4H/8H): Sets the fan to turn off automatically after 1, 4, or 8 hours.

Image: A visual representation of the ceiling fan and its remote control, with icons illustrating various functions such as fan speed, light control, timer, and reversible mode, emphasizing convenient control.

Image: This image illustrates two convenient ways to use the remote control: either mounted in its wall cradle to function as a wall switch or used as a handheld remote for portability.
6.2 Fan Speed Settings
The fan offers 6 adjustable speeds:
- Level 1-2: Low Comfortable Wind
- Level 3-4: Medium Natural Wind
- Level 5-6: High Cooling Wind

Image: A graphic illustrating the fan's 6 adjustable speed settings, categorized into Low Comfortable Wind (Levels 1-2), Medium Natural Wind (Levels 3-4), and High Cooling Wind (Levels 5-6).
6.3 Light Settings
The integrated LED light offers 3 color temperatures and is fully dimmable:
- 3000K: Warm Yellow Light
- 5000K: Natural Light
- 6000K: Cold White Light
Press and hold the light button on the remote to adjust brightness (10%-100%).

Image: Three distinct images demonstrating the fan's LED light at different color temperatures: 3000K (Warm Yellow Light), 5000K (Natural Light), and 6000K (Cold White Light), illustrating its versatility for various scenarios.

Image: A close-up view of the fan's replaceable LED light kit, showing the LED light board and shade, indicating ease of replacement.
6.4 Reversible Function (Summer/Winter Mode)
The fan's reversible DC motor allows for year-round comfort:
- Summer Mode (Downdraft): Blades rotate counter-clockwise, creating a cooling breeze.
- Winter Mode (Updraft): Blades rotate clockwise, circulating warm air trapped near the ceiling.
Press the F/R button on the remote to switch between modes.

Image: A diagram illustrating the fan's reversible wind direction, showing downdraft for summer to disperse heat and updraft for winter to enhance air circulation.
7. Maintenance
Regular maintenance ensures optimal performance and longevity of your ceiling fan.
- Cleaning: Dust the fan blades and motor housing regularly with a soft, damp cloth. Do not use abrasive cleaners or solvents.
- Blade Tightness: Periodically check that all blade screws are tight.
- Light Kit: The LED light kit is replaceable. Refer to the detailed instructions in the full manual for replacement.
- No Lubrication: The fan's motor is permanently lubricated and does not require oiling.
8. Troubleshooting
If you experience issues with your fan, refer to the following common problems and solutions:
| Problem | Possible Cause | Solution |
|---|---|---|
| Fan does not start | No power to the fan; Loose wire connections; Remote control battery low/dead. | Check circuit breaker/fuse; Verify all wire connections are secure; Replace remote control batteries. |
| Light does not work | Loose wire connection to light kit; Faulty LED light kit; Remote control issue. | Check light kit wiring; Contact support for replacement LED kit; Test remote functions. |
| Fan wobbles | Loose blade screws; Unbalanced blades; Improper mounting. | Tighten all blade screws; Use balancing kit (not included) if needed; Re-check mounting bracket security. |
| Remote control not working | Batteries dead/incorrectly installed; Remote not paired with fan. | Replace batteries, ensure correct polarity; Refer to pairing instructions in the full manual. |
| Excessive noise | Loose screws; Motor issue. | Check and tighten all screws; If noise persists, contact customer support. |
9. Specifications
| Feature | Detail |
|---|---|
| Brand | Arecovas |
| Model Name | KBS-52K131 |
| Product Dimensions | 52"D x 52"W x 18.5"H |
| Color | Black and Lighter Wood Blades |
| Electric Fan Design | Ceiling Fan |
| Power Source | Quiet Copper DC Motor |
| Number of Blades | 5 |
| Air Flow Capacity | 5060 Cubic Feet Per Minute |
| Noise Level | 30 dB |
| Wattage | 54 Microwatts |
| Voltage | 120 Volts |
| Light Type | LED (3-color Dimmable) |
| Control Method | Remote |
| Mounting Options | Downrod & Flush Mount |
| Recommended Room Size | 15x15 to 20x20 feet |
| Item Weight | 12.27 pounds |
10. Warranty & Support
Your Arecovas ceiling fan comes with a 1-Year Warranty on the product and a 10-Year Warranty on the DC motor.
For technical assistance, warranty claims, or replacement parts (e.g., LED light board, remote control), please contact Arecovas customer support. Our professional R&D team and strict quality control ensure reliable products and support.
Contact information can typically be found on the product packaging or the official Arecovas website.

Image: A graphic detailing the warranty information: 1-Year for the fan, 10-Year for the motor, and instructions to contact customer support for damaged or missing LED light boards or remote controls.