
1. Introduction
Thank you for choosing TECKNET Solar Fence Lights. This manual provides essential information for the proper installation, operation, and maintenance of your outdoor solar lights. Please read these instructions carefully before use to ensure optimal performance and longevity of the product.
These solar-powered lights are designed to provide efficient and adjustable illumination for various outdoor spaces, featuring multiple lighting modes and durable, weather-resistant construction.
2. Product Overview
2.1 Included Components
- TECKNET Solar Fence Lights (12 units)
- Mounting Screws (24 units)
- 3M Adhesive Pads (24 units)
- Instruction Manual (1 unit)
2.2 Key Features
- 3 Lighting Modes: Adjustable color temperatures including Warm White (3500K), Neutral White (4500K), and Cool White (6500K).
- Dusk to Dawn Operation: Lights automatically turn on at dusk and off at dawn.
- High-Efficiency Solar Panel: Up to 35% conversion rate for fast charging.
- IP66 Waterproof Rating: Designed to withstand rain, snow, and various weather conditions.
- Durable Construction: Made from premium ABS material with a robust protective cover.
- Easy Installation: Two mounting options: screws or 3M adhesive.
- Focused Lighting: Upgraded convex lenses provide an 80-lumen concentrated beam.
2.3 Specifications
| Specification | Detail |
|---|---|
| Model Number | TK-SL007 |
| Dimensions (L x W x H) | 3.58" x 2.2" x 0.98" (9.1cm x 5.5cm x 2.5cm) |
| Material | Acrylic, Acrylonitrile Butadiene Styrene (ABS), Plastic |
| Power Source | Solar Powered |
| Battery Capacity | 600mAh (Built-in) |
| Solar Conversion Rate | Up to 35% |
| Charging Time | 6-8 hours (direct sunlight) |
| Lighting Time | Over 10 hours (when fully charged) |
| Brightness | 80 Lumens |
| Light Color Modes | 3500K (Warm White), 4500K (Neutral White), 6500K (Cool White) |
| Waterproof Rating | IP66 |
| Control Method | Push Button |
3. Setup and Installation
3.1 Initial Charge
Upon first use, or if the lights have been stored for an extended period, place the solar lights in direct sunlight for 6-8 hours to ensure the built-in battery is fully charged. This initial charge is crucial for optimal performance.
3.2 Choosing a Location
Select a location that receives direct sunlight for at least 6-8 hours daily. Avoid areas under eaves, trees, or other obstructions that may shade the solar panel, as this will reduce charging efficiency and lighting duration.

Image: The solar panel on the light unit absorbing sunlight for charging. This illustrates the importance of placing the lights in an area with ample sun exposure.
3.3 Installation Methods
Your TECKNET Solar Fence Lights offer two installation options:
- Using Screws (Recommended for permanent installation):
- Use the included positioning paper (if available) or measure the distance between the mounting holes on the back of the light.
- Mark the desired drilling points on your fence, wall, or post.
- Drill pilot holes and insert the expansion columns (if necessary for your surface).
- Secure the screws, leaving a small gap for the light to hang.
- Align the keyhole slots on the back of the light with the screws and slide the light down to secure it.
- Using 3M Adhesive Pads (For smooth, clean surfaces):
- Clean the mounting surface thoroughly to ensure it is dry and free of dust or grease.
- Peel off the protective film from one side of the 3M adhesive pad and attach it to the back of the solar light.
- Peel off the remaining protective film and firmly press the light onto the desired surface for at least 30 seconds.
- Allow the adhesive to cure for 24 hours before exposing it to harsh conditions.

Image: A visual guide demonstrating the two installation methods: using screws for a secure mount and using 3M adhesive pads for simpler attachment to smooth surfaces.
4. Operating Instructions
4.1 Powering On/Off
Before initial use, locate the small button on the light unit. Press and hold the button for approximately 3 seconds to turn the light ON. The light will then enter automatic dusk-to-dawn operation. To turn the light OFF, press and hold the button again for 3 seconds.
4.2 Changing Lighting Modes
Once the light is ON, short press the button to cycle through the three available lighting modes:
- Mode 1: Warm White (3500K)
- Mode 2: Neutral White (4500K)
- Mode 3: Cool White (6500K)
Select your preferred mode before mounting the light, or ensure easy access to the button if you plan to change modes frequently.

Image: Depicts the three distinct lighting modes (Warm, Natural, Cool) emitted by the solar fence lights, illustrating the visual difference between 3500K, 4500K, and 6500K.
4.3 Automatic Dusk to Dawn Functionality
After being turned ON and fully charged, the lights will automatically detect ambient light levels. They will illuminate at dusk and turn off at dawn, conserving energy and providing hassle-free operation.
5. Maintenance
Regular maintenance ensures the optimal performance and longevity of your solar fence lights.
- Clean Solar Panel: Periodically wipe the solar panel with a soft, damp cloth to remove dust, dirt, leaves, or snow. A clean panel ensures maximum sunlight absorption and charging efficiency.
- Clear Obstructions: Ensure no new obstructions (e.g., growing foliage) are blocking direct sunlight from reaching the solar panel.
- Weather Resistance: The lights are IP66 waterproof, heat-resistant, and frost-resistant, designed to withstand various outdoor conditions. However, extreme weather events may temporarily affect performance.
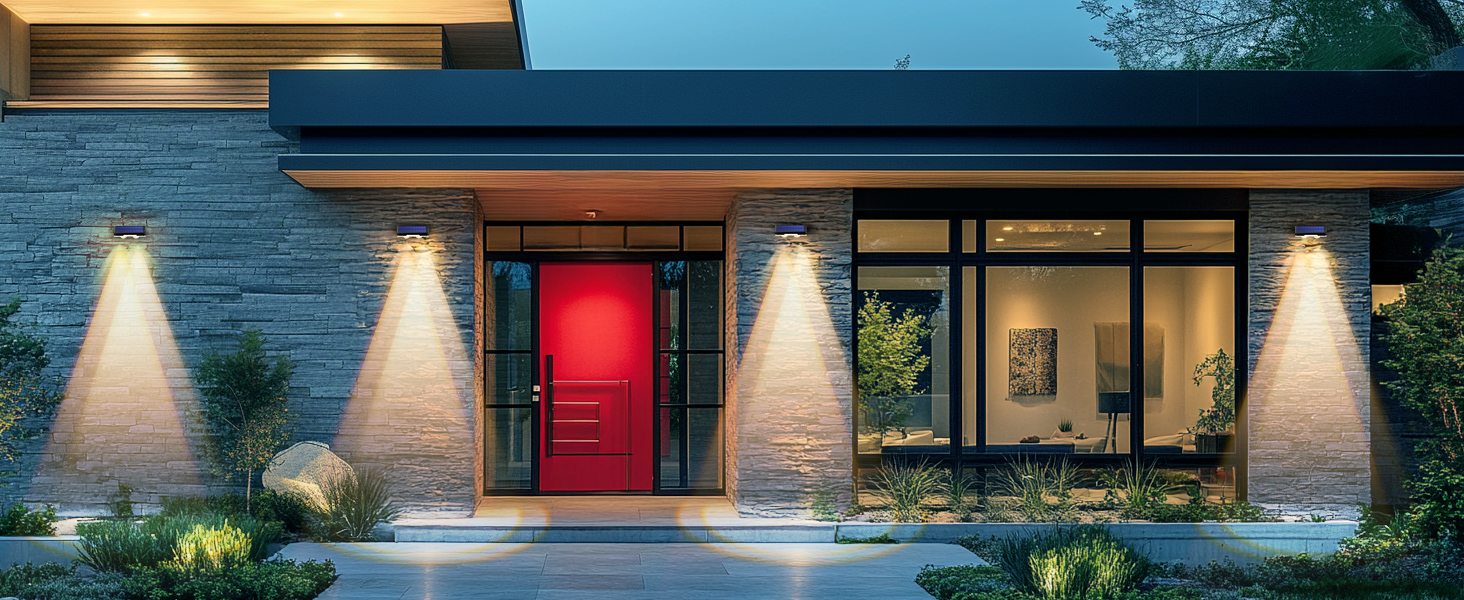
Image: Visual representation of the lights' durability against various weather conditions, including heat, frost, and heavy rain, highlighting their IP66 waterproof rating.
6. Troubleshooting
If you encounter issues with your solar fence lights, refer to the following troubleshooting guide:
| Problem | Possible Cause | Solution |
|---|---|---|
| Light does not turn on at night. | 1. Light is not switched ON. 2. Insufficient sunlight for charging. 3. Solar panel is dirty or obstructed. 4. Ambient light is too bright. | 1. Press and hold the power button for 3 seconds to turn ON. 2. Relocate the light to an area with 6-8 hours of direct sunlight. 3. Clean the solar panel. Remove any obstructions. 4. Ensure the light is not installed near other bright light sources (e.g., streetlights, porch lights) that might prevent it from activating. |
| Light duration is short. | 1. Insufficient charging. 2. Battery capacity reduced due to age or extreme temperatures. | 1. Ensure the solar panel receives maximum direct sunlight daily. Clean the panel regularly. 2. While batteries have a long lifespan, performance may decrease over time. Ensure optimal charging conditions. |
| Light flickers or is dim. | 1. Low battery charge. 2. Loose connection. | 1. Allow the light to charge for a full day in direct sunlight. 2. Ensure the light is securely mounted. |
If the issue persists after attempting these solutions, please contact TECKNET customer support.
7. Safety Information
- Do not attempt to disassemble or modify the product. This may damage the unit and void any potential support.
- Keep the product away from fire or extreme heat sources.
- Ensure the solar panel is not covered by any objects during the day to allow for proper charging.
- While the product is waterproof, avoid submerging it in water.
- Dispose of the product and its battery responsibly according to local regulations.
8. Warranty and Support
TECKNET stands by the quality of its products. If your solar fence lights fail to function after following the initial charging and troubleshooting steps, please contact TECKNET customer support for assistance. We are committed to providing swift replacements for defective units.
For further support or inquiries, please visit the official TECKNET website or contact their customer service department. Please have your model number (TK-SL007) available when contacting support.