
1. Introduction
This manual provides essential information for the safe and efficient operation of your VGKE Mini Projector, Model TS-6. Please read this manual thoroughly before using the product and retain it for future reference.
Key Features:
- 3D TOF Auto Focus & Auto Keystone Correction: Ensures a clear and perfectly shaped image automatically.
- Built-in Android TV 13.0: Access to over 10,000,000+ streaming apps like Netflix, Prime Video, YouTube, and Disney+ without external devices.
- Portable Design: Innovative liftable stand with 90° lens rotation, compact size (4.9x8.5 inches) and lightweight (2.2 lbs) for flexible placement and portability.
- Full HD 1080p & 4K Support: Delivers impressive 13000 lumens brightness, 2000:1 contrast ratio, and 99% NTSC wide color gamut for sharp, vivid visuals.
- Ultra-fast & Stable Connectivity: Features WiFi 6 and Bluetooth 5.2 for seamless streaming and connection to external audio devices.
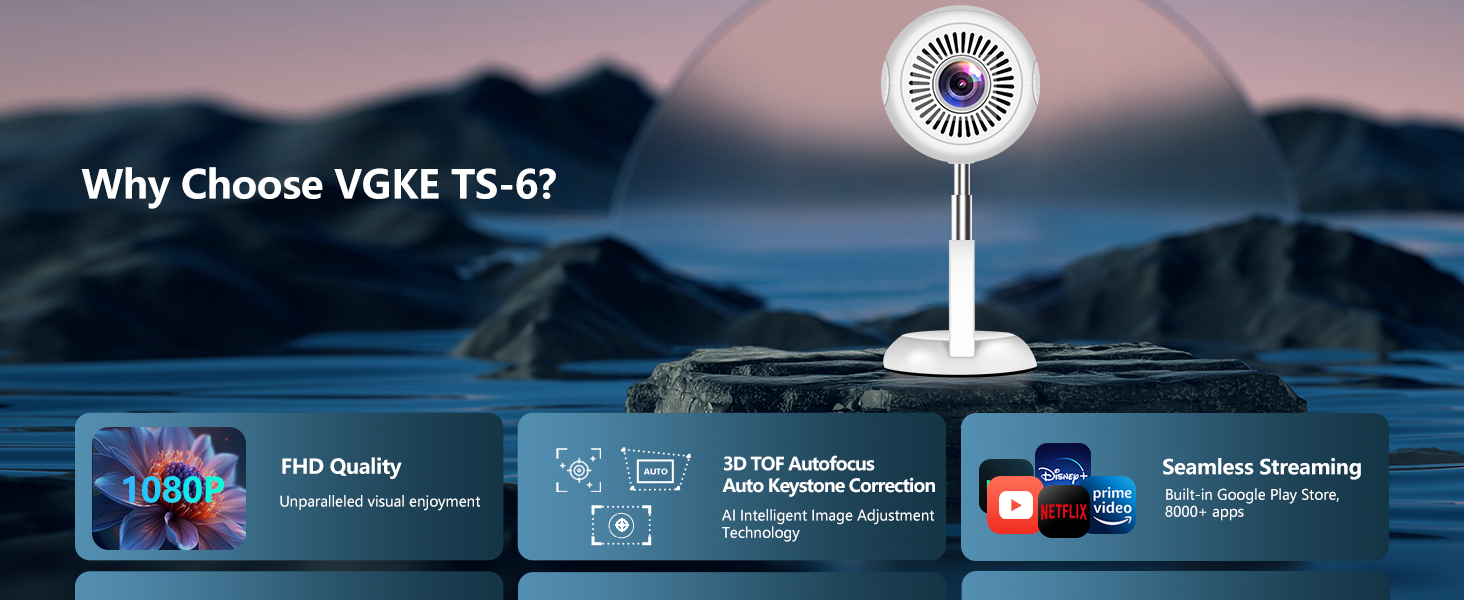
Image: Overview of VGKE TS-6 Mini Projector's key features including FHD quality, intelligent image adjustment, and seamless streaming capabilities.
2. Product Overview and What's in the Box
Package Contents:
- VGKE Mini Projector (TS-6)
- Power Cord
- Remote Control
- User Manual (this document)

Image: The VGKE Mini Projector and its main components.
3. Setup
3.1 Placement
The VGKE Mini Projector offers flexible placement options due to its compact size and 90° adjustable lens rotation. It supports projection distances from 6.3 to 12.8 feet, providing a 40-120 inch display.
- Desktop Mounting: Place the projector on a flat surface.
- Ceiling Mounting: Utilize the 1/4-inch screw hole on the bottom for ceiling installation (mounting hardware not included).
- Tripod Mounting: Attach to a compatible tripod using the 1/4-inch screw hole.
- Wall Mounting: Securely mount to a wall using appropriate hardware.

Image: The projector's 90° adjustable stand allows for versatile projection angles, including ceiling projection.
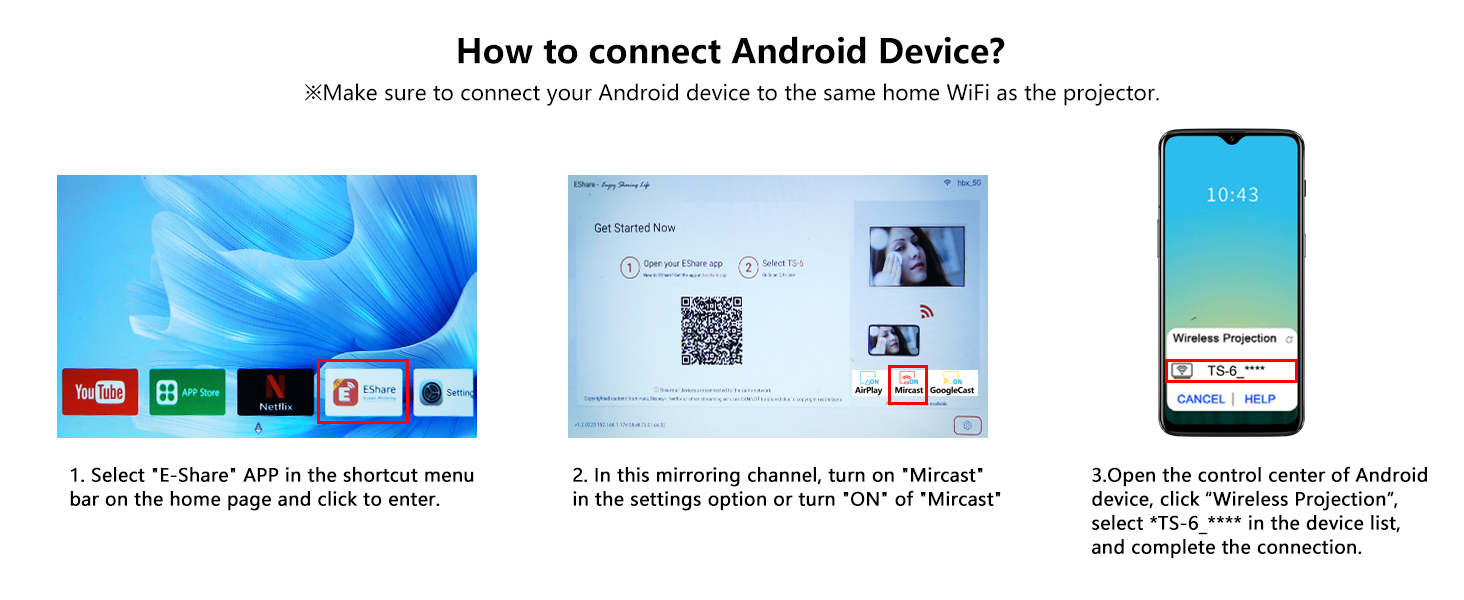
Image: Visual representation of the projector's 90° adjustable feature for various projection surfaces.
3.2 Power Connection
- Connect the provided power cord to the projector's power input.
- Plug the other end of the power cord into a suitable electrical outlet.
- Press the power button on the projector or remote control to turn it on.
3.3 Initial Image Adjustment (Auto Focus & Keystone)
The projector features advanced 3D TOF auto focus and auto keystone correction for optimal image clarity and shape. Upon startup or movement, the projector will automatically adjust the image.
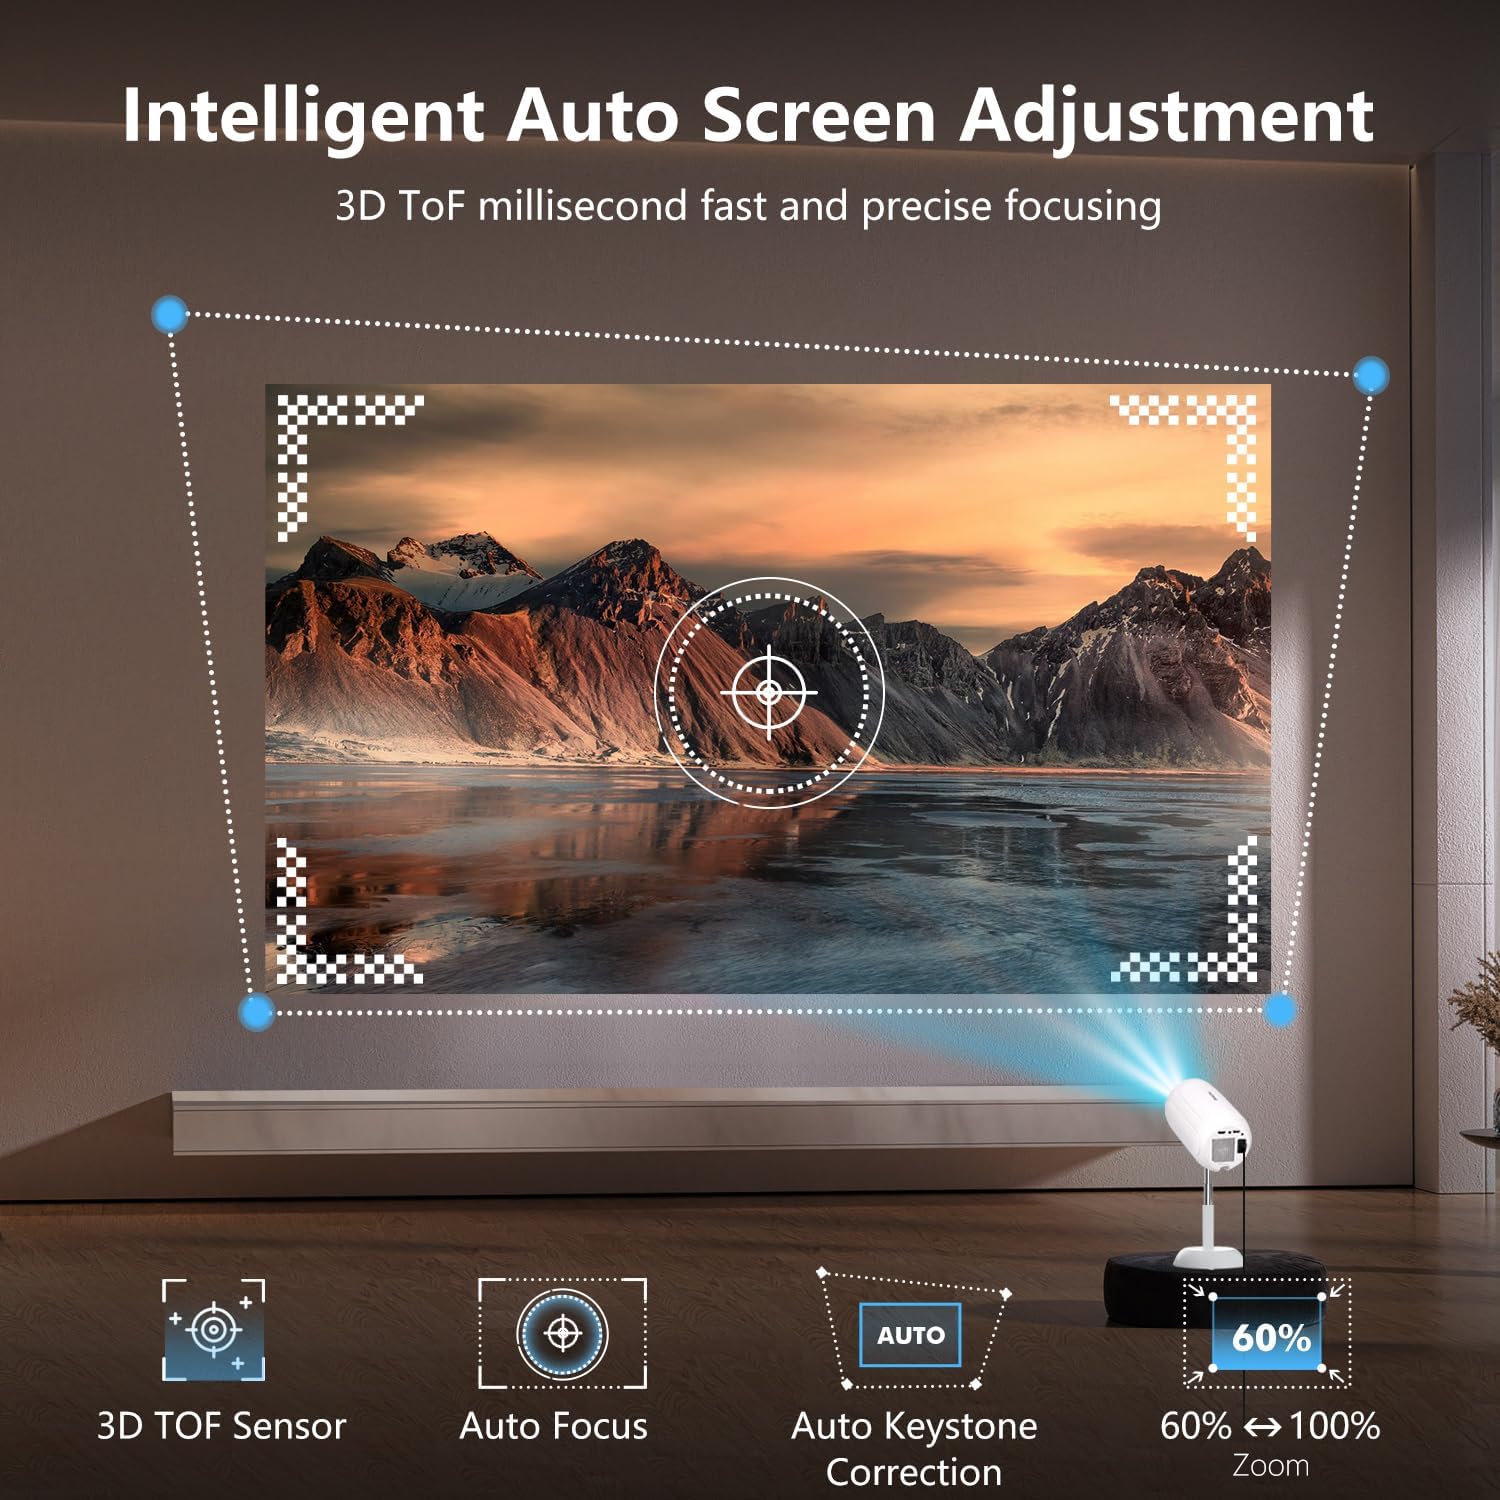
Image: The projector's intelligent auto screen adjustment features, including 3D TOF sensor, auto focus, and auto keystone correction.

Image: Explanation of AI intelligent adjustment features, including 3D TOF autofocus and automatic keystone correction.
3.4 Network Connection (WiFi 6)
To access online content and streaming services, connect your projector to a Wi-Fi network.
- Navigate to the projector's settings menu.
- Select "Network & Internet" or a similar option.
- Turn on Wi-Fi and select your desired network from the list.
- Enter the Wi-Fi password if prompted.
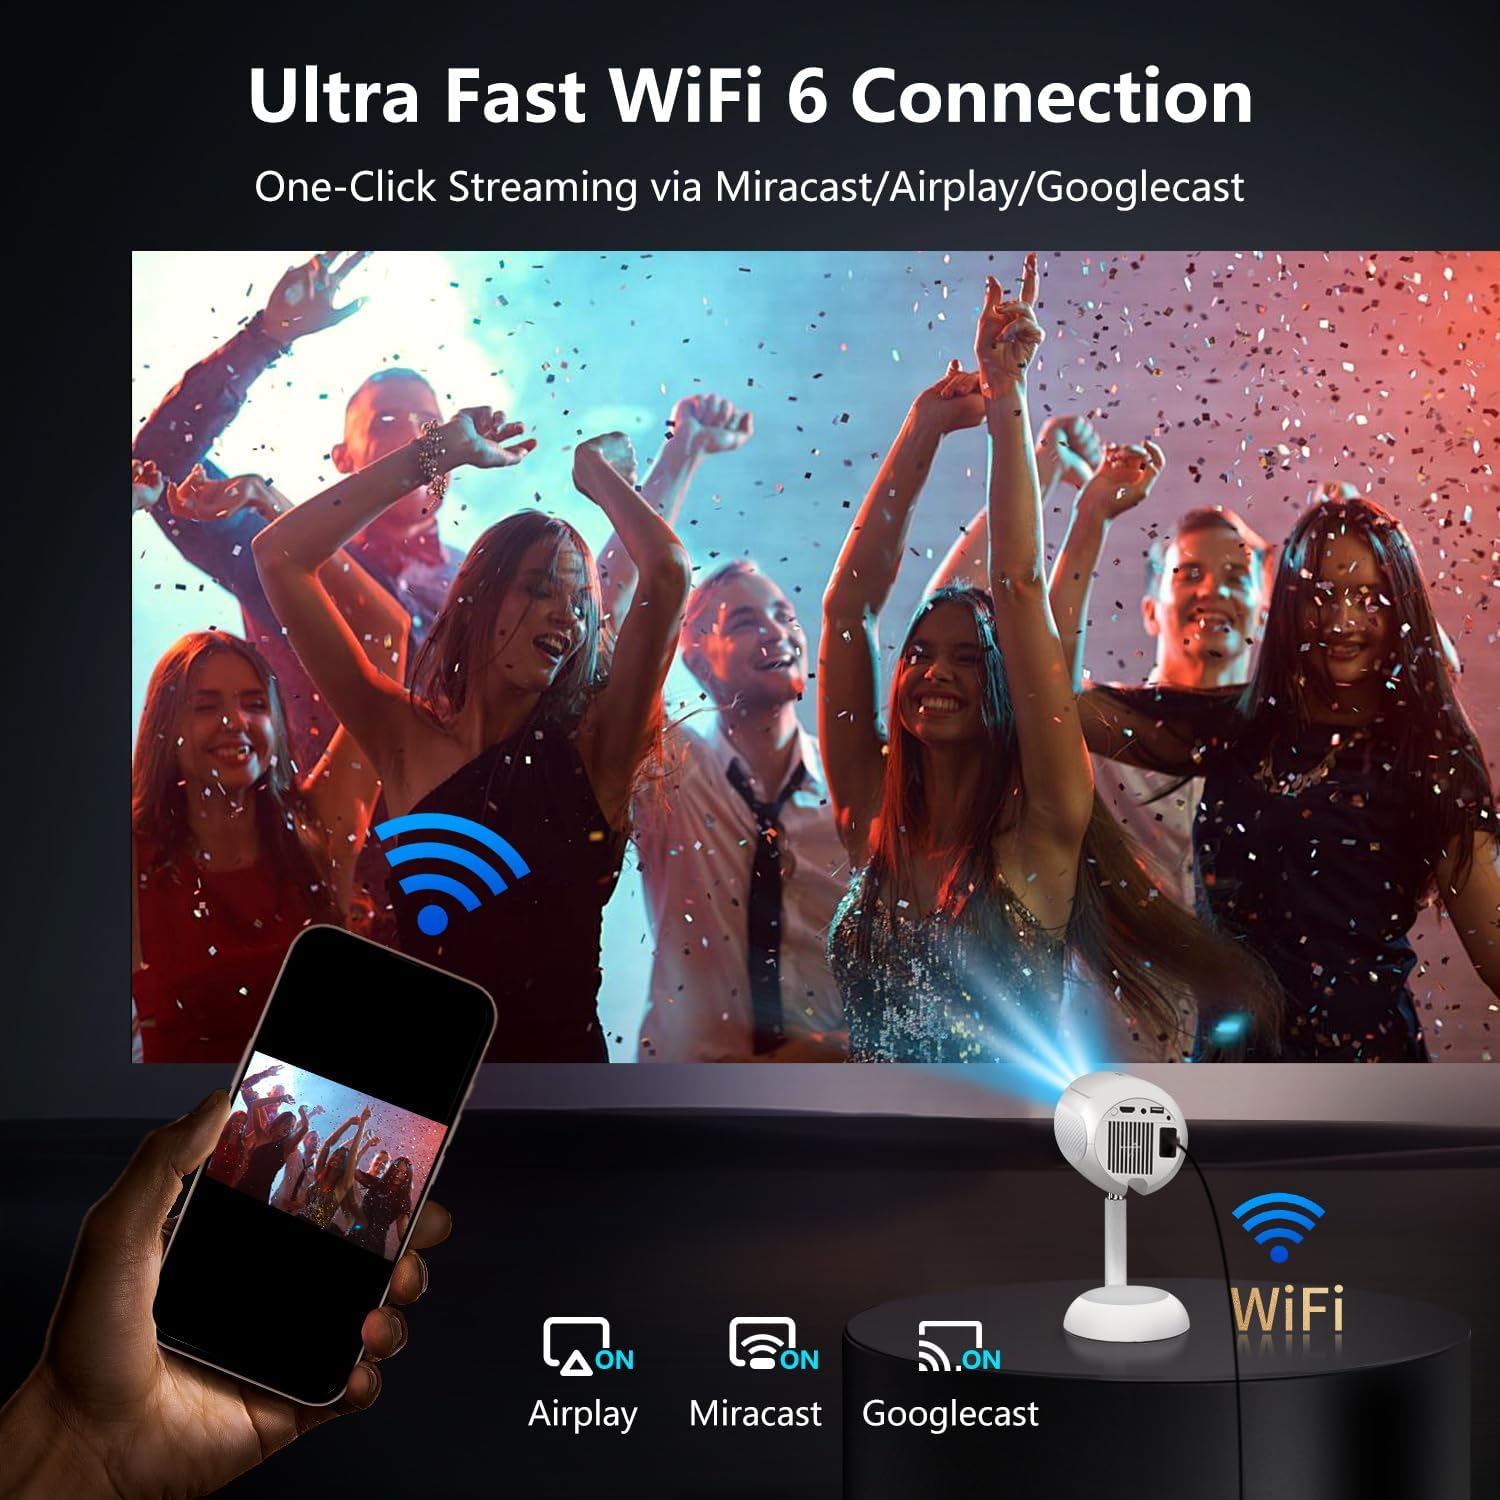
Image: The projector supports Ultra Fast WiFi 6 for seamless streaming and mirroring.
3.5 Connecting External Devices
The projector is compatible with various devices via HDMI, USB, and wireless casting.

Image: The projector's compatibility with various devices through HDMI, USB, and Audio connections.
3.5.1 HDMI/USB Connection
- Connect your device (e.g., laptop, game console, TV stick) to the projector using an HDMI cable.
- For USB devices (e.g., flash drives), insert them into the USB port.
- Select the corresponding input source from the projector's menu.
3.5.2 Wireless Casting (Miracast/Airplay/Googlecast)
You can mirror your smartphone or tablet screen to the projector.
Important: Ensure your mobile device and the projector are connected to the same Wi-Fi network.
Connecting to iOS Device:
- On the projector's home page, select the "E-Share" app in the shortcut menu bar and open it.
- In the mirroring channel within E-Share, ensure "AirPlay" is turned on in the settings option.
- On your iOS device, open the Control Center, tap "Screen Mirroring," and select "TS-6 ****" from the device list to establish the connection.

Image: Step-by-step guide for connecting an iOS device to the projector for screen mirroring.
Connecting to Android Device:
- On the projector's home page, select the "E-Share" app in the shortcut menu bar and open it.
- In the mirroring channel within E-Share, ensure "Miracast" is turned on in the settings option.
- On your Android device, open "Wireless Projection" (or similar, e.g., Smart View, Screen Cast) and select "TS-6 ****" from the device list to establish the connection.
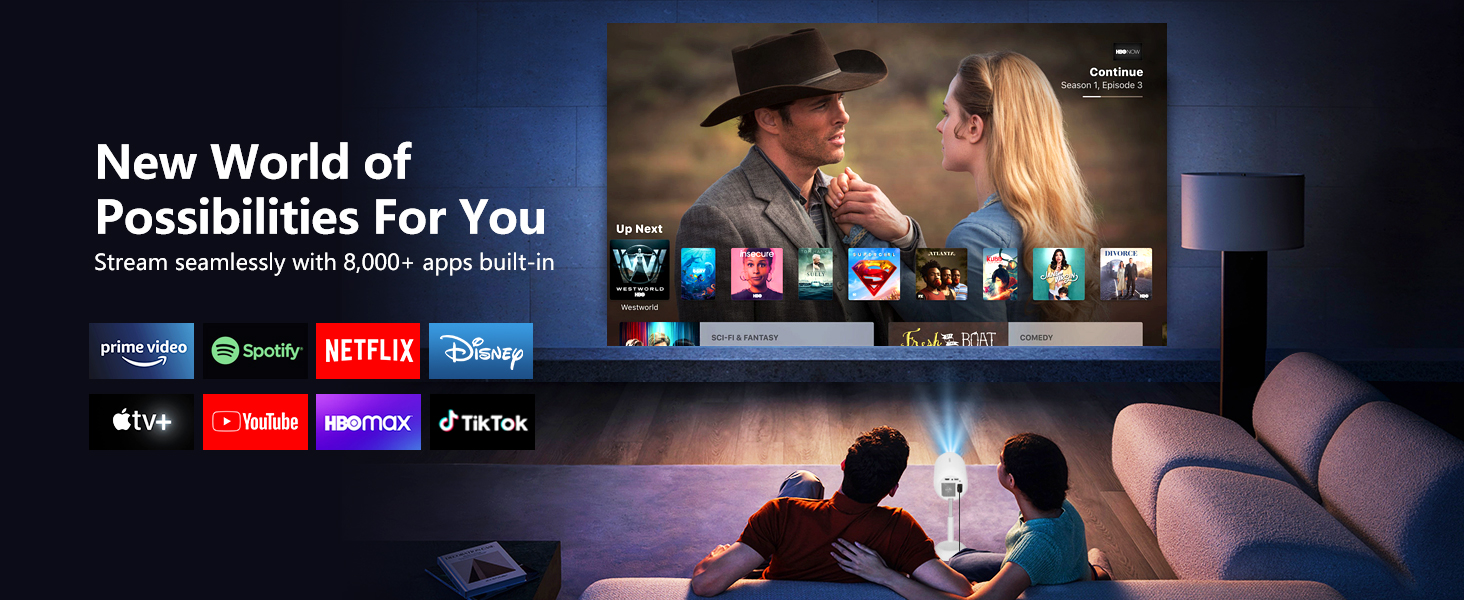
Image: Step-by-step guide for connecting an Android device to the projector for screen mirroring.
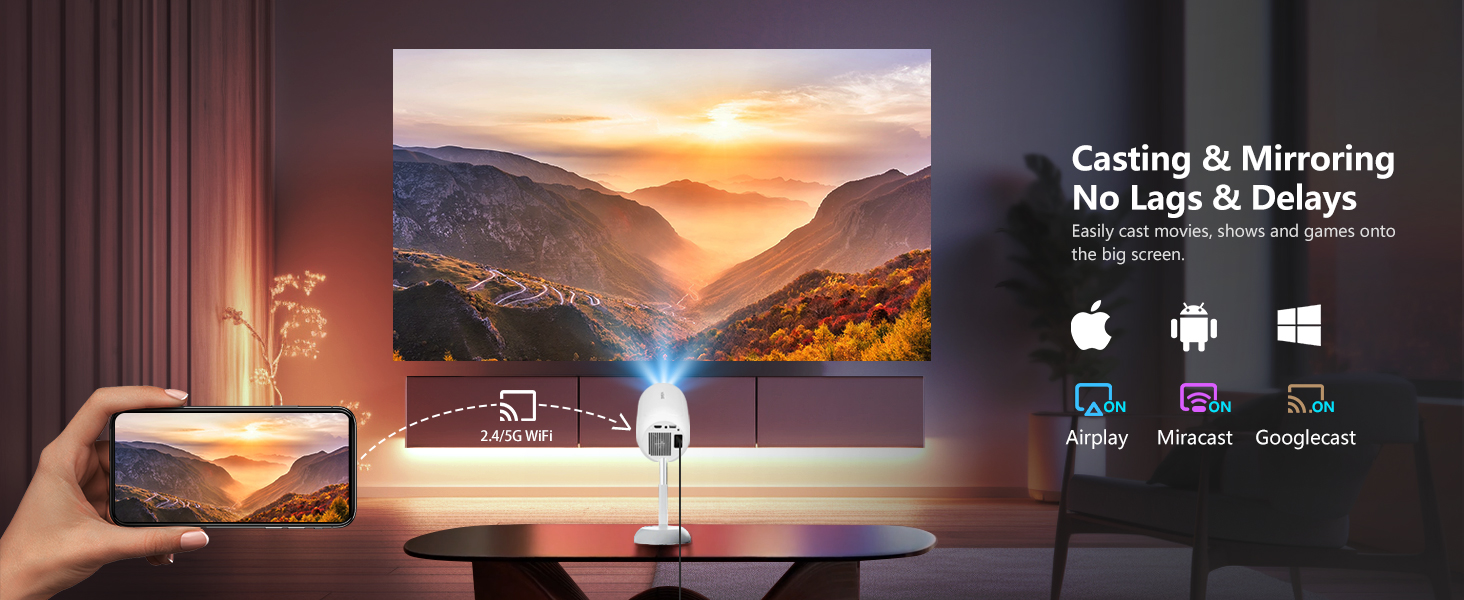
Image: The projector supports various casting and mirroring protocols for seamless content sharing.
4. Operating the Projector
4.1 Android TV OS Navigation
Your VGKE Mini Projector comes with a built-in Android TV 13.0 operating system, providing access to a wide range of applications directly from the projector.
- Use the provided remote control to navigate the interface.
- The home screen displays pre-installed apps like Netflix, Prime Video, YouTube, and Disney+.
- Access the app store to download additional applications.

Image: The projector's smart interface with built-in apps for streaming content.
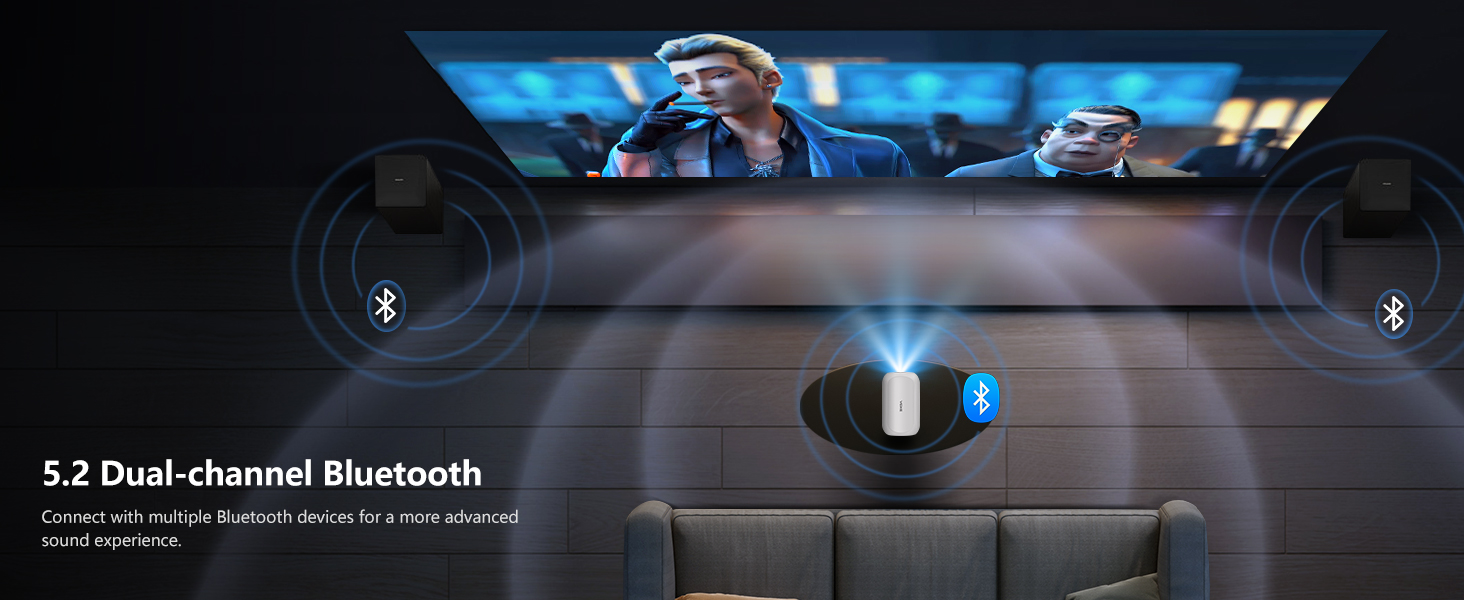
Image: The projector offers a vast selection of built-in apps for diverse entertainment options.
4.2 Audio Output
The projector has built-in speakers. For an enhanced audio experience, you can connect external speakers via Bluetooth.
4.2.1 Bluetooth Audio Connection
- Ensure your Bluetooth speaker or headphones are in pairing mode.
- On the projector, navigate to Settings > Bluetooth.
- Turn on Bluetooth and select your device from the list of available devices to pair.

Image: The projector's Bluetooth 5.2 capability allows connection to external audio devices for an immersive sound experience.
5. Maintenance
Regular maintenance ensures optimal performance and extends the lifespan of your projector.
5.1 Cleaning the Lens
- Turn off and unplug the projector before cleaning.
- Use a soft, lint-free cloth specifically designed for optical lenses.
- Gently wipe the lens in a circular motion to remove dust or smudges. Avoid abrasive materials or harsh chemicals.
5.2 Ventilation
- Ensure the projector's ventilation openings are not blocked during operation.
- Allow adequate space around the projector for proper airflow to prevent overheating.
- Periodically clean any dust accumulation from the vents using a soft brush or compressed air.
6. Troubleshooting
If you encounter issues with your projector, refer to the following common problems and solutions.
| Problem | Possible Cause | Solution |
|---|---|---|
| No image or blurry image |
|
|
| No sound |
|
|
| Wi-Fi connection issues |
|
|
| Remote control not working |
|
|
7. Specifications
| Feature | Detail |
|---|---|
| Brand | VGKE |
| Model | TS-6 (13000Lm_Android Projector) |
| Operating System | Android TV 13.0 |
| Display Resolution | 1920 x 1080 (Full HD) |
| 4K Support | Yes (4K video decoding) |
| Brightness | 13000 Lumens |
| Contrast Ratio | 2000:1 |
| Color Gamut | 99% NTSC |
| Special Features | Auto Focus, Auto Keystone Correction, Built-In Wi-Fi, Built-in Android OS, Portable |
| Connectivity Technology | Bluetooth 5.2, Wi-Fi 6 (2.4G/5G) |
| Input Ports | HDMI, USB |
| Projection Size | 40-120 inches |
| Projection Distance | 6.3-12.8 feet |
| Product Dimensions | 4.93 x 4.93 x 8.45 inches |
| Item Weight | 2.86 pounds |
| Color | White |
Note: Specifications are subject to change without prior notice.
8. Warranty and Support
8.1 Warranty Information
Specific warranty details may vary by region and retailer. Please refer to the warranty card included with your product or contact your point of purchase for detailed warranty terms and conditions.
8.2 Customer Support
For technical assistance, troubleshooting, or product inquiries, please contact VGKE customer support. You can typically find contact information on the official VGKE website or through your retailer.
For additional resources, you may visit the VGKE Store on Amazon.