
1. General Information
This manual provides detailed instructions for the safe and efficient operation of your Dreo Smart Ceiling Fan. Please read all instructions carefully before installation and use. Keep this manual for future reference.

Figure 1: Dreo Smart Ceiling Fan (Model DR-HCF005S Black)
The Dreo Smart Ceiling Fan offers advanced features including 12 fan speeds, 3 fan modes (Normal, Auto, Sleep), stepless dimmable LED lighting with adjustable color tones (2700-6500K), and a quiet DC motor. Control is convenient via the included remote, DREO app, or voice commands through Alexa and Google Home.
2. Safety Instructions
WARNING: To prevent serious injury or death, always disconnect power by turning off circuit breakers before installation or maintenance. If you are not experienced with electrical work, please consult a qualified professional.
Video 1: How to Install and Use the Ceiling Fan CLF325S. This video demonstrates disconnecting power at the circuit breaker.
Ensure the ceiling fan is securely installed and is acceptable for fan support of 15.8 kg (35 lbs) or more. The ceiling fan must be grounded. If the ground wire for the installation site is not present, immediately STOP installation and consult a qualified electrician.
3. Package Contents
Verify all components are present before beginning installation. Refer to the diagram below for a visual representation of the package contents.
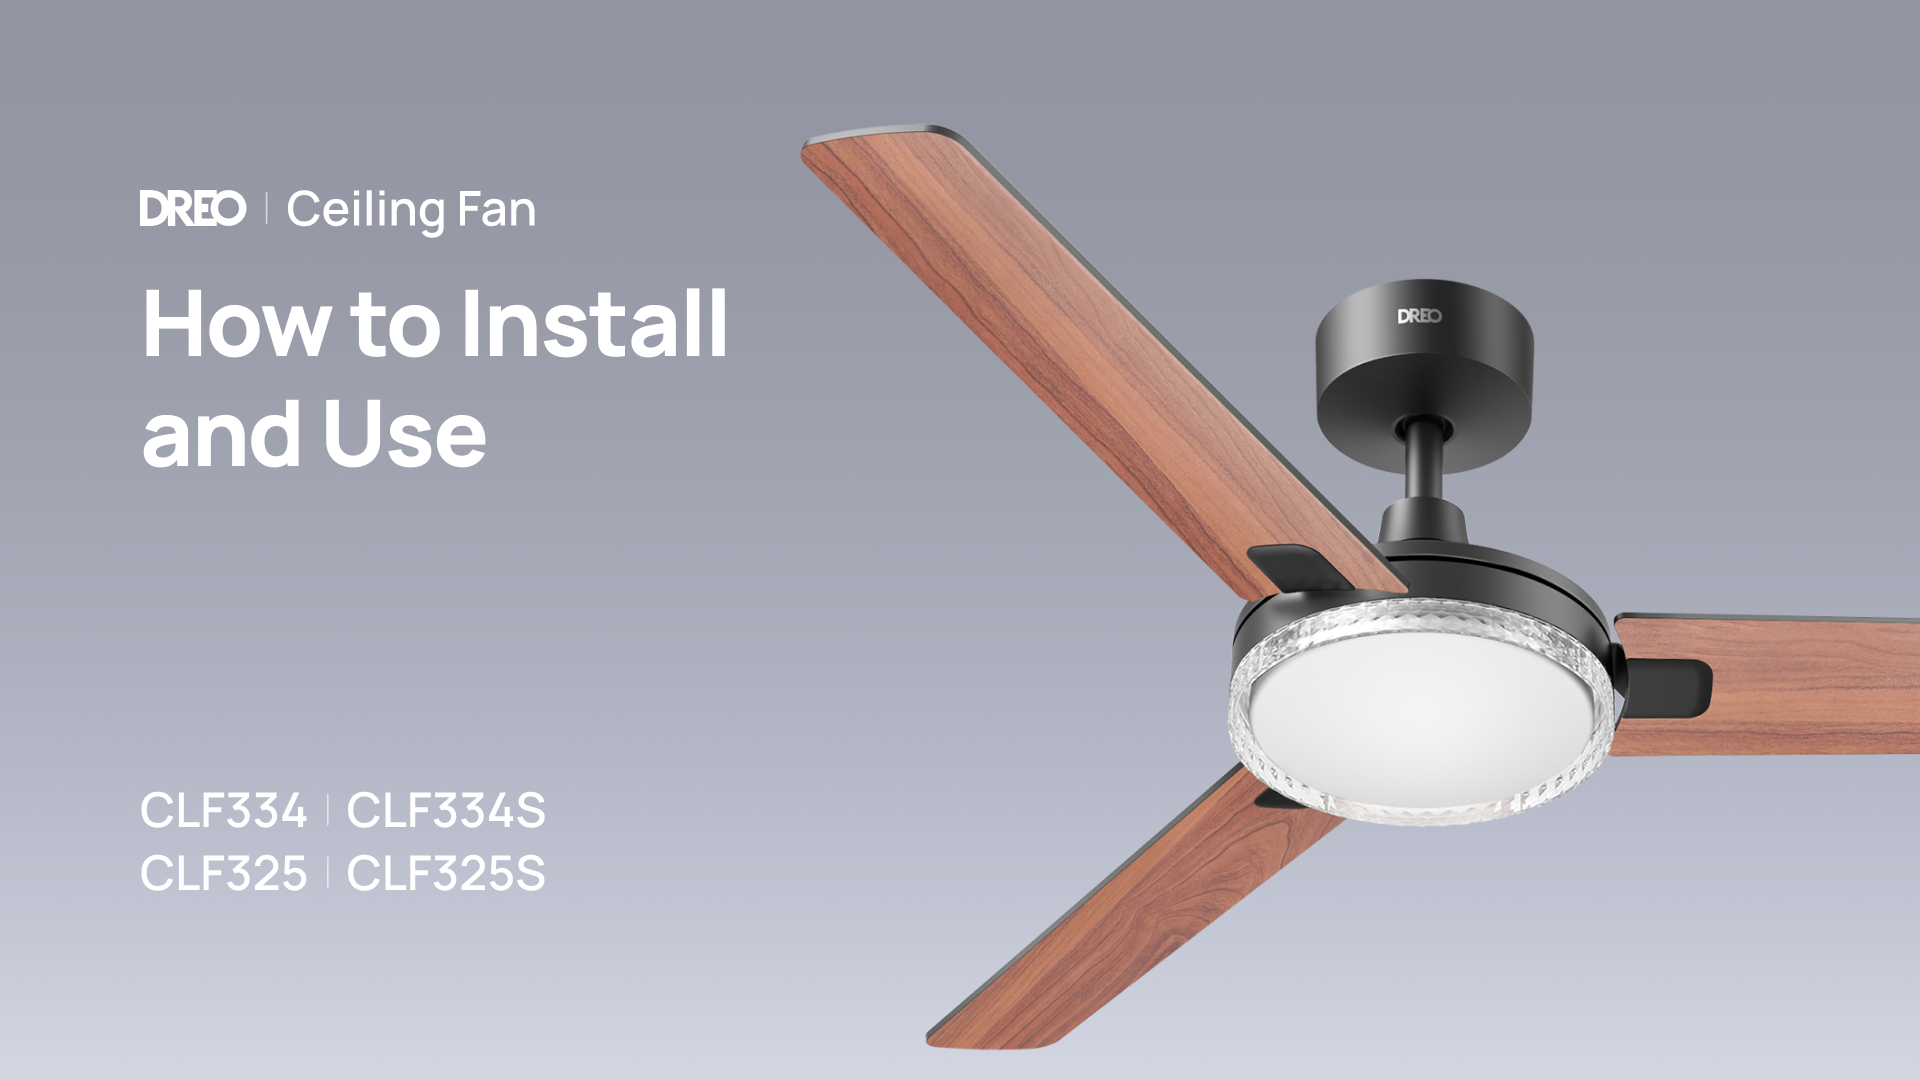
Figure 2: Exploded view of Dreo Smart Ceiling Fan components.
- Main Unit (Motor Assembly with Light)
- Blades (3x, reversible black/wood grain)
- Blade Arm Covers
- Ceiling Bracket
- Remote Control (Battery Included)
- Remote Receiver
- Downrod (6-inch)
- Canopy & Yoke Cover
- Light Cover
- User Manual & Quick Start Guide
- Assorted Screws, Washers, Wire Connectors, Cable Tie, Balancing Weight, Balancing Clip
4. Setup/Installation
The Dreo Smart Ceiling Fan features a simplified, pre-assembled design for quick installation, typically in less than 20 minutes. Less screws and pre-wired connections minimize manual wiring.

Figure 3: Simplified installation process.
4.1 Assembling the Blades
You can select either the black or wood grain side of the blades to face downwards. Ensure the cover goes underneath the blade side that will face the floor. Securely attach the blade arm cover to the blade using the provided screws.
4.2 Assembling the Downrod
Carefully slide the downrod into the yoke of the motor assembly. Re-install the downrod pin and clip, then tighten the setscrew with a screwdriver. Ensure the downrod ball slot matches the inner lock and rotate until it's secured.
4.3 Hanging and Connecting Your Ceiling Fan
Place the downrod ball into the ceiling bracket. Make sure the downrod ball slot matches the inner lock and rotate the downrod until it's secured. Connect the remote receiver to the main unit by matching the corresponding plug colors. Connect the grounding, neutral, and live wires as per local electrical codes. Use the cable tie to bundle all wires together.
Video 2: Detailed installation guide for the Dreo Smart Ceiling Fan.
Video 3: Guide on how to connect your Smart Ceiling Fan CLF325S.
4.4 Assembling the Light Cover
Rotate the light cover clockwise to securely fasten it into place.
5. Operating Instructions
Your Dreo Smart Ceiling Fan offers multiple control options for a tailored experience.
5.1 Remote Control
The included remote allows for 6 fan speeds, light on/off, dimming, and fan direction reversal.
5.2 DREO App Control
Download the DREO app to unlock 12 fan speeds, 3 fan modes (Normal, Auto, Sleep), stepless brightness (5%-100%), and 27% wider color range (2700-6500K). You can also schedule auto-scenes like sunrise/sunset.
Video 4: How to Download DREO APP & Create New Account.

Figure 4: DREO App interface for fan control.
5.3 Voice Control (Alexa/Google Home)
Integrate your fan with Alexa or Google Home for convenient voice commands to adjust fan speeds, scenes, brightness, and timers.

Figure 5: Voice control options with Alexa and Google Home.
5.4 Lighting Control
Adjust light brightness from 5% to 100% and choose color temperatures between 2700K (warm) and 6500K (cool) to suit any occasion.

Figure 6: Stepless light control for brightness.

Figure 7: Tailored lighting for every occasion with adjustable color tones.
5.5 Reversible Airflow
Easily switch your fan's direction from summer’s downward wind to winter’s upward, enhancing AC & heater efficiency while using 50% less energy.

Figure 8: One-tap reversal for year-round comfort.
5.6 Quiet Operation
The quiet DC motor ensures comfortable operation, with noise levels as low as 31dB, ideal for bedrooms and living spaces.

Figure 9: Peaceful rest with noise-free operation.
6. Maintenance
Regular cleaning and maintenance will ensure optimal performance and longevity of your ceiling fan.
- Always disconnect power before cleaning.
- Wipe fan blades and motor housing with a soft, damp cloth.
- Do not use abrasive cleaners or solvents.
- Check all connections and screws periodically to ensure they are secure.
7. Troubleshooting
If you encounter issues with your fan, try the following basic troubleshooting steps:
- Ensure the fan is properly installed and all electrical connections are secure.
- Check if the circuit breaker is on.
- Verify the remote control battery is not depleted.
- Ensure the fan is paired correctly with the remote and the DREO app.
- For app-related issues, ensure your phone's Wi-Fi and Bluetooth are enabled and the app is up to date.
- If the fan wobbles, use the included balancing kit to correct it.
8. Specifications
| Attribute | Value |
|---|---|
| Brand | Dreo |
| Model Name | DR-HCF005S Black |
| Color | Black |
| Size | 42inch |
| Product Dimensions | 42.16"D x 42.16"W x 13.2"H |
| Item Weight | 8.58 Pounds |
| Voltage | 120 Volts |
| Power Source | DC |
| Light Type | LED |
| Special Features | Remote Controlled, Quiet Operation, Adjustable Color Temperature, Dimmable, App Operable |

Figure 10: Fan dimensions and key features.
9. Warranty and Support
Dreo provides free tech support and replacement parts for peace of mind. For any issues or support needs, please contact Dreo customer service directly.