
1. Introduction
This manual provides detailed instructions for the safe and efficient use of your Retevis RT17 Walkie Talkies and the accompanying 6-way multi-gang charger. Please read this manual thoroughly before operating the device.
Package Contents
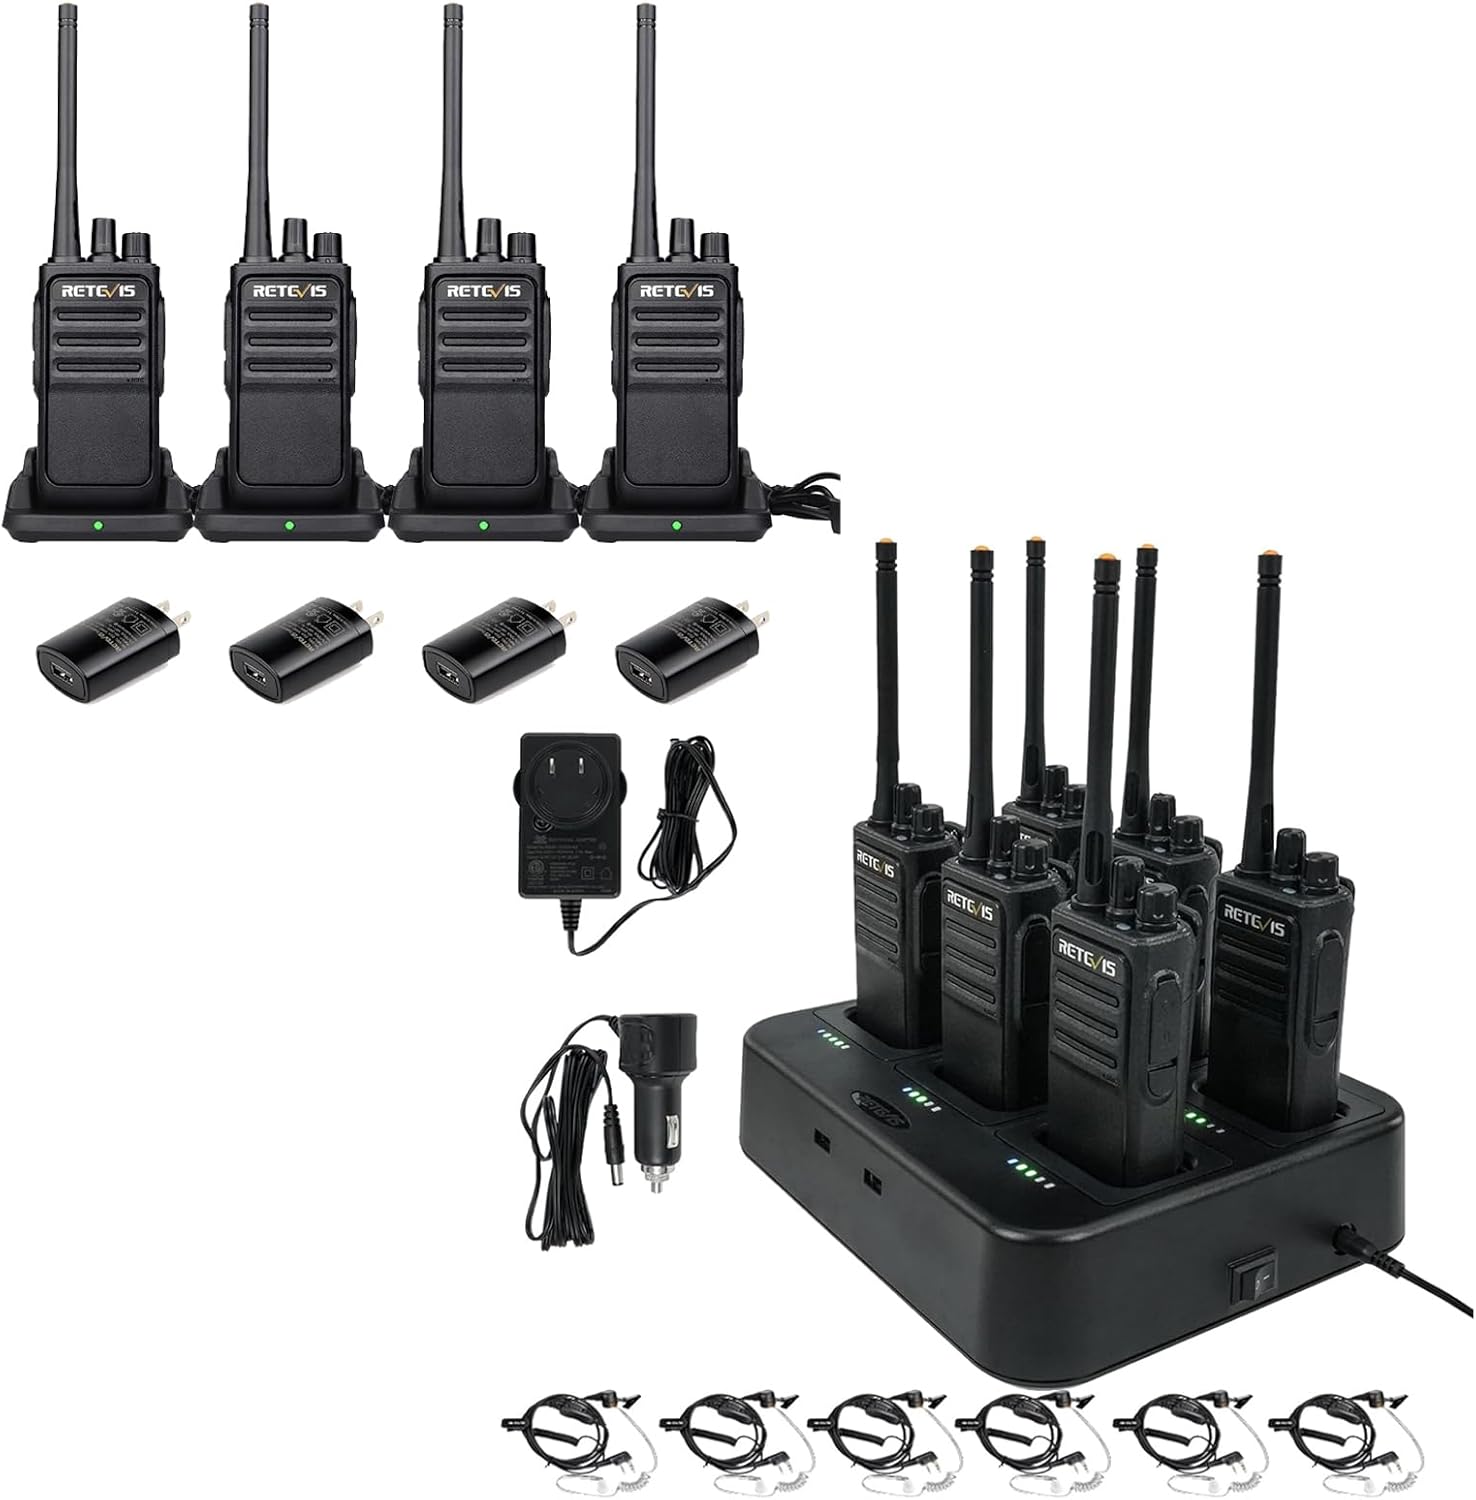
- 10x RT17 Walkie Talkie
- 10x Battery
- 1x Six-way Charger
- 4x USB Charger Base and Adapter
- 6x Earpiece Headset
- 1x DC Adapter
- 1x AC Adapter
- 10x Belt Clip
- 10x Hand Strap
- User Manual
2. Product Features
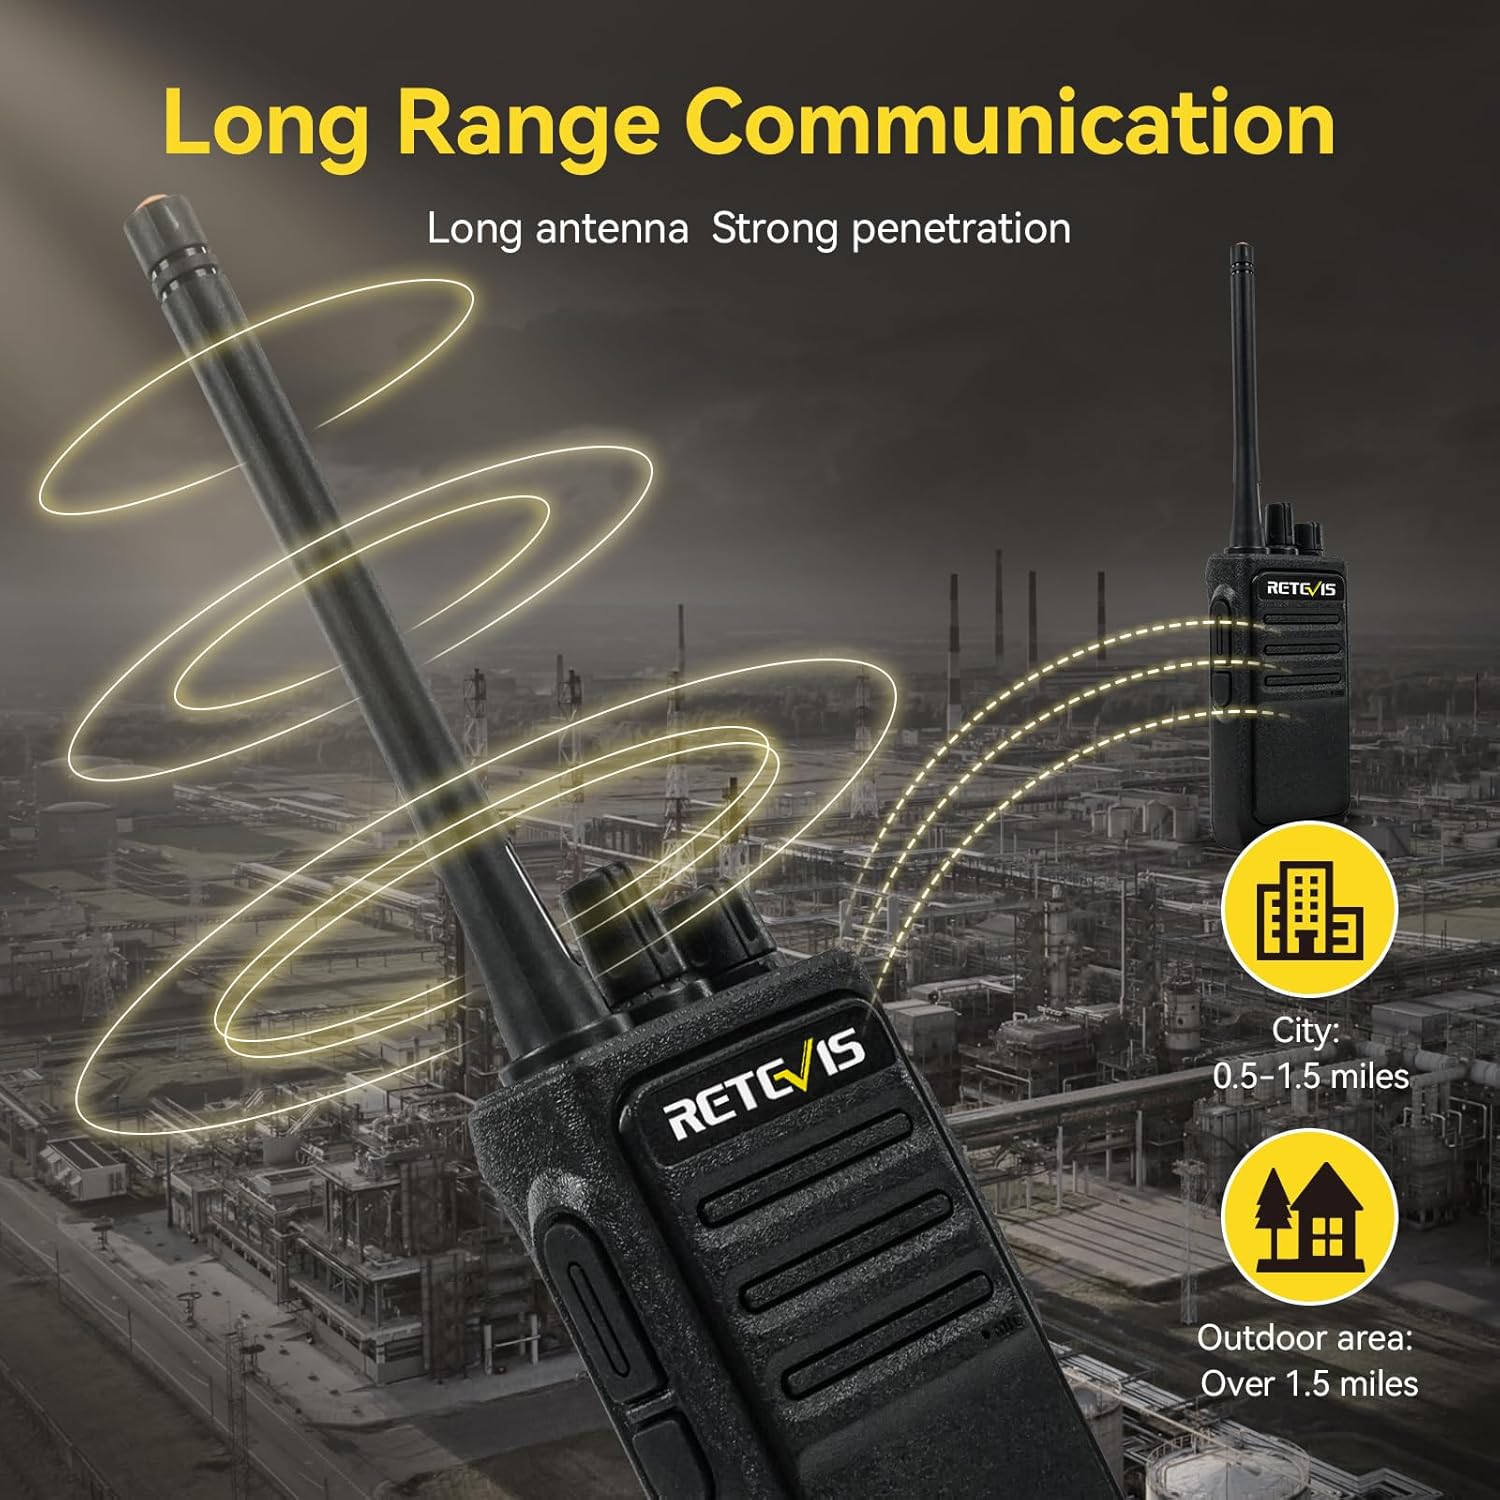
- Extended Range: Equipped with a long antenna, the RT17 offers improved coverage and stable signal transmission, suitable for various environments including construction sites and multi-story buildings.
- Clear Audio: Features a large speaker for high audio output power and 0-9 level squelch to filter background noise, ensuring clear communication even in noisy environments. Earpieces provide discreet and clear audio.
- Durable Construction: Designed with a rugged and wear-resistant shell, making the radio resistant to falls and shocks for reliable use in demanding work environments.
- VOX Voice Activation: Allows hands-free operation by activating transmission when voice is detected, eliminating the need to press the Push-to-Talk (PTT) button.
- Long Battery Life: The 1200mAh battery supports up to 12 hours of continuous talk time, ensuring all-day operation without frequent recharging.
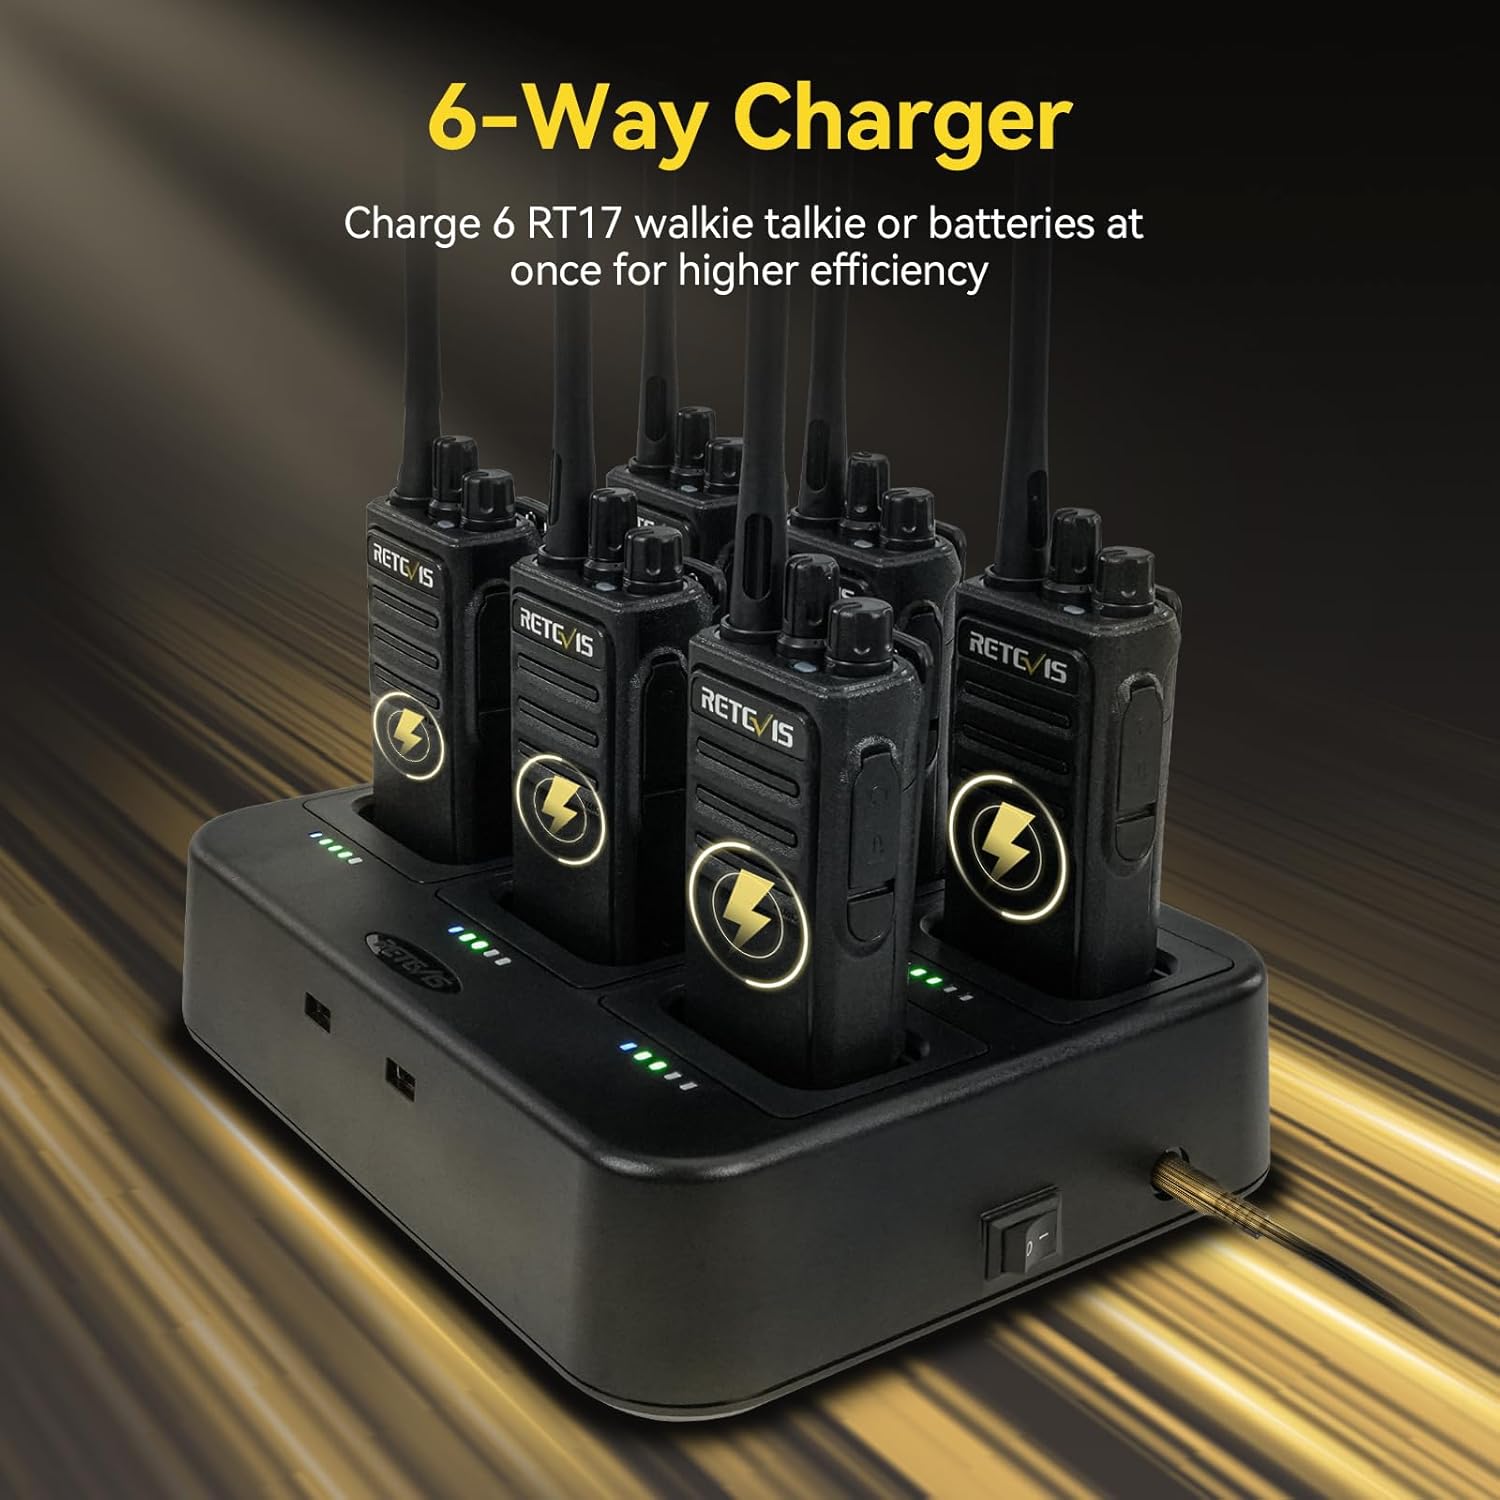
- Secure 6-Way Charger: The multi-unit charger is UL certified and includes multiple safety protections (overcurrent, overheating, overvoltage, short-circuit, undercurrent, overload, underload) for secure charging of up to six radios or batteries simultaneously.


3. Setup
3.1 Battery Installation
- Ensure the walkie talkie is powered off.
- Align the battery pack with the grooves on the back of the radio.
- Slide the battery pack upwards until it clicks into place.
- To remove, press the battery release latch and slide the battery downwards.
3.2 Charging the Battery
The RT17 walkie talkies can be charged using the individual USB chargers or the 6-way multi-gang charger.
Using the 6-Way Multi-Gang Charger:
- Connect the DC adapter to the 6-way charger and plug it into a power outlet.
- Place the walkie talkies (with batteries installed) or individual batteries into the charging slots.
- The LED indicators will show the charging status.
- Ensure the charger is placed on a stable, flat surface away from heat sources.

3.3 Attaching the Earpiece
The RT17 walkie talkie is compatible with K 2-pin connector earpieces for clear and private communication.
- Locate the K 2-pin accessory jack on the side of the walkie talkie.
- Insert the earpiece's 2-pin connector firmly into the jack.
- Ensure a secure connection for optimal audio performance.

4. Operating Instructions
4.1 Power On/Off
- To Power On: Rotate the Power/Volume knob clockwise until you hear a click. The radio will emit a tone.
- To Power Off: Rotate the Power/Volume knob counter-clockwise until you hear a click.
4.2 Adjusting Volume
Rotate the Power/Volume knob clockwise to increase the volume and counter-clockwise to decrease it.
4.3 Channel Selection
Use the Channel Selector knob (usually located on top of the radio) to select the desired channel. Ensure all radios intended for communication are on the same channel.
4.4 Transmitting and Receiving
- To Transmit: Press and hold the Push-to-Talk (PTT) button on the side of the radio. Speak clearly into the microphone, holding the radio approximately 2-3 inches from your mouth. Release the PTT button when finished speaking.
- To Receive: Ensure the PTT button is not pressed. The radio will automatically receive transmissions on the selected channel.
4.5 VOX Function (Voice Operated Exchange)
The VOX function allows for hands-free transmission. When activated, the radio will automatically transmit when it detects your voice, without needing to press the PTT button. Refer to the programming software for activation and sensitivity adjustment.
4.6 Squelch Function
Squelch filters out weak signals and background noise. The RT17 features 0-9 level squelch. A higher squelch level requires a stronger signal to open the receiver, reducing static. This setting is typically configured via programming software.
5. Maintenance
5.1 Cleaning
- Wipe the radio and charger surfaces with a soft, damp cloth.
- Do not use harsh chemicals, solvents, or abrasive cleaners.
- Ensure all ports and connections are dry before use or charging.
5.2 Battery Care
- Charge batteries fully before first use.
- Avoid overcharging or completely draining the battery frequently to prolong its lifespan.
- Store batteries in a cool, dry place when not in use.
6. Troubleshooting
| Problem | Possible Cause | Solution |
|---|---|---|
| Radio does not power on | Battery is dead or not installed correctly | Charge the battery or re-install it correctly. |
| Cannot transmit or receive | Incorrect channel selected; Out of range; Low battery | Verify channel settings; Move closer to other radios; Charge battery. |
| Poor audio quality / Static | Weak signal; High squelch level; Interference | Move to an area with better reception; Adjust squelch level (via software); Check for sources of interference. |
| Earpiece not working | Earpiece not fully inserted; Faulty earpiece | Ensure earpiece is fully inserted; Try a different earpiece to confirm functionality. |
7. Specifications
- Model: RT17
- Battery Capacity: 1200mAh
- Continuous Talk Time: Up to 12 hours
- Antenna: Long antenna for enhanced range
- Squelch Levels: 0-9 levels
- Earpiece Connector: K 2-pin type
- Charger: 6-way multi-gang charger with UL certification and safety protections
- FCC ID: 2ASNSRT17 (Meets FCC Part 95 rule)
- ASIN: B0DRJKFJ7T
- Date First Available: December 26, 2024
8. Safety Information
- Do not operate the radio in explosive atmospheres (e.g., flammable gases, dust particles, metallic powders).
- Do not disassemble or modify the radio or battery pack.
- Use only Retevis approved batteries and chargers.
- Avoid exposing the radio to extreme temperatures, direct sunlight, or moisture.
- Keep the radio and accessories out of reach of children.
- If the radio emits smoke or an unusual odor, immediately turn off the power and remove the battery.
9. Warranty and Support
For warranty information and technical support, please refer to the documentation provided with your purchase or visit the official Retevis website. Keep your proof of purchase for warranty claims.


