
Introduction
The TUMMASTER J-09 ARGB Fan Hub is designed to centralize control of up to nine 4-pin PWM fans and nine 5V 3-pin Addressable RGB (ARGB) devices within your PC system. This hub simplifies cable management, provides intelligent temperature control for fans, and offers versatile ARGB lighting customization via an RF remote or motherboard synchronization. Its magnetic mounting design allows for flexible placement inside your computer case.
Product Features
- 9-Port Fan & ARGB Control: Supports up to 9 PWM fans and 9 5V 3-pin ARGB devices, streamlining cable management.
- PWM Intelligent Temperature Control: Enables fan speed reading and PWM regulation. Note: Only the speed of the fan connected to the red interface is recognized by the motherboard due to IC reading principles.
- ARGB Lighting Synchronization: Compatible with 5V 3-pin ARGB fans and light bars, allowing synchronization with motherboard software (e.g., ASUS Aura Sync, MSI Mystic Light Sync, ASRock Polychrome Sync, Gigabyte RGB Fusion 2.0). Important: Do not connect to +12V 4-pin RGB interfaces to avoid damage. Ensure 5V arrow alignment when connecting ARGB devices.
- SATA Power Input: Direct power input from the power supply via SATA ensures stable power delivery for up to 10 fans, preventing voltage loss and ensuring smooth, efficient fan operation.
- Magnetic Mounting: Features a magnetic base for easy and secure placement anywhere inside your computer case.
- RF Remote & Chassis Key Control: Includes an RF remote for convenient control of lighting patterns and colors. Supports connection to a chassis reset button for light mode switching.
- Compact Design: Measures 3.83 x 2.33 x 0.6 inches, allowing for tidy internal wiring.
Package Contents
Please verify that all items are present in your package:
- TUMMASTER J-09 ARGB Fan Hub (White)
- RF Remote Control
- SATA Power Cable
- Motherboard ARGB Sync Cable (5V 3-pin)
- Motherboard PWM Signal Cable

Safety Information
- Always disconnect power from your PC before installing or removing any components.
- Handle components with care to avoid static discharge. Consider using an anti-static wrist strap.
- Ensure correct cable orientation, especially for ARGB connections. Connecting a 5V 3-pin ARGB device to a 12V 4-pin RGB header will cause damage.
- Do not expose the hub to moisture or extreme temperatures.
- Keep out of reach of children.
Setup Guide
- Prepare Your System: Power off your computer and disconnect it from the power outlet. Open your PC case.
- Mount the Hub: The J-09 hub features a magnetic base. Choose a suitable flat metal surface inside your PC case for mounting. Ensure it is easily accessible for cable routing.
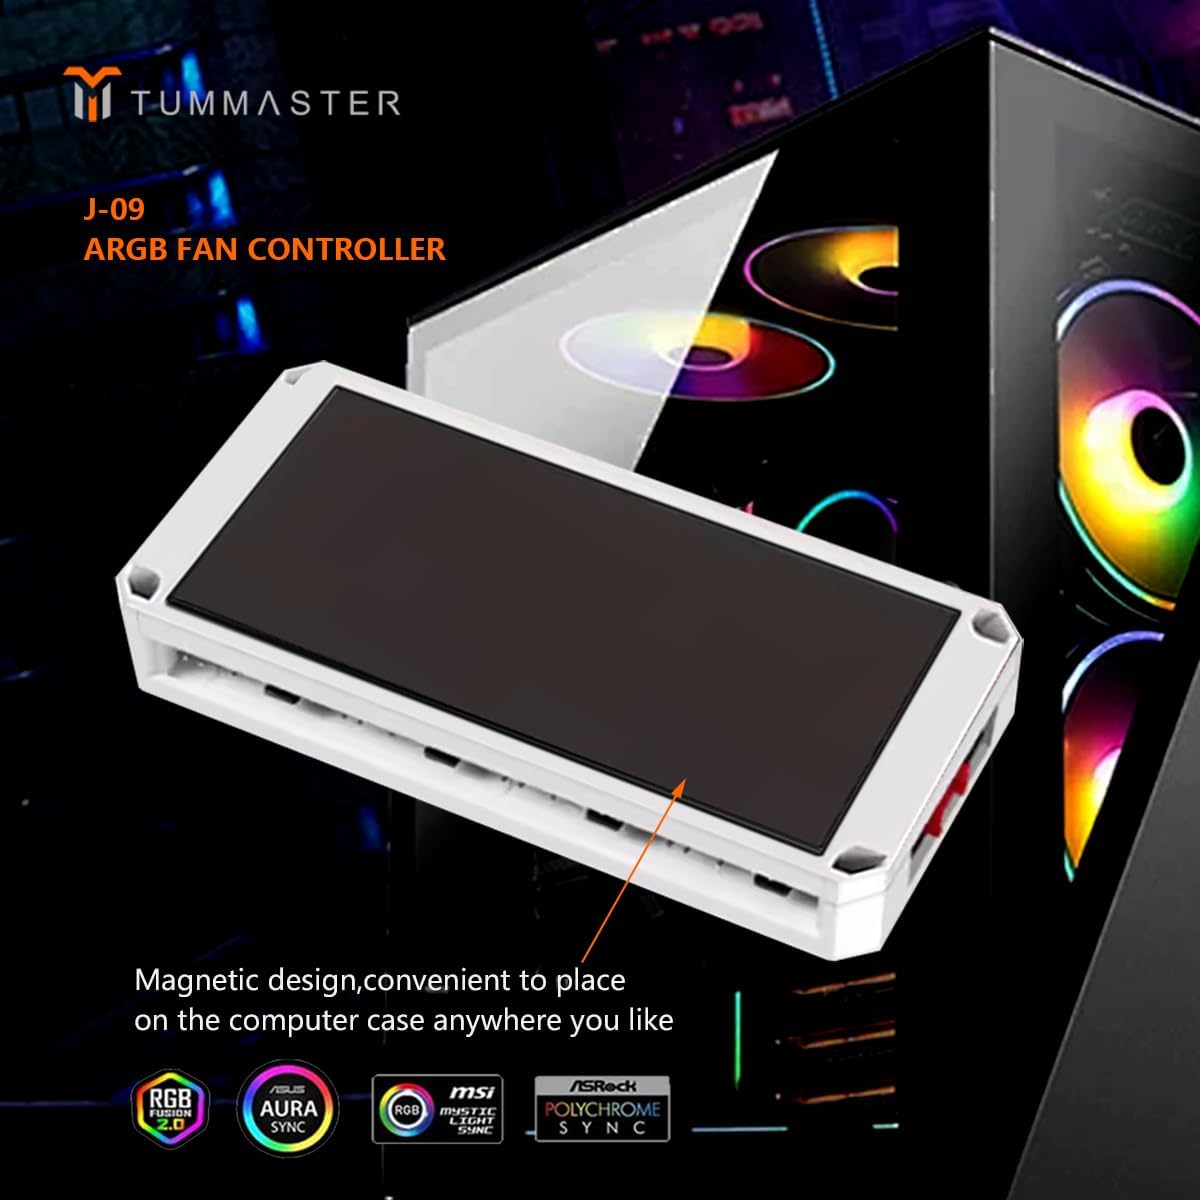
Image: The J-09 ARGB Fan Hub showcasing its magnetic design for convenient placement within a computer case. - Connect SATA Power: Connect the included SATA power cable to the "POWERIN" port on the hub and to an available SATA power connector from your power supply. This provides power to all connected fans and ARGB devices.
- Connect PWM Fans: Connect your 4-pin PWM fans to the "PWM" ports on the hub. The red PWM port is designated for the primary fan whose speed will be reported to the motherboard. Connect your CPU cooler fan to this red port if you wish to monitor its speed.

Image: Top view of the J-09 ARGB Fan Hub, illustrating the layout of its PWM and ARGB ports. - Connect ARGB Devices: Connect your 5V 3-pin ARGB devices (fans, LED strips) to the "ARGB" ports on the hub. Pay close attention to the arrow marking on the ARGB plug and align it with the 5V marking on the hub port to prevent damage.
- Connect Motherboard Sync Cables (Optional):
- ARGB Sync: If your motherboard supports 5V 3-pin ARGB, connect the included ARGB sync cable from the "MB" port on the hub to your motherboard's 5V 3-pin ARGB header. This allows motherboard software control of lighting. If your motherboard does not support 5V ARGB, you will not need this cable.
- PWM Signal: Connect the included PWM signal cable from the "MB" port on the hub to your motherboard's CPU_FAN or a dedicated fan header. This allows the motherboard to control the speed of the fans connected to the hub.
- Connect Chassis Reset Button (Optional): Connect your PC's chassis reset button cable to the "RESET" port on the hub. This allows you to cycle through lighting modes using the chassis button.

Operating Instructions
The TUMMASTER J-09 ARGB Fan Hub offers two primary methods for controlling ARGB lighting and fan speeds:
1. Using the RF Remote Control
The included RF remote provides direct control over ARGB lighting effects and fan brightness/speed. Ensure the hub is powered on.
- On/Off: Press the On button to turn on the lights or enter demo mode. Press Off to turn off the lights.
- Auto: Press Auto to cycle through automatic lighting modes.
- S+/S-: Increase/decrease light brightness (for static modes) or effect speed (for dynamic modes).
- M+/M-: Cycle through previous/next lighting modes.
- Color Buttons: Select static colors directly.
- Pairing Remote: If the remote does not respond, press the "On" button 5 times in a row to re-pair the remote with the controller.
2. Motherboard Synchronization
If the hub is connected to your motherboard's 5V 3-pin ARGB header and PWM fan header, you can control lighting effects and fan speeds through your motherboard's proprietary software (e.g., ASUS Aura Sync, MSI Mystic Light Sync, Gigabyte RGB Fusion 2.0, ASRock Polychrome Sync). Refer to your motherboard's manual for specific software instructions.
3. Chassis Key Control (Optional)
If you have connected your PC's reset button to the "RESET" port on the hub, you can press this button to cycle through various lighting modes.
Maintenance
- Cleaning: Periodically clean the hub and connected components with a soft, dry cloth. Ensure no dust accumulates on the ports. Do not use liquid cleaners.
- Cable Management: Ensure cables are neatly routed and not obstructing airflow or other components.
- Environmental Conditions: Operate the hub within standard PC operating temperatures and humidity levels.
Troubleshooting
| Problem | Possible Cause | Solution |
|---|---|---|
| Fans or ARGB lights are not working. |
|
|
| Remote control is unresponsive. |
|
|
| ARGB lighting is not syncing with motherboard software. |
|
|
| Fan speeds are not controlled by the motherboard. |
|
|
Specifications
| Feature | Detail |
|---|---|
| Model | J-09 |
| Brand | TUMMASTER |
| Dimensions (L x W x H) | 3.83 x 2.33 x 0.6 inches (97.3 x 59.2 x 15.2 mm) |
| Material | Plastic |
| Fan Ports | 9 x 4-pin PWM |
| ARGB Ports | 9 x 5V 3-pin ARGB |
| Power Input | SATA Power |
| Voltage | 5V DC (ARGB), 12V DC (Fans) |
| Max Current | 7A |
| Mounting | Magnetic |
| Control Methods | RF Remote, Motherboard Sync (5V 3-pin ARGB, PWM), Chassis Reset Button |
Warranty Information
TUMMASTER products are manufactured to high-quality standards. This product comes with a standard manufacturer's warranty. For specific warranty terms, duration, and claim procedures, please refer to the warranty card included with your product or visit the official TUMMASTER website. Keep your purchase receipt as proof of purchase.
Support
If you encounter any issues or have questions regarding the TUMMASTER J-09 ARGB Fan Hub that are not covered in this manual, please contact TUMMASTER customer support. You can typically find contact information on the official TUMMASTER website or through the retailer where you purchased the product.
For additional resources and product updates, please visit: TUMMASTER Official Store on Amazon

