
1. Introduction
This manual provides detailed instructions for the assembly, setup, operation, and maintenance of your Dancing Wings Hobby S.E.5a Biplane Fighter Model S4404B. This is a balsawood DIY kit designed for experienced modelers. Please read this manual thoroughly before beginning assembly to ensure safe and correct operation.
The S.E.5a is a single-seat, single-engine biplane fighter model with a wingspan of 1010mm and a length of 803mm. The S4404B kit includes the balsawood airframe, motor, ESC, servos, and film pack for covering.
2. Safety Information
WARNING: This is not a toy. This product is intended for adult hobbyists aged 18 years and older. Improper assembly or operation can result in serious injury or property damage.
- Always operate remote-controlled aircraft in open areas, away from people, buildings, and obstacles.
- Ensure all electronic components are correctly installed and secured.
- Verify battery charge levels before each flight.
- Always perform pre-flight checks, including control surface movement and motor function.
- Keep hands and loose clothing clear of the propeller when the motor is powered.
- Use appropriate safety gear, such as eye protection, during assembly.
- Store batteries safely and follow manufacturer guidelines for charging and disposal.
- Do not modify the aircraft or its components in ways not described in this manual.
3. Package Contents
The S4404B kit includes the following components:
- S44 1.0M SE5a Balsa KIT (all wood parts for airframe)
- MM2216 920KV Brushless Motor
- 30A Electronic Speed Controller (ESC)
- 9g Servos (4 pieces)
- Film pack (2M Army green, 2M White, and decals for covering)
- Propeller (10-inch)
- Hardware and accessories (control horns, pushrods, landing gear, wheels, etc.)
- 1:1 Assembly Plan
- Product Manual (this document)

Image: Overview of the S4404B kit components, showing the balsa wood parts, motor, electronic speed controller (ESC), four 9g servos, and a propeller.

Image: Detailed view of the included electronic components: a 10-inch propeller, a 30A Electronic Speed Controller (ESC), an MM2216 920KV brushless motor, and four 9g servos.

Image: The complete contents of the S4404B kit laid out, featuring laser-cut balsa wood sheets, various rods, small hardware bags, and landing gear wheels, ready for assembly.
4. Specifications
| Feature | Detail |
|---|---|
| Model | S4404B |
| Wingspan | 1010mm (40 inches) |
| Length | 803mm (32 inches) |
| Flying Weight | Approximately 1000g |
| Motor | MM2216 920KV Brushless |
| ESC | 30A |
| Servos | 4 x 9g |
| Propeller | 10 inch |
| Recommended Battery | 3S LiPo 2200-2800mAh |
| Required Radio | 4-channel or greater |
| Material | Balsa Wood & Plywood |
| Power Source | Electric |
| Assembly Level | DIY Kit (requires assembly) |
| Minimum Age | 18 years (Adult) |
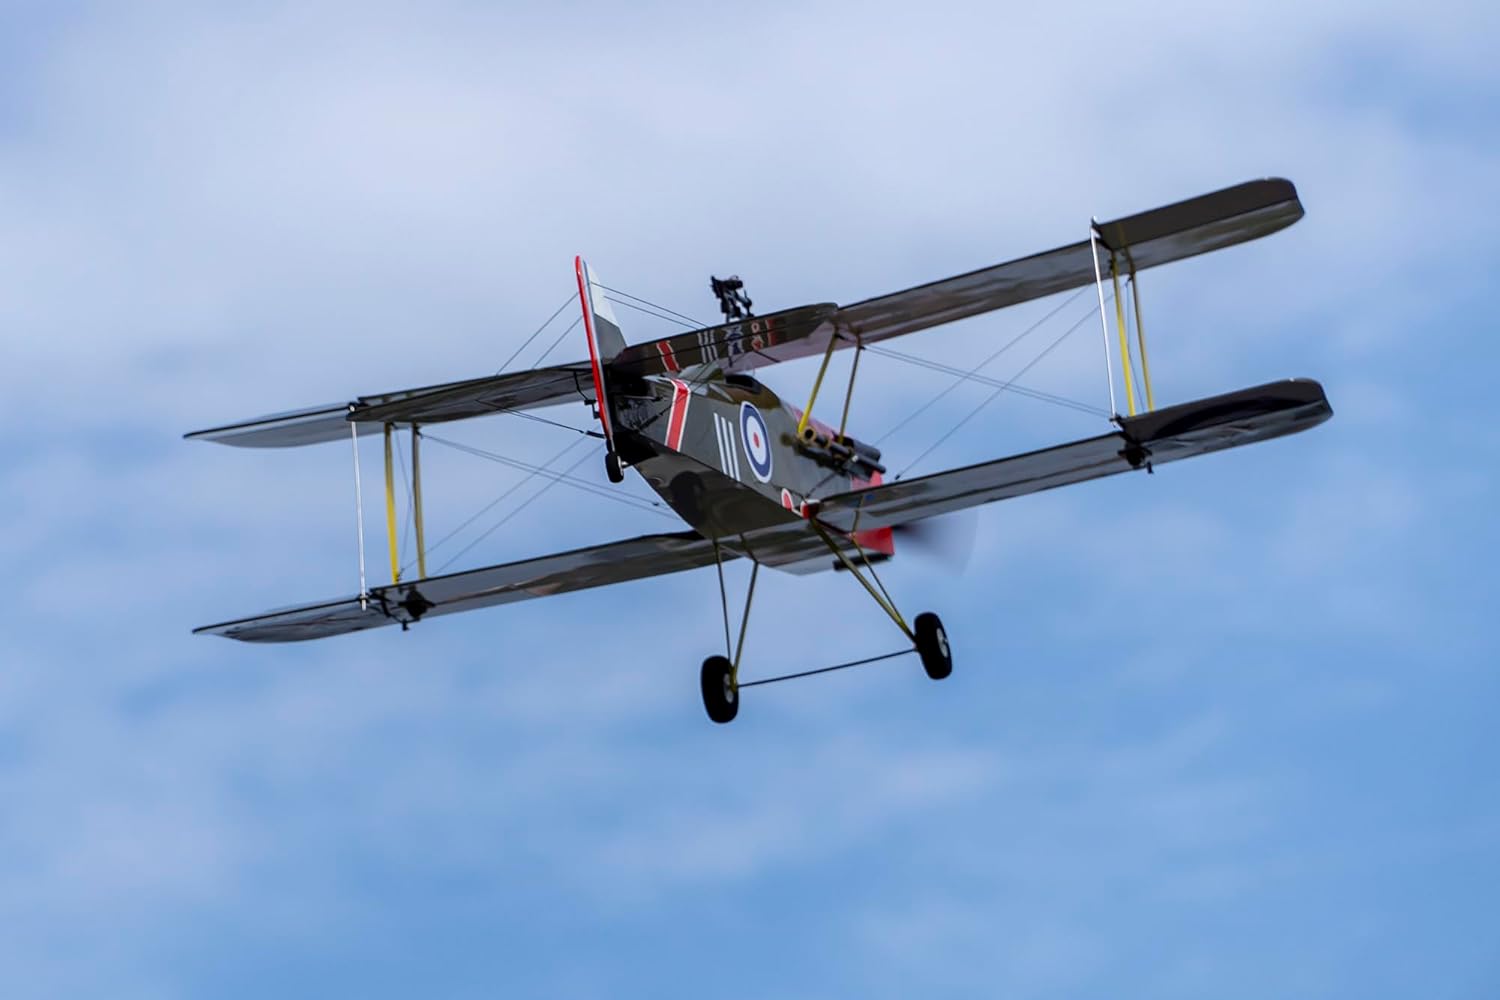
Image: Visual summary of the S.E.5a model's specifications, confirming dimensions, weight, and electronic requirements.
5. Assembly Instructions
The S.E.5a is a balsawood kit that requires careful and precise assembly. Refer to the included 1:1 assembly plan for detailed diagrams and part identification. This section provides a general overview of the assembly process.
5.1 Tools and Materials Required (Not Included)
- Modeling knife or razor blade
- Sanding blocks and various grit sandpaper
- Wood glue (e.g., CA glue, epoxy, or aliphatic resin)
- Clamps or pins for holding parts
- Covering iron or heat gun for film application
- Small screwdrivers and pliers
- Measuring tape or ruler
- Soldering iron and solder (if ESC/motor connectors need modification)
5.2 Airframe Construction
- Fuselage Assembly: Carefully cut out all fuselage formers and stringers from the balsa sheets. Assemble the fuselage structure according to the 1:1 plan, ensuring it is straight and true. Use wood glue for strong joints.
- Wing Assembly: Construct the upper and lower wings. This typically involves assembling ribs onto spars, adding leading and trailing edges, and ensuring correct dihedral. The S.E.5a is a biplane, so two main wings are constructed.
- Tail Section: Assemble the horizontal and vertical stabilizers (elevator and rudder). Ensure these surfaces are free to move once installed.
- Landing Gear: Assemble and install the main landing gear and tail skid/wheel. Ensure the main gear is securely attached to the fuselage.

Image: The balsawood airframe of the S.E.5a biplane in a partially assembled state, illustrating the intricate wood construction of the fuselage, upper and lower wings, and landing gear.
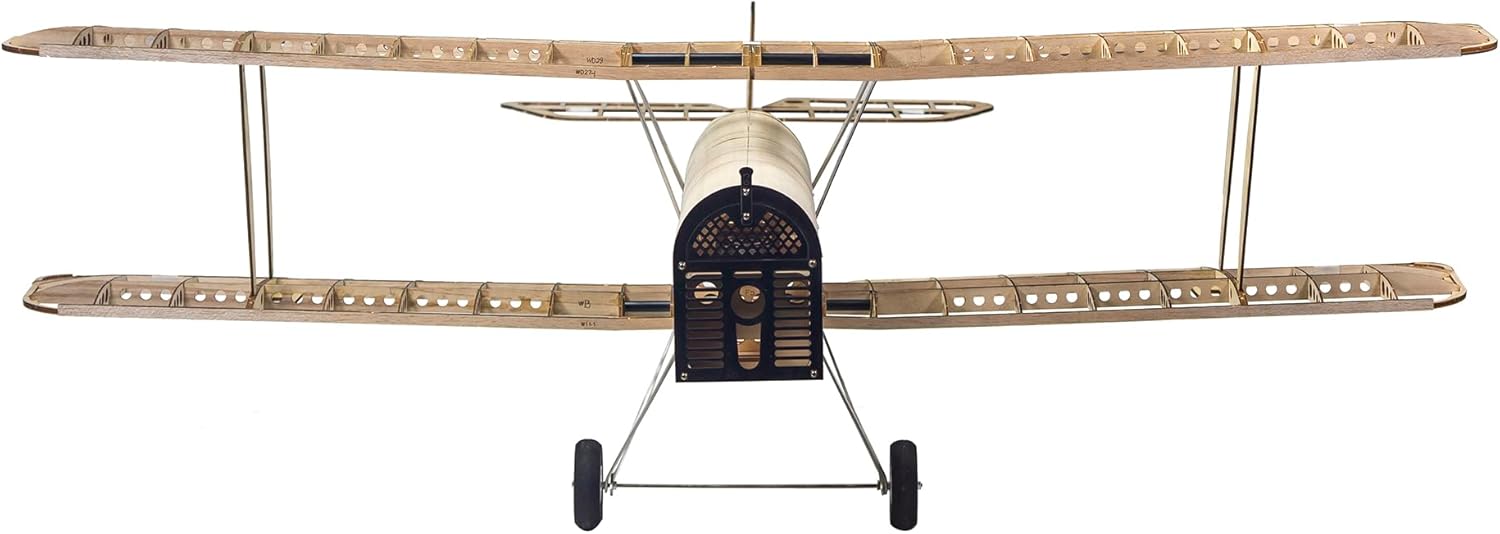
Image: Front view of the S.E.5a balsawood airframe, showcasing the biplane wing arrangement and the detailed construction around the engine cowling.
5.3 Covering the Airframe
Once the airframe is fully assembled and sanded smooth, apply the included film covering. Follow the instructions provided with the covering film for best results. Use a covering iron or heat gun to shrink the film taut and adhere it to the balsa structure. Apply the decals as desired.
5.4 Motor, ESC, and Servo Installation
- Motor Installation: Mount the MM2216 920KV motor to the firewall at the front of the fuselage using the provided motor mount and screws. Ensure the motor is securely fastened and aligned.
- ESC Installation: Connect the 30A ESC to the motor. Secure the ESC within the fuselage, ensuring adequate airflow for cooling. Connect the ESC's battery connector to your chosen battery connector type (if not pre-soldered).
- Servo Installation: Install the four 9g servos into their designated locations in the wings and fuselage for ailerons, elevator, and rudder. Connect the control horns to the control surfaces and the pushrods to the servos and control horns. Ensure smooth, free movement of all control surfaces.
6. Electronic Setup and Radio Configuration
After mechanical assembly, the electronic components must be correctly connected and configured with your radio system.
6.1 Receiver Installation
Install your 4-channel (or greater) receiver securely within the fuselage, away from the ESC and motor to minimize interference. Connect the servos and ESC to the appropriate channels on your receiver:
- Channel 1: Aileron (typically left aileron, right aileron on a Y-harness or separate channel)
- Channel 2: Elevator
- Channel 3: Throttle (ESC)
- Channel 4: Rudder
6.2 Radio Transmitter Binding and Setup
- Bind Receiver: Follow your radio transmitter's instructions to bind it with the receiver.
- Control Surface Checks: With the propeller removed for safety, power on your transmitter, then the aircraft. Verify that all control surfaces (ailerons, elevator, rudder) move in the correct direction relative to your stick inputs. Reverse channels on your transmitter if necessary.
- Throttle Calibration: Calibrate the ESC with your transmitter's throttle stick. Typically, this involves powering on the aircraft with the throttle stick at maximum, then moving it to minimum when prompted by the ESC's beeps. Refer to your ESC manual for specific steps.
- Center of Gravity (CG): Determine the correct Center of Gravity (CG) for your model. This is crucial for stable flight. The 1:1 plan should indicate the recommended CG location. Adjust battery placement or add ballast as needed to achieve the correct CG.
7. Operating Instructions
Operating an RC aircraft requires practice and adherence to safety guidelines. Always fly in a safe, open environment.
7.1 Pre-Flight Checks
- Ensure all control surfaces move freely and correctly.
- Check all linkages and connections for security.
- Verify battery is fully charged and securely installed.
- Confirm propeller is securely attached and undamaged.
- Check for any loose parts or damage to the airframe.
- Ensure your radio transmitter battery is charged.
- Check weather conditions; avoid flying in strong winds or rain.
7.2 Takeoff
Place the aircraft on a smooth surface, facing into the wind. Gradually advance the throttle. As the aircraft gains speed, apply slight up-elevator to lift off. Maintain a steady climb to a safe altitude before attempting maneuvers.
7.3 Flight
Practice gentle turns and altitude control. The S.E.5a is a biplane, known for its stable flight characteristics but also capable of aerobatics once proficient. Always maintain visual contact with the aircraft.
7.4 Landing
Approach the landing strip into the wind. Reduce throttle and gradually descend. Use elevator to control descent rate and rudder/ailerons for directional control. Flare gently just above the ground to touch down smoothly.
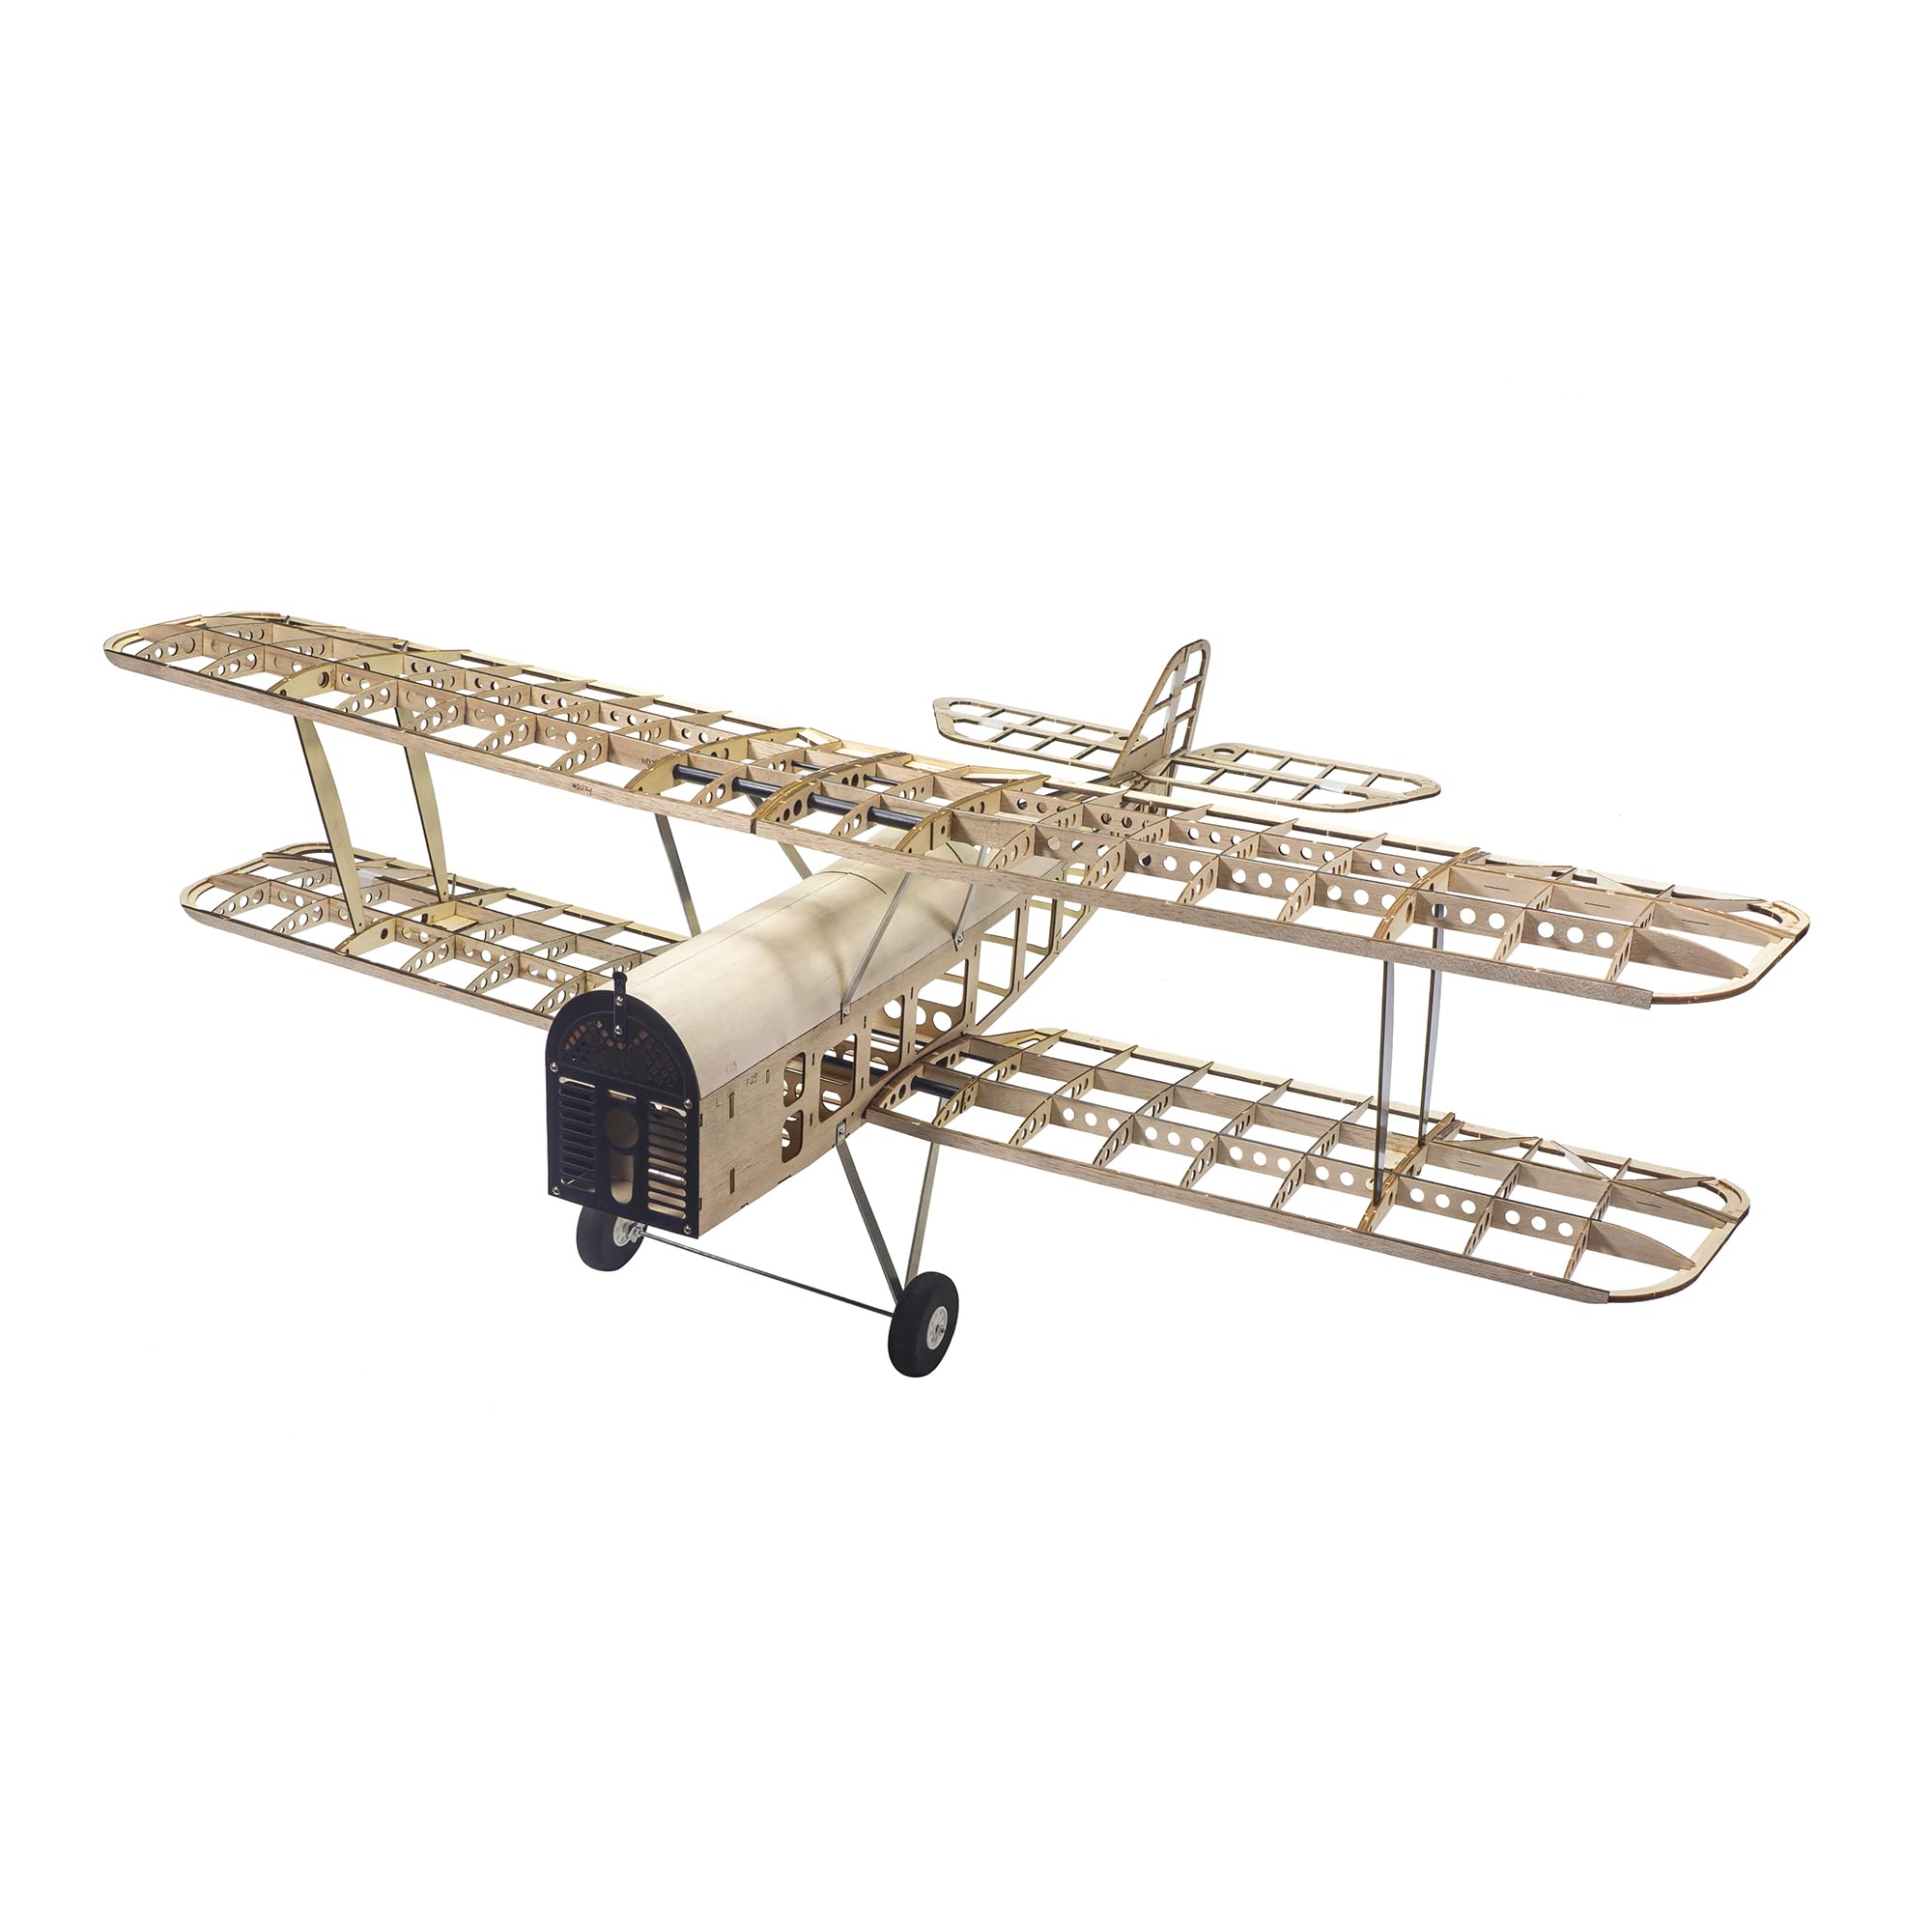
Image: The completed S.E.5a biplane model, fully covered and painted, in flight against a blue sky, showcasing its operational appearance.
8. Maintenance
Regular maintenance will ensure the longevity and safe operation of your S.E.5a model.
- After Each Flight: Inspect the airframe for any damage, loose connections, or signs of stress. Check propeller for nicks or cracks.
- Periodically:
- Check all screws and fasteners for tightness.
- Inspect control linkages for wear or binding.
- Clean the motor and ESC to remove dust or debris.
- Inspect battery for swelling or damage.
- Check covering film for tears or loose edges and repair as needed.
- Store the model in a cool, dry place, away from direct sunlight and extreme temperatures.
9. Troubleshooting
| Problem | Possible Cause | Solution |
|---|---|---|
| Motor not spinning | Disconnected battery, uncalibrated ESC, faulty motor/ESC, receiver not bound. | Check battery connection, recalibrate ESC, check motor/ESC wiring, re-bind receiver. |
| Control surfaces not responding | Receiver not powered, servos disconnected, faulty servo, radio interference. | Check receiver power, ensure servo connections, test individual servos, check radio range. |
| Aircraft flies erratically | Incorrect CG, control surfaces reversed, damaged airframe, strong wind. | Verify CG, check control directions, inspect for damage, fly in calmer conditions. |
| Short flight times | Undercharged battery, old battery, inefficient propeller, high throttle usage. | Ensure full battery charge, replace old batteries, check propeller size/pitch, manage throttle. |
10. Warranty and Support
Dancing Wings Hobby products are designed for quality and performance. Due to the nature of DIY kits and the complexities of RC flight, specific warranties on individual components may vary. Please refer to the manufacturer's website or contact your retailer for detailed warranty information.
For technical support or inquiries regarding your S4404B kit, please contact Dancing Wings Hobby customer service through their official channels or the retailer from whom you purchased the product. Keep your purchase receipt as proof of purchase.
Online Resources: For additional assembly tips, flight videos, and community forums, search for "Dancing Wings Hobby S.E.5a" online. Many experienced modelers share their build logs and flight experiences.


