1. Introduction
This manual provides essential information for the safe assembly, operation, and maintenance of your VASAGLE ULSB105W01 Shoe Storage Bench. Please read these instructions carefully before beginning assembly and retain them for future reference.
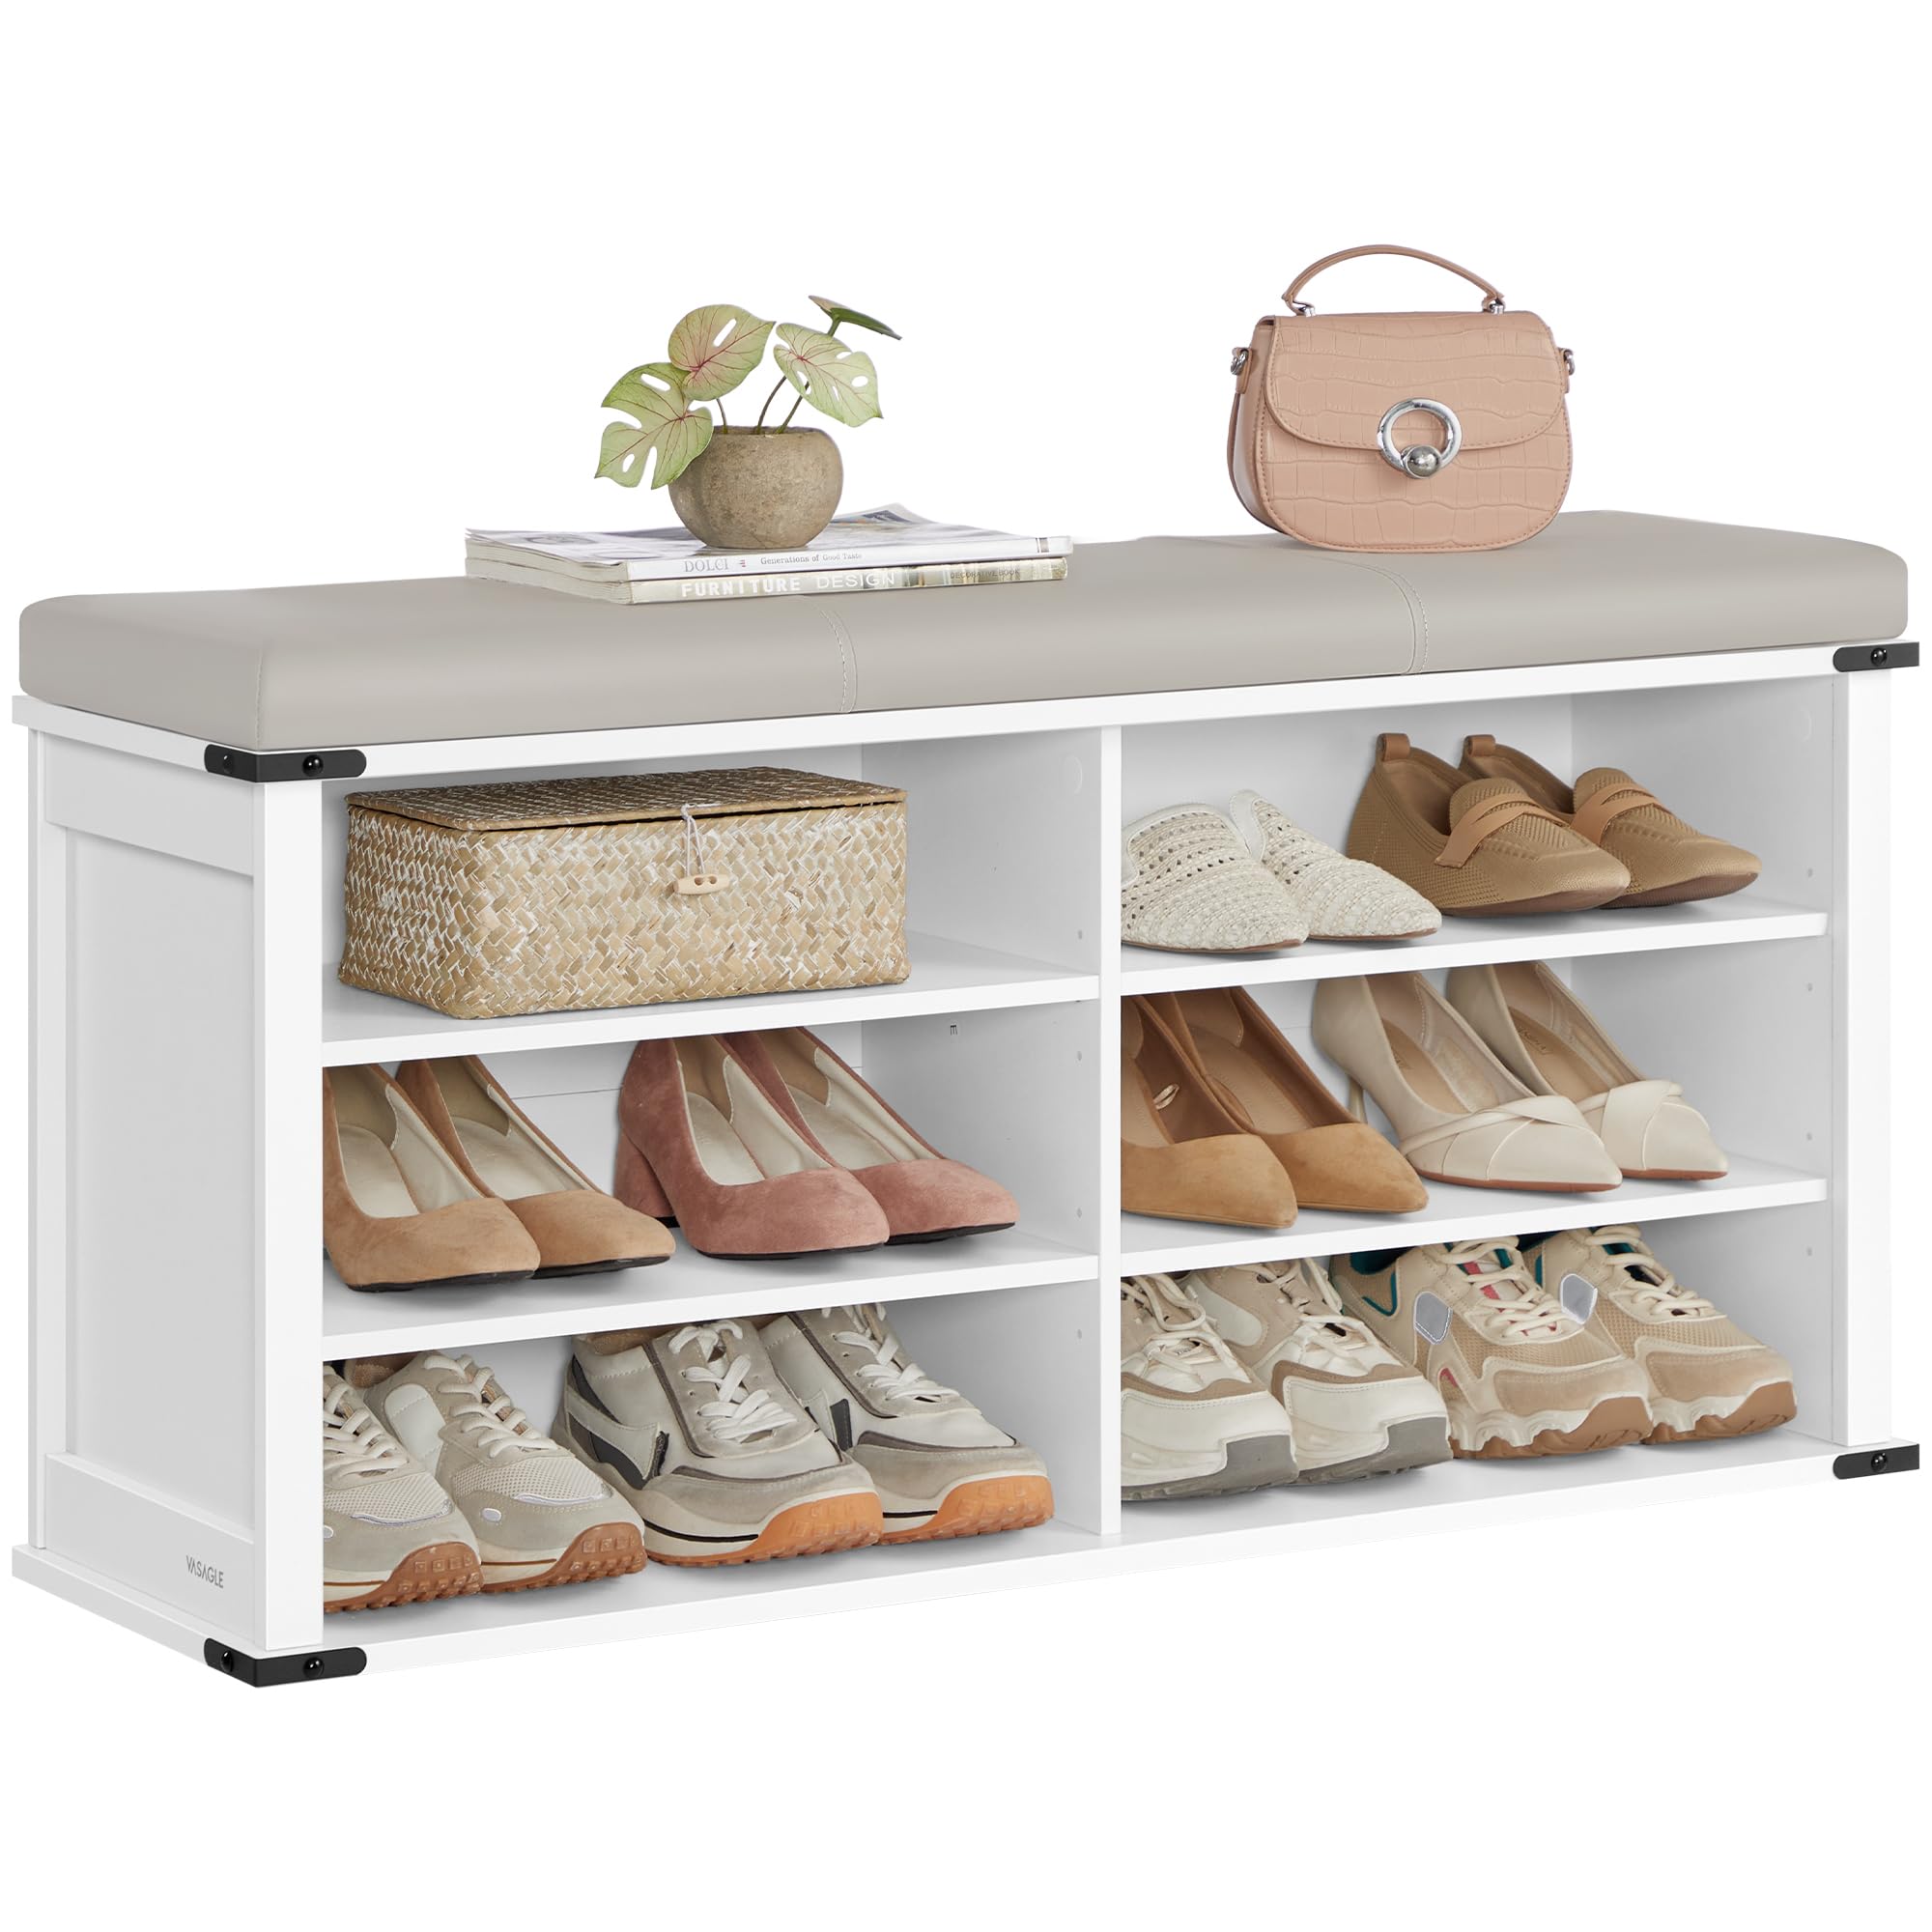
Image 1.1: The VASAGLE ULSB105W01 Shoe Storage Bench with its removable cushion, positioned in an entryway.
2. Safety Instructions
- Weight Capacity: Do not exceed the maximum static weight capacity of 300 lbs (136 kg) on the bench top.
- Assembly: Assemble the unit on a soft, clean surface to prevent scratches. Ensure all screws and fasteners are tightened securely before use.
- Stability: Place the bench on a level surface to ensure stability. Avoid placing heavy objects on the top shelf if the unit is not anchored.
- Children: Keep small parts and packaging materials away from children during assembly.
- Maintenance: Regularly check all connections and tighten them as needed to maintain structural integrity.

Image 2.1: A person sitting on the bench, illustrating its robust construction and weight capacity.
3. Package Contents
Before assembly, verify that all components listed below are present and undamaged. If any parts are missing or damaged, please contact customer support.
Components:
- Wooden Panels (various sizes for sides, top, bottom, and shelves)
- Hardware Pack (screws, dowels, shelf pins, etc.)
- Removable Cushion
- Assembly Tool (e.g., Allen wrench)
4. Setup (Assembly Instructions)
Follow these 7 steps for a straightforward assembly. All parts are labeled for easy identification.
- Step 1: Unpack and Identify Parts. Lay out all wooden panels and hardware. Match them with the provided diagram in your physical instruction manual.
- Step 2: Assemble the Base Structure. Attach the side panels to the bottom panel using the designated screws and dowels. Ensure they are aligned correctly.
- Step 3: Install Fixed Shelves. Secure any fixed internal shelves into their pre-drilled positions.
- Step 4: Attach Back Panel (if applicable). If your model includes a back panel, attach it to the rear of the unit using the provided fasteners to enhance stability.
- Step 5: Insert Adjustable Shelf Supports and Shelves. Place the shelf pins into the desired height holes for the adjustable shelves. Then, carefully place the adjustable shelves onto these supports.
- Step 6: Secure the Top Panel. Attach the top panel to the assembled structure, ensuring all connections are tight.
- Step 7: Place the Removable Cushion. Position the cushion on the top panel. The cushion is secured with hook-and-loop fasteners for easy removal and cleaning.
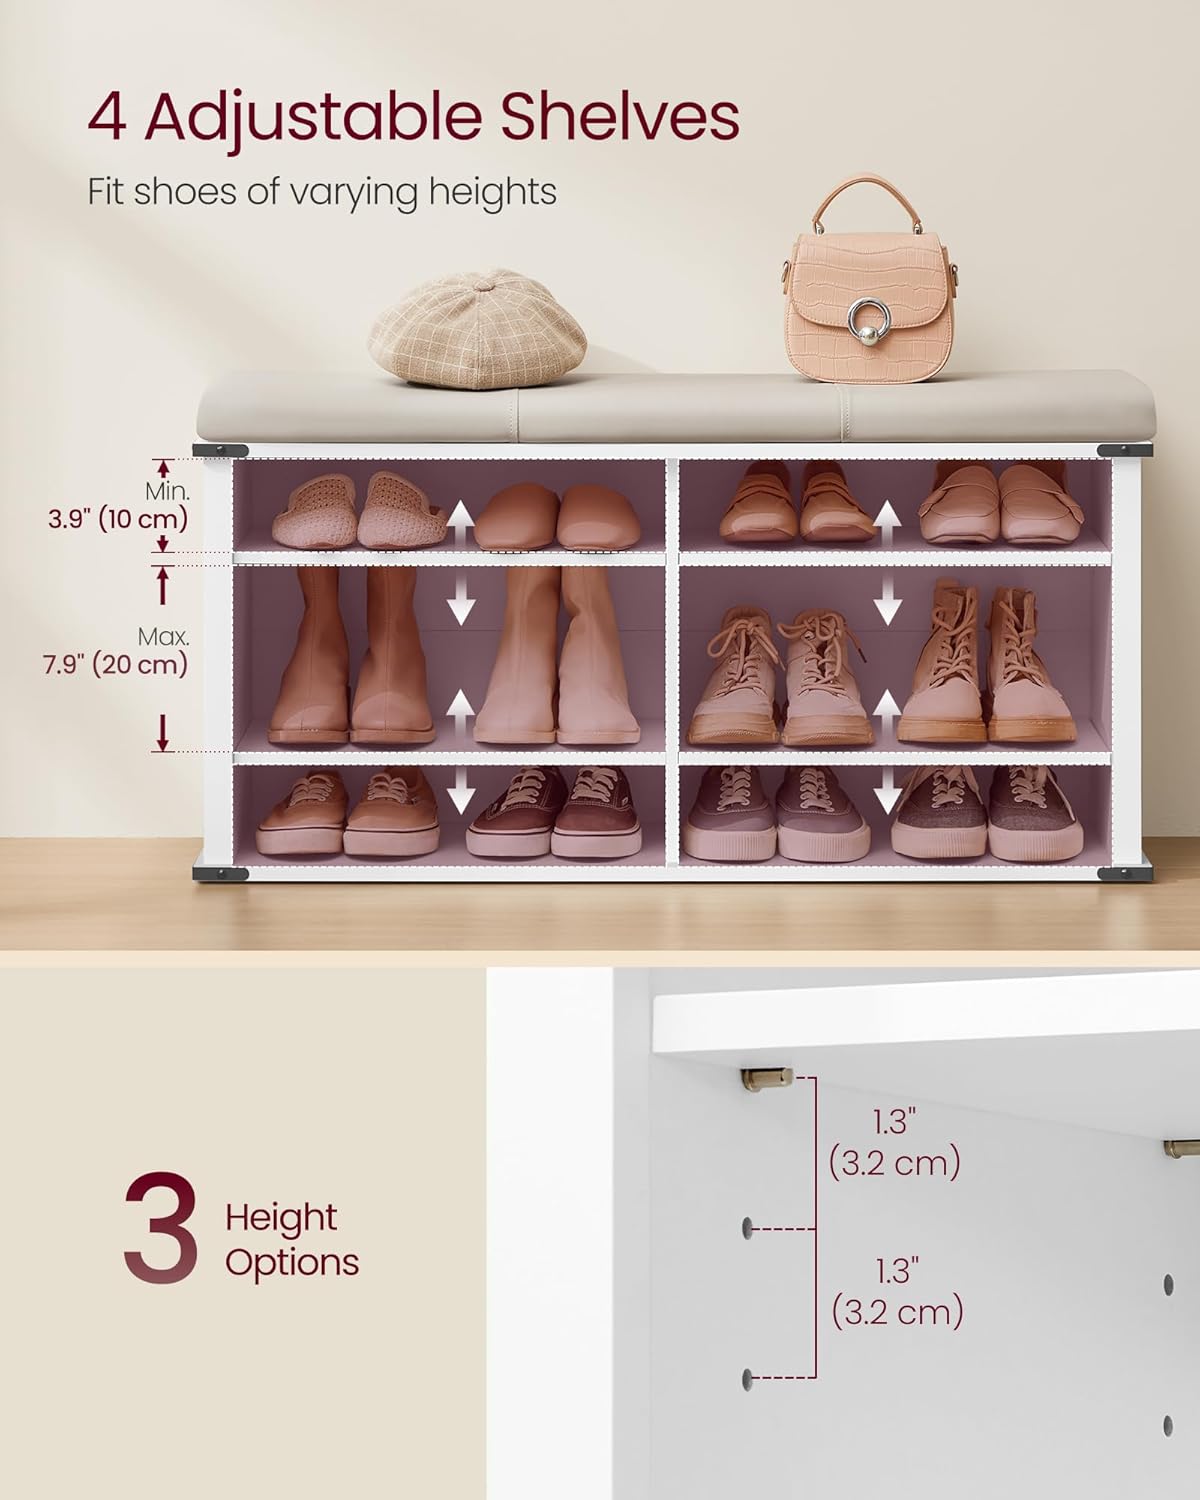
Image 4.1: Illustration of the adjustable shelves, demonstrating the three height options for varied shoe sizes.

Image 4.2: Detail of the hook-and-loop fasteners used to secure the removable cushion to the bench.
5. Operating Instructions
The VASAGLE ULSB105W01 bench is designed for versatile use in various home environments.
Shoe Storage:
- Utilize the 6 open compartments to organize shoes. Each compartment can hold 1-2 pairs depending on shoe size.
- Adjust the height of the 4 movable shelves to accommodate different types of footwear, such as boots or high heels.
Seating Function:
- The padded seat provides a comfortable surface for sitting while putting on or taking off shoes.
- The cushion is removable, allowing for easy cleaning or a change in aesthetic.

Image 5.1: A detailed view of the 2-inch thick foam cushion, highlighting its comfort and synthetic leather wrapping.
6. Maintenance
Proper care ensures the longevity of your shoe storage bench.
- Cleaning: Wipe the wooden surfaces with a dry cloth. Avoid abrasive cleaners or harsh chemicals that may damage the finish.
- Cushion Care: The synthetic leather cushion can be wiped clean with a damp cloth. For deeper cleaning, the cushion can be removed due to its hook-and-loop fasteners.
- Fasteners: Periodically check all screws and connections to ensure they remain tight. Re-tighten if necessary to maintain structural integrity and safety.
- Environment: Avoid prolonged exposure to direct sunlight or extreme humidity, which can affect the material.
7. Troubleshooting
If you encounter any issues with your shoe storage bench, refer to the following common solutions:
- Instability: Ensure the bench is placed on a flat, level surface. Check that all assembly screws are fully tightened.
- Shelves Not Fitting: Verify that the adjustable shelf pins are inserted into corresponding holes on both sides and that the shelves are oriented correctly.
- Difficulty Assembling: Double-check the instruction manual diagrams. Ensure you are using the correct hardware for each step. Do not force parts together.
- Damaged Parts: If any part arrived damaged or becomes damaged during assembly, cease assembly and contact customer support for replacement parts.
8. Specifications
Detailed specifications for the VASAGLE ULSB105W01 Shoe Storage Bench:
| Feature | Detail |
|---|---|
| Model Number | ULSB105W01 |
| Dimensions (D x W x H) | 12.2" x 40.2" x 20" (31 cm x 102.2 cm x 50.9 cm) |
| Color | Cloud White |
| Material | Particleboard, Foam, Synthetic Leather |
| Maximum Static Weight Capacity (Top) | 300 lbs (136 kg) |
| Maximum Weight Capacity (Per Shelf) | 11 lbs (5 kg) |
| Number of Open Compartments | 6 |
| Adjustable Shelves | 4 (with 3 height options) |
| Cushion Thickness | 2" (5 cm) |
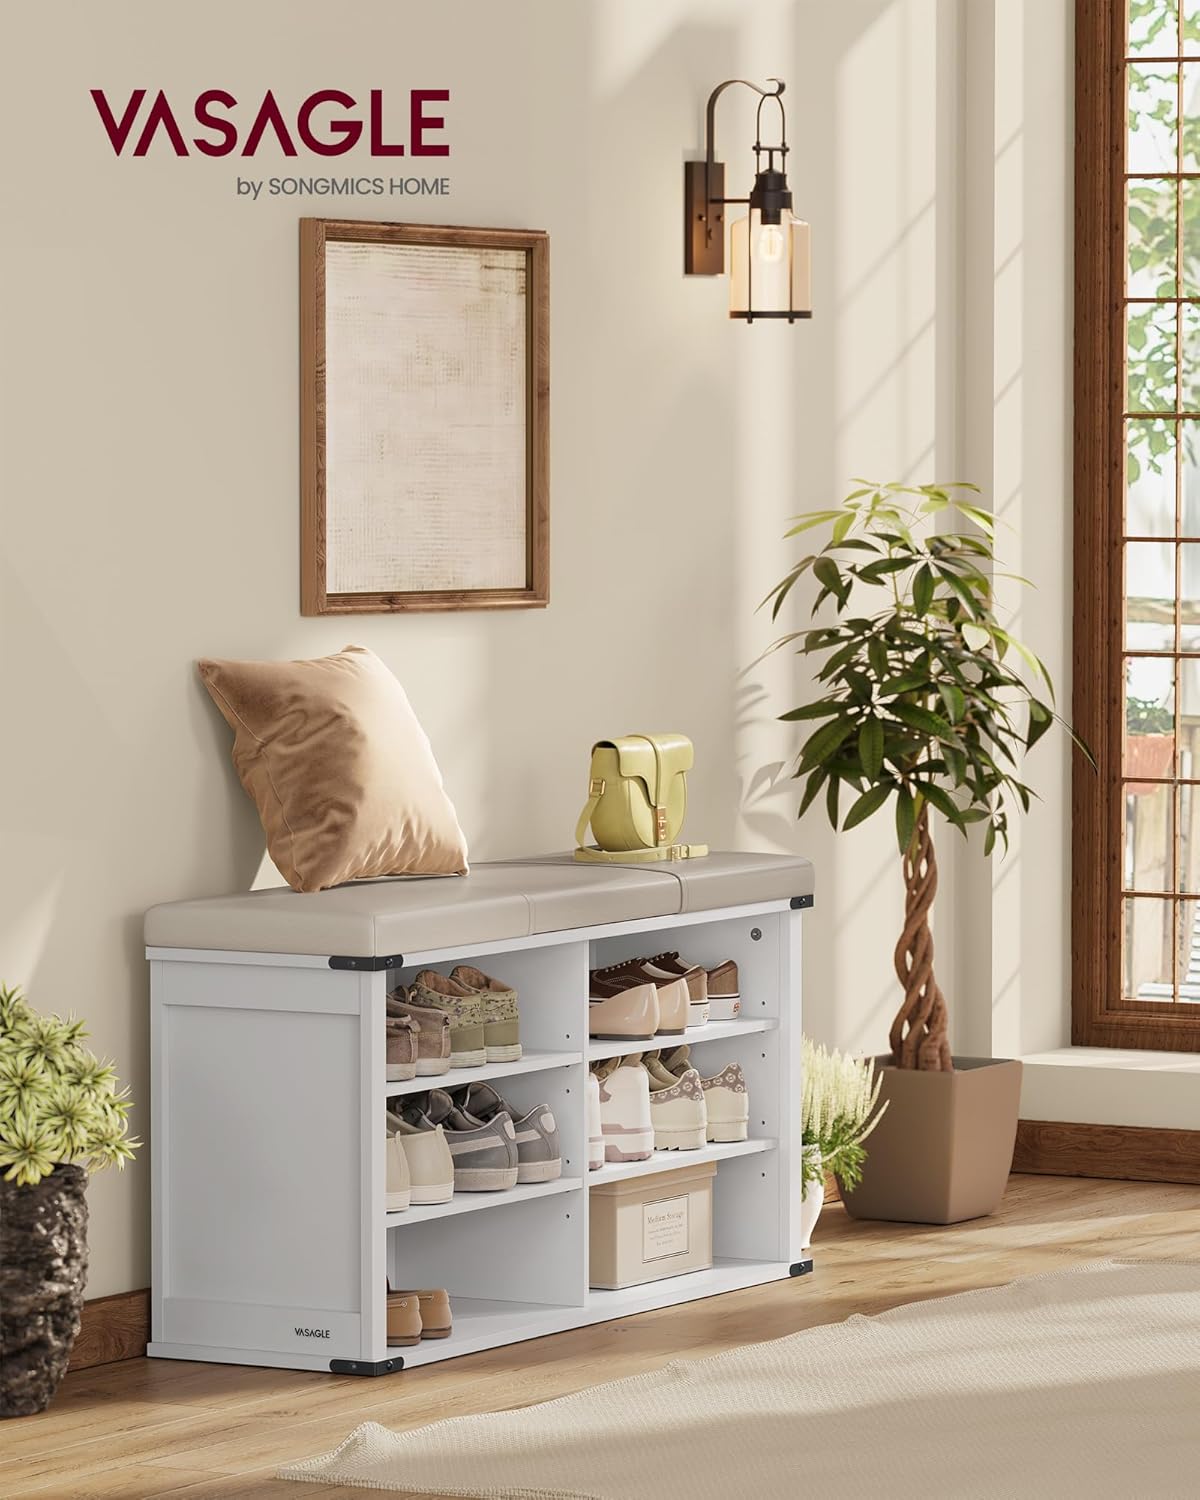
Image 8.1: Technical drawing illustrating the product dimensions and maximum static weight capacity.
9. Warranty and Support
For warranty information or technical support, please refer to the contact details provided with your purchase documentation or visit the official VASAGLE website. Keep your purchase receipt as proof of purchase.
Customer Service: For assistance with assembly, missing parts, or product inquiries, please contact VASAGLE customer support through their official channels.


