1. Product Overview
The Dfuorty 9.7" Touchscreen Android 13 Car Stereo Radio is designed to upgrade the infotainment system in Ford F-150 models from 2009 to 2014. It features a 9.7-inch IPS HD capacitive touchscreen with a 178° viewing angle, ensuring clear visibility. Powered by an Android 13 system and a 4-core processor, it offers smooth operation with 2GB RAM and 32GB ROM. Key functionalities include wireless CarPlay and Android Auto, GPS navigation, Bluetooth hands-free calling, DSP sound processing, steering wheel control support, and compatibility with front and backup cameras.
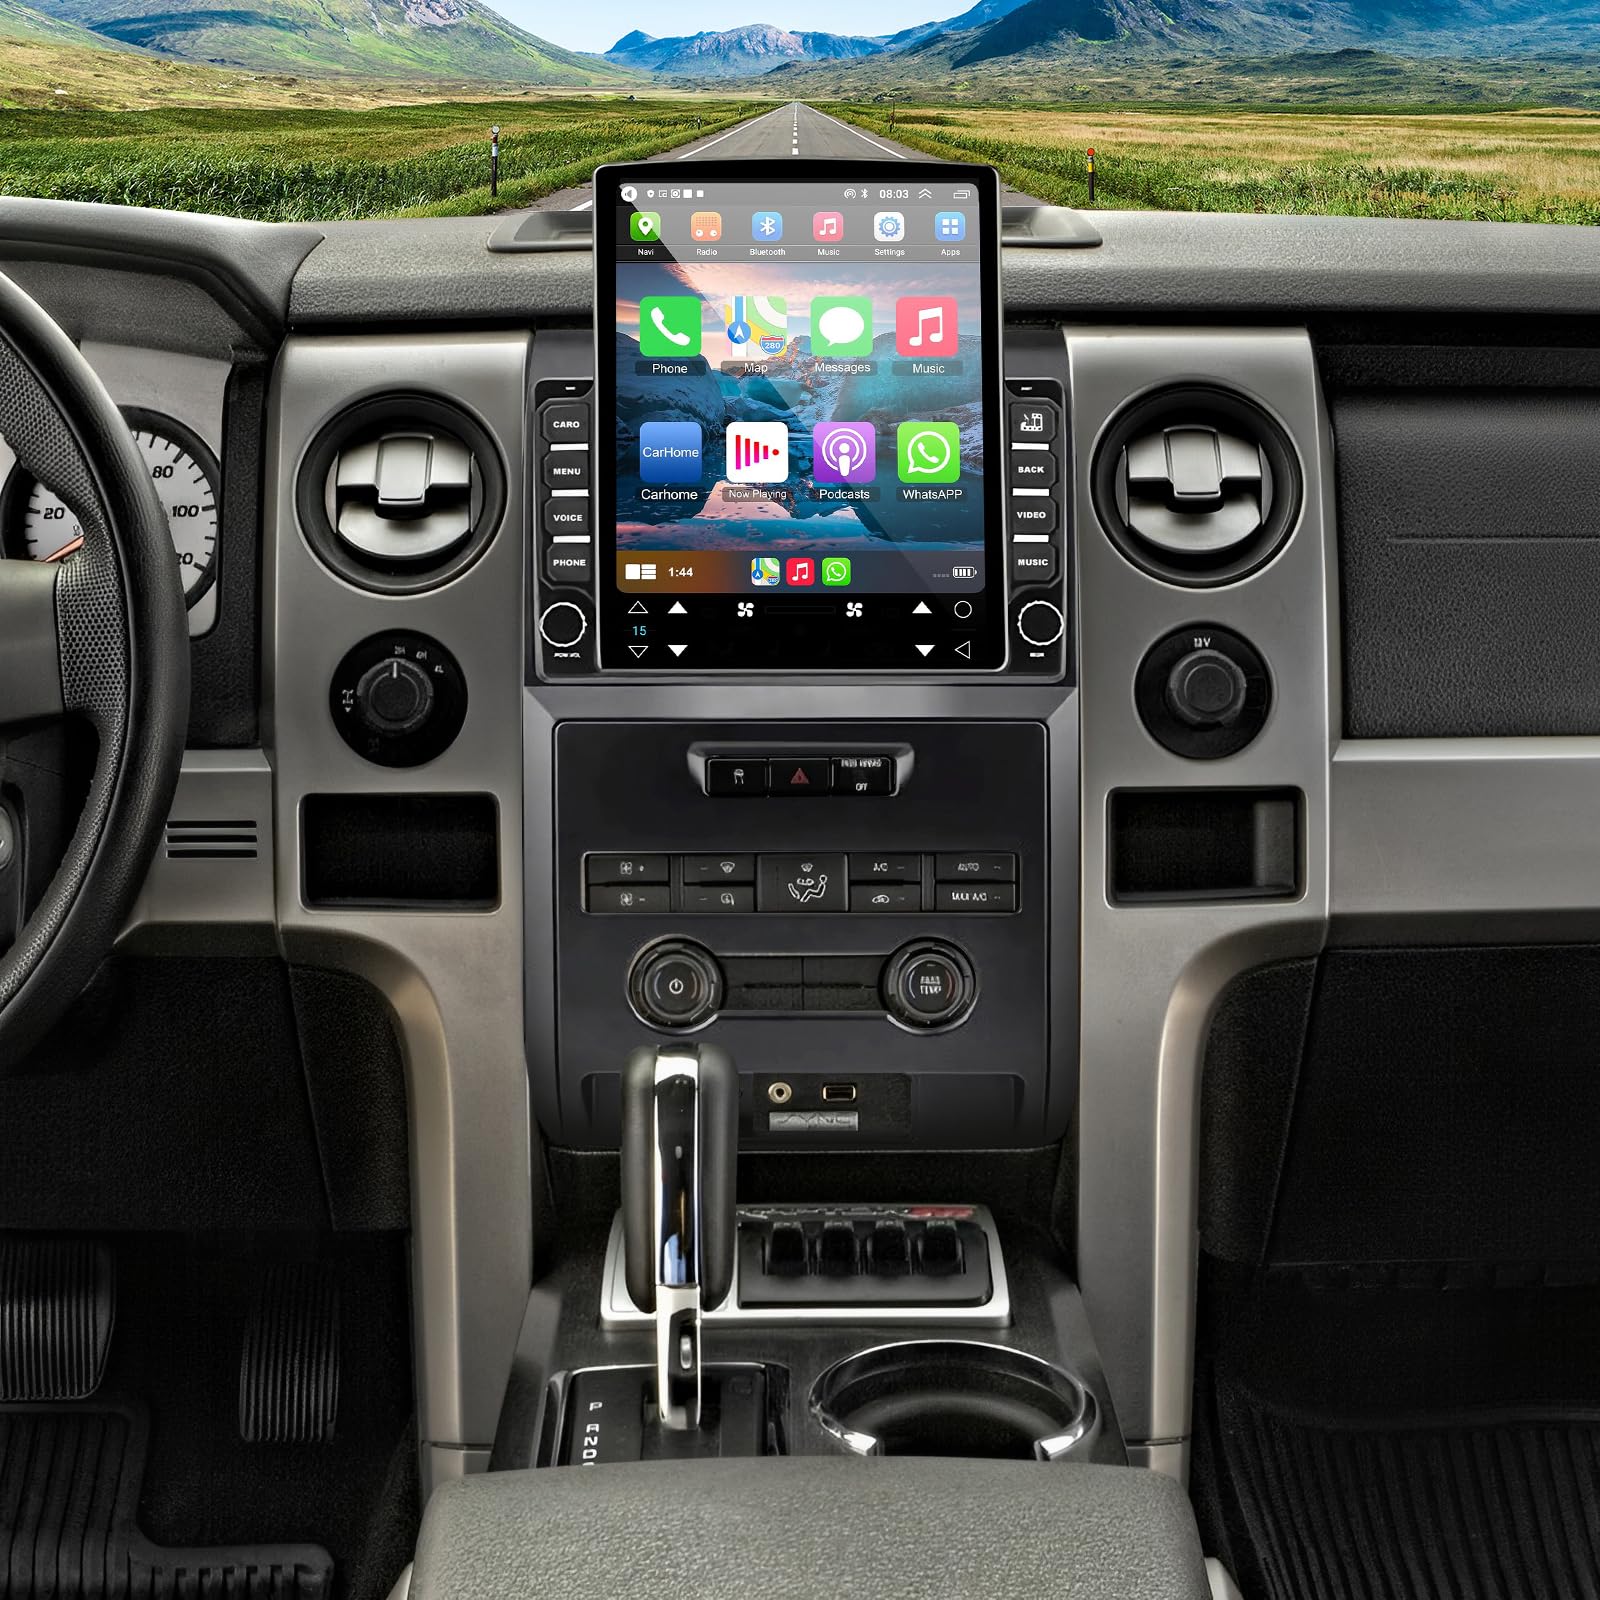
Image: The Dfuorty 9.7 inch Android 13 Car Stereo seamlessly integrated into a Ford F-150 dashboard.
2. What's in the Box
- 1 x Car Stereo Radio
- 1 x Power Cable
- 1 x GPS Antenna
- 1 x Rear Camera Input Cable
- 1 x RCA Cable
- 2 x USB Cable
- 1 x Camera
- 1 x Canbus box
- 1 x Radio adapter cable
- 1 x Instruction manual

Image: A visual representation of all items included in the Dfuorty car stereo package, including the main unit, various cables, and accessories.
3. Specifications
| Feature | Detail |
|---|---|
| Item Weight | 4.9 pounds |
| Product Dimensions | 16.93 x 13.39 x 6.3 inches |
| Item Model Number | QA1512X |
| Display Size | 9.7 Inches |
| Operating System | Android 13, iOS (for CarPlay/Android Auto) |
| CPU | 1.3Ghz 4 Cores Processor |
| RAM | 2GB |
| ROM | 32GB |
| Connectivity Technology | Bluetooth, USB, Wi-Fi |
| Special Features | 9.7 inch Touchscreen, Bluetooth, WiFi, GPS Navigation, Support Wireless CarPlay & Android Auto, Voice Assistant, DSP, EQ Equalizer, Vbass, Balance, Loudness, Filter Adjustment, 4x45W Surround Stereo, HiFi, Subwoofer, DAB+ (Box sold separately), Front & Backup Camera Support, Screen Mirroring, Split Screen Mode, FM/RDS |
| Mounting Type | Dashboard Mount |
| Warranty | 1 Year |
4. Installation Guide
Proper installation is crucial for optimal performance. Please follow these steps carefully. It is recommended to consult a professional if you are unsure about any part of the installation process.
4.1 Preparation and Disassembly
- Disconnect Battery: Before starting, disconnect the vehicle's negative battery terminal to prevent electrical shorts.
- Remove Original Components: Carefully remove the original radio unit, air vent panels, and any surrounding trim pieces from your Ford F-150 dashboard. Use appropriate prying tools to avoid damage.

Image: A comparison showing the Ford F-150 dashboard before and after the Dfuorty car stereo installation.
4.2 Wiring Connections
Refer to the wiring diagram in the included instruction manual for precise connections. The following videos provide visual guidance for the wiring process:
Video: Detailed installation guide for wiring connections. This video demonstrates how to connect the various cables to the car stereo unit and the vehicle's existing wiring harness.
Video: An overview of the smart car multimedia player for Ford F150 2009-2014, showcasing its features and basic wiring.
Video: General car radio installation steps, providing visual aid for connecting the main harness and accessories.
Video: Step-by-step guide on how to install the dual knobs radio for Ford F150 2009-2014, focusing on physical installation.
Video: Installation video for Ford F150 2013-2014 T-style screen, demonstrating the physical mounting and connection process.
Video: Wiring installation reference video, showing detailed steps for connecting various cables and components.
4.3 Final Assembly
- Once all connections are secure, carefully slide the new car stereo unit into the dashboard opening.
- Reinstall any removed screws and trim panels in reverse order of disassembly.
- Reconnect the vehicle's negative battery terminal.
5. Setup and Initial Configuration
After installation, power on the unit and proceed with the initial setup.
5.1 Power On and Basic Test
- Start your car. The new unit should power on, and the large screen should illuminate.
- Test basic functions like volume control, switching songs via steering wheel controls, and radio reception.
Video: Demonstrates how to test the new unit in-dash after installation, including basic functions and responsiveness.
5.2 Wireless CarPlay & Android Auto Connection
This unit supports both wireless CarPlay and Android Auto. Connect your smartphone for seamless integration of navigation, music, calls, and voice control.

Image: The car stereo displaying the Wireless CarPlay and Android Auto interfaces, highlighting voice control capabilities.
Video: Demonstrates the connection process for Wireless CarPlay and Android Auto, showing how to link your smartphone to the car stereo.
5.3 GPS Navigation and WiFi Connection
The unit has a built-in navigation module supporting both offline and online maps. Connect to WiFi to access real-time navigation via Google Maps, Apple Maps, Waze, etc.

Image: The car stereo displaying GPS navigation and WiFi hotspot connection options.
5.4 Bluetooth Hands-free & DSP
Utilize Bluetooth A2DP for hands-free calls, phone book synchronization, and music streaming. The integrated DSP and EQ equalizer allow for customized sound effects.

Image: Visual representation of the built-in DSP and Bluetooth functionalities, including sound adjustments and hands-free calling.
5.5 Steering Wheel Control
Connect the vehicle's SWC cable to enable steering wheel control, allowing you to manage calls, adjust volume, and change songs directly from your steering wheel.

Image: Demonstrates the Steering Wheel Control learning function and AHD Camera Reverse Input.
5.6 Backup Camera Support
The car stereo screen automatically displays the reverse image from a backup camera when the vehicle is in reverse gear, enhancing safety.

Image: Features of the backup camera input, including night vision, waterproofing, and wide viewing angle.
6. Operating Instructions
The Android 13 interface is designed for intuitive use, similar to a smartphone. Navigate through apps, settings, and media using the touchscreen. Refer to the on-screen guides for specific application usage.
- Home Screen: Access frequently used apps and widgets.
- App Drawer: Swipe up or tap the app icon to view all installed applications.
- Settings: Customize display, sound, network, and vehicle-specific options.
- Media Playback: Use the Music, Video Player, or Radio apps for entertainment.
- Voice Control: Activate Siri or Google Assistant via CarPlay/Android Auto for hands-free operation.
7. Maintenance
To ensure the longevity and optimal performance of your Dfuorty car stereo, follow these maintenance guidelines:
- Screen Cleaning: Use a soft, lint-free cloth and a screen-safe cleaner to gently wipe the touchscreen. Avoid abrasive materials or harsh chemicals.
- Software Updates: The unit supports convenient online firmware updates. Regularly check for and install updates to ensure the latest features and security patches.
- Cable Inspection: Periodically check all connected cables for any signs of wear or damage. Ensure they are securely plugged in.
- Temperature Control: Avoid exposing the unit to extreme temperatures for extended periods.
8. Troubleshooting
If you encounter any issues with your Dfuorty car stereo, please refer to the following common troubleshooting tips:
- No Power: Check all power connections and ensure the vehicle's battery is properly connected and charged. Verify the unit's fuse.
- No Sound: Check speaker connections, volume levels, and DSP/EQ settings. Ensure the correct audio output mode is selected. If using an external amplifier, verify its connections and power.
- CarPlay/Android Auto Not Connecting: Ensure Bluetooth and WiFi are enabled on both the unit and your smartphone. Try restarting both devices. For wired connections, check the USB cable.
- GPS Signal Issues: Ensure the GPS antenna is correctly installed and has a clear view of the sky. Avoid placing it under metal objects.
- Touchscreen Unresponsive: Try restarting the unit. If the issue persists, a factory reset might be necessary (refer to the settings menu).
- Steering Wheel Controls Not Working: Verify the SWC cable connection and ensure the steering wheel control learning function is properly configured in the unit's settings.
If these steps do not resolve the issue, please contact customer support for further assistance.
9. Warranty and Support
The Dfuorty 9.7" Touchscreen Android 13 Car Stereo Radio comes with a 1-year warranty from the date of purchase.
For any installation, operation, or troubleshooting inquiries, please contact Dfuorty customer service. Providing quality product and service is our goal, and communication is the best way to resolve any problems.
- Returns/Exchanges: 30 Days
- Warranty Period: 365 Days
- Customer Service: 24/7 Support
- Email: Bongagho@126.com