
1. Introduction
This manual provides detailed instructions for the safe and effective use of your Asrcs Dog Training Collar Model X13. This system is designed to assist in training dogs from 8 to 150 lbs, offering a range of humane and effective correction modes. Please read this manual thoroughly before operating the device to ensure proper usage and the well-being of your pet.
The Asrcs Dog Training Collar features a remote control with an impressive 2000FT range, allowing for greater freedom during training sessions. It includes four distinct training modes: beep, vibration (adjustable 0-9 levels), static shock (adjustable 0-99 levels), and a flashlight. The receiver collar is IPX7 waterproof, making it suitable for various outdoor conditions. Both the remote and receiver boast long-lasting battery life with quick charging capabilities.
2. Package Contents
- 1 x Handheld Remote
- 1 x Receiver Collar
- 1 x Adjustable Collar Strap
- 1 x Test Light Tool
- 1 x 2-in-1 USB Charging Cable
- 1 x Wrist Strap
- 1 x User Manual (this document)
- 1 x USB C to USB Adapter
- 2 x Long Contact Points
- 2 x Short Contact Points
- 4 x Conductive Silicone Caps
3. Product Overview
The Asrcs Dog Training Collar system consists of a remote transmitter and a receiver collar. The remote allows you to control the training modes and intensity levels, while the receiver collar delivers the chosen correction to your dog.

Figure 1: Asrcs Dog Training Collar Remote and Receiver
3.1 Key Features
- Four Training Modes: Beep, Vibration (0-9 levels), Static Shock (0-99 levels), and Flashlight.
- Extended Remote Range: Up to 2000 feet for flexible training.
- IPX7 Waterproof Receiver: Ensures durability in wet conditions.
- Long-Lasting Battery: Remote standby up to 180 days, receiver standby up to 35 days, with 2-hour fast charging.
- Adjustable Collar: Suitable for dogs weighing 8-150 lbs, with an adjustable strap length of 6-28.5 inches.
- Dual Channel Support: Capable of training up to four dogs simultaneously with one remote.
4. Setup Guide
4.1 Charging the Devices
Before first use, fully charge both the remote and the receiver collar. Use the provided 2-in-1 USB charging cable. The charging port on the receiver is located on the side, and on the remote, it's typically at the bottom. A full charge usually takes approximately 2 hours.

Figure 2: Charging the Remote and Receiver
4.2 Attaching Contact Points
Select the appropriate contact points (short or long) based on your dog's coat length. For dogs with shorter coats, use the short contact points. For dogs with longer or thicker coats, use the long contact points to ensure proper contact with the skin. Screw the chosen contact points into the receiver collar. For added comfort and to prevent skin irritation, place the conductive silicone caps over the metal contact points.

Figure 3: Adjustable Collar and Contact Points
4.3 Fitting the Collar
The collar should fit snugly but not too tightly. You should be able to fit two fingers comfortably between the collar strap and your dog's neck. Ensure the contact points touch your dog's skin. A loose fit may cause inconsistent corrections and potential skin irritation due to rubbing. The adjustable strap accommodates neck sizes from 6 to 28.5 inches, suitable for dogs from 8 to 150 lbs.
4.4 Pairing the Remote and Receiver
Typically, the remote and receiver come pre-paired. If re-pairing is necessary:
- Turn on the receiver collar by pressing and holding its power button until the indicator light illuminates.
- Turn on the remote by pressing any button.
- Press and hold the power button on the receiver collar again for about 3 seconds until the indicator light flashes rapidly.
- Within 10 seconds, press the 'Y' (Vibration) button on the remote. The receiver's indicator light will stop flashing and remain solid, indicating successful pairing.
5. Operating Instructions
5.1 Turning On/Off
- Receiver Collar: Press and hold the power button on the receiver until the indicator light turns on. To turn off, press and hold the power button until the light turns off.
- Remote: The remote typically activates when any button is pressed. It may enter a sleep mode to conserve battery and wake up with a button press.
5.2 Training Modes
The remote offers four training modes:
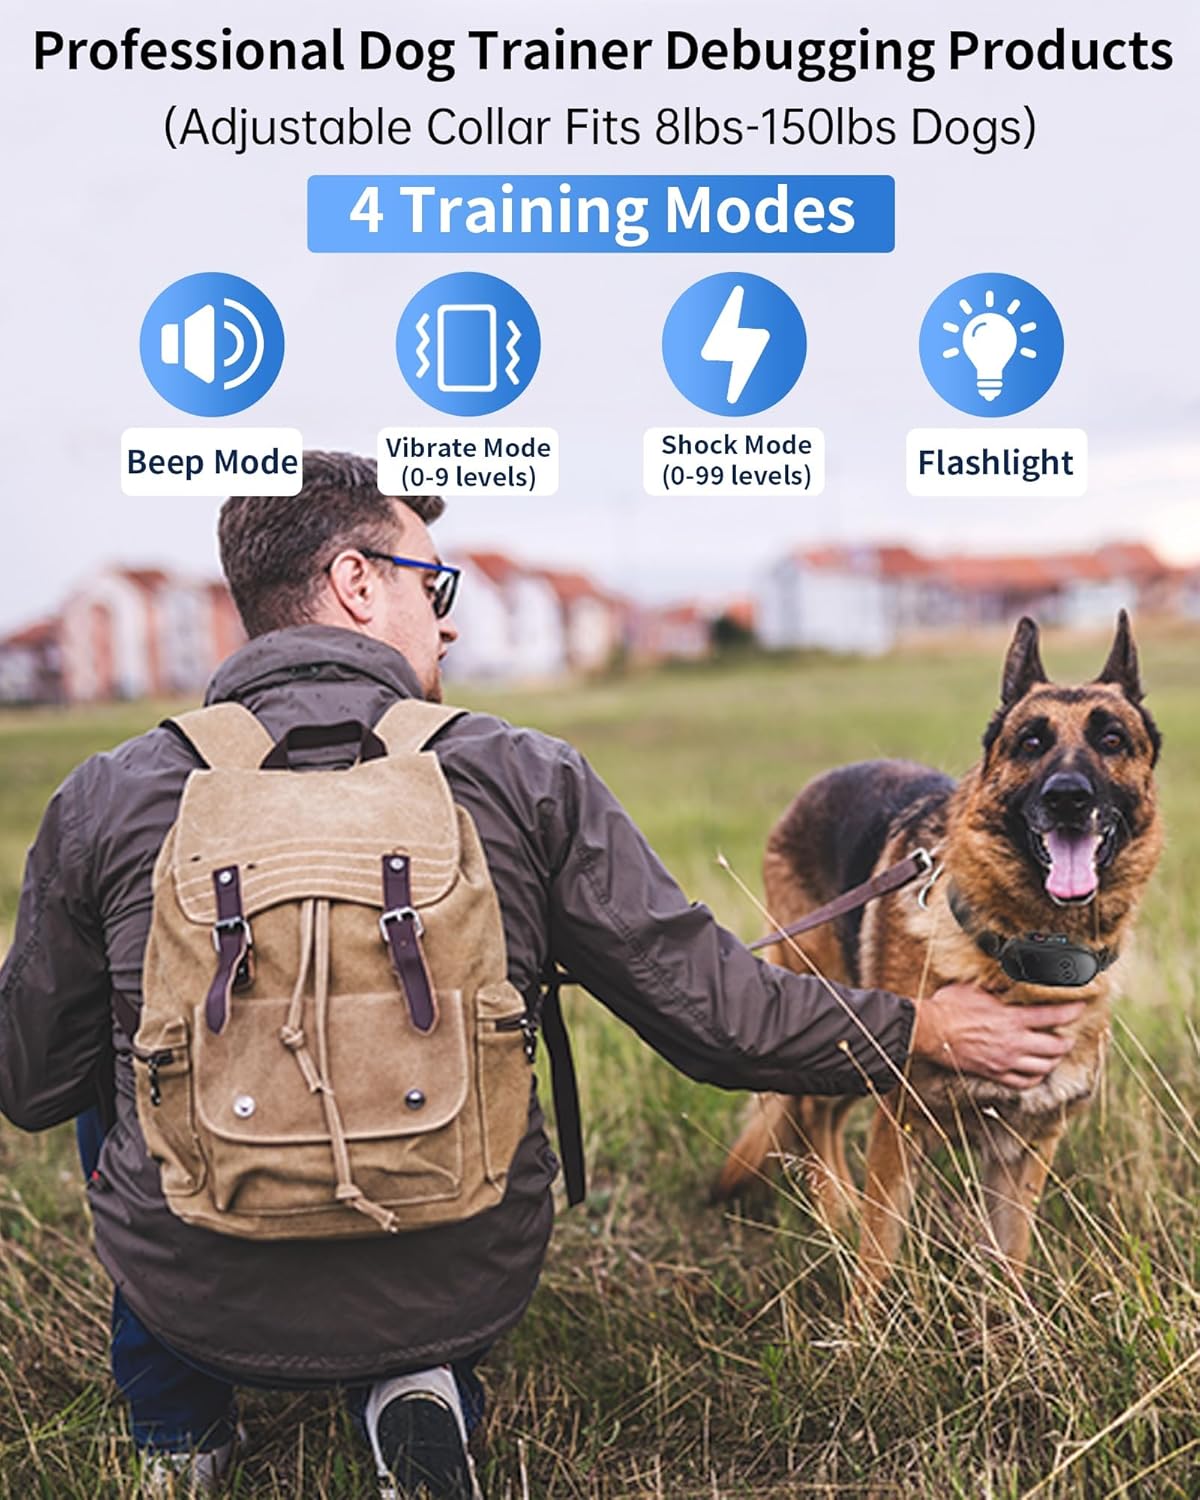
Figure 4: Training Modes Overview
- Beep Mode: Delivers an audible tone. Often used as a warning or a positive reinforcement signal.
- Vibration Mode: Delivers a non-harmful vibration. Adjustable from 0-9 levels.
- Static Shock Mode: Delivers a static correction. Adjustable from 0-99 levels. Use with caution and always start at the lowest effective level.
- Flashlight: The remote includes a built-in flashlight for visibility in low-light conditions.
5.3 Adjusting Levels
Use the '+' and '-' buttons on the side of the remote to adjust the intensity levels for Vibration (0-9) and Static Shock (0-99). The current level will be displayed on the remote's screen.
5.4 Flashlight Function
To activate the emergency flashlight on the remote, press and hold the designated flashlight button for 3 seconds. Repeat to turn off.

Figure 5: IPX7 Waterproof Receiver and Flashlight
5.5 Multi-Dog Training (Dual Channel)
The remote supports training up to four dogs. Use the channel selection button (often labeled A/B/C/D or with dog icons) to switch between different receiver collars. Ensure each receiver is paired to a unique channel on the remote.
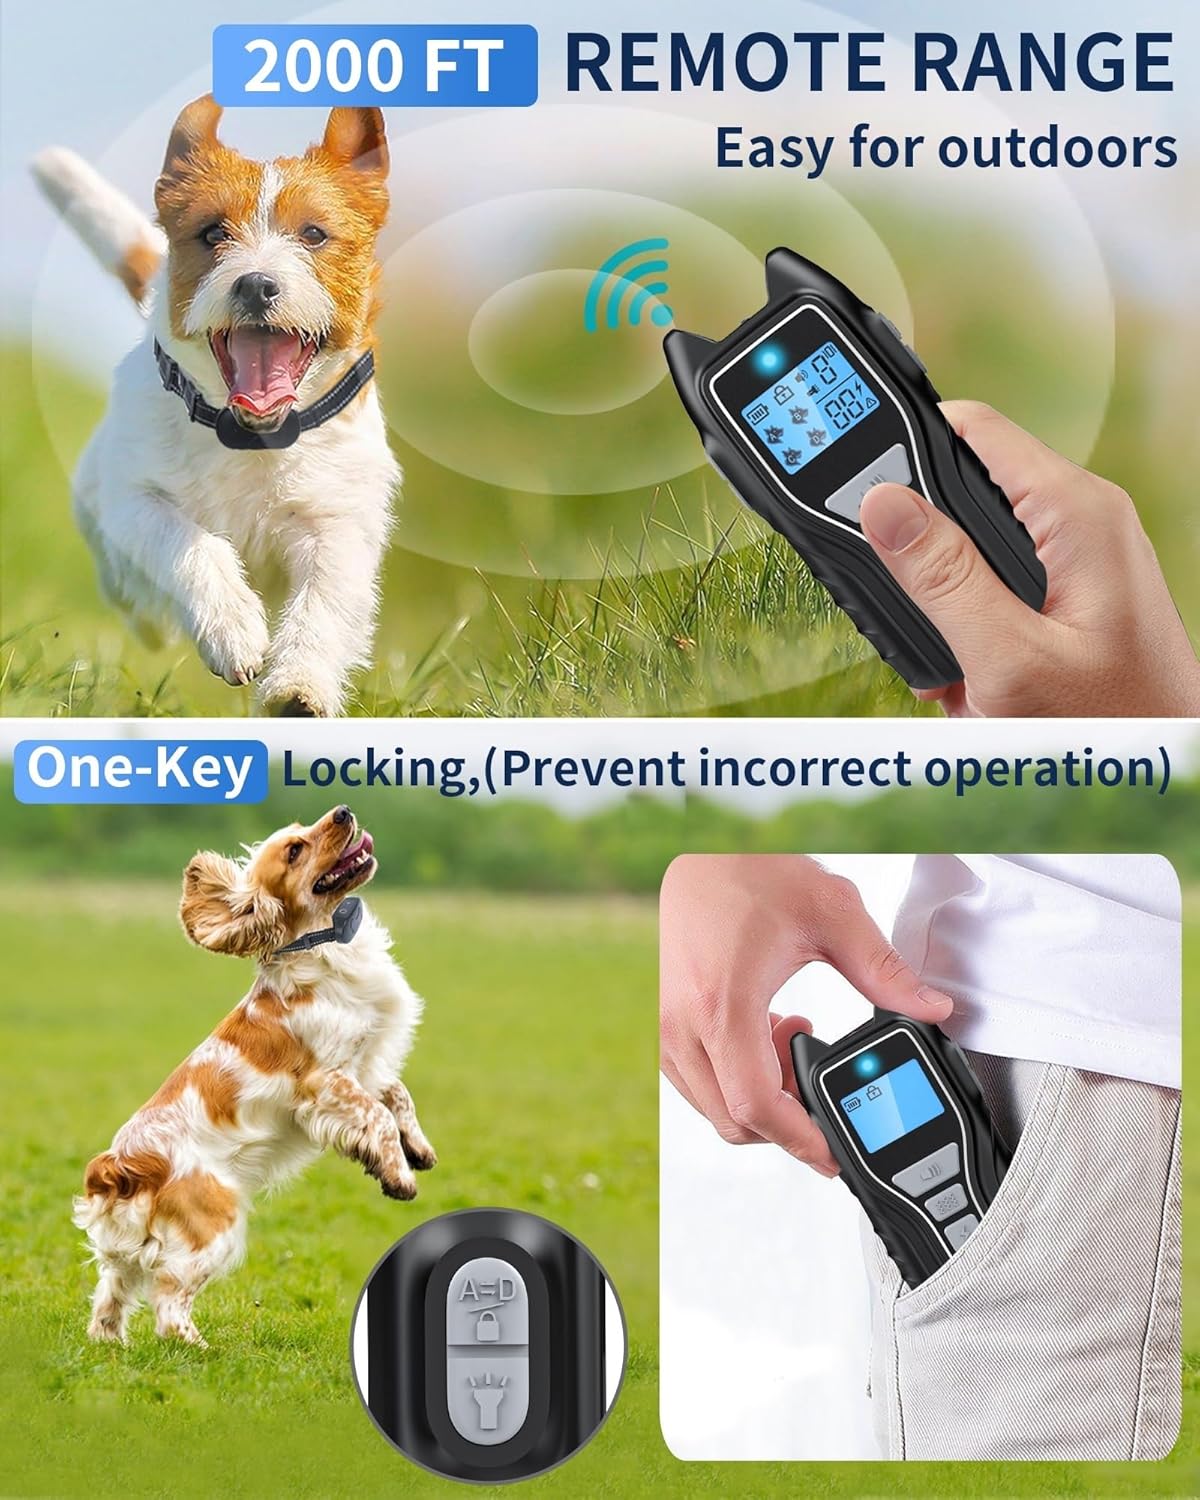
Figure 6: Remote Control Range and Multi-Dog Channels
6. Maintenance
6.1 Cleaning
The receiver collar can be cleaned with water due to its IPX7 waterproof rating. Regularly wipe down the collar strap and receiver with a damp cloth. Ensure contact points are free of debris. For the remote, use a dry or slightly damp cloth to clean the surface.
6.2 Battery Care
To prolong battery life, avoid fully discharging the devices frequently. Charge them when the battery indicator shows low power. Store the devices in a cool, dry place when not in use for extended periods.
7. Troubleshooting
If you encounter issues with your Asrcs Dog Training Collar, consider the following:
- No response from receiver: Check if both the remote and receiver are turned on and fully charged. Ensure they are properly paired. Verify the contact points are making proper contact with your dog's skin.
- Correction seems too weak/strong: Adjust the intensity level using the '+' and '-' buttons on the remote.
- Remote not working: Check battery level. Ensure no buttons are stuck.
- Collar not holding charge: Ensure the charging cable is securely connected. Try a different USB power source.
For persistent issues, refer to the full troubleshooting section in the comprehensive user manual or contact customer support.
8. Specifications
| Feature | Detail |
|---|---|
| Model Number | X13 |
| Brand | Asrcs |
| Item Weight | 8.8 ounces |
| Item Dimensions (LxWxH) | 3.8 x 2 x 1 inches |
| Batteries | 2 Lithium Polymer batteries (included) |
| Waterproof Rating | IPX7 (Receiver) |
| Remote Range | Up to 2000 feet |
| Training Modes | Beep, Vibration (0-9 levels), Static Shock (0-99 levels), Flashlight |
| Adjustable Collar Size | 6-28.5 inches |
| Recommended Dog Weight | 8-150 lbs |
| Material | Plastic |
| Care Instructions | Clean with water |
9. Safety Information
- This device is intended for dog training purposes only. Do not use it on aggressive dogs or for any other purpose.
- Do not leave the receiver collar on your dog for more than 12 hours per day. Prolonged wear can lead to skin irritation.
- Regularly check your dog's neck for any signs of skin irritation, redness, or sores. If irritation occurs, discontinue use and consult a veterinarian.
- Always start with the lowest effective correction level and gradually increase if necessary. The goal is to get your dog's attention, not to punish them.
- Ensure children do not play with or operate the training collar.
- Avoid using the static shock mode on puppies under 6 months old.
- Do not use this product if your dog has any open wounds or skin conditions on its neck.