
Yottamaster 1 Bay NAS Storage Device
Yottamaster 1 Bay NAS Storage Device User Manual
Model: 1 Bay NAS Storage Device
1. Introduction
The Yottamaster 1 Bay NAS Storage Device is a compact and efficient network-attached storage solution designed for personal and small office use. It supports 2.5-inch SATA HDDs/SSDs, features a quad-core CPU, 1GbE port, and 1GB DDR4 RAM, providing reliable data storage, backup, and remote access capabilities. This manual provides detailed instructions for setting up, operating, and maintaining your NAS device.
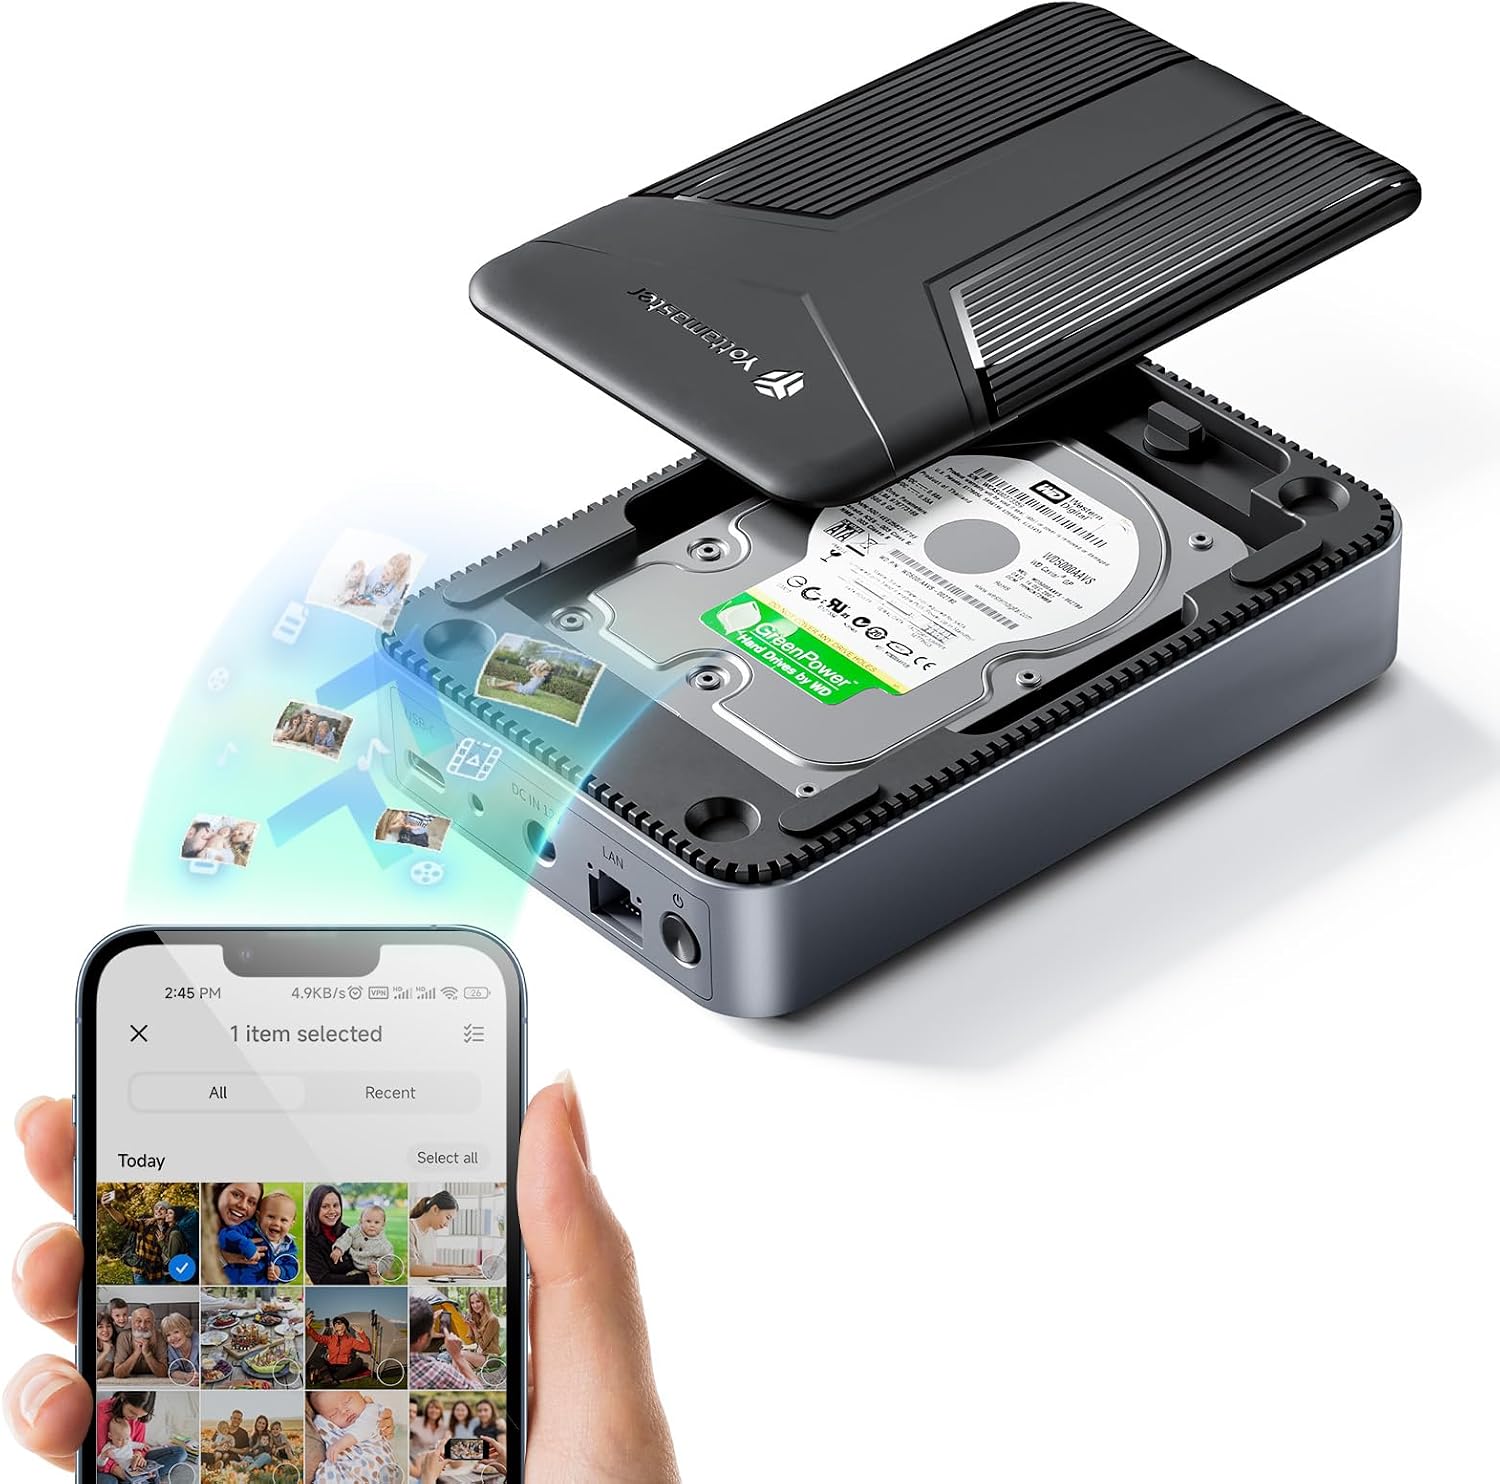
Figure 1.1: Yottamaster 1 Bay NAS Storage Device in use, demonstrating data transfer to a mobile device.
2. Package Contents
Before proceeding with the setup, please verify that all items listed below are included in your package:
- Product packaging box
- Yottamaster 1 Bay NAS Storage Device
- Ethernet Cable
- Power Adapter
- USB Cable
- User Manual

Figure 2.1: Included items in the Yottamaster 1 Bay NAS Storage Device package.
3. Setup Guide
3.1 Hardware Installation
Follow these steps for tool-free installation of your HDD/SSD and initial connection:
- Insert HDD/SSD: Open the device and carefully insert your 2.5-inch SATA HDD or SSD into the designated slot. The magnetic suction structure ensures a secure fit.
- Connect Ethernet Cable: Connect one end of the provided Ethernet cable to the LAN port on the NAS device and the other end to your router or network switch.
- Connect Power Adapter: Plug the power adapter into the DC IN 12V port on the device and then into a power outlet.

Figure 3.1: Hardware installation steps for the Yottamaster NAS.
3.2 Software Installation and Initial Configuration (Weline APP)
The Weline APP is essential for managing your Yottamaster NAS. It is available for Windows, macOS, Android, and iOS.
- Download Weline APP: Scan the QR code provided in the device's packaging or on the device itself to download the Weline APP. Alternatively, search for "Weline" in your device's app store.
- Register Account: Open the Weline APP and follow the on-screen instructions to register a new account.
- Bind Device: Scan the QR code located on the bottom of the product to connect and bind the device to your Weline account.
- Format Hard Drive: Once connected, the app will prompt you to format the hard drive. Follow the instructions to complete the formatting process. This will prepare the drive for use with the NAS.

Figure 3.2: Software setup and initial configuration via Weline APP.

Figure 3.3: Weline APP overview, highlighting multi-platform support.
Note on VPN: The Weline APP utilizes VPN technology to enable secure remote access from client to server through encryption and address translation. This ensures secure transmission of network data packets. You will need to grant VPN permissions when installing the Weline APP.
3.3 Samba Operation Steps (Windows)
To access your NAS as a network drive on Windows, follow these steps:
- Access Samba: In the Weline APP interface, navigate to the Samba section.
- Set Samba Password: Set a password for your Samba account. This password will be used to access the network share.
- Open Run Dialog: Press Win + R to open the Run dialog box.
- Enter NAS IP: Type
\\<NAS_IP_Address>(replace<NAS_IP_Address>with your NAS device's IP address, which can be found in the Weline APP) and press Enter. - Enter Credentials: When prompted, enter the Samba username and password you set in Step 2.
- Map Network Drive: Right-click on the desired shared folder and select "Map network drive..." to assign a drive letter for easier access.

Figure 3.4: Samba configuration for Windows (Part 1).

Figure 3.5: Samba configuration for Windows (Part 2).
3.4 Samba Operation Steps (macOS)
To access your NAS as a network drive on macOS, follow these steps:
- Connect to Server: In Finder, go to "Go" > "Connect to Server..." (or press Command + K).
- Enter Server Address: Type
smb://<NAS_IP_Address>(replace<NAS_IP_Address>with your NAS device's IP address) and click "Connect". - Authentication: Select "Registered User" and enter your Samba username and password. Click "Connect".
- Access Shares: The shared folders on your NAS will appear in Finder.
- Add to Login Items (Optional): To automatically connect to the NAS at login, go to System Settings > Users & Groups > Login Items, and add the network share.

Figure 3.6: Samba configuration for macOS (Part 1).

Figure 3.7: Samba configuration for macOS (Part 2).
4. Operating the Device
4.1 Data Backup and Management
The Yottamaster NAS supports automatic data backup, ensuring your important files are always safe. You can manage your photos, videos, and documents through the Weline APP.

Figure 4.1: Automatic data backup feature.

Figure 4.2: Recording and restoring personal memories with the NAS.
The device supports up to 8TB 2.5-inch hard drives, equivalent to the memory capacity of approximately 60 smartphones, allowing for extensive storage of films, videos, photos, and various files.

Figure 4.3: Storage capacity and file types supported.
4.2 Remote Access and Cloud Features
With the Weline APP, you can access your stored data from anywhere, without distance restrictions. This allows you to view and manage your files remotely, whether for personal photos or work documents.

Figure 4.4: Remote access capabilities of the NAS.
4.3 Dual Mode Operation (NAS and DAS)
The Yottamaster NAS functions in two modes: Network Attached Storage (NAS) and Direct Attached Storage (DAS). You can switch between these modes as needed.
- NAS Mode: Connects to your network, allowing multiple devices to access data over the network.
- DAS Mode (External Mode): Connects directly to a single computer via USB, functioning as an external hard drive.

Figure 4.5: Dual mode operation (NAS and DAS).
4.4 DLNA Function for TV
The device supports DLNA (Digital Living Network Alliance), allowing you to stream media content directly from your NAS to compatible smart TVs or media players.
- Enable DLNA: In the Weline APP, navigate to the DLNA section and click to open the setting interface.
- Set Access Path: Turn on the DLNA protocol and set the desired access path for your media files.
- Access on TV: On your DLNA-compatible TV, you can find the NAS under "Program Source" or similar media server options and access your content.

Figure 4.6: DLNA function setup for TV.
4.5 Intranet Transmission Speed
The Yottamaster NAS offers high-speed data transmission within your local network:
- Gigabit Ethernet Port Rate: Up to 120MB/s
- WiFi Rate: Up to 60MB/s
External network access rates typically range from 4-7MB/s, depending on your internet service provider and network conditions.

Figure 4.7: Intranet transmission speeds.
5. Maintenance
To ensure the longevity and optimal performance of your Yottamaster NAS, consider the following maintenance tips:
- Proper Shutdown: Always shut down the NAS device properly through the Weline APP or by safely disconnecting power after ensuring all operations are complete. Avoid sudden power cuts.
- Dust Control: Keep the device in a clean, dust-free environment. Dust accumulation can lead to overheating and component failure.
- Ventilation: Ensure adequate airflow around the device. Do not block ventilation holes.
- Temperature and Humidity: Operate the device within recommended temperature and humidity ranges to prevent damage to internal components.
- Firmware Updates: Regularly check for and install firmware updates for the NAS device and the Weline APP. These updates often include performance improvements, bug fixes, and security enhancements.
- Data Integrity Checks: Periodically check the health of your installed HDD/SSD through the Weline APP or connected computer to ensure data integrity.
6. Troubleshooting
This section addresses common issues you might encounter with your Yottamaster NAS device.
| Problem | Possible Cause | Solution |
|---|---|---|
| Device not recognized / Node offline error 108 |
|
|
| Cannot access Samba share |
|
|
| Slow data transfer speeds |
|
|
7. Specifications
| Feature | Detail |
|---|---|
| Brand | Yottamaster |
| Model | 1 Bay NAS Storage Device |
| ASIN | B0DRBGGM5T |
| Storage Bays | 1 Bay |
| Compatible Drives | 2.5" SATA HDD/SSD (up to 8TB) |
| CPU | Quad Core |
| RAM | 1GB DDR4 |
| Network Port | 1GbE (Gigabit Ethernet) |
| Mounting Type | Tabletop |
| Color | Black |
| First Available Date | January 20, 2025 |
8. Warranty and Support
Yottamaster products are designed for reliability and performance. For specific warranty details, please refer to the warranty card included with your product or visit the official Yottamaster website. For technical support, product inquiries, or assistance with troubleshooting, please contact Yottamaster customer service. Contact information can typically be found on the product packaging, the official website, or within the Weline APP.
As per customer reviews, direct email support is available at supports@yottamaster.com. Please allow adequate time for a response.
Related documents1 Bay NAS Storage Device


Ask a question about this manual
Ask about setup, troubleshooting, compatibility, parts, safety, or missing instructions. Manuals+ will review the question and use this page’s manual context to help answer it.