
1. Introduction
Thank you for purchasing the XIWBSY 1080P Native Mini Projector. This manual provides essential information for the safe and efficient operation of your new device. Please read it thoroughly before use and retain it for future reference. This projector is designed for home cinema use, offering a portable solution for displaying high-definition content.
2. Safety Information
To ensure safe operation and prevent damage, please observe the following safety guidelines:
- Power Supply: Use only the provided power adapter. Ensure the voltage matches the requirements specified on the adapter.
- Ventilation: Do not block the ventilation openings. Ensure adequate space around the projector for proper airflow to prevent overheating.
- Eye Safety: Do not look directly into the projector lens when the lamp is on. The bright light can cause eye damage.
- Placement: Place the projector on a stable, level surface. Avoid placing it in direct sunlight, near heat sources, or in environments with high humidity or dust.
- Cleaning: Disconnect the power before cleaning. Use a soft, dry cloth for the exterior. For the lens, use a specialized lens cleaning cloth.
- Water and Moisture: Do not expose the projector to rain, moisture, or liquids.
- Servicing: Do not attempt to open or repair the projector yourself. Refer all servicing to qualified personnel.
3. Package Contents
Please check that all items are present in your package:
- XIWBSY 1080P Native Mini Projector
- Power Adapter
- Remote Control (batteries not included)
- User Manual
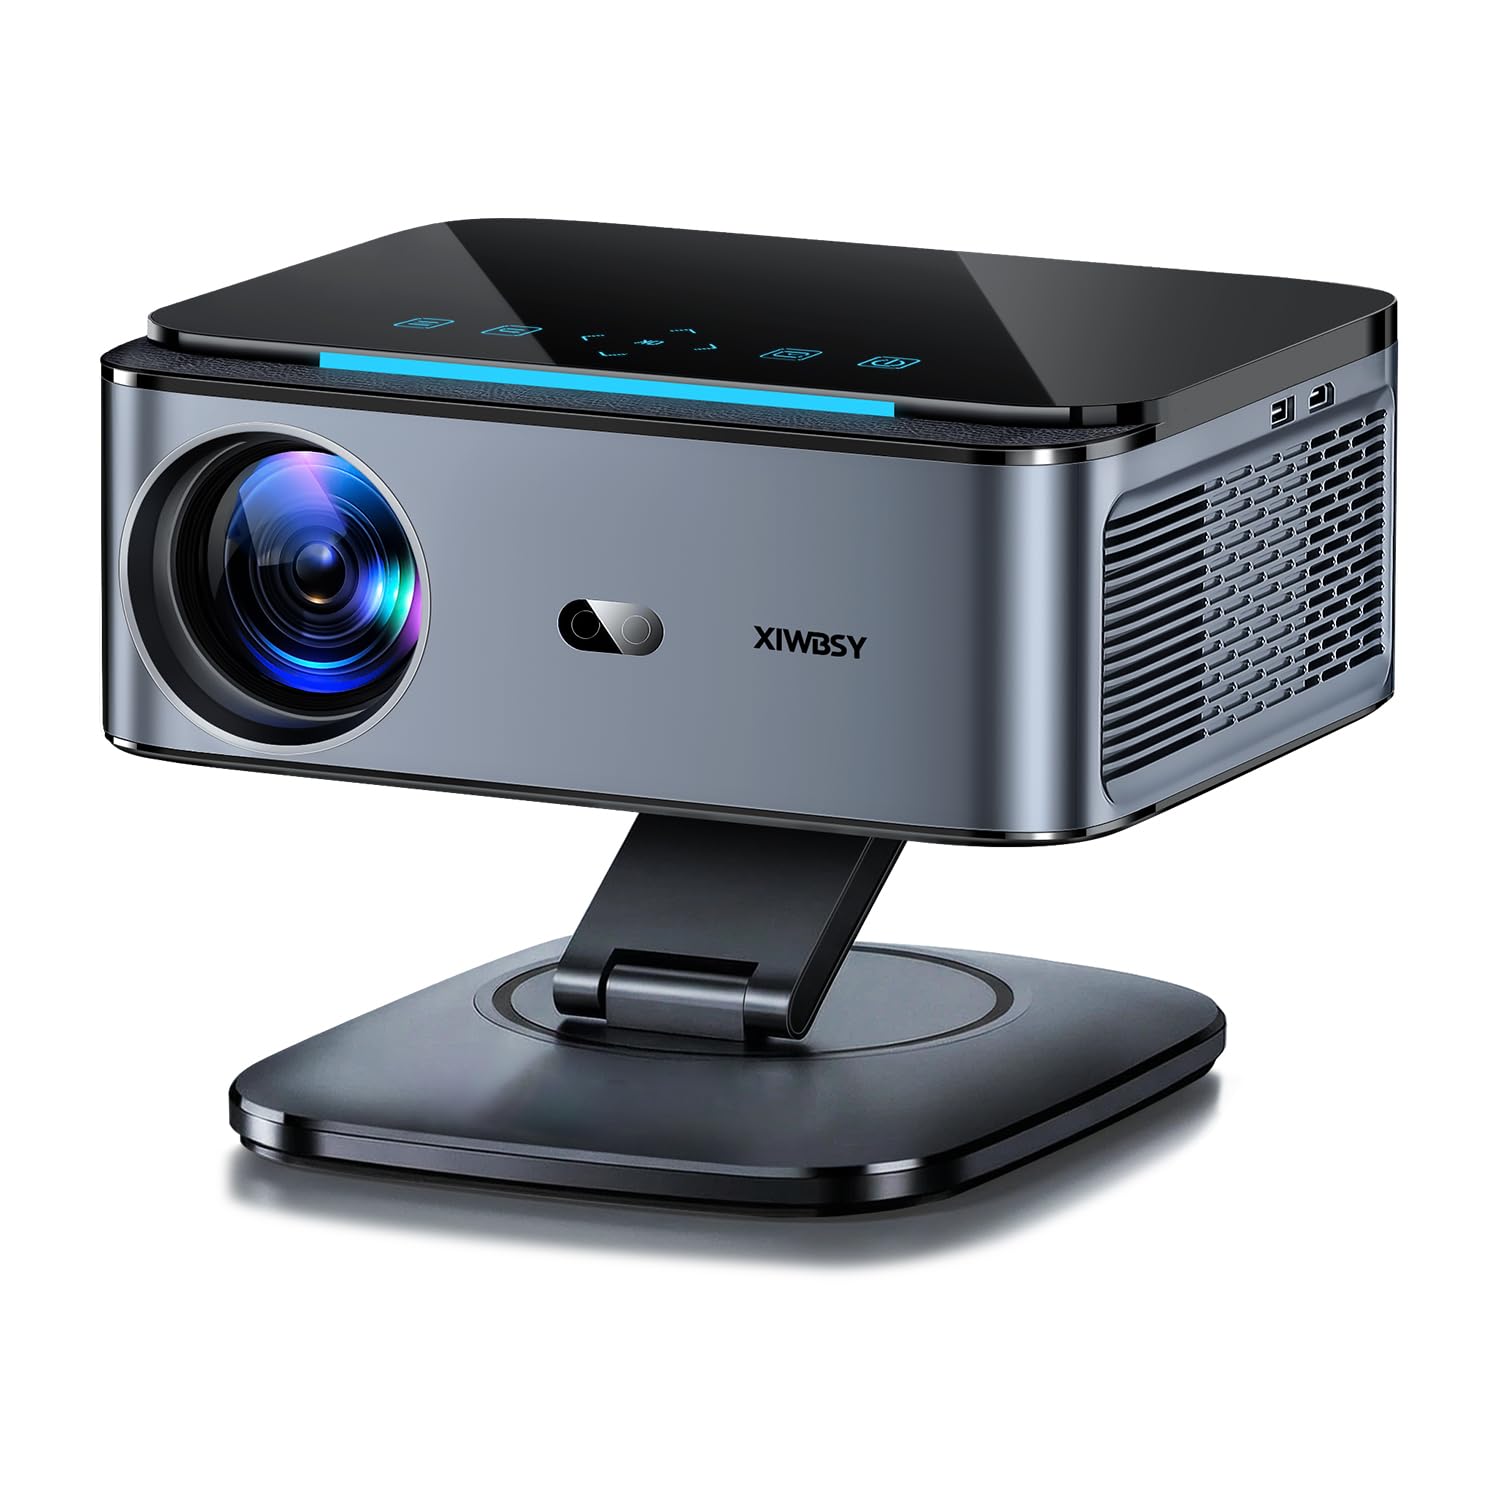
Image: The XIWBSY 1080P Native Mini Projector shown with its typical accessories, including the power adapter and remote control.
4. Product Overview
Familiarize yourself with the components of your projector:
Front View
- Projection Lens: Emits the image onto the screen or wall.
- IR Receiver: Receives signals from the remote control.
Top View / Control Panel
- Focus Ring: Manually adjust to sharpen the image.
- Keystone Correction Dial: Adjusts the image shape to correct trapezoidal distortion.
- Power Button: Turns the projector on or off.
- Navigation Buttons: For menu navigation (Up, Down, Left, Right, OK).
- Source Button: Selects input source.
- Menu Button: Accesses the projector's settings menu.
Rear / Side View (Ports)
- HDMI Port: Connects to devices like laptops, gaming consoles, or streaming sticks.
- USB Port: Connects to USB drives for media playback.
- 3.5mm Audio Out: Connects to external speakers or headphones.
- AV Port: Connects to older devices using an AV cable (not always included).
- Power Input: Connects the power adapter.
- Ventilation Grilles: For heat dissipation.
5. Setup
Follow these steps for initial setup:
- Placement: Place the projector on a flat, stable surface. Ensure it is positioned at an appropriate distance from the projection surface (wall or screen) to achieve the desired image size. The recommended throw distance is between 0.8 meters and 3.3 meters.
- Power Connection: Connect the power adapter to the projector's power input port, then plug the adapter into a power outlet. The power indicator light should illuminate.
- Power On: Press the Power button on the projector or the remote control to turn on the device.
- Focus Adjustment: Rotate the Focus Ring on the top of the projector until the image appears sharp and clear.
- Keystone Correction: If the image appears trapezoidal (wider at the top or bottom), adjust the Keystone Correction Dial until the image is rectangular.
- Input Source Selection: Press the 'Source' button on the projector or remote control to select your desired input source (e.g., HDMI, USB, Screen Mirroring).
6. Operating Instructions
6.1 Connecting Devices
HDMI Connection:
- Connect an HDMI cable from your source device (laptop, game console, streaming stick) to the HDMI port on the projector.
- Select 'HDMI' as the input source using the 'Source' button.
USB Media Playback:
- Insert a USB flash drive into the USB port.
- Select 'USB' as the input source. The projector's media player interface will appear, allowing you to browse and play supported files (videos, photos, music).
3.5mm Audio Output:
- Connect external speakers or headphones to the 3.5mm Audio Out port for enhanced sound. The projector's internal speaker will be muted automatically.
6.2 Wireless Connectivity (Wi-Fi & Bluetooth)
Wi-Fi Screen Mirroring:
- Select the 'Screen Mirroring' or 'Wireless Display' option from the projector's main menu.
- Follow the on-screen instructions to connect your smartphone or tablet (iOS via AirPlay/Screen Mirroring, Android via Miracast/Smart View) to the projector's Wi-Fi network or directly mirror your device.
- Ensure your device and the projector are on the same Wi-Fi network for optimal performance.
Bluetooth Audio:
- Access the Bluetooth settings in the projector's menu.
- Enable Bluetooth and search for available devices.
- Select your Bluetooth speaker or headphones from the list to pair and connect.
7. Maintenance
Proper maintenance ensures the longevity and performance of your projector:
- Lens Cleaning: Use a professional lens cleaning cloth or air blower to gently clean the lens. Avoid using abrasive materials or liquid cleaners directly on the lens.
- Vent Cleaning: Regularly check and clean the ventilation grilles to prevent dust buildup, which can lead to overheating. Use a soft brush or vacuum cleaner.
- Storage: When not in use for extended periods, store the projector in a cool, dry, dust-free environment. Use the original packaging or a protective bag.
- Power Off Properly: Always power off the projector using the power button and allow it to cool down before unplugging or moving.
8. Troubleshooting
Refer to this section for common issues and their solutions:
| Problem | Solution |
|---|---|
| No image on screen | Ensure the projector is powered on. Check all cable connections (HDMI, USB). Verify the correct input source is selected. |
| Image is blurry | Adjust the Focus Ring on the projector until the image is clear. Ensure the projection surface is flat. |
| Image is trapezoidal | Adjust the Keystone Correction Dial until the image is rectangular. |
| No sound | Check the volume settings on both the projector and the source device. Ensure external speakers/headphones are properly connected if used. |
| Remote control not working | Ensure batteries are correctly inserted and not depleted. Point the remote directly at the projector's IR receiver. |
| Projector overheats or shuts down | Ensure ventilation grilles are not blocked. Operate in a well-ventilated area. Allow the projector to cool down before restarting. |
9. Specifications
Key technical specifications for the XIWBSY 1080P Native Mini Projector:
| Feature | Value |
|---|---|
| Brand | XIWBSY |
| Recommended Uses | Home Cinema |
| Special Feature | Portable |
| Connectivity Technology | Wi-Fi |
| Display Resolution | 1920 x 1080 (Native) |
| Display Resolution Maximum | 1920 x 1080 Pixels |
| Display Type | LCD |
| Form Factor | Portable |
| Mounting Type | Ceiling Mount |
| Color | WH004 |
| Wattage | 105 watts |
| Maximum Throw Distance | 3.3 Meters |
| Minimum Throw Distance | 0.8 Meters |
| Hardware Connectivity | 3.5mm Audio, Bluetooth, HDMI, USB |
| Item Dimensions L x W x H | 7"L x 4.72"W x 2.75"H |
| Item Weight | 1.1 Kilograms |
10. Warranty and Support
Warranty: This product comes with a 1 YEAR warranty from the date of purchase. This warranty covers manufacturing defects and workmanship under normal use. It does not cover damage caused by misuse, accidents, unauthorized modifications, or improper installation.
Customer Support: For technical assistance, troubleshooting, or warranty claims, please contact XIWBSY customer support. Refer to the contact information provided on the product packaging or the official XIWBSY website. Please have your product model and purchase date available when contacting support.
