
1. Introduction
This manual provides comprehensive instructions for replacing the LCD screen and digitizer assembly on your Samsung Galaxy A54 5G. This replacement part is designed to restore full display functionality, addressing issues such as cracked screens, display malfunctions, pixel distortion, and unresponsive touch.
2. Compatibility
This LCD screen replacement is compatible with the following Samsung Galaxy A54 5G models:
- SM-A546V
- SM-A546U
- SM-A546B
- SM-A546E
Please verify your phone model before proceeding with the replacement.

Image 2.1: The replacement screen for Samsung Galaxy A54 5G, indicating a size of 6.4 inches and a resolution of 1080 x 2340 pixels. The image also shows the front of the phone with the screen and the internal frame structure of the phone.
3. Package Contents
The package includes the following items:
- LCD Screen Replacement for Samsung Galaxy A54 5G
- Set of universal repair tools
- Adhesive tape
Note: Additional professional tools may be required for a complete repair.
4. Important Safety Information
- Power Off: Always power off your device completely before starting any repair.
- Battery Disconnection: Disconnect the battery cable before removing or installing any components to prevent short circuits.
- Static Electricity: Use anti-static precautions (e.g., anti-static wrist strap) to prevent damage to sensitive electronic components.
- Handle with Care: LCD screens are fragile. Handle the replacement screen and internal components with extreme care.
- Professional Assistance: Non-professional installation is not recommended. If you are unsure about any step, seek professional assistance.
5. Installation Guide
This section outlines the general steps for replacing the LCD screen. A detailed video guide is also provided for visual assistance.
5.1 Pre-Installation Checks
- Inspect the New Screen: Before installation, carefully inspect the new LCD screen for any physical damage, scratches, or defects.
- Test Functionality: Connect the new screen's flex cables to the motherboard without fully installing it. Power on the phone to test the display, touch response, and color accuracy. Ensure there are no dead pixels, lines, or unresponsive areas. If any issues are found, contact support before proceeding.
- Gather Tools: Ensure you have all necessary tools, including screwdrivers, prying tools, suction cup, and adhesive.

Image 5.1: Visual representation of quality checks performed on the screen, ensuring no scratches, smooth touch, no dead pixels, and no display disconnections.
5.2 Step-by-Step Installation
Follow these steps carefully. Refer to the video for visual guidance.
- Power Off Device: Ensure your Samsung Galaxy A54 5G is completely powered off.
- Remove SIM Tray: Use the SIM ejector tool to remove the SIM card tray.
- Heat the Edges: Gently heat the edges of the phone to soften the adhesive holding the back cover. Use a heat gun or hairdryer on a low setting.
- Pry Open Back Cover: Use a thin prying tool or suction cup to carefully separate the back cover from the frame. Work slowly around the edges.
- Disconnect Battery: Once the back cover is removed, locate and disconnect the battery flex cable to prevent accidental power-on.
- Remove Screws and Brackets: Unscrew any screws holding down the motherboard shield and other components. Remove any metal brackets covering flex cables.
- Disconnect Old Screen: Carefully disconnect the flex cables of the old screen from the motherboard.
- Remove Old Screen: Apply heat to the front edges of the screen to loosen the adhesive. Use a suction cup and prying tools to gently lift and remove the old, damaged screen from the frame.
- Clean Frame: Thoroughly clean any old adhesive residue from the phone frame.
- Apply New Adhesive: Apply new adhesive tape around the frame where the screen will sit.
- Install New Screen: Carefully place the new LCD screen into the frame, ensuring the flex cables align correctly. Gently press down around the edges to secure it with the new adhesive.
- Connect New Screen: Reconnect the new screen's flex cables to the motherboard.
- Reconnect Battery: Reconnect the battery flex cable.
- Reassemble: Reinstall any removed screws, brackets, and the back cover. Apply gentle pressure to ensure the back cover is sealed.
- Reinsert SIM Tray: Reinsert the SIM card tray.
Video 5.2: A detailed video guide demonstrating the step-by-step process of replacing the LCD screen for the Samsung Galaxy A54 5G (model A546B). This video covers unpacking, initial inspection, and the full installation procedure.

Image 5.3: Close-up images showing the details of the screen's top edge, bottom edge, and the internal components of the phone frame, highlighting connection points and structure.
5.3 Post-Installation Checks
After installation, perform the following checks:
- Power On: Power on your device and check if the screen displays correctly.
- Touch Functionality: Test the touch screen thoroughly across all areas to ensure full responsiveness.
- Display Quality: Check for any abnormalities in color, brightness, or resolution.
- Physical Fit: Ensure the screen is securely seated in the frame without any gaps.
6. Operating the New Screen
Once installed, the new LCD screen operates identically to the original. Perform the following tests to confirm full functionality:
- Touch Test: Open an application that allows drawing or typing (e.g., Notes, Calculator) and drag your finger across the entire screen to ensure there are no dead spots.
- Color Test: View images or videos with a wide range of colors to check for accurate color reproduction and saturation.
- Brightness Adjustment: Adjust the screen brightness to ensure it functions correctly across its full range.
- Auto-Rotation: Test the screen's auto-rotation feature by rotating the phone.

Image 6.1: A close-up of a hand interacting with a phone screen, illustrating sensitive touch response during gameplay.

Image 6.2: A visual comparison highlighting the high brightness, saturation, and resolution of the replacement screen compared to other screens, showing vibrant desert landscapes.
7. Maintenance
To ensure the longevity and optimal performance of your new screen, follow these maintenance guidelines:
- Cleaning: Use a soft, lint-free cloth to gently wipe the screen. For stubborn smudges, slightly dampen the cloth with water or a screen-specific cleaner. Avoid harsh chemicals.
- Protection: Consider using a screen protector and a protective case to prevent future scratches and impacts.
- Avoid Pressure: Do not apply excessive pressure to the screen, as this can cause damage.
- Temperature: Avoid exposing the device to extreme temperatures, which can affect screen performance and adhesive integrity.
8. Troubleshooting
If you encounter any issues after installation, refer to the following troubleshooting tips:
| Problem | Possible Cause | Solution |
|---|---|---|
| Screen not turning on | Loose flex cable connection, battery not connected, faulty screen. | Check all flex cable connections, ensure battery is connected, re-test the screen. |
| Unresponsive touch | Loose digitizer flex cable, debris under screen, faulty screen. | Ensure digitizer flex cable is securely connected, clean the area, re-test. |
| Display lines or dead pixels | Damaged screen, loose display flex cable. | Recheck display flex cable. If issue persists, the screen may be faulty and require replacement. |
| Screen flickering | Loose display flex cable, software issue. | Check display flex cable connection. Try restarting the phone. |
If troubleshooting steps do not resolve the issue, please contact customer support.
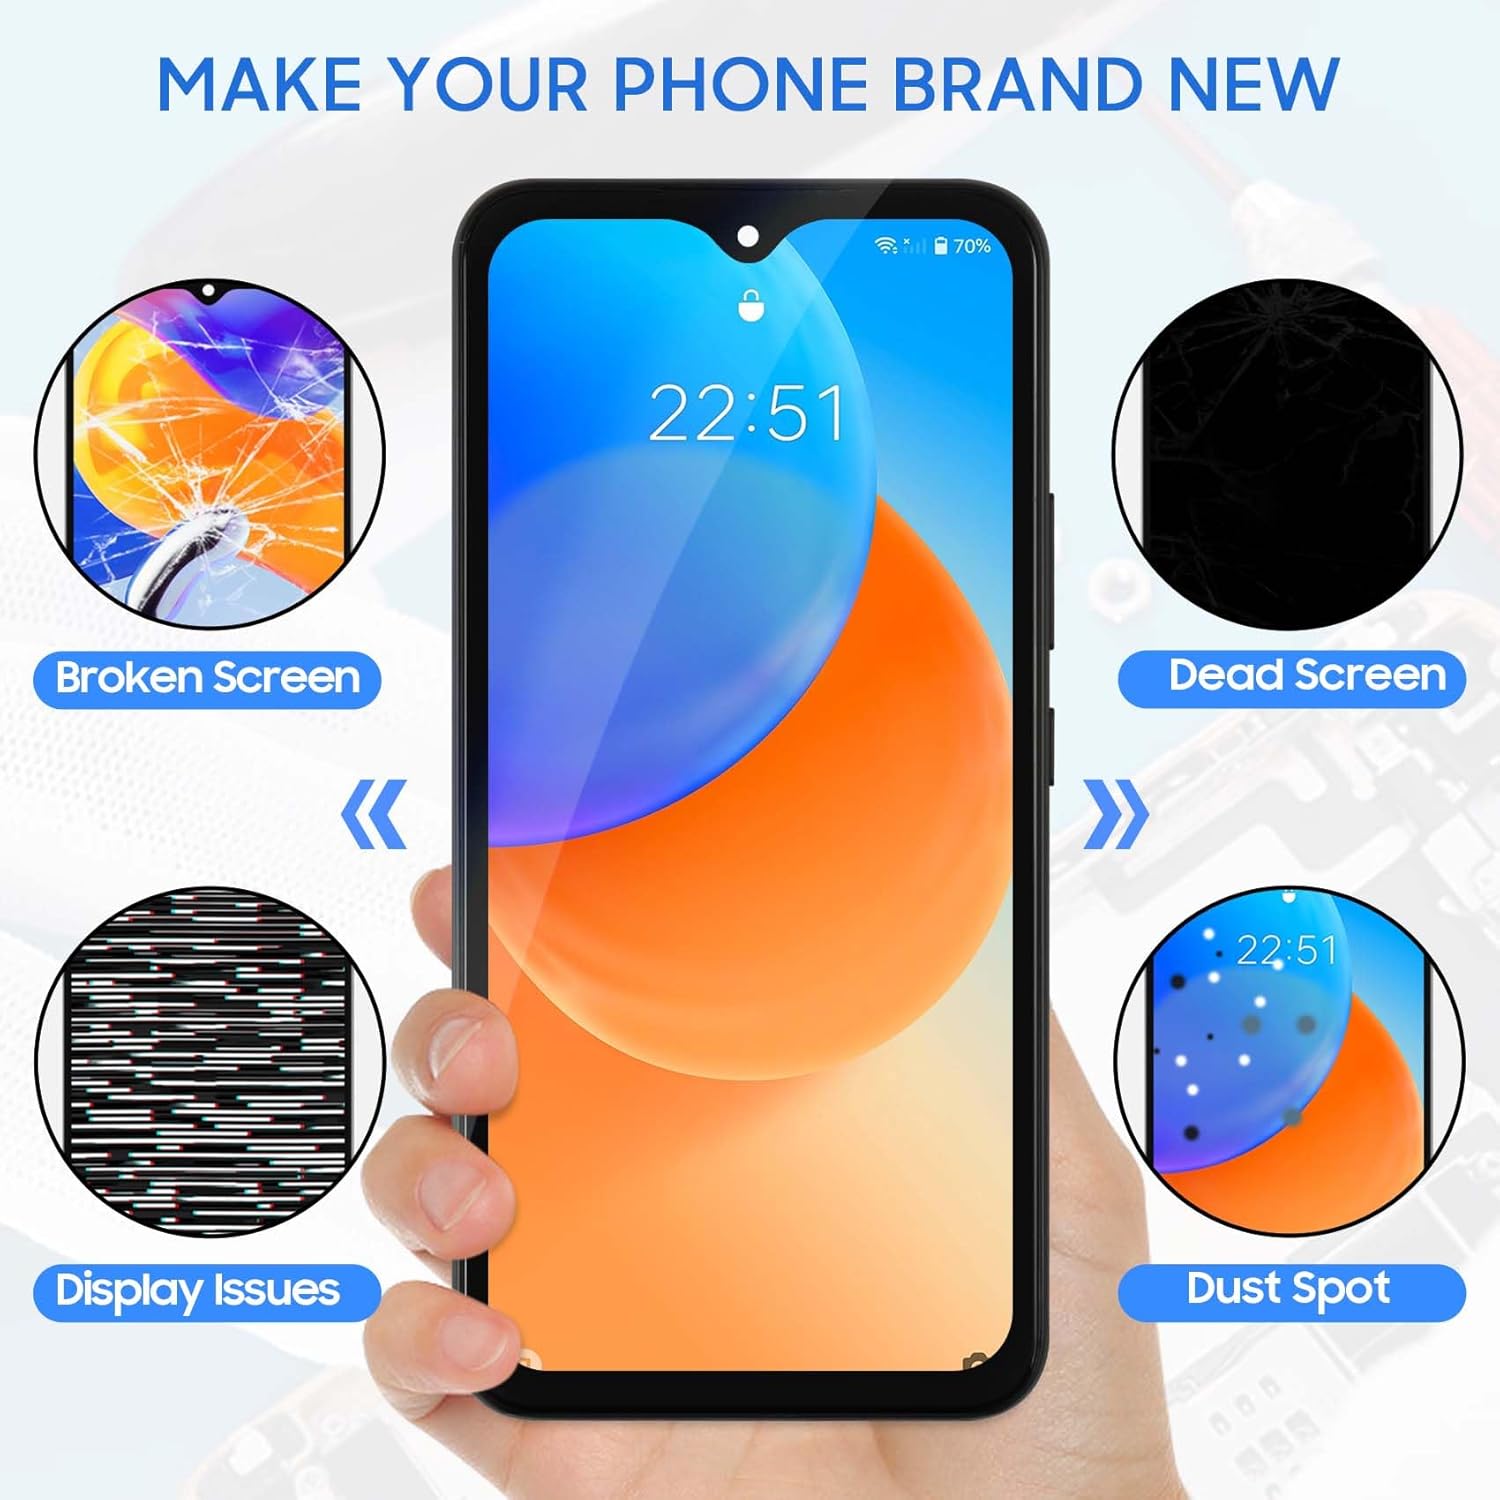
Image 8.1: Visual examples of common screen problems such as broken screens, dead screens, display issues, and dust spots, which this replacement screen is designed to resolve.
9. Specifications
- Brand: A-MIND
- Model: LCD Screen for Samsung Galaxy A54 5G
- Compatible Devices: Samsung Galaxy A54 5G (SM-A546V, SM-A546U, SM-A546B, SM-A546E)
- Material: INCELL LCD
- Screen Size: 6.4 Inches
- Resolution: 1080 x 2340 pixels
- Special Feature: Anti-Fingerprint
- Included Components: LCD screen, universal tools, tape
10. Warranty
This product comes with a 3-month warranty from the date of purchase. The warranty covers manufacturing defects and functional issues under normal use. It does not cover damage caused by improper installation, accidental drops, liquid exposure, or unauthorized repairs.
Please retain your proof of purchase for warranty claims.
11. Support
For technical assistance, installation guidance, or warranty claims, please contact A-MIND customer support. We aim to reply within 24 hours.
Contact Information: Refer to your purchase platform or product packaging for specific contact details.