
Introduction
Welcome to the MINIBEAR Kids Instant Print Camera A26 user manual. This guide provides detailed instructions to help you and your child get the most out of this versatile 3-in-1 digital camera. The camera combines instant printing, video recording, and photography, offering a fun and educational experience for children aged 3-14. It features a 48MP digital camera, 1080P HD video recording, 16X digital zoom, and thermal printing technology that requires no ink.
What's Included
Your MINIBEAR Kids Instant Print Camera package includes the following items:
- MINIBEAR Kids Instant Print Camera (Blue)
- 3 Rolls of Print Paper (for up to 180 pictures)
- 1 x USB Type-C Charging Cable
- 1 x Lanyard
- 1 x 32GB SD Card (pre-inserted into the camera)
- Product Manual

Image: The MINIBEAR Kids Instant Print Camera in blue, shown with its included accessories: three rolls of print paper, a USB Type-C cable, a lanyard, and the product manual.
Setup
1. Charging the Camera
Before first use, ensure the camera is fully charged. Connect the provided USB Type-C cable to the camera's charging port and the other end to a compatible USB power source (e.g., computer, wall adapter). The screen will display a charging indicator. A full charge typically takes 2-3 hours.

Image: The MINIBEAR camera connected via USB-C to a laptop, illustrating the charging and photo transfer process.
2. Inserting the SD Card
The camera comes with a 32GB SD card pre-inserted. If you need to remove or replace it, locate the SD card slot on the side of the camera. Gently push the card until it clicks to release it, then pull it out. Insert a new SD card with the metal contacts facing down until it clicks into place.
3. Loading Print Paper
The camera uses thermal paper for instant prints. To load the paper:
- Open the cover of the paper compartment on the front of the camera.
- Place a roll of print paper into the compartment, ensuring the paper feeds out from the top and in the correct direction.
- Leave a small amount of paper extending from the slot before closing the cover.

Image: A visual guide demonstrating the three steps to correctly load thermal print paper into the camera's compartment.
4. Attaching the Lanyard
Attach the provided lanyard to the designated loop on the camera. This helps prevent accidental drops and makes the camera easy to carry for children.
Operating Instructions
1. Power On/Off
Press and hold the power button (usually located on the side or top) for a few seconds to turn the camera on or off. The screen will display a welcome message upon startup.
2. Taking Photos
Navigate to the camera mode using the directional buttons. The MINIBEAR camera supports:
- 48MP Resolution: Capture high-resolution still images.
- 16X Digital Zoom: Use the zoom buttons to get closer to your subject.
- Auto-Focus: The camera automatically focuses for clear shots.
- Continuous Shooting: Take multiple photos in quick succession (3 or 5 photos).
- Time-Lapse: Set a timer (3s, 5s, or 10s) for delayed photos, useful for group shots.
- Fill Light: Activate the flash for enhanced lighting in low-light conditions.
- Timestamp: Photos can include the date and time.
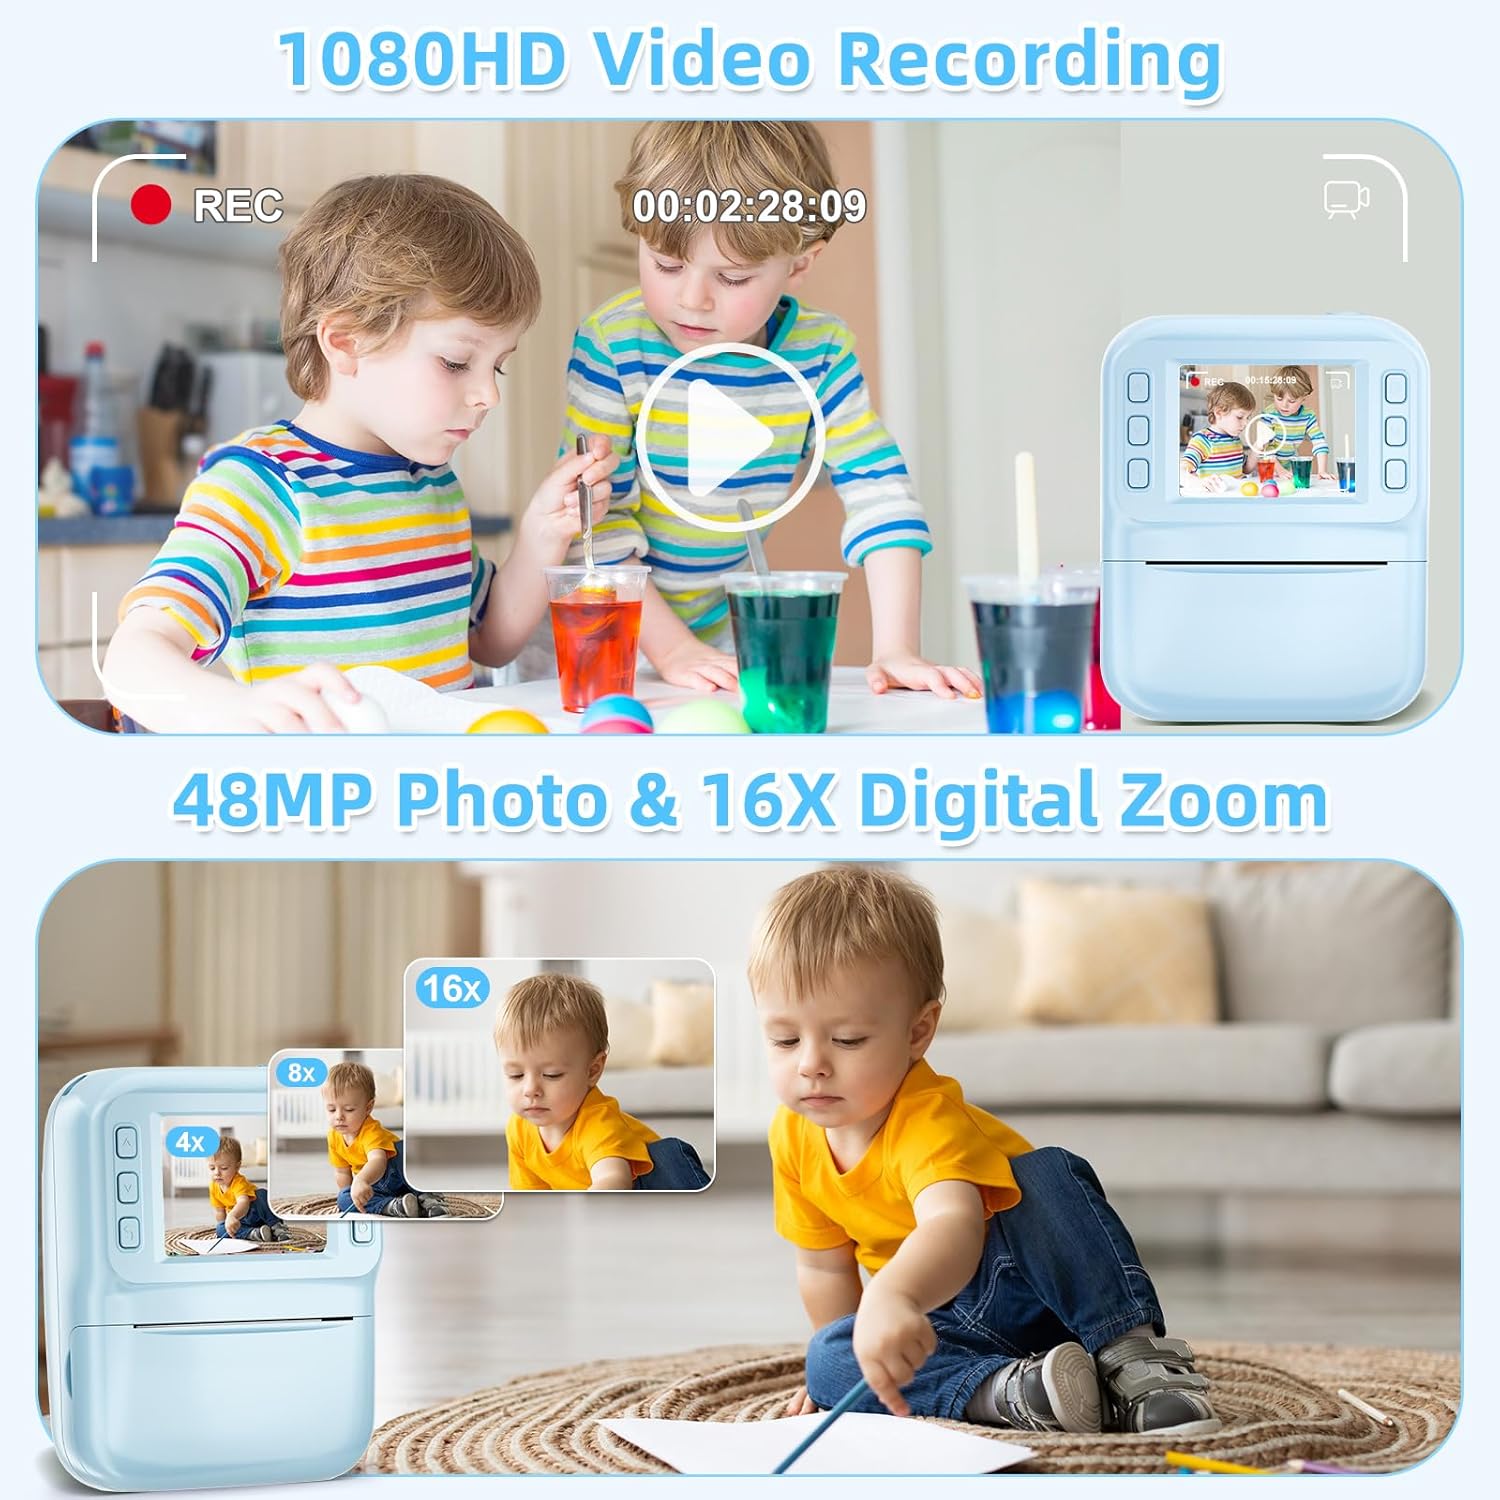
Image: Two children recording a video, and a baby being photographed with the 16x digital zoom feature highlighted on the camera screen.
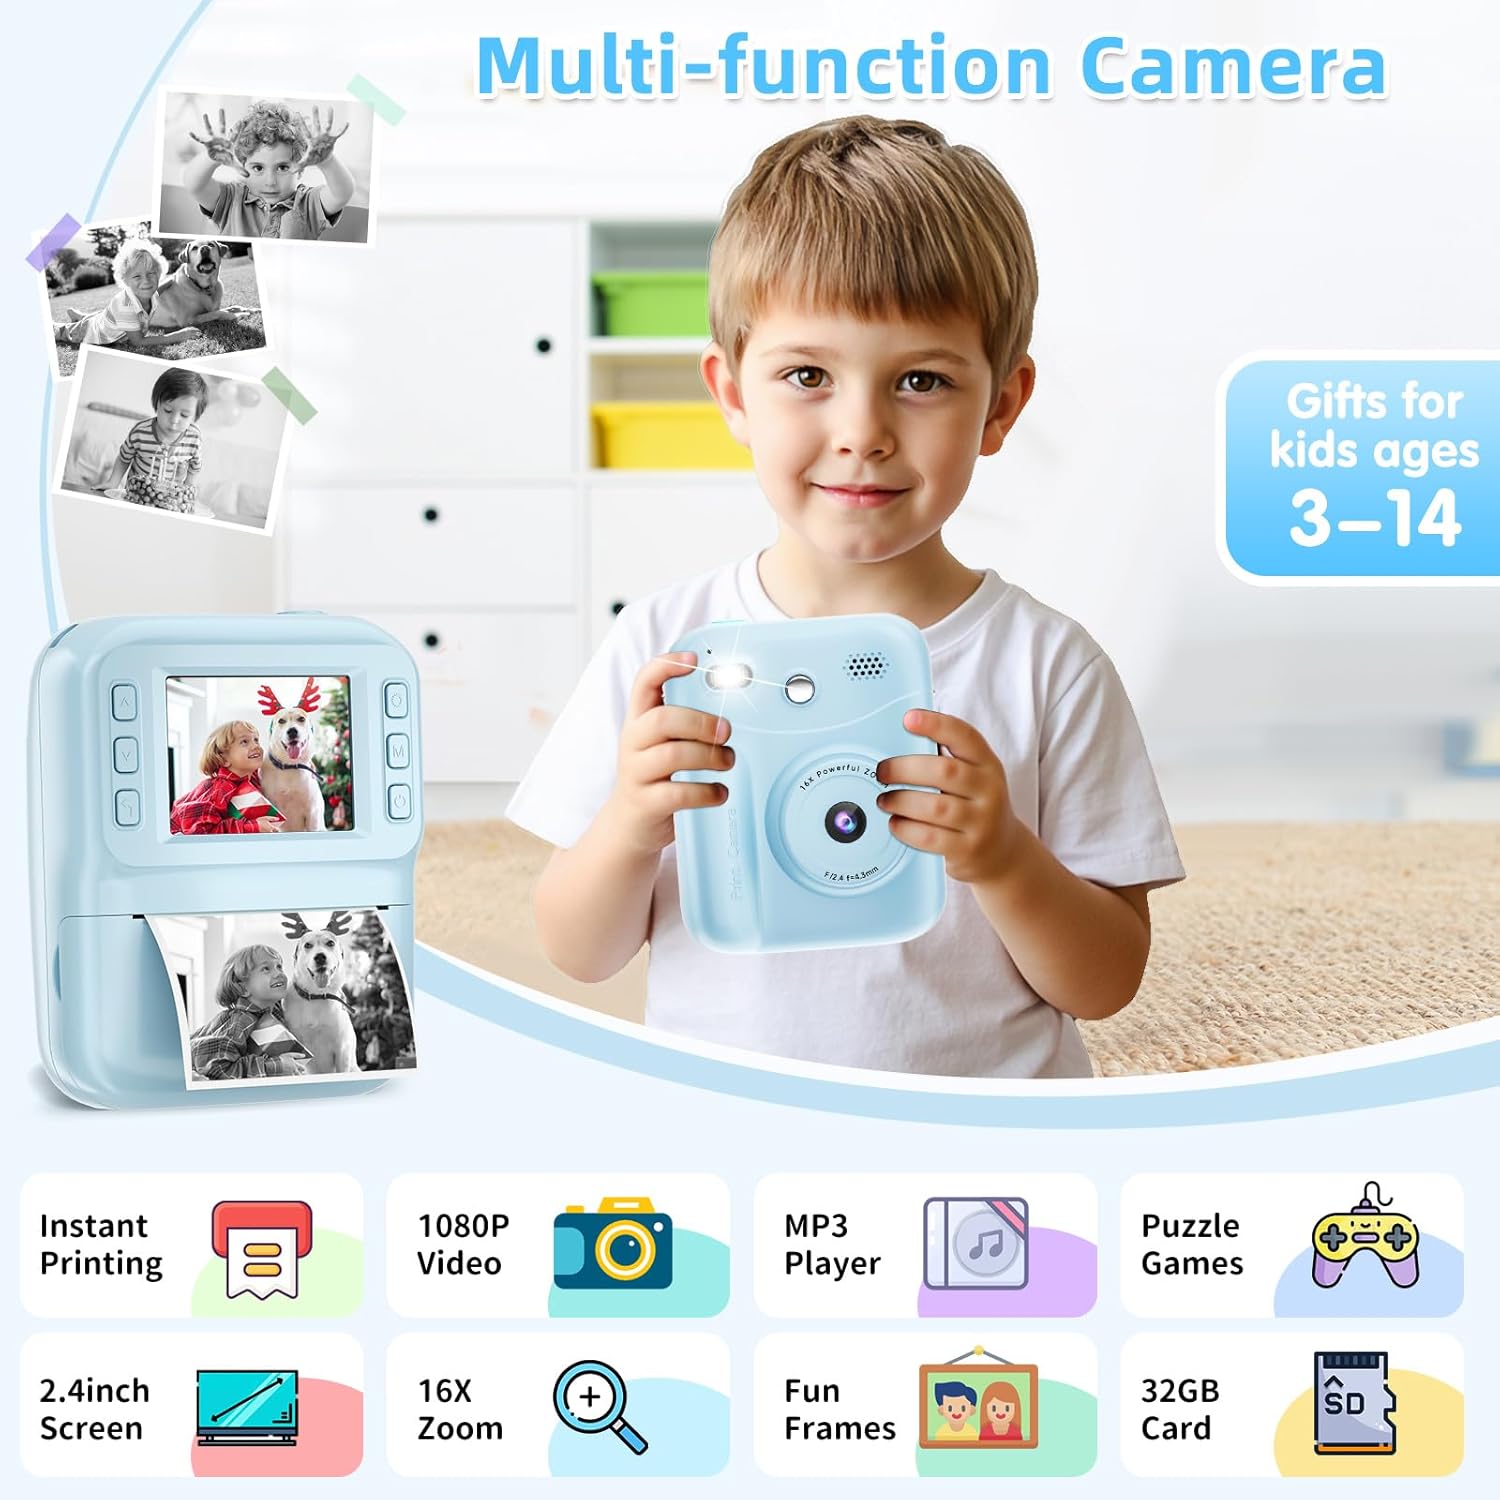
Image: A child holding the MINIBEAR camera, with icons illustrating its multi-functional capabilities including instant printing, 48MP photos, 1080P video, MP3 player, puzzle games, 2.4-inch screen, 16X zoom, fun frames, and 32GB card support.
3. Video Recording
Switch to video mode to record 1080P HD videos. Press the shutter button to start and stop recording. The camera supports 2-3 hours of continuous video recording.
Video: An official product video demonstrating the MINIBEAR Kids Camera Instant Print with its 32GB card, showcasing its various features and ease of use for children.
4. Using Filters & Frames
The camera includes over 25 filters and sticker frames to add creativity to photos. Navigate through the options in photo mode to select desired effects before taking a picture. Children can also color and decorate printed photos.

Image: The MINIBEAR camera screen showing different photo frames and filter effects, highlighting creative options for children's photography.
5. Instant Printing
After taking a photo, you can choose to print it instantly. The camera uses thermal imaging to produce black and white prints in about 3 seconds. The photo is also saved digitally on the SD card. You can adjust print density (Low, Middle, High) and choose between Grayscale or Dot-matrix print modes in the settings.

Image: The MINIBEAR camera demonstrating its two print modes (Grayscale and Dot-matrix) and options for adjusting print density (Low, Middle, High).
6. Music Player & Puzzle Games
The camera features a built-in music player and 5 puzzle games. These functions provide entertainment and help develop intelligence, making the camera a versatile educational toy.
Image: The MINIBEAR camera displaying its games and music player interfaces, highlighting its additional entertainment features.
7. Transferring Photos & Videos
Connect the camera to a computer using the USB Type-C cable to quickly download photos and videos from the SD card.
8. Camera Settings
Access the settings menu to adjust various camera functions, including print density, button sound, screensaver, automatic shutdown (to extend battery life), and date/time settings.
Maintenance
- Cleaning: Use a soft, dry cloth to clean the camera body and screen. Avoid using liquid cleaners.
- Thermal Paper Care: Thermal paper is sensitive to heat. Do not store printed photos or unused paper rolls in hot environments (e.g., direct sunlight, inside a hot car) as this may cause the images to fade or the paper to become unusable.
- Storage: When not in use, store the camera in a cool, dry place.
Troubleshooting
- Camera Freezes: If the camera becomes unresponsive, locate the reset hole (usually a small pinhole) on the side or back of the camera. Use a thin pin (not included) to gently press the reset button inside.
- Printing Issues: Ensure the print paper is loaded correctly and that there is enough paper remaining. Check the print density settings.
- Poor Image Quality: Ensure the lens is clean. Check lighting conditions and use the fill light if necessary.
- Battery Not Charging: Verify that the USB Type-C cable is securely connected to both the camera and the power source. Try a different cable or power source.
Specifications
| Feature | Detail |
|---|---|
| Brand | MINIBEAR |
| Model Name | A26 |
| Effective Still Resolution | 48 MP |
| Video Resolution | 1080p |
| Optical Zoom | 16 x |
| Screen Size | 2.4 Inches |
| Supported File Format | JPEG |
| Memory Storage Capacity | 32 GB (SD Card included) |
| Battery Type | Lithium-Ion Polymer |
| Battery Average Life | 2 Hours (continuous use) |
| Connectivity Technology | USB Type-C |
| Material | ABS Plastic |
| Item Weight | 0.37 Kilograms |
| Water Resistance Level | Not Water Resistant |
Warranty and Support
For warranty information or technical support, please refer to the documentation included with your purchase or contact MINIBEAR customer service through the retailer where the product was purchased. Keep your proof of purchase for any warranty claims.