Introduction
This manual provides comprehensive instructions for the CUIPPWRJ F405 BLS 35A Stack V2 20x20 Flight Controller and 4-in-1 ESC. Designed for drone enthusiasts, this compact and powerful unit integrates a flight controller and electronic speed controller to deliver efficient power management and precise control. Please read this manual thoroughly before installation and operation to ensure proper functionality and safety.
Product Features
- Performance: Features a powerful F405 flight controller for superior responsiveness.
- Compatibility: Designed for 20x20mm mounting, ideal for drones and racing setups.
- Power: Integrated 35A ESC supports a wide range of motors for performance.
- Size: Compact design allows for easy installation in space-constrained builds.
- Functionality: 4-in-1 ESC and flight controller combo simplifies wiring and reduces weight.
Specifications
| Item Model Number | CUIPPWRJ123 |
| Package Dimensions | 1.18 x 0.79 x 0.39 inches |
| Item Weight | 14.1 ounces |
| Manufacturer | CUIPPWRJ |
| ESC Current | 35A (4-in-1) |
| Mounting Pattern | 20x20mm |
Package Contents
Please verify that all items are present in your package:
- CUIPPWRJ F405 BLS 35A Stack V2 (Flight Controller + 4-in-1 ESC)
- Connection Cables (e.g., power, signal)
- Mounting Hardware (e.g., screws, standoffs)
Safety Precautions
- Always disconnect power before handling or making connections to the stack.
- Ensure correct polarity when connecting power to avoid damage.
- Keep the device away from water, moisture, and extreme temperatures.
- Handle with care to prevent electrostatic discharge (ESD) damage.
- This product is intended for experienced users in drone building and operation.
Setup Guide
1. Physical Installation
Mount the F405 BLS 35A Stack onto your drone frame using the provided mounting hardware. Ensure the flight controller is oriented correctly according to your flight control software's default settings or adjust in the software later. The 20x20mm mounting pattern ensures compatibility with many mini drone frames.
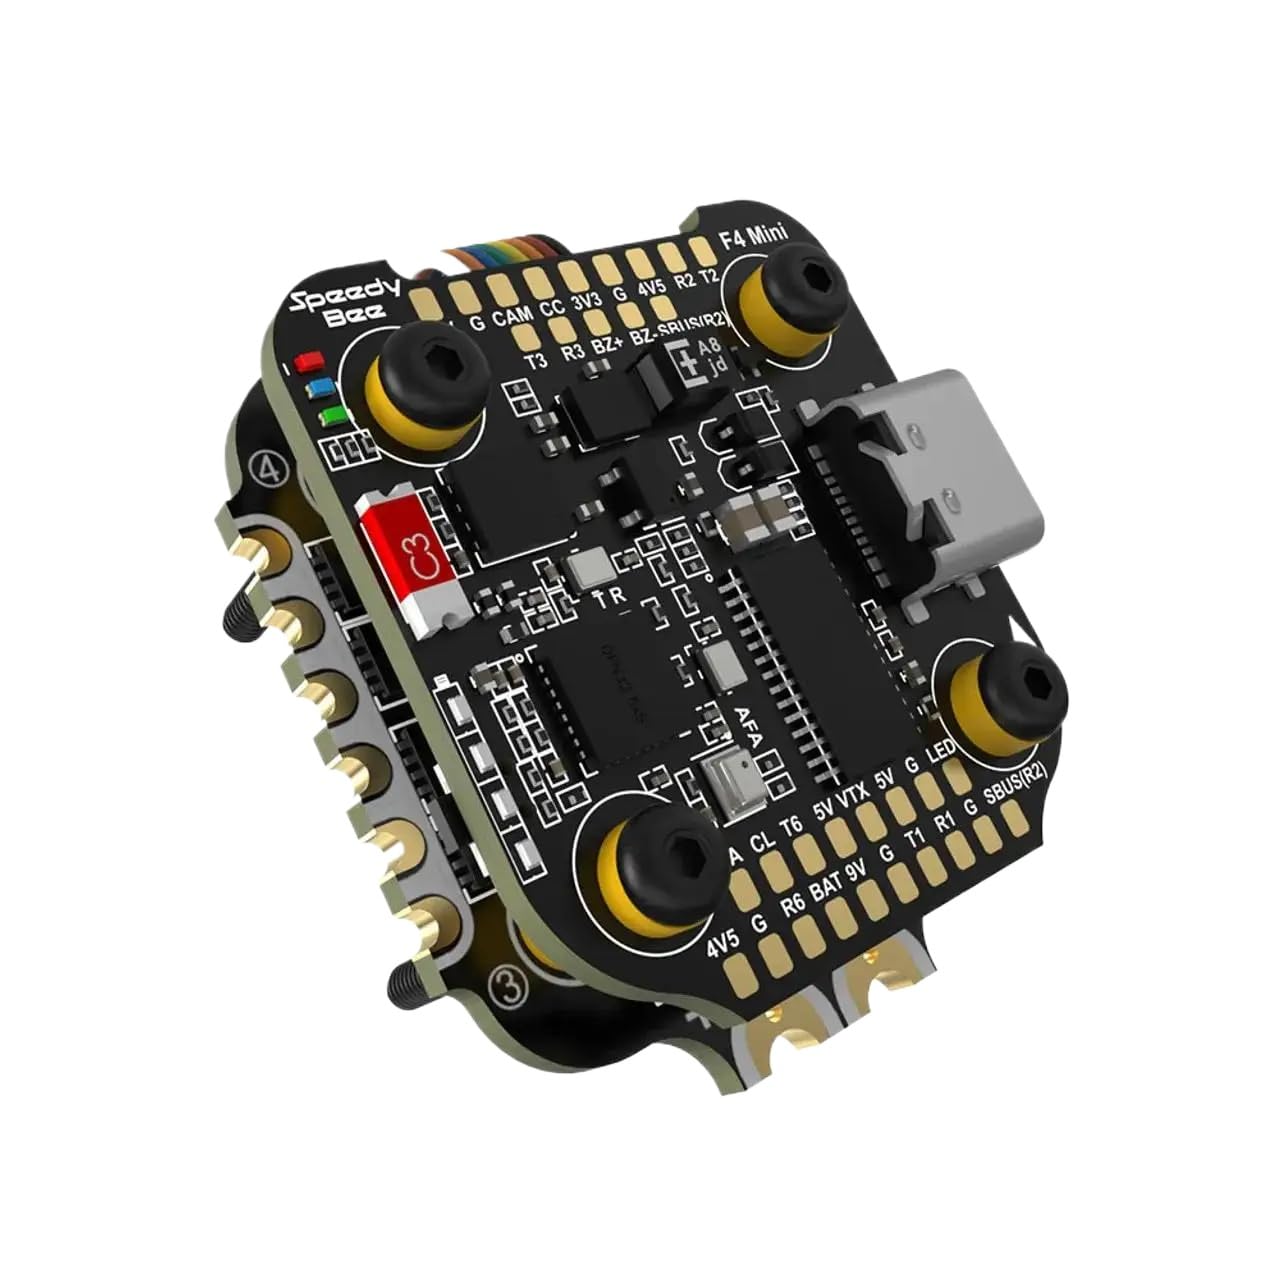
Image: CUIPPWRJ F405 BLS 35A Stack V2. This image shows the compact design of the flight controller and ESC stack, ready for installation in a drone frame. Note the various connection pads and mounting holes.
2. Wiring Connections
Carefully connect the motors, receiver, VTX (video transmitter), camera, and other peripherals to the appropriate pads on the flight controller and ESC. Refer to the wiring diagram below for detailed connection points. Ensure all solder joints are clean and secure.
- Motor Connections: Connect motor wires to the ESC pads (M1-M4) in the correct order.
- Power Input: Connect the main battery lead to the VBAT and GND pads on the ESC.
- Receiver: Connect your receiver (e.g., SBUS, CRSF, Spektrum) to the designated UART RX pad.
- VTX/Camera: Connect video signal and power to the VTX and camera pads as required.
3. Software Configuration
Connect the flight controller to your computer via a USB cable. Open your preferred flight control software (e.g., Betaflight, Emuflight, ArduPilot). Follow these general steps:
- Driver Installation: Install necessary USB drivers if prompted.
- Firmware Flash: Flash the latest stable firmware for the F405 flight controller.
- Configuration: Configure UARTs, receiver type, ESC protocol (e.g., DShot600), motor direction, and PID settings.
- Calibration: Calibrate accelerometers and ESCs according to the software's instructions.
- Safety Checks: Perform motor direction tests and failsafe configuration before flight.
Operating Instructions
Once the setup and configuration are complete, you are ready to operate your drone. Always ensure you are in a safe environment, away from people and obstacles, before arming your motors.
- Pre-Flight Check: Verify all connections are secure, propellers are correctly installed, and battery is fully charged.
- Arming: Arm the motors using the designated switch on your radio transmitter. The flight controller LED will indicate arming status.
- Flight: Control the drone using your radio transmitter. Start with gentle movements to familiarize yourself with its response.
- Disarming: Disarm the motors immediately after landing or in an emergency using the designated switch.
- Post-Flight: Disconnect the battery after each flight session.
Maintenance
- Regular Inspection: Periodically inspect all solder joints and connections for signs of wear or damage.
- Cleaning: Keep the flight controller and ESC clean from dust, dirt, and debris. Use a soft brush or compressed air.
- Firmware Updates: Check for and install firmware updates for the flight controller and ESC to ensure optimal performance and access to new features.
- Storage: Store the stack in a dry, cool environment when not in use.
Troubleshooting
- Problem: Motors not spinning or erratic behavior.
- Solution: Check motor connections, ESC calibration, and motor direction in the flight control software. Ensure the correct ESC protocol is selected.
- Problem: Flight controller not connecting to computer.
- Solution: Verify USB cable integrity, install necessary drivers (e.g., DFU driver), and try a different USB port or computer.
- Problem: Drone drifts or is unstable during flight.
- Solution: Recalibrate the accelerometer. Check PID settings and ensure the flight controller is securely mounted and free from vibrations.
- Problem: No video signal from VTX/Camera.
- Solution: Check wiring connections for VTX and camera. Ensure VTX is powered and configured correctly in the OSD (On-Screen Display) settings.
Warranty and Support
CUIPPWRJ products are manufactured to high-quality standards. For warranty information or technical support, please refer to the official CUIPPWRJ website or contact your retailer. Keep your purchase receipt as proof of purchase.
For further assistance, you may visit the manufacturer's support page or community forums for common questions and advanced configurations.